

Are you ready to dive into the creative world of loom knitting? Making a hat using a loom is not only a fantastic project for beginners but also a satisfying way to create warm, cozy accessories for yourself or loved ones. You don’t need to be an expert; with a few simple tools and some basic techniques, you can craft a stylish hat in no time!
This guide will walk you through using a peg loom, tackling this enjoyable process step by step. You’ll discover how easy it is to select the right materials, gauge your time commitment, and build your skills while having fun. Whether you’re looking for a quick weekend project or a thoughtful handmade gift, loom knitting offers a fulfilling experience that anyone can master. Let’s get started on your journey to creating the perfect hat-you’ve got this!
Understanding Loom Basics for Crochet Hats

Have you ever considered the magic of transforming a simple strand of yarn into a cozy crochet hat? If you haven’t yet tried loom knitting, you’re in for a delightful journey! Loom knitting offers a perfect entry point for novices while providing endless possibilities for seasoned crafters. The beauty lies in its ability to simplify the crocheting process, making it accessible and enjoyable for everyone.
To get started, you’ll want to familiarize yourself with the mechanics of a loom. Unlike traditional crochet hooks, a loom consists of a circular or rectangular frame with pegs spaced evenly apart. These pegs are your new best friends! They hold the stitches for you, allowing you to concentrate on the creative aspect of your project rather than worrying about keeping your stitches from unraveling. To set yourself up for success, gather essential materials like a yarn needle for weaving in ends, a loom hook for manipulating your yarn, and, most importantly, a cozy yarn that suits your style, whether you’re going for a chunky winter hat or a lighter spring beanie.
Understanding the anatomy of your loom is crucial. Each peg will hold a stitch, and the number of pegs will determine the size of your hat. For instance, a loom with 36 pegs could make a comfortable adult-sized hat, while a loom with fewer pegs would be better suited for children or smaller projects. The best part? You can mix and match looms to create hats of various shapes and sizes! You might be wondering about the learning curve-don’t worry! Investing a few hours practicing basic stitches on your loom will build your confidence and skill set. Plus, with many online tutorials and patterns available, you’ll find a wealth of resources to guide you each step of the way.
Remember, every expert was once a beginner! The moment you pick up that loom is the first step toward crafting unique, handmade hats that can warm not just your head but also your heart. Each stitch is a step toward becoming the creator you aspire to be, and with patience and practice, you’ll soon be crafting beautiful hats that reflect your personality and style. So grab your loom, choose your yarn, and let’s dive into the joyful world of loom knitting together!
Essential Tools for Loom Hat Crochet
When stepping into the world of loom knitting, having the right tools at hand can transform your experience from daunting to delightful. Picture this: you’ve picked out your favorite yarn, and you’re excited to create a cozy hat. But pause for a moment to gather a few essential supplies that will make your crafting journey smooth and enjoyable.
First off, consider the loom itself. Most beginners find circular looms, which come in various sizes, to be the most forgiving. The size of the loom, indicated by the number of pegs, will influence the size of the final product. For a standard adult hat, a loom with 36 pegs is a stellar choice. If you’re looking to make kids’ hats or beanies, a smaller loom with about 24 pegs will work perfectly. Make sure to choose a loom that feels comfortable in your hands-this is crucial for those long crafting sessions!
Now, onto the tools that will help you work your magic! Here’s a quick list of must-have items:
- Loom Hook: This handy tool allows you to lift yarn over pegs with ease. Its gentle curve makes it perfect for pushing stitches around without much effort.
- Yarn Needle: Ideal for weaving in loose ends once your project is complete, a yarn needle comes in many sizes. Choose one with a large eye to accommodate various yarn thicknesses.
- Scissors: A good pair of scissors is essential for trimming yarn, especially when finishing up your hat.
- Stitch Marker: To help you keep track of your rows, a simple stitch marker can be invaluable, especially if you’re working with patterns.
- Measuring Tape: Before you start, a measuring tape will help you gauge the size of the yarn pieces you’ll need.
Beyond tools, let’s not forget the most critical ingredient of all-your yarn! Opt for materials that are not just stylish but also suitable for the season. For instance, chunky acrylics are perfect for winter hats, offering warmth and ease of use. Alternatively, cotton yarns are great for lighter, breathable hats perfect for spring. The choice of yarn can significantly affect the final look and feel of your hat, so don’t rush this important decision!
With your loom and tools gathered, you’re well on your way to creating something wonderful. Remember, every stitch is a new opportunity to express your unique style and creativity. You’ve got this!
Selecting the Right Yarn for Your Project
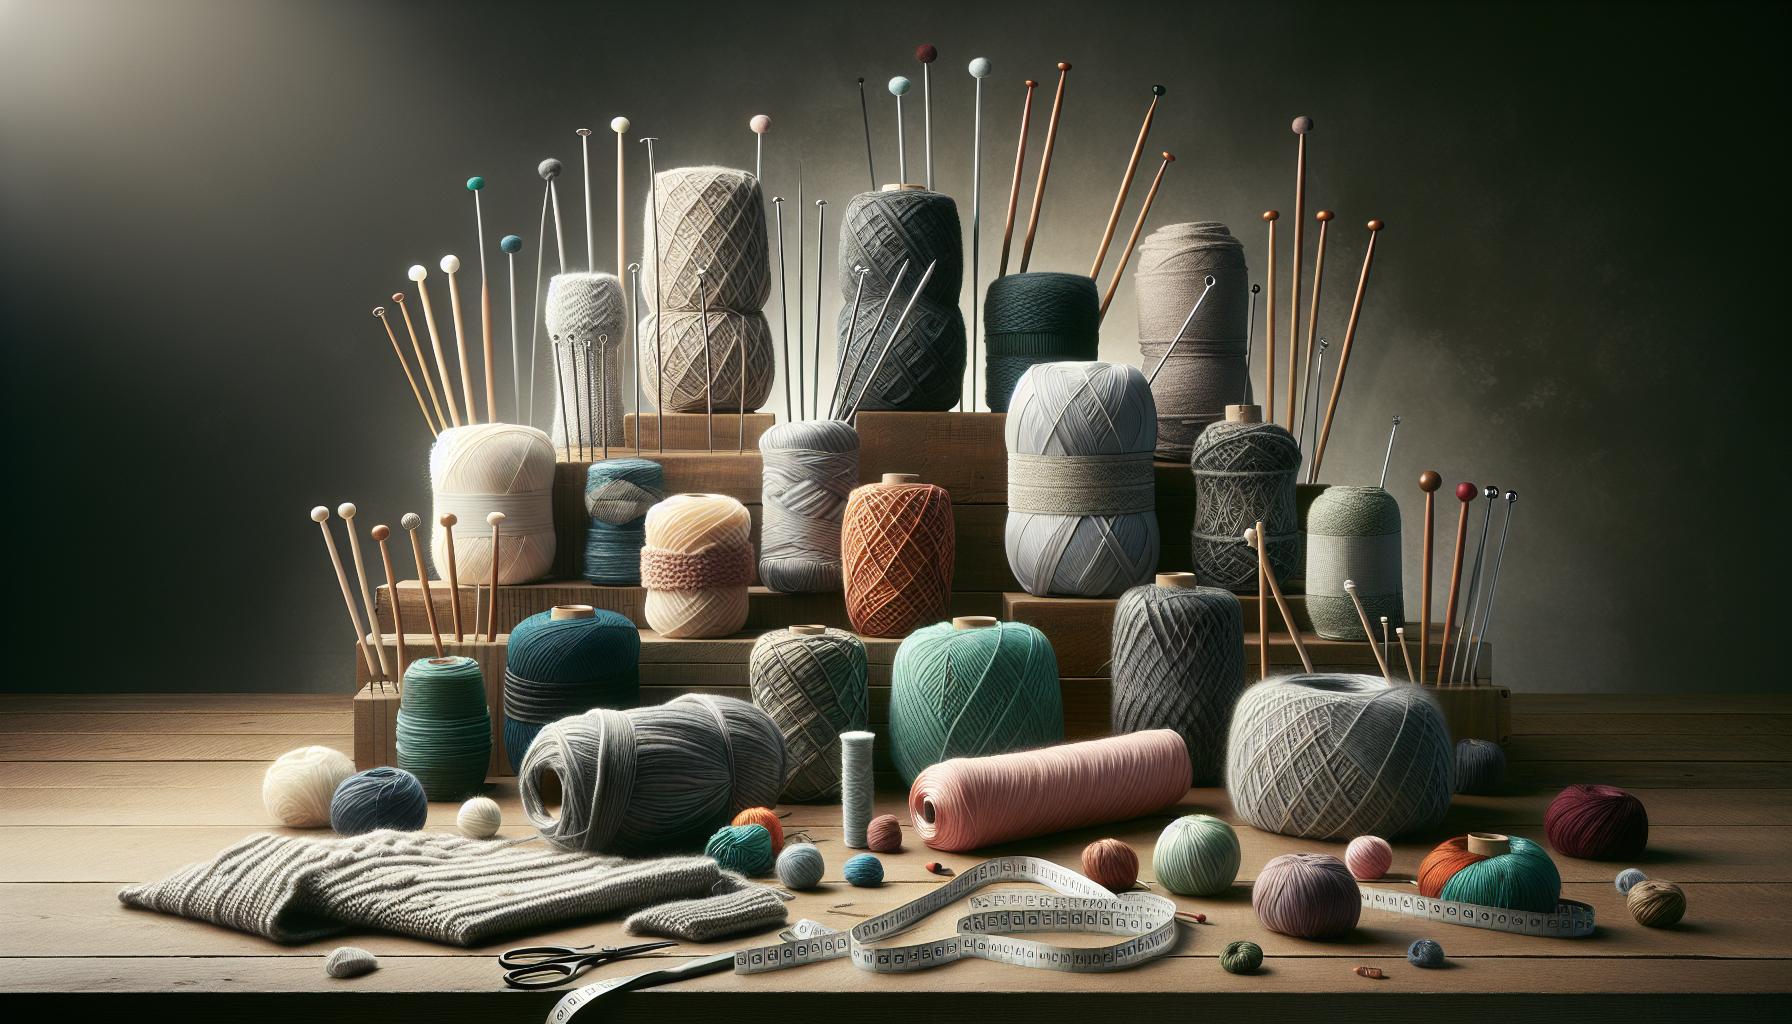
Choosing the right yarn is crucial when you’re about to embark on your loom hat journey. Not only does yarn influence the comfort and style of your final product, but it also dictates how easy or challenging your project will be. As you shop, keep in mind that different yarn types and weights can dramatically change the look and feel of your hat. There’s something so satisfying about picking the perfect yarn that speaks to your creative spirit!
When it comes to yarn selection, consider the season and intended use of your hat. For a warm, cozy beanie suited for chilly weather, chunky acrylic yarns are an excellent choice; they’re soft, warm, and come in a stunning array of colors. If you’re crafting for warmer months, cotton yarns are breathable and light, making them perfect for airy hats that won’t overheat your noggin. Your choice can also affect the texture: smooth yarns yield a uniform look, while fuzzy or textured yarns can add depth to your design.
Yarn Weight Matters
Familiarize yourself with yarn weights, which range from lace (thin) to super bulky (thick). For loom hats, a worsted weight yarn (typically labeled as medium 4) is a great balance, giving both structure and flexibility. It’s thick enough to keep your hat warm but still manageable, making it a favorite for many crafters. On the label, you’ll find recommendations for needle sizes; for loom knitting, these can help you gauge what works best with your loom size.
Here’s a quick reference for yarn weights:
| Yarn Weight | Suggested Loom Size | Best For |
|---|---|---|
| Lace (0) | Small Looms | Lightweight shawls, summer hats |
| Sport (2) | Medium Looms | Breathable hats, lightweight scarves |
| Worsted (4) | Regular Looms | Cozy hats, blankets |
| Bulky (5) | Large Looms | Quick-knit winter hats, plush blankets |
No matter your choice, always buy a little extra yarn-just in case! You’re not just knitting a hat; you’re crafting a piece of art that you’ll cherish or gift. Remember, you can absolutely do this! Embrace the joy of choosing your yarn and let your creativity shine through each stitch.
Step-by-Step Guide: Setting Up Your Loom

Ready to dive into the world of loom knitting? Setting up your loom is the first step to bringing your hat-making vision to life, and trust me, it’s easier than it may seem! By the end of this guide, you’ll be all set to create your cozy headwear masterpiece. Whether you’re a newbie or have dabbled in loom projects before, the setup is a crucial step that paves the way for an enjoyable crafting experience.
Start by gathering your materials: you’ll need your loom, a yarn of your choice, a peg tool (or a crochet hook can work in a pinch), and scissors. Make sure your loom is clean and well-assembled-check that all pegs are securely in place. Depending on your loom type (round or rectangular), the setup might differ slightly, but generally, the principles remain the same.
Here’s a straightforward step-by-step process to set up your loom:
Step-by-Step Setup
- Choose Your Loom Size: Select a loom size appropriate for the yarn weight you’ve chosen. If you’re using worsted weight, a standard loom is perfect!
- Position Your Loom: Place your loom on a flat, stable surface. This keeps everything steady while you work. If you’re using a round loom, make sure it’s oriented correctly; the yarn should flow easily around it.
- Threading the Yarn: Begin by tying a slipknot and placing it on the first peg of your loom. This slipknot serves as your starting point and will anchor your first row.
- Wrap the Loom: Use your yarn to wrap around each peg in a figure-eight pattern. This involves wrapping the yarn clockwise around one peg then going diagonally down to the next. Go all the way around until you reach the starting peg again. Don’t worry if it feels a bit unfamiliar at first; the more you do it, the more natural it becomes!
- Secure Your Yarn: Once you’ve wrapped the yarn around all the pegs, make sure to leave a bit of yarn hanging off the end. This will give you a good tail to work with later when you begin to knit.
- Check Your Tension: Gently tug on your yarn to ensure it feels snug but not too tight. Having the right tension will make it easier to knit your stitches later on!
Final Touches
Once your loom is set up and your yarn is wrapped correctly, take a moment to admire your work. It’s like laying the foundation for a beautiful piece of art! As you progress, remember to keep an eye on your stitch count and tension; this will help ensure that your hat turns out just right. When you’re ready, it’s time to leap into the fun part-knitting that hat!
Setting up your loom is just the beginning of an exciting journey into the world of crochet hats. So stand tall with your yarn and loom at the ready, because you are capable of creating something truly special. Happy crafting!
Basic Stitches Every Loom Knitter Should Know
Learning a few basic stitches is essential for anyone embarking on their loom hat-making adventure. These stitches not only help create the fabric of your hat but also allow for personal flair as you gain confidence in your technique. The beauty of loom knitting is that the stitches are straightforward enough for beginners yet versatile enough to allow for more advanced patterns as you progress.
Start with the e-wrap stitch, the most basic stitch every loom knitter should master. To create this stitch, simply wrap the yarn around each peg in a clockwise direction, providing a comfortable amount of tension. Once you’ve wrapped all the pegs, use your peg tool to lift the bottom loop over the top loop to create your first stitch. This technique builds a solid foundation for your project and is your gateway to more complex styles.
Next, try the purl stitch. This stitch adds texture and depth to your fabric. To perform the purl stitch, you’ll actually wrap the yarn around the peg counter-clockwise. Then, like with the e-wrap, lift the bottom loop over the top. Incorporating purl stitches into your work creates a lovely ribbing effect, perfect for adding stylish details to the brim of your hat.-imagine a cozy hat that not only fits perfectly but also boasts a beautiful pattern.
Additional Stitches to Explore
Once you’re comfortable with the basics, here are a few more stitches you may want to try as you gain confidence:
- Flat knit stitch: This is similar to the e-wrap but involves a consistent back-and-forth motion. It creates a flat, smooth fabric and is often used for the body of the hat.
- Decrease stitches: Learning how to decrease your stitches is vital for shaping your hat. This involves knitting two pegs together, reducing the total number of stitches, and shaping the top of your hat beautifully.
As you practice these stitches, remember that the beauty of loom knitting is in its simplicity and the enjoyment of crafting something unique. Each new technique opens doors to creating more intricate designs, so give yourself the grace to experiment and make mistakes. You can absolutely do this, and every stitch you complete is a step toward that cozy hat you are dreaming of wearing! Happy knitting!
Creating the Hat: Your First Row to Finishing Touches
Getting started on your cozy hat using a loom is an exciting journey, and mastering the first few steps is crucial. Once you’ve chosen your loom and yarn, it’s time to dive in! Creating your hat begins with a simple setup. First, make sure your loom is secure and that you’ve threaded your yarn correctly. This critical step ensures that your yarn doesn’t slip while you’re working. Trust me, it’s such a joy to see those first stitches take shape!
Now, let’s get into the rhythm of your first row. Begin by using the e-wrap stitch you’ve already practiced. Wrap the yarn around each peg in a clockwise direction, giving each wrap a gentle tug to maintain the perfect tension. As you wrap, feel free to chat with a friend or play some music to make this part fun! Once you’ve made it around the loom and wrapped every peg, grab your peg tool. With a few swift motions, lift the bottom loop of yarn over the top loop on each peg. This is where your cozy fabric begins to form, and with each stitch, you’re building that snug hat!
Progressing through Rows
As you continue knitting, don’t forget to check your stitches regularly. It’s easy to get lost in the rhythm, but a quick glance ensures everything is moving smoothly. Keep your tension consistent between stitches for the best result. If you want a thicker fabric or a different look, consider alternating between the e-wrap stitch and the purl stitch. This will give your hat a beautiful texture and make it even cozier. Also, keep in mind that you can customize the length of your hat by adding rows; just remember that about 6-8 inches is typical for a standard adult-sized hat.
When it’s time to finish off your hat, you’ll definitely want to learn about decreasing stitches. This is key for shaping the top of your hat beautifully. With a few simple decreases, you can pull the crown of your hat closed, creating that chic beanie or toque style. As you approach the final rows, take your time and don’t rush-this is your moment to shine!
Remember, crafting is about enjoying the process. Each stitch you complete is a step closer to your finished hat, which you can wear with pride or gift to someone special. So grab that loom, start knitting, and embrace the lovely adventure ahead-you can do this!
Adding Personal Flair: Patterns and Designs
Adding personal touches to your loom-knit hat not only makes it uniquely yours but also adds joy to the crafting process! Whether you’re looking to experiment with colors, incorporate patterns, or play with textures, there’s a world of creativity waiting for you. No matter your skill level, you can absolutely create a design that reflects your personality and style.
One of the simplest ways to add flair is by using multiple yarn colors. You can create a striped effect by alternating color yarns every few rows. For instance, try a classic combination like navy and cream or go wild with bright mix and match colors! To execute this technique, just switch out your current yarn during the transition. Remember to give your stitches a gentle tug to keep everything snug. If you’re feeling adventurous, consider creating gradient hats where the colors blend seamlessly into one another. It’s a showstopper!
In addition to color, textures can transform a basic design into a stunning piece. Experimenting with different stitches, like the purl stitch or cable stitch, can give your hat depth. Start by incorporating a few rows of purl stitches after your base e-wrap rows. Over time, you’ll develop a signature technique that feels right for you! For a cozy finish, consider adding a ribbed band at the bottom of your hat using alternating stitches: e-wrap then purl. This will not only add an interesting design element, but also create a rustic feel that elevates your hat game.
Lastly, don’t shy away from embellishments! There’s always room for buttons, pom-poms, or fabric flowers to add that extra charm to your creation. If you’re looking for something unique, try sewing on a fun patch or embroidering a geometric design. Just be sure any additions feel secure, especially if you plan on wearing your hat frequently.
Every piece you create tells a story, and by infusing your own flair, you’re crafting not just a hat, but a cherished memory. So grab your loom and let your creativity shine-you’ve absolutely got this!
Troubleshooting Common Loom Crochet Issues
Sometimes, even the most seasoned loom knitters can face minor hiccups during their crochet journey, especially when crafting a cozy hat. Whether you encounter dropped stitches that threaten the structure of your hat or yarn that simply refuses to cooperate, troubleshooting these common issues can turn your project around and keep the fun alive. So let’s tackle those pesky problems together with a series of practical solutions that will boost your confidence and skills!
Common Issues and Solutions
- Dropping Stitches: It might feel daunting, but a dropped stitch can be fixed! If you notice a stitch has slipped off the peg, gently retrieve it with your hook or a crochet needle. You can reinsert it into the correct peg and continue knitting as if nothing happened. For safety, it’s wise to secure the yarn at the base with a stitch marker if you’re prone to having them slip again.
- Uneven Tension: Achieving even tension is crucial for a flattering hat, and if yours feels lumpy or uneven, it might be time to reset a bit. Try to keep the yarn taut as you wrap each peg. If you’re still struggling, pause and examine your grip; sometimes, relaxing your hand a little can make all the difference! You can also switch out your yarn for a texture or weight that feels more comfortable to work with.
- Yarn or Peg Snags: Nothing disrupts your crocheting flow like a snarl in your yarn or a pain in the pegs. If you find your yarn snagging, try smoothing out any twists before you start. If you encounter a troublesome peg, inspect it for rough edges or debris; sometimes a quick sand can do wonders!
- Rushed Row Count: Losing track of your rows can lead to uneven hat lengths. Simple remedies include keeping a notepad nearby or using a counting app. Some crafters swear by placing a stitch marker after every few rows to act as a visual reminder of your progress. That way, you’ll always know where you stand!
Maintaining Your Crafting Flow
When missteps occur, don’t fret! Embrace any mistakes as part of your learning curve. Remember, every expert began as a beginner, and those small errors often lead to unique, charming characteristics in your work. If you ever feel overwhelmed, take a break, grab a cup of tea, or venture outside for inspiration. Keeping a relaxed mindset is key-the joy of making should never be overshadowed by frustration.
Above all, believe in your capabilities! The more you practice, the more natural these fixes will become. Each crochet hat you create brings you one step closer to mastering your loom skills. Celebrate small victories, stay flexible in your techniques, and don’t hesitate to dive into new challenges. You’ve got this!
Caring for Your Crochet Hat: Tips and Tricks
Caring for your crochet hat is just as important as the crafting process itself. Whether you’ve created a vibrant winter beanie or a cute sun hat, the way you handle and maintain your masterpiece will ensure it stays looking fabulous for many seasons to come. Understanding how to clean and store your hat can prevent common wear and tear, and even enhance its overall lifespan!
Cleaning Your Crochet Hat
To keep your crochet hat fresh and clean, start by checking the yarn label for specific washing instructions, as different fibers have different requirements. In most cases, a gentle hand wash will do wonders. Here’s how:
- Fill a basin: Use lukewarm water with a mild detergent. Make sure the detergent is free of bleach and harsh chemicals to prevent damage to the fibers.
- Soak: Gently immerse your crochet hat in the soapy water and allow it to soak for about 10-15 minutes. Avoid any vigorous agitation, as this could distort the shape.
- Rinse: Carefully remove the hat and rinse it under cool running water until all soap is gone. Make sure to handle it gently to avoid stretching.
- Dry: Lay the hat flat on a clean towel, reshaping it to its original form. Avoid hanging it, as this can lead to stretching and an unwanted shape.
Storing Your Crochet Hat
Proper storage can protect your hat from dust, bugs, and unwanted stretching. Here are some simple yet effective tips for keeping your crochet creations in top-notch condition:
- Keep it dry: Store your hat in a cool, dry place away from direct sunlight, which can fade colors. A cotton bag or even a clear storage bin can protect it from dust while allowing visibility.
- Avoid crushing: If you have multiple hats, stack them carefully. Make sure not to squish one hat under another to maintain its shape. Using hat boxes or even a tall jar can create a great display while keeping them safe!
- Use cedar or lavender sachets: Adding a natural repellent can protect against unwanted pests. These aromas not only smell delightful but will give your storage a cozy touch!
Maintaining your crochet hat is essential to preserving the love and creativity you’ve put into it. With these caring tips, your hats are not just items to wear-they’re lasting pieces of art you can enjoy and treasure. Celebrate your creations by taking the time to care for them, and you’ll be rewarded with beautiful accessories that can be cherished for years to come! Remember, every time you wear your handmade hat, you’re not just staying warm or stylish; you’re showcasing your unique flair and creativity. You can absolutely do this!
Exploring Advanced Techniques for Loom Hats
When you feel ready to take your loom hat skills to the next level, exploring advanced techniques can open up a world of creativity and personalization. You can transform a basic loom knit hat into something truly unique by incorporating different stitches, patterns, and embellishments. Imagine crafting a hat that not only keeps you warm but also showcases your artistry! Let’s dive into some techniques that will elevate your loom crochet experience and make every project a delightful adventure.
Diverse Stitches to Enrich Your Project
As you advance in your loom crafting, introducing new stitches can add texture and interest to your hats. Here are a few stitches to consider:
- Purl Stitch: This technique creates a lovely ribbed effect. By alternating between knit and purl, you can achieve a bouncy, cozy fabric perfect for beanies.
- Cable Stitch: Perfect for adding dimension, this stitch makes your hat look intricate and polished. By using a cable loom tool, you can create twists that mimic braided patterns.
- Lace Patterns: Incorporating simple lace stitches can add a delicate touch to your hat. Experiment with openwork designs to achieve a lightweight feel suitable for springtime wear.
You can practice these stitches on a small sample project before committing to your hat, allowing for trial and error without stress. Remember, it’s all about enjoyable learning-every practice piece contributes to your skills!
Playing with Color and Texture
Another way to create one-of-a-kind hats is by mixing yarns or introducing color changes. For instance, you might choose a soft, bulky yarn for the brim and switch to a vibrant, textured yarn for the body of the hat. This technique not only adds depth but also brings a pop of personality to your creation. Here are a few tips on how to seamlessly incorporate color changes:
- Color Stripes: Simply alternate multiple strands of yarn throughout one row to create a striped pattern. This is easy to visualize; just think of a candy cane!
- Ombre Effects: Gradual color transitions can be achieved by changing from one hue to another gradually across rows. Start with a lighter shade and progressively add darker tones for a fading effect.
- Textured Yarns: Consider combining different yarn textures, like pairing a fluffy yarn with a smooth one. This contrast can make your hat feel plush and chic.
Experimentation is key-don’t hesitate to try different combinations until you find the look that resonates with your style.
Adding Embellishments and Personal Touches
Completing your loom hat with embellishments can make it truly personal. Pom-poms, flowers, or even embellishments made from felt or fabric can all enhance your hat’s appearance. Here’s how to make your hat pop:
- Pom-Pom Maker: These handy tools can help create fluffy pom-poms that can sit atop your hat or hang from a strap. They are fun to make and make a whimsical addition!
- Felt Flowers: Cut shapes from felt in your favorite colors, and attach them with a hot glue gun or stitch them on for a stylish flair.
- Buttons and Brooches: A few strategically placed buttons or a vintage brooch can give your hat an elegant touch.
Remember, the most vital part is to enjoy the process of crafting and see it as an expression of your creativity. With time and practice, you’ll gain confidence, and the hats you make will not only keep you warm but will also tell a story-your story. Happy loom crocheting!
Inspiring Project Ideas to Expand Your Skills
Imagine wrapping your head in a warm, cozy hat that you crafted with your own hands! Delving into the world of loom crochet hats not only offers a rewarding experience but also opens the door to numerous project ideas that can inspire and expand your skills. Whether you’re a beginner or have some projects under your belt, these creative ideas will spark your enthusiasm and steer your crafting journey in new directions.
Fashionable Beanies
Creating stylish beanies is a perfect project for honing your loom abilities. A basic beanie typically takes about 4-6 hours, depending on your pace and experience. Choose a medium-weight yarn in your favorite color, and follow these simple steps:
- Select your loom: A round loom works wonderfully for beanies.
- Cast on: Begin with a simple e-wrap cast-on for elasticity.
- Knit the body: Use the stockinette stitch for a classic look-just knit around each peg until the desired height is reached.
- Decrease: Start decreasing every other row to shape the crown, using the knit two together method.
- Finish off: Pull your yarn through the remaining stitches and weave in the ends.
With ample room for creativity, try adding color-blocks or stripes to give your beanie a unique flair!
Textured Headband
Headbands make for a quick and satisfying project, usually completed in about 2-3 hours. Using a flat loom, you can experiment with various stitches and textures. Here’s a basic outline:
- Choose your yarn: Use a soft, stretchy yarn for comfort.
- Measure: Decide how wide you want your headband-6-8 inches is a good start.
- Cast on the width: Use an e-wrap cast-on across the number of pegs according to your measured width.
- Work the body: Alternate between knit and purl stitches to create a fun, textured pattern.
- Finish length: Once you reach the desired length, bind off and sew the ends together to form a loop.
Feel free to embroider a small design or add a flower to personalize it even more!
Pom-Pom Adornments
Don’t underestimate the charm of a cheerful pom-pom! These adorable embellishments are quick to make and can elevate any project. Whether topping a hat or decorating a scarf, you can whip up a pom-pom in no time using a pom-pom maker or even your fingers. Take these steps:
- Select your yarn: Use leftovers from your projects for a fun, mismatched look.
- Wrap yarn: Use your maker to wrap yarn until you achieve your desired fluffiness.
- Clip and secure: Trim the edges, tie them in the center tightly, and fluff your creation.
- Attach: Sew or glue onto your projects for an extra pop of fun!
These small projects offer a chance to practice your skills while injecting joy into your crafting routine. Embrace the process, and remember, the possibilities are endless. You’ve got this!
Sharing Your Masterpiece: How to Show Off Your Hat
Sharing your latest loom crochet hat is an exciting way to celebrate your crafting journey and connect with fellow makers. Whether you’re looking to showcase your finished masterpiece online, gift it to a friend, or simply enjoy the fruits of your labor, there are plenty of creative ways to get your hat noticed and appreciated. Embrace the joy of sharing by following these simple, supportive strategies.
Online Platforms
The internet is brimming with vibrant communities passionate about crochet and crafting. To share your creation, consider these platforms that provide a warm and welcoming environment for crafters of all levels:
- Instagram: Post a high-quality photo of yourself wearing the hat, tagging relevant crochet hashtags like #LoomKnitHat or #CrochetCommunity to reach a broader audience.
- Facebook Groups: Join crochet or loom knitting groups where you can post pictures of your work, engage with members, and receive feedback.
- Pinterest: Create a board dedicated to your crafts and pin your pictures along with links leading back to your favorite crochet tutorial or pattern.
Remember, a genuine caption sharing your inspiration or the process adds a personal touch that fellow crafters will appreciate!
In-Person Sharing
Don’t overlook the power of face-to-face interactions! Local craft fairs, community centers, or yarn shops often host events where you can connect with other makers. Consider bringing your latest loom hat to show off during these gatherings. Here are a few tips:
- Wear it proudly: Style your outfit around your hat, making your recent project a focal point of your appearance.
- Craft evenings: Attend or organize a crafting session where you can share your hat and even demonstrate your techniques to newcomers.
- Gift it: Nothing brings joy quite like sharing your creation. Consider gifting your hat to a friend or family member and invite them to model it for photos together.
Creating a “Before and After”
People love transformation stories! If you’re comfortable, share the “before” picture of your loom setup alongside the “after” of your finished hat. Documenting your process highlights not just the end product but also the hard work and creativity that went into it. Here’s how to do it effectively:
- Take photos: Snap pictures at each significant step- from the setup, while you’re working on it, and finally the finished product. A well-lit space will make your images pop!
- Write your story: Share any challenges you faced and how you overcame them, which will resonate with others who may be on a similar journey.
No matter how you choose to showcase your creations, remember that the process of sharing is just as meaningful as making itself. Your passion-and your hat-can inspire others to pick up their looms and get crafting. You’ve poured hours of love into that hat, and it’s time to celebrate your handiwork with the world!
Frequently asked questions
Q: What materials do I need to crochet a hat using a loom?
A: To crochet a hat using a loom, you will need a loom (specific to the size of the hat), a hook tool, yarn (a weight suitable for your project), and scissors. Some users also find a yarn needle helpful for weaving in ends. For detailed guidance, refer to the section on *Essential Tools for Loom Hat Crochet*.
Q: How do I choose the right loom size for my hat?
A: Selecting the right loom size depends on the desired hat size and stitch type. Generally, smaller looms work for newborns, while larger looms are suitable for adults. Check the *Understanding Loom Basics for Crochet Hats* section for specific measurements and tips on matching loom size to your project needs.
Q: Can I alter my loom hat pattern for different sizes?
A: Yes, you can adjust patterns by adding or removing pegs, altering stitch counts, or using lighter or heavier yarn to change the final size. Consult the *Creating the Hat: Your First Row to Finishing Touches* section for methods on modifying patterns effectively.
Q: What are the common mistakes to avoid while loom knitting a hat?
A: Common mistakes include uneven tension, skipping pegs, and using the wrong stitch technique. Taking your time and following the *Troubleshooting Common Loom Crochet Issues* section will help you avoid these pitfalls for a smoother crafting experience.
Q: How long does it take to crochet a hat using a loom?
A: The time required to crochet a hat with a loom varies but generally takes 2 to 5 hours, depending on your skill level and the complexity of the design. For a more specific breakdown, refer to the *Step-by-Step Guide: Setting Up Your Loom* section.
Q: What types of yarn work best for loom hats?
A: The best yarn types for loom hats are worsted weight or bulky yarn, as they provide the right thickness and warmth. Always check the *Selecting the Right Yarn for Your Project* section for recommendations on fiber content and variations for different seasons.
Q: Is loom knitting suitable for beginners?
A: Absolutely! Loom knitting is often easier for beginners due to its user-friendly nature. If you’re just starting, refer to the *Basic Stitches Every Loom Knitter Should Know* section to get comfortable with foundational techniques.
Q: How can I customize my loom hat design?
A: You can customize your loom hat by experimenting with colors, patterns, and stitch techniques. Mixing and matching yarns or incorporating ribbing and cables can create unique designs. For ideas, see the *Adding Personal Flair: Patterns and Designs* section for inspiration.
Final Thoughts
Congratulations on completing your hat using the loom! You’ve not only created a cozy accessory but also honed your skills in loom crocheting. This rewarding project demonstrates just how easy and fun crocheting can be for everyone, from newbies to seasoned crafters. Don’t let your creativity stop here-explore more by checking out our collection of festive crochet patterns for hats and scarves that can elevate your crafting journey even further.
If you enjoyed this project, dive into our free crochet tutorials for more inspirations and step-by-step guides on creating accessories and home decor. Remember, the only limit is your imagination, and every stitch brings you closer to mastering new techniques. Share your finished hat with us in the comments and don’t forget to join our newsletter for the latest projects and tips that will keep your crochet skills sharp. Happy crocheting, and let’s keep crafting together!
Get our latest guides, news, and insights highlighted in your Google Search & AI Overviews.