

Have you ever admired those stylish aviator hats with cozy ear covers? Not only do they evoke a sense of adventure, but they also provide warmth during the chilly months. Crocheting an aviator hat is not only a fun project but also a great way to express your creativity and enhance your skills. This engaging pattern is perfect for all skill levels, whether you’re just starting your crochet journey or are a seasoned pro looking to add a unique piece to your wardrobe.
In this guide, we’ll walk you through the process step-by-step, ensuring you have all the tips and tricks to make this delightful hat. With just a few basic materials and a little time, you can create a one-of-a-kind accessory that’s both practical and stylish. So, grab your yarn and hook-let’s dive into the art of crocheting your very own aviator hat! You can do this!
Choosing the Right Yarn and Hook for Your Aviator Hat
Choosing the right yarn and hook is crucial when crafting your aviator hat to ensure comfort, durability, and the perfect fit. The yarn you select can dramatically affect not just the look but also the feel of your finished piece, especially since this hat will be worn in chilly weather. For an aviator hat, you’re generally looking for yarn that has warmth without being overly bulky.
One of the most popular choices for this project is a soft, medium-weight acrylic or wool blend yarn. Acrylic is affordable and comes in a vast range of colors, while wool offers superior warmth and breathability. Look for yarn categorized as worsted weight (typically labeled as “4”) for the ideal balance between warmth and stitch definition. It’s common to use around 200-300 yards of yarn, depending on the size of your hat.
When it comes to hooks, a 5.5mm (I-9) or 6mm (J-10) crochet hook is often recommended for worsted weight yarn. These sizes yield a fabric that is sturdy yet flexible, allowing for comfortable wear without being too loose. Always consider your personal tension while crocheting; if your stitches are quite tight, you might want to opt for a larger hook to achieve the desired drape and fit.
Don’t forget to check the yarn label for care instructions as well. Choosing machine-washable yarn can make maintenance a breeze, especially if this is a hat for everyday wear. Gather your materials and remember: is the first step to creating something warm, stylish, and uniquely yours-so have fun with it!
Essential Stitches for Your Aviator Hat Project
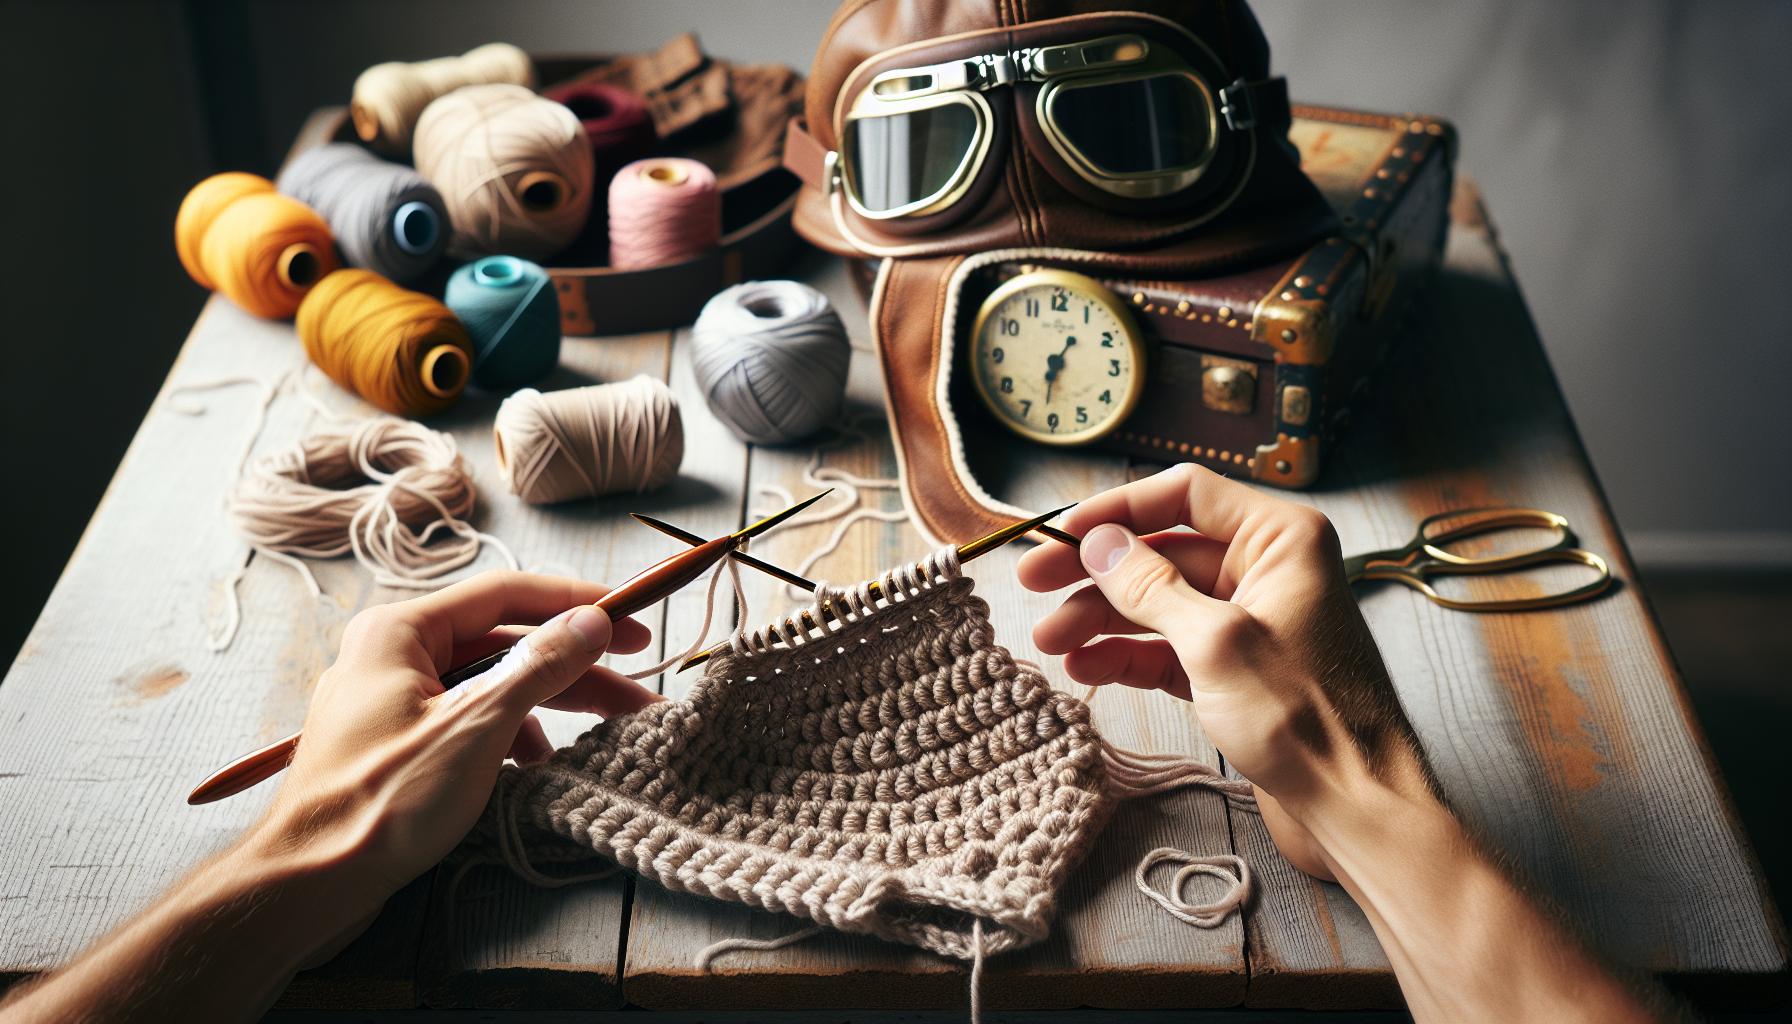
Creating your aviator hat is an exciting project that combines warmth, style, and fun! One of the keys to a great aviator hat lies in mastering a couple of essential crochet stitches. These stitches not only help you achieve the right texture but also ensure your hat fits comfortably and looks fantastic.
For your aviator hat, you’ll primarily use the single crochet (sc) and double crochet (dc) stitches. The single crochet gives your piece a dense, warm fabric which is perfect for those chilly days. Start by making a foundation chain, then work your way across with single crochet stitches. If you’re looking to add some height and a slightly looser feel, double crochet stitches are great for the body of the hat. This combination creates a lovely texture that is both practical and pleasing to the eye.
Essential Stitches Breakdown
- Single Crochet (sc): This stitch is foundational and will likely be used throughout your project, particularly for the ear covers. It’s easy to learn and creates a tight, warm fabric.
- Double Crochet (dc): Perfect for adding height and a bit of drape; use it during the main part of the hat to achieve that classic aviator look.
- Slip Stitch (sl st): Use this to join rounds and finish edges neatly without adding bulk to the seams.
- Half Double Crochet (hdc): This stitch can be a good alternative to the double crochet if you want a slightly denser fabric without the height.
Stitch Techniques
When working on your aviator hat, keeping an even tension will help your hat maintain its shape. If you find yourself struggling to get consistent tension, practice the stitches on a separate swatch before diving into the project. Once you feel confident, you can start crocheting right into your hat!
A helpful tip is to mark the beginning of each round with a stitch marker. It can be easy to lose track of your start, especially when working in the round. And remember, you can customize your design by alternating between these stitches to create patterns or textures that suit your style!
With these essential stitches under your belt, you’re well on your way to creating a cozy and stylish aviator hat. Every stitch brings you closer to your finished project, and the joy of wearing something you’ve made yourself is irreplaceable. You can do this!
Step-by-Step Guide to Crocheting Ear Covers
To create ear covers for your aviator hat, you’ll find this part of the project to be both fun and practical. These cozy additions not only enhance the hat’s vintage style but also provide warmth on chilly days. With just a few materials and straightforward crochet skills, you’ll soon have a stylish accessory that reflects your creativity. This section will guide you through making ear covers that perfectly complement your aviator hat.
Start by gathering your materials. You’ll need a medium-weight yarn (like worsted weight for warmth), a crochet hook that matches your yarn (typically size H or I), and a stitch marker. The ear covers are made with simple stitches: primarily single crochet (sc) and double crochet (dc). This process should take about an hour or two, depending on your speed and comfort level. With that said, let’s dive into the steps!
- Foundation Chain: Begin by making a foundation chain that measures about 10-12 inches long. This length will vary based on your head size and personal preference for ear coverage.
- First Row: In the second chain from the hook, work a single crochet stitch. Continue to single crochet across the foundation chain. You should have a tight and neat row by the end.
- Building Up Rows: Chain 2 and turn your work. In the first stitch, double crochet to start the new row. Continue double crocheting across for about four rows to create a thick, cozy cover. This creates a comfortable ear flap.
- Shaping the Ear Cover: To shape the top of the ear cover, start tapering by decreasing stitches. For every row, omit the last stitch (for example, if you have a row of 10 stitches, make it 9 for the next row). Do this until you reach a point where you only have about three stitches left. This will give your ear cover a rounded shape.
- Finishing: Once you reach the end, fasten off your yarn. Leave a long tail for sewing the ear cover to the sides of your aviator hat. Repeat these steps for the second ear cover.
Assembly
After you’ve crocheted both ear covers, stitch them onto the sides of your completed aviator hat. You can attach them using a whip stitch or a slip stitch for a sleek finish. Ensure they’re evenly placed for comfort and aesthetics.
With your ear covers securely attached, you’re almost finished! Try on your aviator hat to ensure a good fit; of course, you can adjust the ear covers as needed. Crocheting ear covers is a rewarding part of the project, adding both function and flair. Remember, every stitch is a step towards mastering your skills, and you’ve got this! Enjoy the process of making your unique aviator hat.
Adding Stylish Accents to Your Aviator Hat
Elevate your aviator hat from simple to stunning by adding delightful accents that reflect your personal style. Accessories can transform an ordinary crocheted piece into a fashion statement, and the best part? They’re not only easy to add but can also be made with leftover yarn and materials. Whether you are envisioning a classic look or something more contemporary, here are some exciting ideas to inspire your creativity.
Start by considering the addition of a charming brim. A simple row of half double crochet (hdc) or a textured stitch can create a polished edge that perfectly complements your aviator hat’s vintage allure. Choosing a contrasting color or even a variegated yarn can help your brim stand out. Try this: after completing the main hat body, work a series of rounds around the bottom edge with a decorative stitch like a shell stitch. This addition not only enhances the hat’s silhouette but also adds a professional touch to your work.
Buttons and Badges
Another way to add flair is through buttons or fabric badges. Large, whimsical buttons can serve as a focal point at the front of the hat or on the ear covers, while handmade fabric badges can showcase your personality or interests. To attach a button, simply sew it in place with some strong yarn and a blunt needle after finishing your hat. For fabric badges, consider applique techniques or simple embroidery. You can even crochet small motifs-like stars or hearts-and stitch them on for a handcrafted feel.
Pompoms and Tassels
Lastly, don’t overlook the fun factor! Adding a pompom or tassel to the top of your aviator hat can impart a playful spirit to your creation. Making a pompom is straightforward: wrap yarn around your fingers or a fork, tie it tightly in the center, and trim the loops for that fluffy effect. You can even create several pompons in various sizes and colors to embellish different parts of your hat. Remember, these little details are what make your piece uniquely yours and can be a great way to use up bits of yarn while adding a splash of color and texture.
As you personalize your aviator hat, don’t be afraid to experiment! Each accent, from lace trims to playful embellishments, serves as an opportunity to showcase your creativity and crafting skills. So gather your materials, envision your design, and most importantly, enjoy the process of making something that is as unique as you are! You’ve got this, and the result will be a one-of-a-kind aviator hat that truly stands out.
How to Adjust Size for Different Head Measurements

When crafting an aviator hat, it’s essential to ensure it fits perfectly; after all, a great fit can make your hat comfortable and stylish. Adjusting the size to accommodate different head measurements is not as complicated as it may seem. With just a few tweaks and a measuring tape, you can create a well-fitting aviator hat that’s as unique as its wearer.
First, take the wearer’s head measurement around the widest part of the head, which is usually just above the ears and eyebrows. Use this measurement as a foundation for your size adjustments. If you’re working from a pattern, compare the head measurement against the finished dimensions listed. If the size doesn’t match, you can increase or decrease the number of stitches or rows in several areas. Here are some key strategies to keep in mind:
Making Basic Adjustments
- Add or reduce stitches: If your pattern calls for a specific number of stitches that don’t match the head measurement, increase or decrease your starting chain accordingly. Each additional stitch will typically add about a quarter of an inch to the diameter of the hat.
- Change the stitch count: If your design includes sections that are not the main body-like decorative stripes or ear covers-consider adjusting the stitch count within those sections to make them larger or smaller, depending on your needs.
- Modify the brim or ear covers: For hats with brims or ear covers, changing their widths can also adjust the overall size. If you’re making the hat larger, you might want to create wider brims for a more proportional look.
Fine-Tuning the Fit
Once you’ve made your initial adjustments, it’s a good idea to do a quick fit check while crocheting. Use a flexible measuring tape to ensure that the hat is shaping correctly. If you’re unsure, crochet a simple band that fits snugly around the head to serve as a fitting guide.
Remember, an aviator hat often has a characteristic snug fit, but you should ensure it’s comfortable. If it feels too tight, you can loosen your tension while crocheting or add a few more stitches. If it’s too loose, don’t hesitate to rip back and make necessary adjustments until it fits just right. With practice, you’ll get a sense of how different materials and stitches affect the stretch and size.
Embrace the trial-and-error nature of crocheting; it’s all part of the learning process. You can absolutely achieve that perfect fit-one stitch at a time! With these tips, you’ll have the knowledge you need to customize your aviator hat for any size, making it a cherished addition to anyone’s wardrobe. Happy crocheting!
Creative Color Combinations for Your Aviator Hat
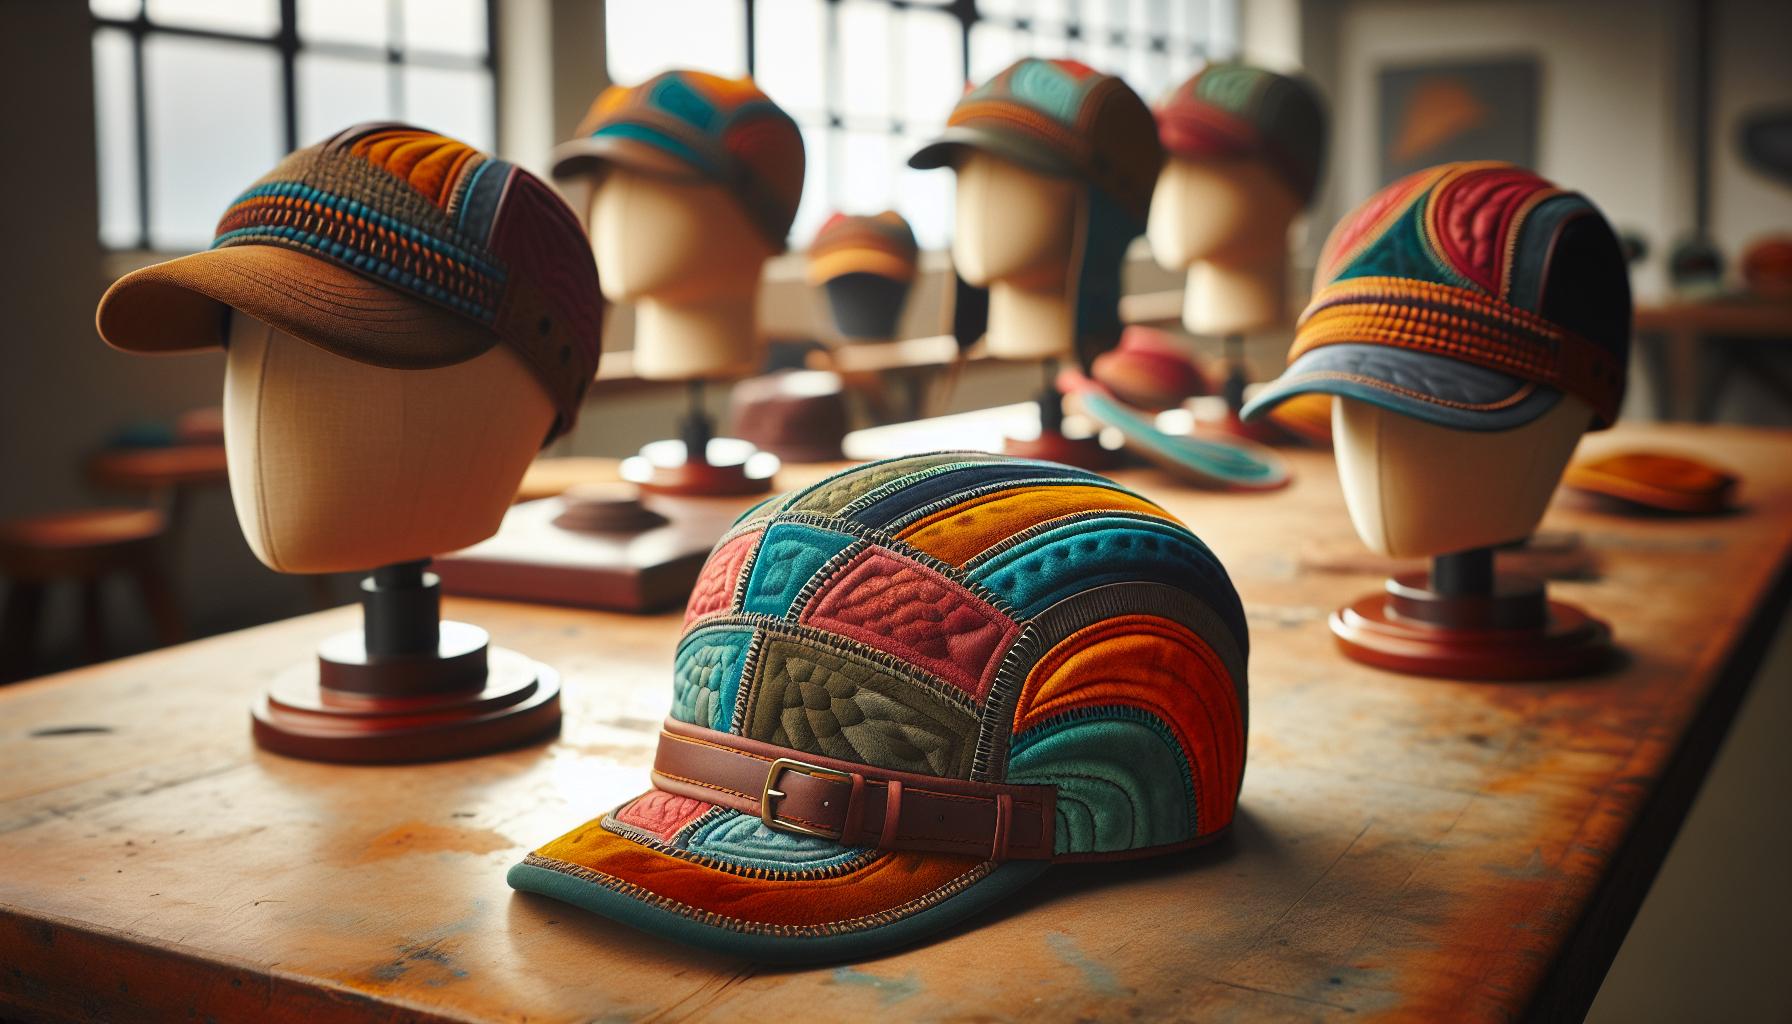
Choosing the right colors for your aviator hat can transform a straightforward pattern into a stylish accessory that truly stands out. A well-thought-out color palette not only expresses your personality but also enhances the hat’s design. Whether you’re crafting for yourself or as a thoughtful gift, consider selecting colors that evoke warmth and nostalgia, reminiscent of vintage pilot apparel.
To kickstart your creative journey, think about *complementary colors*. For instance, pairing a rich navy blue with a warm tan or cream can give your aviator hat a classic yet chic look. If you want to keep it bold, consider using vibrant colors like mustard and burgundy together-this combination can add a trendy pop to the traditional aviator style. You might also want to play with *stripes* or *gradient effects*; alternating between two or three colors can create a fun visual interest that highlights the shape and texture of your hat.
Choosing Colors with a Purpose
When selecting your yarn, take into account the season you intend to wear the hat in. For colder months, rich, deep tones such as forest green or chocolate brown can provide a cozy feel. In contrast, lighter shades like pastel pink or baby blue are perfect for spring. Here are some color pairing ideas to spark your creativity:
- Neutral Base: Start with gray, black, or beige and add a bright color for accents, like orange or turquoise.
- Earthy Tones: Combine olive green, burnt orange, and mustard for a warm, autumnal vibe.
- Sky and Clouds: Explore blues and whites, creating a serene look reminiscent of the sky.
Lastly, don’t shy away from mixing different textures within your color choices! Perhaps use a fluffy yarn for the ear covers paired with a smoother yarn for the body of the hat. This not only adds depth but can also be a fun way to handle color transitions. Remember, the beauty of crochet lies in the endless possibilities you have-be bold, experiment, and most importantly, have fun with your color combinations! You can make a statement with every stitch and create an aviator hat that’s uniquely yours. Happy crocheting!
Troubleshooting Common Crochet Mistakes

Crocheting your aviator hat can be a fulfilling project, but even the most seasoned crafters make mistakes! Whether you’ve accidentally created a size that’s too small or found unexpected holes in your work, there are simple solutions to get you back on track. Remember, every stitch is a learning opportunity, and there’s always a way to fix things without losing your creative momentum.
One common issue is uneven stitches. This can happen if you’re working with a new yarn or simply trying to rush through your project. If you notice that your stitches appear too loose or tight, take a moment to check your tension. Keeping your grip consistent is key. If you realize mid-project that you’ve made several uneven stitches, don’t panic! You can crochet over them with more yarn to smooth out the appearance or use a tapestry needle to gently adjust the edges where needed.
Another frequent hiccup is misreading pattern instructions. This can lead to accidentally missing stitches or creating a mismatched row. If you find yourself in this situation, it’s best to unravel to the last confirmed row. Use stitch markers to help keep track of your progress and remind yourself where increases or decreases should fall. Keeping notes as you go can also be incredibly helpful for preventing confusion later on.
Lastly, if your hat is turning out to be an unexpected shape, it might be due to a switch in yarn weight. Always check the label and ensure you’re using the recommended yarn for the pattern. If your yarn weight differs, adjust your hook size or the number of starting chains accordingly. Remember, every great craft project comes with its challenges, but the joy of creating something unique and stylish will always outweigh the bumps along the way. You can absolutely do this-keep crocheting and enjoy the process!
Finishing Touches: Blocking and Weaving in Ends
To truly finish your aviator hat with style and finesse, you’ll want to pay attention to two essential steps: blocking and weaving in your ends. These finishing touches not only enhance the appearance of your hat but also ensure durability and a professional finish. So, roll up your sleeves and let’s dive into these satisfying steps that will elevate your creation.
First up is blocking, an important technique that helps your hat keep its shape and defines your stitches beautifully. To block your crocheted aviator hat, you can use either wet blocking or steam blocking, depending on your yarn type. Here’s how:
- Wet Blocking: Submerge your finished hat in lukewarm water with a bit of mild soap for about 15 minutes. Gently press out excess water-never wring or twist! Lay it flat on a clean towel, reshape it to your desired dimensions, and pin it into place if needed. Let it dry overnight away from direct sunlight. This method works wonders for natural fibers like wool, giving your hat a soft, streamlined look.
- Steam Blocking: If you’re using synthetic fibers or want a quick fix, steam blocking is your friend. Hold a steam iron about an inch above the fabric (never touch the yarn with the iron) and let the steam do its magic as you gently press your hat into shape. Be cautious, as too much heat can damage synthetic materials.
Once your hat is dry and beautifully shaped, the next step is weaving in your ends. Leaving tails from your yarn can make your hat look unfinished, and we want to avoid that!
- Using a tapestry needle, thread the loose ends and weave them through the stitches on the inside of the hat. This ensures they stay secure and hidden.
- For an extra neat finish, try to weave the ends in a zigzag pattern or follow the curves of your work, which helps to secure them without creating bulk.
After completing these steps, take a moment to admire your lovingly crafted aviator hat! Remember, blocking and weaving in ends not only finalize your project but also enhance the overall quality and longevity of your work. You’ve totally got this-celebrate your journey, and enjoy flaunting your stunning creation!
Personalizing Your Aviator Hat with Embellishments
Adding unique touches to your aviator hat can transform it from a basic accessory into a personal statement. The beauty of crocheting is that you can customize every step of your project, reflecting your unique style and preferences. Whether you’re adding a pop of color, texture, or some playful detail, personalizing your aviator hat can be an enjoyable part of the crafting process.
One of the easiest ways to elevate your hat is through embellishments. Consider crocheting a stylish band or adding a cute little bow in a contrasting color. You can create textured flowers or geometric shapes to sew onto the sides or front of the hat. For a rustic touch, think about using wooden buttons or metal embellishments. These can be attached securely for both aesthetics and durability, giving your hat a unique flair and an artisan feel.
Don’t shy away from experimenting with color combinations! Using a variegated yarn for parts of your design can give your aviator hat an eye-catching gradient effect. If you prefer a more understated look, mixing different yarn textures can add depth without overwhelming the design. Remember, planning your color scheme can be as simple as laying your yarn options next to each other and visualizing different combinations-this helps you decide what speaks to you most!
Finally, consider how functionality meets style. Adding ear flaps that can be folded up or down can be both practical and fashionable. Play around with different stitch patterns that you enjoy. A mix of stitches such as shells or bobbles can create visual interest while maintaining warmth and comfort. Once you start personalizing, you’ll find it’s all about what makes you happy. So grab your yarn and let your creativity take the lead; you’ve got this!
Maintenance Tips for Your Finished Aviator Hat
Taking care of your newly crocheted aviator hat is essential to keep it looking sharp and stylish for seasons to come. The right maintenance can not only preserve the unique beauty of your creation but can also extend its lifespan, making sure you get to wear it year after year. Here are some practical tips to help you care for your project efficiently.
First off, it’s crucial to choose the correct washing method based on the yarn type you used. Most cotton and acrylic yarns can be machine washed, but it’s safer to wash your hat by hand. Use cool water and a gentle detergent. When you’re ready to rinse, do so gently to avoid stretching the fibers. For wool or blended fibers, consider using a mild wool wash and be sure to follow the manufacturer’s care instructions. After washing, allow the hat to dry flat on a clean towel-this helps maintain its shape without any unwanted shrinkage.
Next, pay attention to storage. When the hat is not in use, store it in a cool, dry place away from direct sunlight. Avoid hanging your hat, as this can lead to stretching. Instead, consider laying it flat or placing it inside a clean, breathable bag to keep dust and dirt at bay. This approach not only protects the structure of your aviator hat but also ensures that your embellishments stay intact.
Lastly, regular inspections for wear and tear can save you from future headaches. Check for loose stitches or any signs of fraying regularly. If you notice anything amiss, address it immediately-this might mean re-stitching a loose section or reinforcing an area that’s beginning to show signs of stress. Maintaining your crocheted items can seem like a chore, but it allows you to continue showcasing your crafty creation with pride. Remember, your time and effort deserve to be showcased beautifully!
Sharing Your Crochet Journey: Community and Inspiration
The joy of crocheting goes far beyond the finished product; it includes the vibrant community of crafters who inspire and support each other on their creative journeys. Sharing your experiences, challenges, and triumphs while making your aviator hat not only uplifts you but can also encourage others who are just starting or looking to take on bigger projects. Whether you’re sharing a photo of your latest creation on social media or discussing techniques in a local craft group, connecting with fellow crocheters fosters a sense of belonging and motivation.
Embrace platforms like Instagram and Pinterest where you can showcase your work and explore how others have tackled similar projects. Joining Facebook groups or online forums dedicated to crocheting can provide a wealth of resources and advice. Here, you can ask questions about adjustments for fit or color combinations, and in return, you can offer tips from your own experiences or share hacks that made your project a breeze. Remember, every shared story contributes to a collective pool of creativity and knowledge that benefits everyone involved.
Getting involved in local craft fairs or community classes can also be a thrilling way to connect with others. Many crochet enthusiasts are eager to share tips for achieving the perfect shape or fit for your aviator hat, like adjusting ear covers for comfort. Attend workshops where you can meet seasoned crafters who are often happy to share personal stories about their crochet journeys and offer valuable insight, making learning both fun and interactive.
Ultimately, don’t hesitate to document and share your crochet journey through blogs or vlogs. This can be an excellent way to inspire others while keeping a record of your own progress. Whether through how-to videos or blog entries detailing challenges you overcame, your experiences can empower someone else to pick up a hook and start creating too. So, remember: as you crochet your aviator hat, you’re not just creating a piece of art; you’re also weaving yourself into a rich tapestry of creativity, support, and inspiration that can light the way for others. Happy crocheting!
Frequently Asked Questions
Q: What type of yarn is best for crocheting an aviator hat?
A: Choosing the right yarn is crucial. Look for a medium-weight yarn, like worsted or acrylic blends, for warmth and durability. Consider options with a bit of stretch for comfort and fit. For a smooth finish, a yarn labeled “soft” or “machine washable” works well, especially for children’s hats.
Q: How long does it typically take to crochet an aviator hat?
A: Most crocheters can finish an aviator hat in about 4 to 8 hours, depending on their skill level and the complexity of the design. Setting aside a few blocks of time over a couple of days can make the project more manageable and enjoyable.
Q: Can I use a different stitch pattern for the ear covers?
A: Absolutely! While basic stitches are recommended for simplicity, you can experiment with decorative stitches like shell or bobble for your ear covers. This adds a unique texture and style to your aviator hat. Check the “Essential Stitches for Your Aviator Hat Project” section for ideas.
Q: What are some tips for personalizing my aviator hat?
A: Personalizing your aviator hat can be fun! Consider adding embroidered initials, buttons, or patches for a personal touch. Use different color yarns or stripes to create a unique design. You can find more about customization in the “Personalizing Your Aviator Hat” section.
Q: How do I measure for the right size when crocheting a hat?
A: To measure correctly, use a soft measuring tape around the widest part of the head. Compare your measurements to a sizing chart, adjusting the pattern as needed. The section on “How to Adjust Size for Different Head Measurements” provides detailed guidance.
Q: What are common mistakes to avoid when crocheting an aviator hat?
A: Common mistakes include not checking gauge and miscounting stitches, which can lead to sizing issues. Always keep an eye on your stitch count and refer to the “Troubleshooting Common Crochet Mistakes” section for additional tips.
Q: Is it necessary to block the aviator hat after finishing?
A: While not strictly necessary, blocking your aviator hat helps shape and even out stitches, improving the overall appearance. It’s particularly beneficial for achieving the desired fit and look. Refer to the “Finishing Touches: Blocking and Weaving in Ends” section for more details.
Q: How can I care for my finished crocheted aviator hat?
A: For best results, hand wash in cold water and lay flat to dry. This care method preserves the shape and integrity of your yarn. Refer to the “Maintenance Tips for Your Finished Aviator Hat” section for more comprehensive care instructions.
Wrapping Up
Congratulations on completing your Aviator Hat with ear covers! This fun project not only keeps you warm but also showcases your crochet skills-an ideal blend of functionality and style. Don’t wait to show off your creation or make matching hats for family and friends!
As you continue your crochet journey, consider enhancing your skills. Check out our tutorials on crochet flowers and easy scarves to keep your crafting momentum going. Remember to share your hat photos with us in the comments below, or on social media; we love seeing your creations! If you’re looking for more inspiration, feel free to browse our extensive library of free crochet patterns to spark new ideas.
Join our newsletter for updates on new patterns and exclusive tips to elevate your crafting game. You can do this-each stitch brings you one step closer to mastering the art of crochet! Happy crafting!
Get our latest guides, news, and insights highlighted in your Google Search & AI Overviews.