
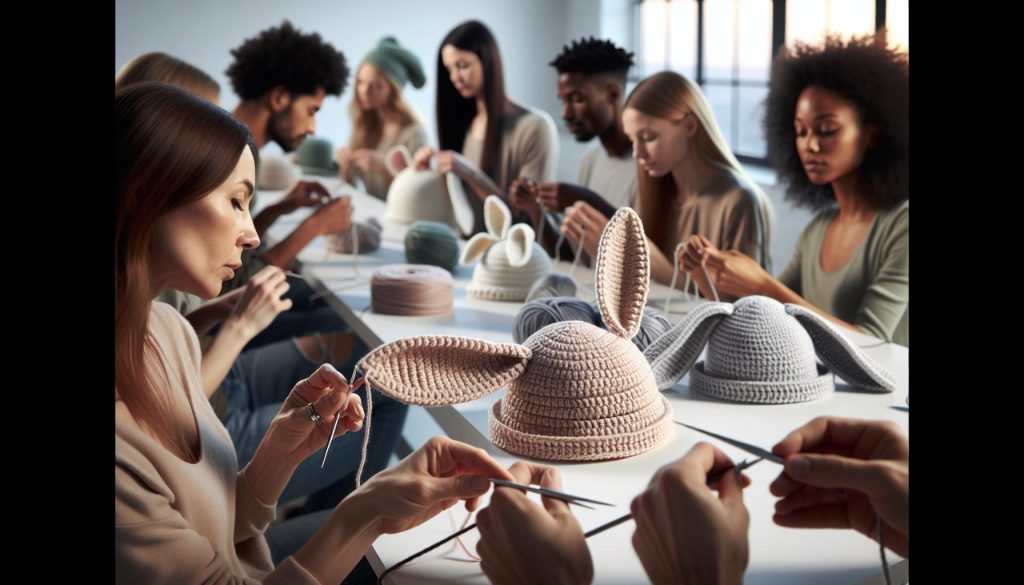
Have you ever admired those whimsical animal hats with adorable 3D ears and thought, “I wish I could make that!”? Well, you can! In this tutorial, we’ll break down the process of crocheting ears for a hat, turning a simple project into something extraordinary. Not only will you learn how to create those charming features, but you’ll also gain confidence in your crochet skills. This project is perfect for all levels, whether you’re a newbie looking to expand your crafting repertoire or an experienced maker wanting to add a fun twist to your creations. With just a few materials-yarn, a hook, and a sprinkle of creativity-you’ll be well on your way to making delightful accessories that are sure to be a hit. Let’s dive in and make your crochet dreams come true!
Choosing the Right Yarn and Hook for Crochet Ears
When it comes to crafting those adorable 3D ears for your hats, the right yarn and hook can make all the difference. Selecting materials that complement each other will not only enhance the appearance of your project but will also contribute to its overall structure and durability. For instance, a soft, acrylic yarn is a popular choice due to its versatility and ease of care, especially for beginner projects. It comes in a vast array of colors, making it perfect for creating whimsical animal designs. A medium weight yarn (like worsted weight) typically pairs well with G (4 mm) or H (5 mm) hooks, providing a great balance of sturdiness and flexibility.
Yarn Selection
When choosing your yarn, consider these key factors:
- Texture: For fluffy ears, you might opt for boucle or chenille yarn, as they can add a delightful softness and dimension.
- Weight: Lighter weights like sport or DK are excellent for more delicate features, while worsted weight is great for sturdiness.
- Fiber Content: Blends that include cotton can lend a certain heaviness and washability that’s ideal for children’s hats.
It’s wise to swatch before starting your project, as this allows you to see how your chosen yarn behaves with your hook and pattern. This is particularly helpful if you’re planning to create a tighter stitch that will hold its shape better, like for animal ears.
Choosing the Right Hook
Now that you have your yarn selected, matching it with the right hook is crucial for achieving the desired effect in your crochet. The hook size influences the tightness of your stitches; smaller hooks yield tighter stitches, which can help your ears keep their shape.
- Standard Hook Sizes: For worsted weight yarn, a G or H hook is usually recommended. For lighter yarns, you might use an E(3.5 mm) or F(4 mm) hook.
- Ergonomics: If you’ll be working on this project for extended periods, consider an ergonomic hook, which can make the crafting process more comfortable.
Combining the right yarn with an appropriate hook not only enhances your crafting experience but also ensures that your finished ears will look adorable and hold their shape beautifully. Remember, crafting is all about having fun and experimenting, so don’t hesitate to try different combinations until you find what works best for your vision!
Basic Techniques: Understanding Amigurumi Crochet
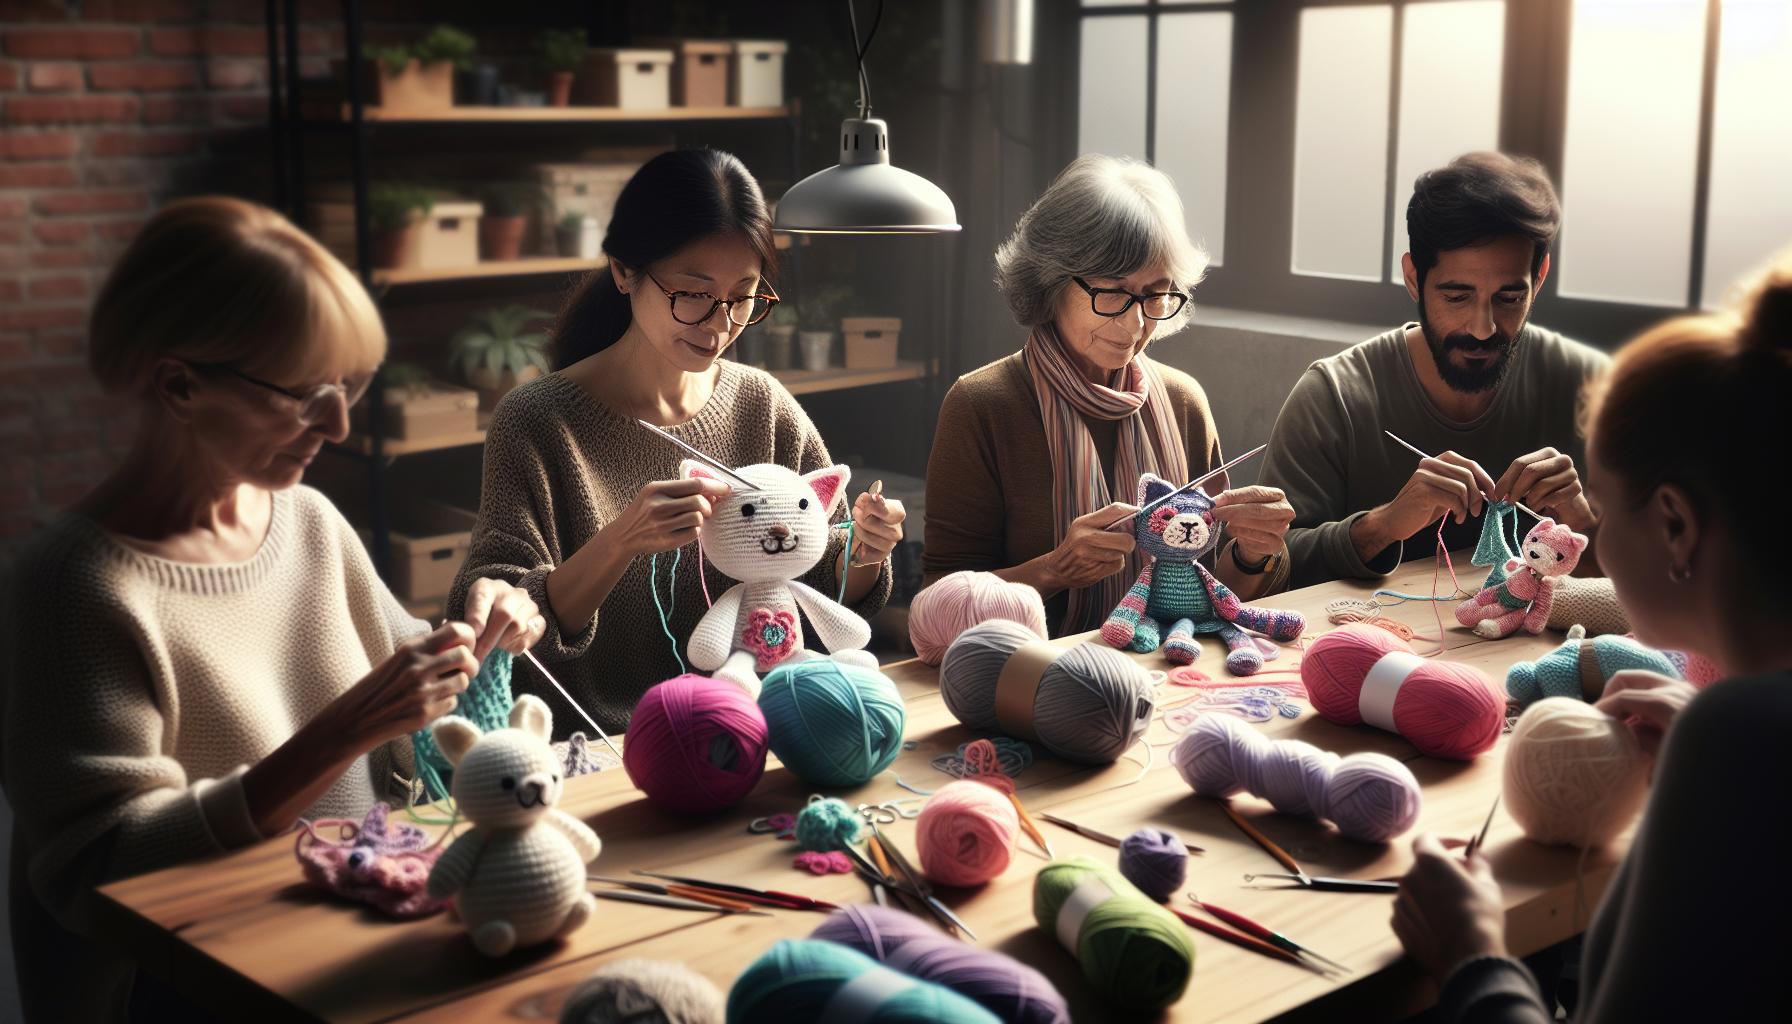
Amigurumi crochet opens up a world of creativity and fun, especially when you’re making those charming animal ears for your hats. If you’ve ever marveled at a perfectly shaped ear or whimsical 3D feature, you’re in for a treat! Understanding the basics of amigurumi is the first step to taking your crocheting skills to the next level, allowing you to create cute and cuddly designs with confidence.
At its core, amigurumi involves working in the round, which means you’re creating three-dimensional forms by stitching in a continuous spiral or by joining rounds. Start with a magic ring: this technique creates a tight center for your work, ensuring there are no gaps in your design. If you’re familiar with single crochet, you’re already on the right track! Each stitch contributes to the overall shape, whether it’s the rounded tip of an ear or the bulging cheeks of a plush toy. Practice makes perfect-don’t be discouraged by small imperfections; they add character!
Once you’ve grasped the fundamental stitches, consider how you can manipulate your work. For animal ears, experimenting with increases and decreases will be key. Increases, made by stitching two single crochets into one stitch, will help widen your project, creating the base of the ear. Conversely, decreases will sculpt and taper the shape, giving the ear its lift or flop. You can use safety eyes if you’re creating a full animal plush or focus solely on the ears if you’re aiming for hats.
As you begin to assemble your ear structure, think about the finishing touches that elevate your project from good to great. Adding highlights with contrasting yarn or flat stitches can bring your ears to life and make them pop. Remember, the journey of crafting is just as rewarding as the final product; have fun, and don’t hesitate to share your creations with fellow crafters. Whether you are new to amigurumi or looking to refine your skills, you can absolutely master the art of crocheting these adorable features!
Step-by-Step: Creating a Simple Animal Ear Shape
Creating animal ears for your hats can transform a simple project into a delightful piece of wearable art! Whether you’re aiming for floppy ears for a playful bunny or pointy ears for a cheeky cat, the technique remains fundamentally the same. It’s all about mastering the basic shape and then adding your unique twist. Don’t worry if this seems daunting if you’ve never crocheted ears before; with a little practice and these simple steps, you’ll soon have a pair of charming ears ready to complete your hat!
To kick things off, gather your materials. For this project, you’ll need medium-weight yarn in your desired colors, a corresponding crochet hook (typically size G/4.0 mm works well), and some scissors. You might also want a yarn needle for weaving in ends later on. Ready? Let’s jump into the steps!
Steps to Create Simple Animal Ear Shapes
- Start with a Magic Ring: Make a magic ring (or adjustable loop) to form the foundation of your ear. This helps to create a tight center, preventing any gaps in your work. If you’re unsure how to do this, there are plenty of video tutorials available to guide you!
- Round 1: Single Crochet: Crochet 6 single crochets (sc) into the magic ring. This will form the base of your ear shape. Pull the tail of the magic ring to close it tight.
- Round 2: Increase: To create the ear’s base, you’ll need to increase the stitches. Work 2 sc in each of the 6 stitches from the previous round for a total of 12 stitches.
- Round 3: Shaping: Now, we’ll start shaping the ear. In this round, work 1 sc in the first stitch, then 2 sc in the next stitch. Repeat this pattern around the round, which will give you 18 stitches in total.
- Rounding It Off: For the next couple of rounds, you’ll continue to crochet without increases to define the ear shape better. Work 2 rounds with 1 sc in each of the 18 stitches.
- Tapering the Ear: To create the tip of the ear, you’ll start to decrease. In one round, decrease by working 1 sc in the first stitch and then 1 sc in the next stitch before skipping a stitch. Continue this pattern around.
- Final Round: As you near the end, you can decrease further by crocheting 2 stitches together until you are down to just a few stitches. Pull the last few stitches tightly and secure your yarn.
Don’t forget to weave in the ends with your yarn needle for a clean finish. If you want to make the ears more vibrant, consider adding stripes or a contrasting color for the inner ear with slip stitches or single crochet.
With every stitch, you’re not just making an accessory-you’re crafting something uniquely yours! So take your time, add personal touches, and remember: each piece you create is a step towards becoming a more confident crafter. Enjoy the process, and soon enough, you’ll be ready to attach those adorable ears to your hat, showcasing your creativity to the world!
Adding Depth: Techniques for 3D Effect in Ears
To create animal ears that truly pop, incorporating three-dimensional effects can elevate your crochet project from simple to stunning! By playing with various techniques and textures, you can give your ears the dimension they need to look lifelike and captivating. It’s all about layering and shaping in just the right way-don’t worry; with these steps, you’ll be crafting ears that have depth and character in no time!
One effective technique is to use color changes to create shadows and highlights that suggest volume. For example, if you’re crocheting floppy dog ears, you might start with a base color for the outer ear and then switch to a darker shade at the inner ear. This adds a natural gradient that mimics the way light interacts with real fur. You can achieve this with simple techniques like single crochet or slip stitch to attach the new color, allowing you to experiment and add flair as you go.
Another approach is to use variations in stitching to create texture. If you use a combination of regular single crochet and front post double crochet, you can create a ribbed effect that adds an extra layer of “fluff” to the ear. You can also create dimension by altering your increases and decreases. Instead of a standard increase, try creating “puff stitches” for select rows to give the ear a rounded, fuller appearance. The more you experiment with how you structure your stitches, the more lively your ears will become.
Lastly, consider incorporating a few embellishments. Adding some embroidered details like stitches to represent fur or cute patterns can make a big difference. For instance, a few stitches along the edges or tips can enhance the overall look without overwhelming the design. Not only does this personalization showcase your unique style, but it also reinforces that playful, three-dimensional quality you’re aiming for.
With just a few adjustments to your basic crochet techniques and a little creativity, you can create fantastic animal ears that stand out beautifully on any hat. Remember, this is your project, and every stitch gives you the chance to express your creativity. Happy crocheting!
Customizing Your Ears: Shapes and Sizes for Different Animals
Crafting animal ears that perfectly embody the personality of different creatures is one of the most rewarding parts of crocheting hats. The beauty of crochet lies in its versatility, allowing you to customize the shape and size of ears to fit a wide array of animals-from fluffy bunnies to fierce foxes. With a few adjustments to your basic ear design, you can create unique features that capture the essence of your chosen animal.
To begin, consider the distinctive characteristics of the animal you want to represent. For floppy ears, like those of a bunny, opt for longer, softer shapes that drape. Start with a wide base and taper towards the tip; this gives a realistic feel. Using lighter yarns or even a combination of yarn weights can add texture and variations to your design. You can achieve this by increasing the number of stitches in each row, creating a more substantial ear shape.
For perky ears, such as those of a cat or fox, shorter and pointed designs work beautifully. A good tip here is to create a triangular form, emphasizing a sharper increase towards the tip. To do this, use less yarn and draw your stitches closely together as you reach the top. This not only reinforces the shape but also ensures your ears stand upright. Feel free to play with different colors at the tips to add a fun accent!
Exploring various sizes is equally essential. When crafting hats, think about the proportion of the ears to the hat itself. If you’re making a child-sized hat, slightly larger ears can create a whimsical effect, while adult sizes may benefit from more refined, smaller ears. Use these proportions as a guideline:
- Small Ears: Great for kittens or small-sized animals.
- Medium Ears: Ideal for young puppies or baby animals.
- Large Ears: Perfect for floppy dogs or cartoonish designs.
Experimenting with these techniques not only enhances your skills but also sparks your creativity. Remember, crochet should be fun and personalized-embrace the process! You can do this! Each stitch is a step towards creating a charming hat that stands out. With some practice, you’ll see your animal ears evolve into amazing embellishments that complete your cozy creations. Happy crocheting!
Color Options: Choosing the Right Palette for Your Project
Choosing the right colors for your crochet animal ears can transform a simple hat into a whimsical masterpiece that radiates personality and charm. Whether you’re crafting floppy bunny ears or pointy fox ears, a thoughtful color palette enhances the character you aim to depict. Dive into the world of color selection, and you’ll discover how to make your project pop!
Start by considering the animal you’re representing. For traditional looks, think about the natural colors found in the creature’s fur. Earthy browns, soft whites, and deep greys can emulate the realistic tones of animals like deer or wolves. However, don’t shy away from bold, playful colors! A vibrant pink or electric blue can add a fun twist to your design, especially when targeting a younger audience or creating a cartoonish effect. Remember, the goal is to capture the essence of your selected animal while reflecting your personal style.
When it comes to the practicality of yarn choice, consider using two or three tones of colored yarn within your ears to create depth and interest. For example: using a darker shade at the base of the ear and blending into a lighter color at the tip can simulate highlights and shadows, making your ears feel more three-dimensional. You can also add a pop of color at the tips or inner sections of the ears to make them stand out further. This layering of colors not only enhances visual appeal but also adds an extra layer of fun to your project.
Lastly, consider how your chosen colors will harmonize with the rest of your hat. Are you going for a fabulous multipattern design, or do you prefer a classic, monochromatic look? Complementary colors, which are opposite each other on the color wheel, can create vibrancy, while analogous colors, which sit next to each other, can provide a more subtle blend. Play with swatches before committing-this can help you visualize how the colors work together and allow you to adjust as needed.
With a little imagination and experimentation, you’ll find that choosing the right colors can elevate your crochet ears from simple shapes to stunning features that truly enhance your animal hats. Happy crocheting-you can do this!
Embellishments and Details: Making Ears Stand Out
To truly make your crochet animal ears pop, it’s all about the details and embellishments that bring them to life. Adding accents like inner ear linings, vivid patterns, or playful textures can transform ordinary ears into eye-catching features that delight both the maker and the beholder. Whether you’re going for a realistic look or a whimsical vibe, the right embellishments can elevate your project and showcase your creativity.
Start with inner ear details. This is an opportunity to add a contrasting color or even a fun pattern that mimics the look of fur or velvet. You can crochet a smaller ear shape to attach inside the larger ear, giving a layered look that brings depth. For instance, if you’re making bunny ears, a soft pink can work beautifully against cream or grey yarn.
Next, think about adding textures through techniques like bobbles or popcorn stitches. These can create a tactile element that adds visual interest to your ears. For example, adding small bobbles along the edges can give the impression of fluffy fur, while alternating between smooth stitches and textured sections can make your design more dynamic.
Another fun way to add character is by incorporating decorative elements. Consider using safety eyes or small buttons on your ears to create features like nostrils or inner ear spots. You might also add small crochet flowers, sequins, or even ribbon to enhance the charm of your design. Remember, these details don’t just enhance appearance; they can also make your project uniquely yours.
Finally, don’t underestimate the power of shape adjustments. Floppy ears can be made more structured with the help of simple wire frames or interfacing. This allows for flexibility in how your ears stand, which can change the entire expression of your hat. Get creative and experiment with different embellishments-it’s all about having fun and expressing your personal style. Remember, you can do this! With a bit of imagination and experimentation, your crochet ears will not only stand out but also showcase your unique craftsmanship and flair.
Sewing and Attaching Ears to Your Hat
When it comes to attaching your beautifully crocheted ears to a hat, getting the placement and securing them just right can truly make your creation shine. This step, while straightforward, significantly transforms your project into that adorable 3D animal feature you envisioned. With a few tips and techniques, you’ll have your ears securely in place and ready to flaunt!
Begin by gathering your materials before you start sewing. You’ll need your crocheted ears, the hat to which they will be attached, and a matching yarn or a needle and thread that coordinates well with your project. It can also be helpful to have a tapestry needle, scissors, and some stitch markers handy. The time it takes to sew on your ears can vary, but typically this step should take around 15-30 minutes depending on your speed and comfort level.
To attach the ears, first, position them on your hat to determine the best placement. A good rule of thumb is to place them about one-third of the way down from the top of the hat, giving that perfect animal-like appearance. Use the stitch markers to hold the ears in place while you step back and evaluate their positioning. Once satisfied, it’s time to sew!
Steps to Securely Sew on Your Ears:
- Start with the base: Insert your needle from the inside of the hat, coming out through the base of the ear. Pull the yarn through until the knot catches against the fabric.
- Stitch down: Now, sew through the hat and back up through the base of the ear, creating a loop that secures the ear to both layers. Repeat this process several times to ensure the ear is secure.
- Use a whip stitch: For added support, consider using a whip stitch around the edges of the ear, connecting it firmly to the hat. This not only secures it better but also adds a polished look.
- Finish off: Once the ear is firmly attached, tie off the yarn inside the hat to conceal any loose ends, and snip away excess yarn.
After both ears are sewn on, give your hat a little shake to ensure everything holds up well. If you feel any movement or wobble, reinforce with additional stitches. Remember, making this a fun, enjoyable part adds to your experience as a crafter. You’ve done it! Now admire your unique creation and show it off to your friends! You can do this! The joy of crafting is not just in the finished product; it’s in every stitch and decision made along the way.
Troubleshooting Common Mistakes in Ear Crochet
Crocheting ears for your animal hat can bring an extra level of charm, but it can also present some common hurdles. Don’t fret if things don’t go as planned; many crafters experience these bumps in the road. Whether you’re dealing with uneven stitches or finding that your ears aren’t looking quite right, here are some practical tips to tackle these issues head-on. Remember, every mistake is just a step on your crafting journey!
One frequent issue is the size of your ears not matching your expectations. If your ears are too large or too small, consider your yarn thickness and hook size. You might want to experiment with different yarn weights or try a larger or smaller hook. For instance, if you’re using worsted weight yarn and finding your ears too floppy, switching to a smaller hook can create a more structured shape. When you adjust your tension while crocheting-try pulling a bit tighter-you can also refine the overall look of your finished pieces.
- Tip: Make a gauge swatch before starting your project to ensure your stitch size aligns with your pattern.
Placement can often be another tricky area. If the ears look off when sewn onto the hat, try repositioning them. A good rule of thumb is to place them roughly one-third down from the top of the hat’s crown. Use stitch markers to hold the ears in place temporarily and step back to evaluate the overall look. If they still feel off, don’t hesitate to unpick and reposition- this is all part of the process! With each adjustment, you’ll gain a better sense of what works for your unique design.
Lastly, if you’re experiencing issues such as the ears flopping over when attached, you may need to reinforce them. Try adding a bit of wire or extra stitches along the base to give them stability. A simple whip stitch around the edges can mitigate any wobbling and offer a polished finish. Remember to celebrate the process and the learning you gain from each project. You can absolutely master the art of crocheting ears, and soon enough, you’ll have a delightful animal hat that showcases your creative flair!
Advanced Techniques: Shaping Floppy or Perky Ears
When you’re aiming to crochet animal ears that stand out, mastering the shaping of floppy or perky ears is key. The way your yarn interacts with the stitches and the shaping techniques you use will determine whether your ears sag or stand tall. With a few adjustments in your approach, you can achieve the desired ear shape to fit your adorable hat project.
To shape perky ears, consider using a sturdier yarn, like cotton or a blend that holds its shape well. Start with a tighter stitch to create a firmer structure. For instance, as you form the ear, use double crochet stitches for the base to provide support. You might also want to add some vertical rows of single crochet near the base, and then decrease stitches as you reach the tip. This creates a tapering effect that naturally encourages upward movement. Don’t shy away from using pins to mold them into shape while you gauge the look.
On the other hand, if floppy ears are your goal, opt for a softer yarn, like wool or an acrylic blend, which naturally has more drape. Make your stitches a little looser to give the ears that relaxed vibe. You can incorporate a few rows of single crochet followed by chain stitches that create a ruffled effect. This creates volume and softness, allowing the ears to flop in a charming manner. If you feel they’re still too stiff, an optional light blocking after completion can help relax the fibers further.
Experimenting with colors and finishes can enhance the effect too. For perky ears, consider using contrasting colors at the tips to add flair. For floppy ears, small embellishments like felt patches can add personality while maintaining that soft, droopy look. Remember, each project is a chance to explore your creativity. Trust your instincts, have fun, and before long, you’ll find the perfect style for your animal ears!
Inspiration Gallery: Unique Animal Hat Designs
Crafting animal hats is not only a delightful challenge but also a perfect way to express your creativity through crochet. Imagine sporting a whimsical fox, a cuddly bear, or even a quirky cat hat that changes your entire outfit! These unique designs can bring charm and warmth to any chilly day and are sure to be conversation starters. Let’s dive into some of the most inspiring animal hat designs that you can create, tailored for every skill level.
Charming Animal Features
One of the most appealing aspects of crocheting animal hats is the endless variety of designs you can make. Try creating a Koala Hat featuring large ears with soft fluffy yarn. For the eyes, consider using safety eyes or crocheting them for a neat finish. These hats often come with a textured band that adds an extra layer of warmth and style, making them perfect for winter outings.
If you’re looking for something more vibrant, a Rainbow Unicorn Hat will catch everyone’s eye! Using a blend of bright colors, you can crochet the mane in a spiral pattern that flows down the sides. Add a golden horn at the top using stiff yarn or felt for structure. This magical piece is not only fun to wear but also a fantastic choice for parties or festivals.
- Koala Hat: Soft yarn, big ears, textured band.
- Rainbow Unicorn Hat: Bright colors, spiraled mane, golden horn.
- Foxy Hat: Orange and white yarn, pointy ears, tail attachment.
- Bear Hat: Earthy tones, ribbed brim, round ears.
Play with Patterns
Don’t hesitate to mix and match elements from different designs! For instance, you could add bear ears to a unicorn hat or combine a lion’s mane with bunny ears. This experimentation not only helps you hone your skills but also allows you to create truly unique pieces that reflect your personal style.
Another idea is to host a crochet party with friends where everyone creates their own animal hat. Share ideas, swap yarn, and inspire each other with new designs. Remember, with each stitch, you are not just crafting; you are making memories and unique treasures that can bring joy to those who wear them.
In summary, whether you start with a simple bear hat or tackle an elaborate unicorn design, the key is to enjoy the process. Embrace your creativity, and don’t be afraid to stray from patterns to add your unique flair. You’ve got this-let your crochet skills shine through as you craft special hats that warm both heads and hearts!
Frequently Asked Questions
Q: What is the easiest way to crochet animal ears for beginners?
A: The easiest way to crochet animal ears for beginners is to start with simple shapes. Use basic stitches like single crochet and work in rounds. Follow a step-by-step pattern that outlines sizes and colors. Consider using a worsted weight yarn for easier handling. Check our section on Step-by-Step: Creating a Simple Animal Ear Shape for detailed guidance.
Q: How do I make animal ears stand out on my hat?
A: To make animal ears stand out on your hat, incorporate contrasting colors and textures. Use embellishments like pom-poms or fabric accents. Additionally, adding depth through techniques mentioned in the Adding Depth: Techniques for 3D Effect in Ears section will enhance the visual appeal.
Q: Can I crochet floppy ears, and how?
A: Yes, you can crochet floppy ears! Use a larger hook and lighter yarn to create softer, more flexible ears. Start with a basic ear shape and adjust your stitch count for extra width. Explore our Advanced Techniques: Shaping Floppy or Perky Ears section for tips on achieving the perfect flop.
Q: What materials do I need to crochet ears for a hat?
A: To crochet ears for a hat, you will need yarn, a crochet hook, scissors, and a yarn needle for sewing. Select yarn that matches your hat fabric for a cohesive look. Refer to the Choosing the Right Yarn and Hook for Crochet Ears section for material recommendations based on your project.
Q: How long does it take to crochet animal ears?
A: Crocheting animal ears typically takes about 30 minutes to an hour, depending on your experience and the complexity of the design. Following our structured steps in the article can help streamline the process.
Q: Can I customize the size of the ears for different animals?
A: Yes, you can customize the size of the ears! Simply adjust the number of stitches or rows in your pattern. Refer to the Customizing Your Ears: Shapes and Sizes for Different Animals section for specific tips on how to vary designs effectively.
Q: What if my animal ears look uneven after crocheting?
A: If your animal ears look uneven, review your stitch tension and count. Use a yarn needle to sew in any uneven parts carefully. Our Troubleshooting Common Mistakes in Ear Crochet section provides additional strategies for correcting these issues.
Q: Are there specific patterns for popular animal ears?
A: Yes, there are many patterns for popular animal ears like cats, dogs, and bears. Websites like Yarnspirations and AllFreeCrochet offer free patterns you can experiment with. Check out the Inspiration Gallery: Unique Animal Hat Designs section for creative ideas.
Key Takeaways
Congratulations on completing your adorable 3D animal ears for your hat! You’ve taken a fun step into the world of crochet, and now your projects can shine with those unique touches that bring them to life. If you loved this tutorial, imagine what you can create next! Check out our guides on making crochet hats or adding fun embellishments to elevate your skills even further.
Don’t hesitate to share your creations and any questions you might have in the comments below! Your feedback not only helps us improve but inspires other crafters too. And remember, signing up for our newsletter will keep you updated with fresh tutorials and crafty tips that will boost your crochet journey. You’ve got this-keep crafting and enjoy every stitch!
Get our latest guides, news, and insights highlighted in your Google Search & AI Overviews.