
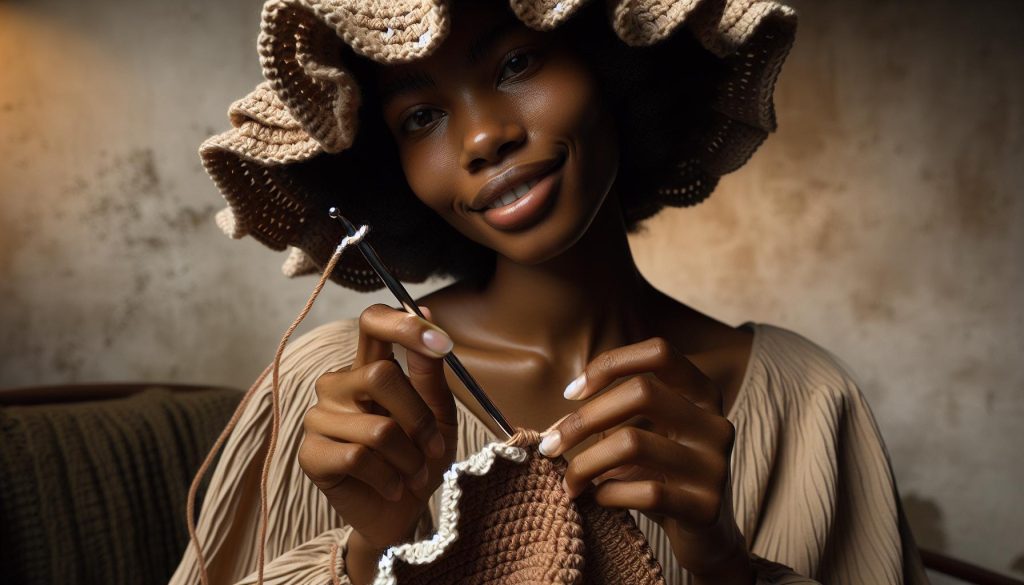
Have you ever wanted to make a stylish yet practical accessory that showcases your creativity? Crocheting a bucket hat with ruffles combines functionality with a feminine flair, making it the perfect project as we transition into warmer seasons. Not only is this project relatively quick and easy to tackle, but it also allows you to customize colors and textures to match your personal style. Whether you’re looking to enhance your crochet skills or simply create a beautiful hat for yourself or a loved one, this guide is tailored for all skill levels. With clear instructions and a supportive approach, I’ll walk you through each step, ensuring that crafting this adorable hat feels achievable and fun. Let’s dive into this delightful project and express your unique flair through crochet!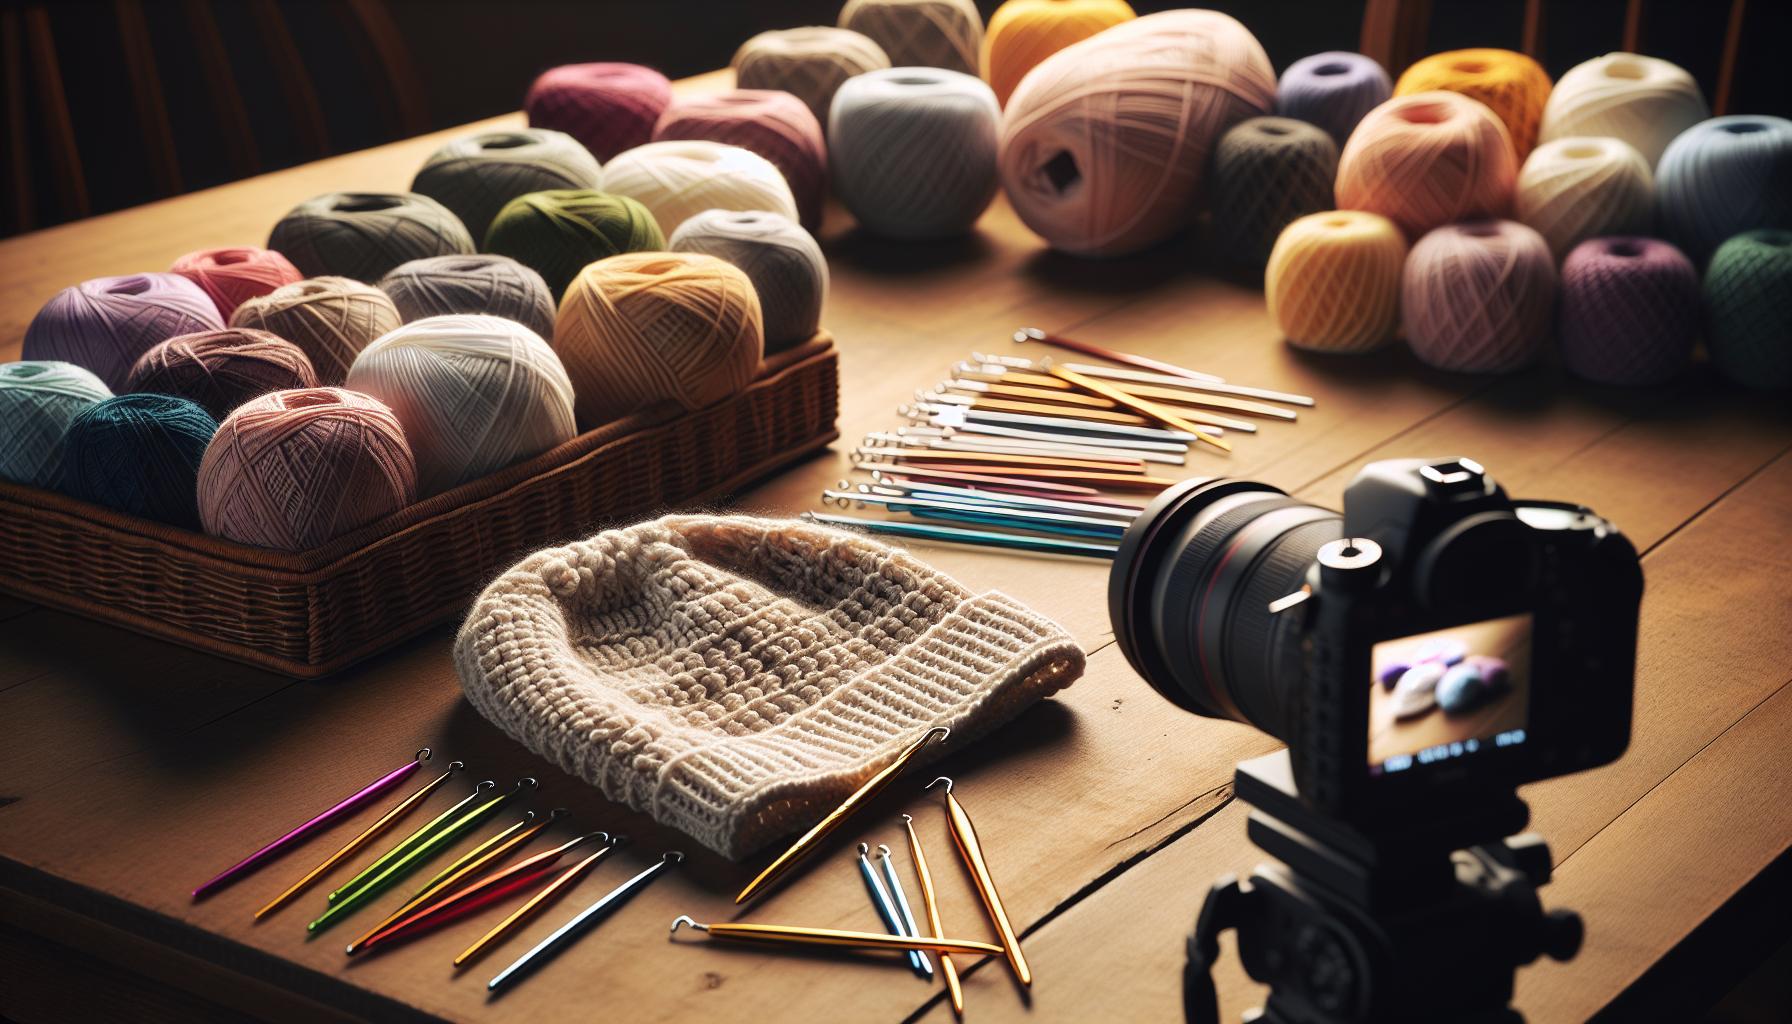
Choosing the Right Yarn and Hook for Your Hat
Choosing the right materials for your bucket hat can make all the difference in achieving that cute, feminine look while ensuring comfort and durability. The yarn you select needs to be both functional and aesthetically pleasing. For a lightweight summer bucket hat, consider cotton yarn; it’s breathable, easy to work with, and comes in a plethora of vibrant colors that will make your hat pop. If you’re aiming for something warmer, a soft acrylic blend can provide a cozy feel. Look for a yarn that has a soft texture and isn’t too scratchy, as this will make the hat comfortable to wear for extended periods.
When it comes to hooks, the size you choose can impact not just the look, but also the fit of your hat. For most worsted weight yarns, a hook size of 4.5mm to 5.5mm (US 7 to I/9) is ideal. If you’re using a lighter weight yarn, you may want to go down a size to create a denser fabric that maintains its shape. To find the right hook, consider this simple test: crochet a small swatch-about 4 inches square-and check if it matches the gauge specified in your pattern. Remember, a good gauge means a hat that fits just right and looks professional!
As you shop for your yarn and hook, keep in mind the overall style of your bucket hat. For a ruffled design, a yarn with some drape will enhance the feminine look. Avoid overly bulky yarns that could weigh down your project, as this could hinder the delicate ruffles you plan to add. Don’t forget to incorporate a stitch marker; this little tool will aid in tracking your rounds, especially when working with more intricate patterns. With the right yarn and hook, you’re well on your way to crafting a stunning bucket hat that showcases your crochet skills and personal style!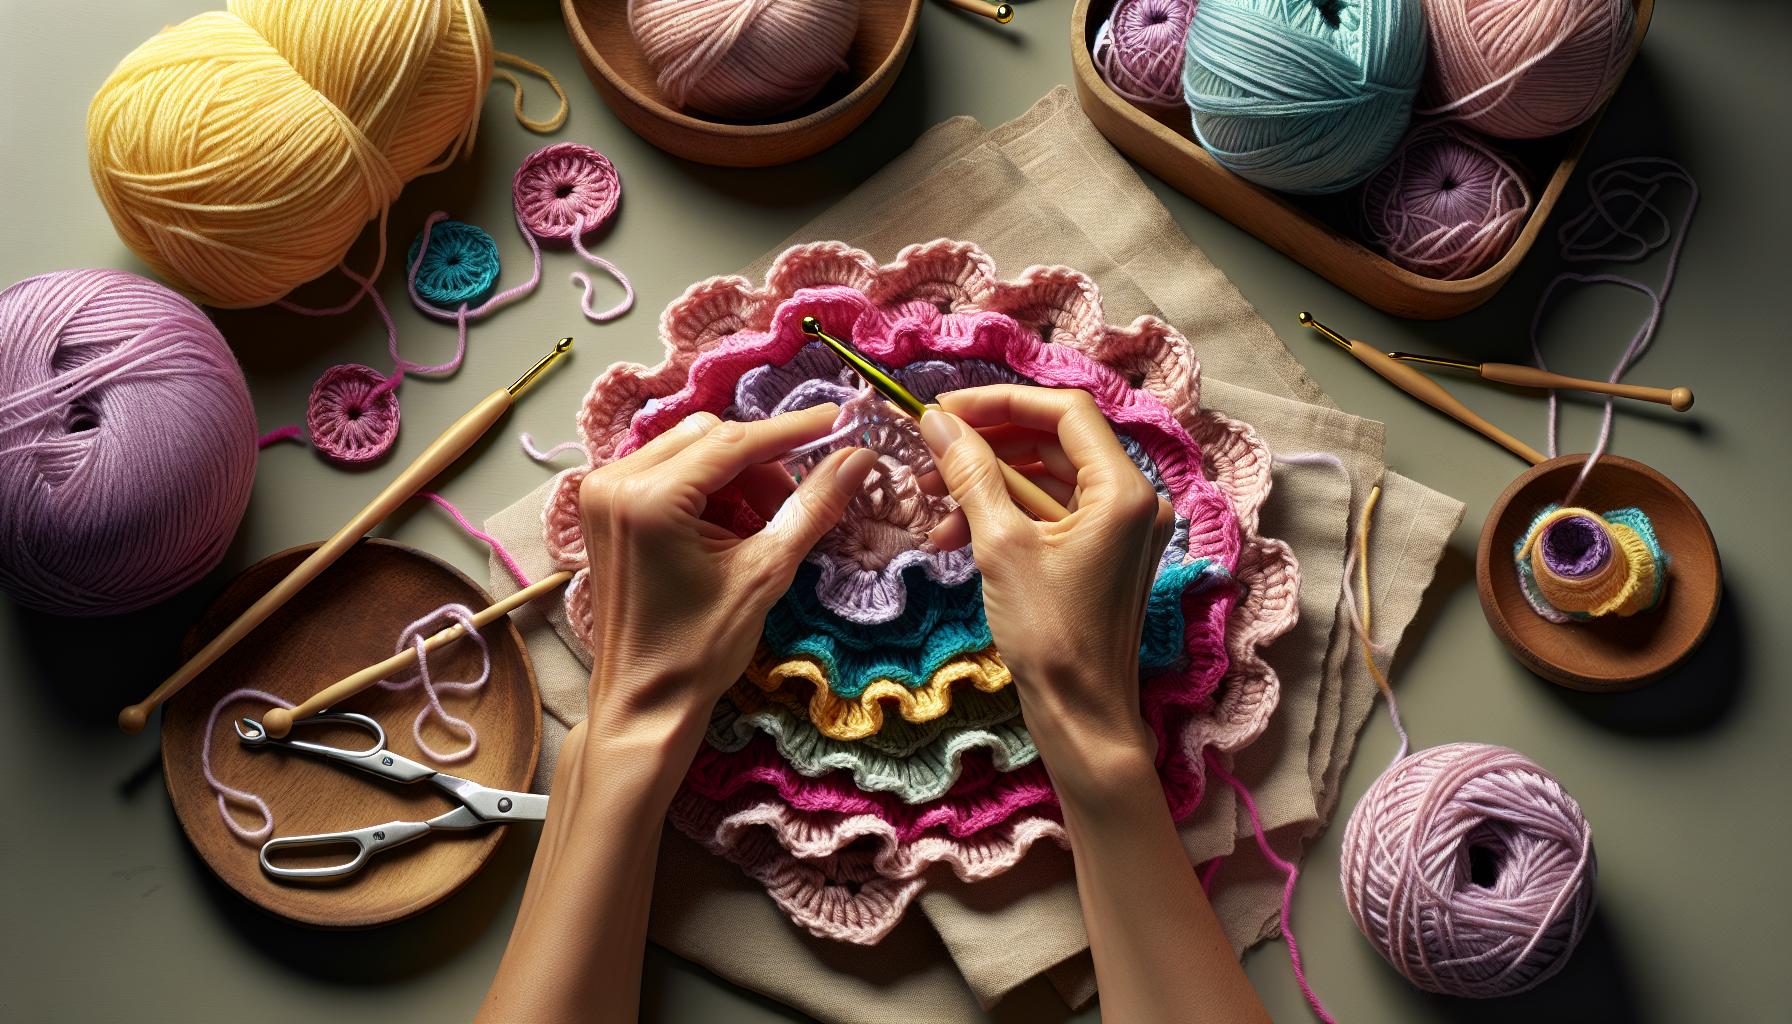
Essential Crochet Stitches for Ruffles
To create beautifully ruffled edges for your bucket hat, you’ll want to master a few essential crochet stitches that will give your project that lovely feminine flair. Ruffles are all about enhancing the fabric’s texture and adding a playful dimension, making your hat not only stylish but also unique to your personal taste. The right stitches can transform a simple hat into a charming accessory that stands out this season.
One of the most popular stitches for achieving ruffles is the double crochet (dc). This stitch creates a tall and open texture, perfect for adding drape. Start by making a foundation row of single crochets, then work your double crochets on the next row. To enhance the ruffled effect, you can modify it slightly by doing an increasing stitch where you work two double crochets into the same stitch. This creates full, flouncy ruffles that can be adjusted to your desired fullness. You can also experiment with the shell stitch, which involves working multiple double crochets into the same stitch spaced out by single crochets to create a shell shape-great for a more intricate ruffle.
Getting Started with Ruffles
To kick off your ruffles, consider the following steps:
- Choose Your Yarn: For ruffles, a lighter yarn with good drape such as cotton or a cotton blend works wonders.
- Foundation Row: Begin with a sturdy foundation row using single crochet to set a solid base for your ruffles.
- Ruffle Stitch: On the next row, switch to double crochet, increasing as needed to create volume.
Tips to Enhance Ruffles
Always remember to keep your tension consistent. If your stitches are too tight, your ruffles may appear stiff rather than soft and flowing. Additionally, don’t hesitate to test out different spacing between your ruffles. Closer ruffles will look fuller, while more spaced-out ruffles will have a more subtle, delicate look.
With these stitches and techniques at your disposal, you can create eye-catching ruffles that will elevate your bucket hat. Remember, crafting is about exploration and creativity, so feel free to play around with different stitch combinations until you find the ruffle design that makes your heart sing! You’ve got this, and your finished hat will surely be a piece you’re proud to show off!
Step-by-Step Guide: Creating Your Bucket Hat Base
Creating a solid base for your bucket hat is the key to ensuring it holds its shape while also providing that comfy fit we all love. It’s like laying the foundation of a house; get it right, and your hat will stand strong and beautiful! This step-by-step guide will take you through the process, making it feel straightforward and enjoyable. You can absolutely do this, whether you’re a seasoned pro or just starting with crochet.
To kick things off, gather your materials. You’ll need a suitable yarn-something like cotton or a cotton blend works best for structure and breathability. A 5mm (H) crochet hook is generally a good size for most worsted weight yarns. Most importantly, set aside about 2-4 hours for this project, depending on your skill level and the complexity of the design you choose.
Start with a magic ring to create a flexible starting point. If you’re unfamiliar with the magic ring, simply chain 4 and join with a slip stitch to form a loop instead. Here’s a straightforward breakdown of forming the base:
- Start with the Crown: Work 6 single crochets (sc) into the magic ring. Pull the tail to close the ring.
- Increase Rows: For the next round, work 2 sc in each stitch (12 stitches total). Repeat this process in subsequent rounds, increasing your stitch count by 6 each round until your circle reaches the desired diameter, usually around 5-6 inches for a standard adult size.
- Establish the Sides: Once your crown is the right size, begin working in the round without increases for several rows. This creates the sides of your hat. Aim for a height between 3 to 4 inches, depending on how deep you want the hat to sit.
As you work through these steps, try to keep your tension consistent. Loose stitches will make for a floppy hat, while too tight will lead to an uncomfortable fit. If you find yourself struggling, just remember-this is all part of the learning process. Take your time, enjoy the rhythm of the stitches, and soon you’ll have a lovely base ready to be adorned with those charming ruffles you’ve been dreaming about. Keep up the great work!
Adding Ruffles: Techniques for a Feminine Look
Adding delightful ruffles to your bucket hat is an inspiring way to introduce a touch of femininity and flair. Ruffles can transform a simple hat into a stunning statement piece, making it perfect for casual outings or special events. Plus, this technique is surprisingly simple and can be adapted to suit your personal style-whether you prefer delicate, subtle ruffles or bold, cascading layers.
Materials Needed:
To get started, you’ll need your hat base, a yarn that complements it (cotton blends work wonderfully), and your crochet hook. Having a yarn needle and scissors on hand will also be helpful for finishing touches. The ruffle addition should take about 30-60 minutes, depending on your chosen ruffle style and how comfortable you are with crocheting.
Creating Ruffles
To begin adding ruffles, you’ll work in rows from the bottom of the hat. Here’s how to create basic ruffles:
- Start with a foundation chain: Chain the number of stitches required to cover the circumference of your hat’s edge. This will serve as the starting point for your ruffle.
- Row 1: In the second chain from the hook, make a single crochet (sc) stitch. Continue sc across the row.
- Row 2: Turn your work and make a chain of 4 to begin the first ruffle. In the next stitch, make a double crochet (dc), and chain 2. Repeat this pattern (dc, chain 2) in each stitch across the row.
- Row 3: For each chain space created, make 3 dc stitches. This will create a lovely, frilly ruffle that stands out impressively.
As you create this frill, remember that you can adjust the number of double crochets per space to make the ruffles fuller or more delicate based on your preferences. If you’re looking for a more relaxed style, consider spreading out the ruffles by using fewer dc stitches or creating larger gaps between them.
Finishing Touches
Once you’ve completed several rows of ruffles, attach the new ruffle row to the edge of your hat, ensuring it’s evenly distributed. Use your yarn needle to weave in any loose ends and secure the stitches. This is your moment to experiment with different types of yarn for the ruffles or even add in contrasting colors for a fun, patchwork look.
You can absolutely do this! The journey of crafting your bucket hat adorned with ruffles is not just about the end product; it’s about enjoying every moment of creativity. Bask in the process and let your imagination guide your crochet hook as you bring to life a unique accessory that reflects your personal style. Happy crocheting!
Customizing Your Bucket Hat Size and Fit
Creating a bucket hat is not just about the stitches and yarn; it’s about making something that fits you perfectly. Customizing the size and fit of your hat will ensure it not only looks great but also feels comfortable to wear. Whether you’re crafting for yourself, a gift, or following a specific pattern, making adjustments is key to achieving the look you want.
Start by measuring the head circumference. Using a flexible measuring tape, wrap it around the widest part of your head, usually just above the ears and across the forehead. Once you have your measurement, you can determine how many foundation chains to create and how many rows to crochet for the body of your hat. For a snug fit, subtract about 1-2 inches from the total head circumference, as the crocheted fabric will stretch slightly. If you’re looking for a looser style, you can use the measurement directly.
To customize the height of your hat, simply add or subtract rows as you work towards the desired increase or decrease in size. If you want a deeper bucket hat, add extra rows between the base and the brim; for a shallower look, remove a few rows. Keep in mind that the addition of ruffles might also affect how the hat sits, so consider how those features interplay. Always try the hat on as you go, or pin the fabric together if you’re unsure-it’s part of the creative process!
Finally, if you’re using a pattern, remember that you can adjust hook sizes and yarn weight for further customization. A larger hook will create a lighter, more casual look, while a smaller hook with thicker yarn can yield a more structured style. As you make these adjustments, don’t hesitate to experiment! It’s all about finding what feels right for you, making this project a true reflection of your personal style. You can do this!
Decorating Your Bucket Hat: Embellishments and Ideas
Adding unique embellishments to your crocheted bucket hat can elevate your creation from simple to stunning! Personalizing your design not only showcases your creativity but also makes your hat a true reflection of your style. Whether you’re going for a playful look or something more sophisticated, there are plenty of ways to make your bucket hat stand out.
One of the simplest embellishments is adding a decorative band around the brim. Consider using contrasting yarn or fabric for the band. You might crochet a simple braided or twisted cord to wrap around the base of the brim or attach a vibrant fabric strip for a pop of color. Adding charm accents, like wooden or metal buttons, along the band can also provide texture and make your hat a conversation starter.
Another fantastic way to embellish your bucket hat is through floral appliqués. Crochet small flowers, leaves, or other shapes using vibrant yarns, and sew or glue them onto your hat. This technique is perfect for a summer vibe-imagine tiny daisies or sunflowers blooming around the brim! If you’re feeling adventurous, consider incorporating a ruffled edge to the brim itself or layering different sized flowers for a 3D effect.
For a touch of whimsy, consider including tassels or pom-poms at the end of your hat’s ties or along the brim. These delightful details add movement and playfulness to your design. You can easily make tassels from the same yarn as your hat or mix it up with contrasting colors for added flair.
Lastly, don’t underestimate the power of beads and sequins! Sew them onto your hat for a little sparkle that catches the light. You can create patterns with them or sprinkle them throughout to add a touch of glamour. Remember, this is your creation, so let your imagination guide you! Experimenting with these different embellishments is a fun way to add personality to your hat, and the best part is-everything is entirely customizable. You can do this!
Caring for Your Crocheted Hat: Tips for Longevity
Taking care of your lovingly crocheted bucket hat is essential to ensure it stays looking fresh and beautiful for many seasons to come. With just a bit of attention and some simple strategies, you can help your creation maintain its shape and color, making it a cherished accessory in your wardrobe.
To start, always check the yarn care instructions. Different fibers behave differently, and if you used cotton for a lightweight and breathable hat, it may require a gentle hand wash. For cleaning, fill a bowl with lukewarm water and a mild detergent. Gently submerge your hat and swirl it around to remove any dirt or sweat that might have built up. Avoid wringing it out, as this can distort the shape. Instead, let it rest on a clean towel and gently press to remove excess water-then lay it flat to dry in the shade to prevent fading from direct sunlight.
When it comes to storing your hat, avoid cramming it into a tight space. Instead, you might want to use a hat box or simply place it on a shelf where it can keep its shape. If storing for the off-season, consider stuffing the crown with tissue paper to help maintain its form and prevent the brim from flopping over. Also, keep your hat away from damp areas to prevent any mildew or musty smells.
Lastly, if you notice the brim getting a bit floppy or your ruffles losing their bounce, don’t hesitate to reshape them! You can lightly steam the hat with a steam iron, holding it about six inches away, and shaping it by hand before letting it cool. This little tip can revive your hat’s structure and make it look as good as new. As you care for your crochet creations, remember: each stitch you made is an expression of your creativity, so treat it with the love and care it deserves. You can do this!
Inspiring Crochet Bucket Hat Patterns to Try
Crocheting a bucket hat can be a delightful way to express your creativity, especially when you add lovely ruffles for a cute and feminine touch. There are countless patterns available that cater to different skill levels and styles, making it easy to find the perfect project for you. Here are some inspiring crochet bucket hat patterns you can try, from beginner-friendly options to more advanced creations.
Start with the Quick & Easy Crochet Bucket Hat which is an excellent introduction for beginners. This pattern is not only simple but also features a video tutorial that guides you through each step. It uses minimal yarn, making it budget-friendly as well. You can find this pattern at Viv Crochets.
For those looking for a variety of styles, check out the collection of 26 Free Crochet Bucket Hat Patterns. These patterns offer a range of designs, from classic styles to trendy options perfect for sun protection and everyday wear. You can explore both easy and challenging patterns to match your skills and find inspiration at 1001 Patterns.
If you’re keen on adding unique textures and playful colors, Joy of Motion Crochet curates a fantastic selection of patterns that blend functionality with flair. This collection includes modern takes on the bucket hat, ensuring you can find something that fits your personality. Discover these stylish options at Joy of Motion Crochet.
When choosing a pattern, consider your skill level and the materials you have on hand. Don’t shy away from experimenting with different yarns to create a hat that’s uniquely yours. Whatever you select, remember: you can do this, and each stitch is a step towards your beautiful, custom creation! Happy crocheting!
Troubleshooting Common Crocheting Issues
When embarking on the delightful journey of crocheting a bucket hat, minor hiccups can arise. But don’t worry! Every crocheter faces challenges, and each one is an opportunity for learning and growth. Let’s tackle some common issues that might pop up while crafting your adorable ruffled bucket hat, ensuring you can confidently continue and create with joy.
One frequent frustration is uneven tension, which can make your hat look lopsided. This usually happens when the yarn is held too tightly or too loosely. To find a comfortable grip, try to keep your tension consistent by practicing on a swatch before diving into the hat. If you notice one section is looser than another, gently pull on the stitches to tighten them. Remember, practice makes perfect-your hands will get accustomed to the feel of the yarn as you work!
Another common challenge is twisting stitches, which can occur when you’re switching between rows or sections. If this happens, take a moment to unwrap the yarn and lay it flat as you work. This can help prevent those pesky twists. If you’re adding ruffles and they seem to lack definition, ensure you’re using the right stitches. A combination of double crochets and chain stitches can create delightful ruffles. Don’t hesitate to experiment with your stitch counts until you find the perfect look!
Lastly, consider the size of your hat. If it’s too loose, you might need to adjust your hook size down or use a yarn that’s a bit thicker. If it’s too tight, switching to a larger hook or loosening your tension can be very helpful. To test the fit, try the hat on as you go-this way, you can customize it to perfection without any final surprises.
Don’t let these little issues deter you! Crocheting is a journey, and each mistake is a stepping stone to your next masterpiece. Embrace the process, learn from it, and before you know it, you’ll have a beautiful bucket hat that reflects your unique style and creativity. Happy crocheting!
Sharing Your Crochet Creations: Community and Inspiration
Every crocheter knows that the journey doesn’t end when you finish your ruffled bucket hat-it’s just as rewarding to share your creations with others! Engaging with the crochet community can offer you not just inspiration but also camaraderie and support. There’s something magical about connecting with fellow crafters who share your passion, and countless platforms are available to showcase your handiwork and learn from others.
One fun way to share your creations is through social media. Platforms like Instagram, Pinterest, and Facebook are fantastic for posting photos of your finished projects. Use hashtags like #CrochetBucketHat or #RuffledHat to reach a broader audience. You might discover that your unique design sparks a conversation or inspires someone else to create their own. Additionally, consider joining dedicated crochet groups on these platforms where members share tips, patterns, and encouragement. Don’t hesitate to post questions or ask for feedback-most folks are eager to help a fellow maker.
Local Crochet Groups and Events
If you prefer a more personal touch, look for local crochet meet-ups or crafting events in your area. These gatherings provide a wonderful opportunity to swap stories, patterns, and even yarn, while you work on your projects side by side with fellow crafters. Many communities host “stitch and bitch” nights or workshops where you can learn new techniques and share what you’ve made. Bringing your ruffled bucket hat to show off is a great icebreaker!
Warm up to this vibrant community, and don’t underestimate the joy of sharing your journey. Whether it’s through online platforms or face-to-face interactions, the encouragement you receive can boost your confidence and creativity. Plus, you just might inspire the next crochet enthusiast to pick up a hook and yarn!
Online Challenges and Collaboration
Participate in crochet challenges or collaborations that many online communities host. These events can focus on specific themes, like seasonal hats or color palettes, allowing you to try new things while engaging with others. You might find yourself working alongside someone in a different part of the world, but united by the same love for crochet. Sharing your progress, tips, and even struggles allows for a rich learning experience, reminding you that every stitch counts and every creator is on their unique path.
Getting involved with the crochet community not only adds joy to your crafting experience but also fills your creative well with inspiration and camaraderie. So go ahead, share that stunning bucket hat and connect with kindred spirits who celebrate the incredible world of crochet just like you!
Faq
Q: What type of yarn is best for crocheting a ruffled bucket hat?
A: For a ruffled bucket hat, cotton yarn is ideal due to its breathability and durability. Worsted weight yarn offers a good balance for both structure and softness. Check the label for recommended hook sizes to ensure the right fit for your project.
Q: How can I adjust the size of my crocheted bucket hat?
A: To adjust the size of your crocheted bucket hat, add or reduce stitches in your initial row. For a larger size, increase to a multiple of your stitch pattern. Conversely, reduce stitches for a tighter fit. Refer to the Customizing Your Bucket Hat Size and Fit section for detailed guidance.
Q: Can I use a different stitch pattern for the ruffles on my hat?
A: Yes, you can experiment with various stitch patterns for ruffles! Consider using a shell stitch or picot stitch for added texture and flair. Just ensure the pattern maintains elasticity to keep the ruffles looking voluminous.
Q: What embellishments are recommended for a feminine touch on my bucket hat?
A: To personalize your bucket hat, try adding flowers, buttons, or ribbons. You can also crochet or sew on decorative patches. Explore the Decorating Your Bucket Hat section for more creative ideas to enhance your hat.
Q: How can I troubleshoot common issues while crocheting my bucket hat?
A: If you’re facing issues like uneven stitches or curling, check your tension and hook size. Use a more comfortable grip for consistent tension. Review the Troubleshooting Common Crocheting Issues section for targeted solutions tailored to your project.
Q: What techniques can I use to make my brim stiffer?
A: To stiffen your brim, consider using a fabric stiffener or spray starch after completion. Alternatively, crochet with a stiffer yarn or add a wire insert within the edge for structure. Refer to the Caring for Your Crocheted Hat section for maintenance tips.
Q: How long does it typically take to crochet a bucket hat?
A: Crocheting a bucket hat usually takes 2 to 4 hours, depending on your skill level and the complexity of the design. Plan to dedicate time to the ruffles and any embellishments for a polished finish.
Q: Are there any specific crochet stitch techniques for beginners?
A: Absolutely! Beginners should focus on basic stitches like single crochet and double crochet. These foundational skills will help you in creating the bucket hat. Check the Essential Crochet Stitches for Ruffles section for beginner-friendly guidance.
To Wrap It Up
Congratulations on crafting your very own bucket hat with ruffles! You’ve not only learned a fun new skill but created a stylish accessory perfect for any occasion. Remember, the joy of crochet lies in the journey. If you enjoyed this project, why not explore more unique patterns and tutorials on our site? Check out our guides on Tunisian crochet for a fresh twist or dive into easy summer accessories to brighten your wardrobe even further.
Don’t forget to share your hat-making journey in the comments below! We love seeing your creations and helping you troubleshoot any hiccups along the way. If you’re eager to keep your crochet skills growing, consider signing up for our newsletter for exclusive patterns and tips delivered right to your inbox.
You can create stunning pieces like this bucket hat with just some yarn and a hook. So grab your materials, and let’s keep creating! Happy crocheting!
Get our latest guides, news, and insights highlighted in your Google Search & AI Overviews.