
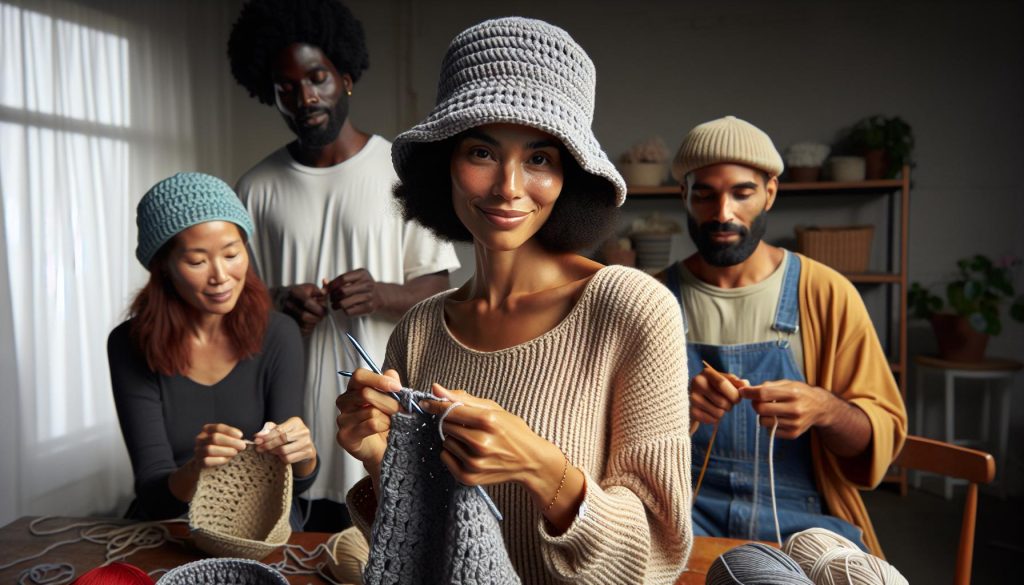
Have you ever thought about how satisfying it is to create your own accessories? Making a bucket hat not only adds a personal touch to your wardrobe but also allows you to express your style while keeping cool in the sun. In this “How to Crochet a Bucket Hat Free Pattern: No-Cost Tutorial,” you’ll discover just how easy and fun it is to crochet your own unique hat, regardless of your skill level. This engaging project requires minimal materials and can be completed in just a few hours, making it perfect for a weekend crafting session or a cozy evening at home. Plus, you’ll have the joy of wearing something you’ve made with your own hands! So grab your crochet hook and let’s dive into this delightful journey of creativity together-trust me, you can do this!
Choosing the Right Yarn and Hook for Your Bucket Hat
Choosing the right yarn and hook can make the difference between a bucket hat that shines and one that flops. When picking yarn, consider the climate and purpose of your hat. For a summer bucket hat, a lightweight, breathable option like cotton yarn is ideal. Cotton is soft, absorbent, and can withstand a bit of moisture, making it perfect for hot days at the beach. On the other hand, if you want a cozy bucket hat for cooler weather, opt for an acrylic yarn that offers warmth without being overly heavy.
When it comes to hooks, selecting the right size is crucial for achieving that perfect fit and structure. The recommended hook size will often be noted on your yarn’s label; typically, a 4.00 mm to 5.00 mm (G-H) hook works well for worsted weight cotton yarn. Always do a gauge swatch to ensure your stitches match the pattern expectations. This simple test will confirm that your chosen yarn and hook size will create the desired dimensions for your hat-keep in mind, the right tension can prevent common issues like the hat being too loose or tight.
Your project can be an expression of your style, so don’t hesitate to experiment! If you want to add some flair, you can even mix yarn types-like combining cotton with a soft fluffy yarn for some interesting texture. Remember, the joy of crocheting comes from the process and the personal touches you add. You’ve got this, and with the right supplies, you’ll create a fun, fashionable bucket hat that showcases your crafting skills!
Essential Crochet Stitches for Bucket Hats
When it comes to crocheting a bucket hat, understanding the essential stitches is key to achieving that stylish and functional look you’ll love. The beauty of crochet lies not only in the final product but also in the stitches you’ll use to bring it to life. Whether you’re new to crocheting or looking to refine your skills, starting with the right stitches can make all the difference.
For a classic bucket hat, there are a few fundamental stitches you’ll want to master that will form the foundation of your project. The chain stitch is your starting point. You’ll begin each round with this versatile stitch, creating the foundation for your hat’s circumference. Next, the slip stitch is essential for joining rounds without adding height; it makes your work look seamless. Then, the double crochet stitch (dc) will help you build the height and width of your hat quickly. This stitch not only works up fast, but it also provides a lovely, airy feel, making your hat lightweight and comfortable for summer wear.
As you dive into the construction of your bucket hat, consider incorporating the half double crochet (hdc) stitch. This stitch strikes a balance between the tightness of single crochet and the loftiness of double crochet, giving your hat a snug yet flexible fit. Here’s a quick guide to your stitches:
- Chain Stitch (ch): Start with a series of chains to set your round.
- Slip Stitch (sl st): Use this to connect your rounds without adding height.
- Double Crochet (dc): Use this for most of the body, as it provides quick height.
- Half Double Crochet (hdc): Ideal for creating shape and structure towards the brim.
These stitches will set you on a path to crafting a beautiful hat that not only looks great but also feels wonderful to wear. Remember, the journey of crocheting is all about enjoying the process! Practice these stitches, and soon enough, you’ll be ready to assemble your bucket hat with confidence. You’ve got this, and your crochet adventure is just beginning!
Step-by-Step Guide to Crocheting a Bucket Hat
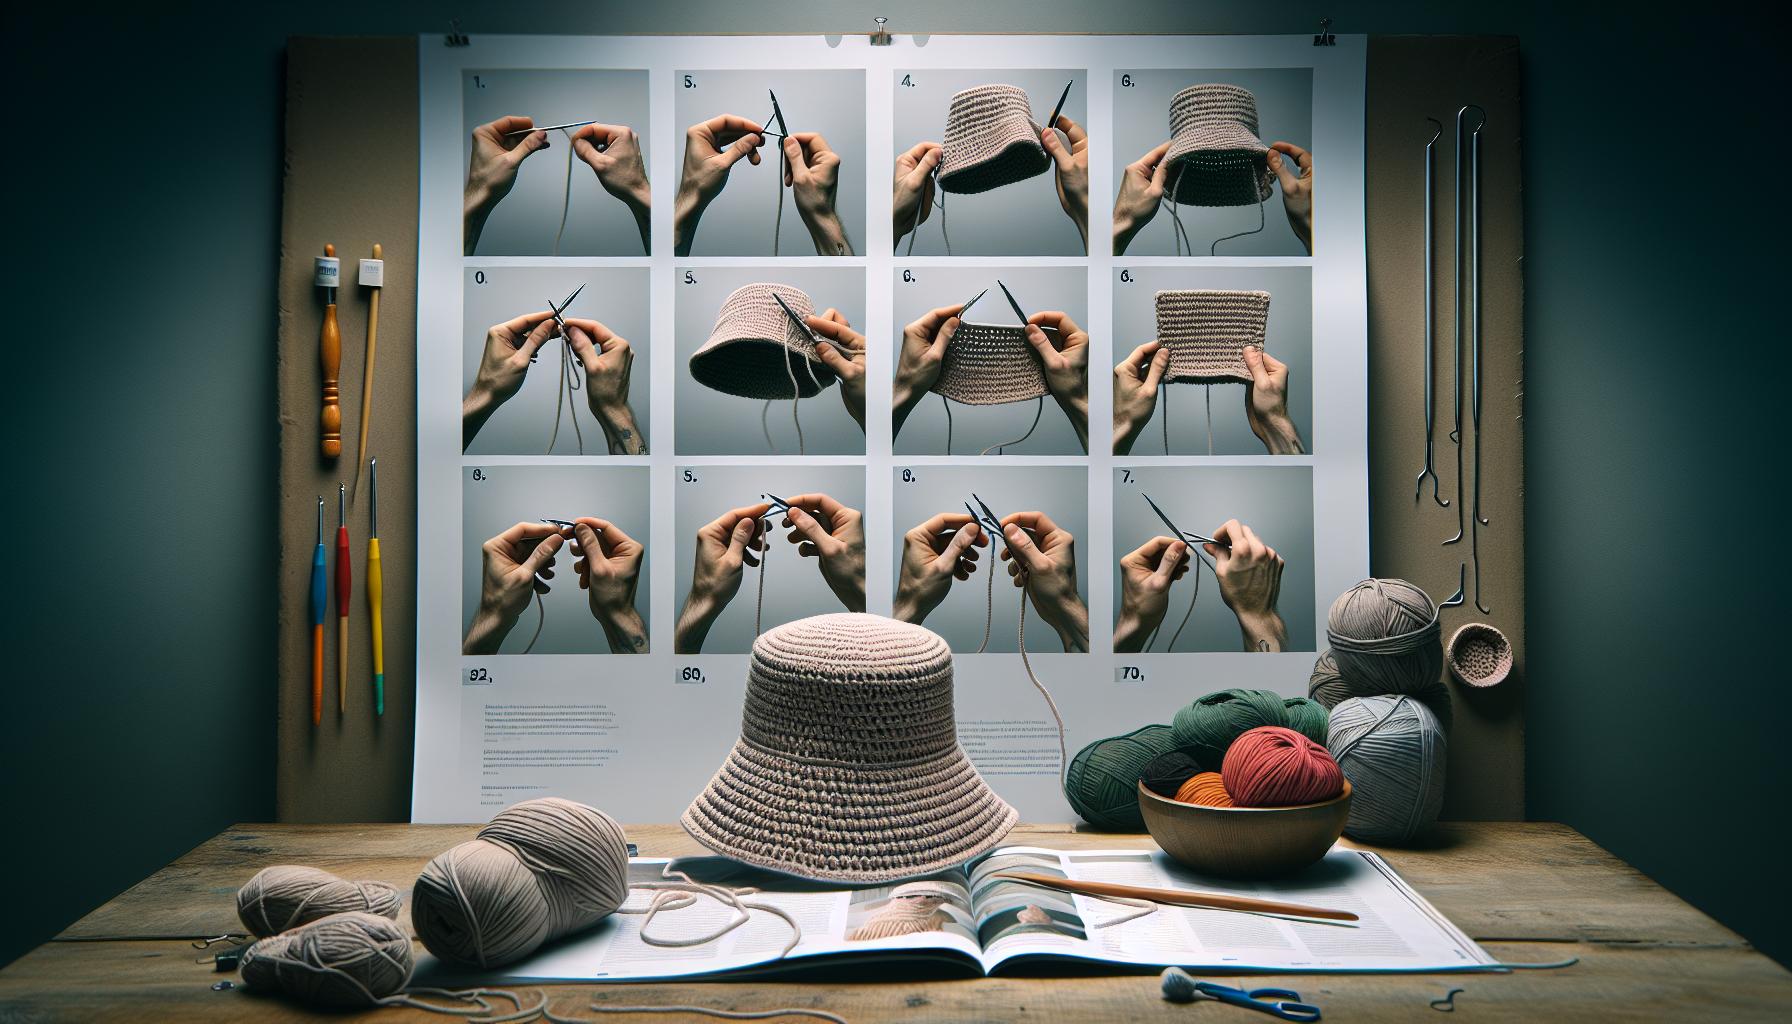
Get ready to dive into the delightful process of making your very own crochet bucket hat! This satisfying project is not only a great way to enhance your stitching skills, but it also results in a trendy accessory you can wear proudly. Whether you’re new to crochet or looking to create something fun, crafting a bucket hat is approachable and rewarding. You’ll need basic materials, a little bit of time, and your favorite yarn to get started.
First, gather your supplies: choose a medium-weight yarn (like worsted weight), and grab a hook that matches the yarn (usually a size H/8 or I/9). If you’re looking for a soft and comfortable hat suitable for warmer days, cotton yarn is a fantastic choice. Feel free to pick colors that reflect your personal style! Now, let’s get started with the steps to crochet your very own hat.
Step-by-Step Instructions
- Start with a Magic Ring: Begin by creating a magic ring. This allows you to crochet in the round without a gap in the center. If you’re not familiar with this technique, it’s okay to start with a traditional chain method and join it into a circle.
- Round 1 – Create the Base: Work 12 double crochet stitches (dc) into the magic ring. Pull the tail to tighten it, and then join to the top of the first dc with a slip stitch.
- Round 2 – Increase: In this round, we’ll double the stitches to give your hat structure. Work 2 double crochet stitches into each stitch around for a total of 24 dc, join.
- Rounds 3-5 – Building Height: In these rounds, continue to add height without increasing the stitch count. Work 1 dc in each stitch around for a total of 3 rounds, adjusting to your desired height.
- Shaping the Brim: For the brim, start adding half double crochet stitches (hdc) for a nice transition. Alternate between rounds of hdc and rounds of dc, widening the brim to your liking. Typically, 3-5 rounds of brims can give a nice floppy effect.
- Finishing Touches: Once you reach your desired length for the brim, fasten off your yarn, and weave in any ends with a yarn needle. Consider adding embellishments like flowers, a bold band, or tassels for that extra flair.
With just a few straightforward steps, you’ve embraced the joy of crochet and created something uniquely yours. Twirl around, flaunt your new hat, and don’t forget to enjoy the process. Remember, every stitch counts, and you can absolutely do this! Your crochet journey is just beginning, and the possibilities are endless. Happy stitching!
Adjusting Sizes for Perfect Fit in Your Bucket Hat
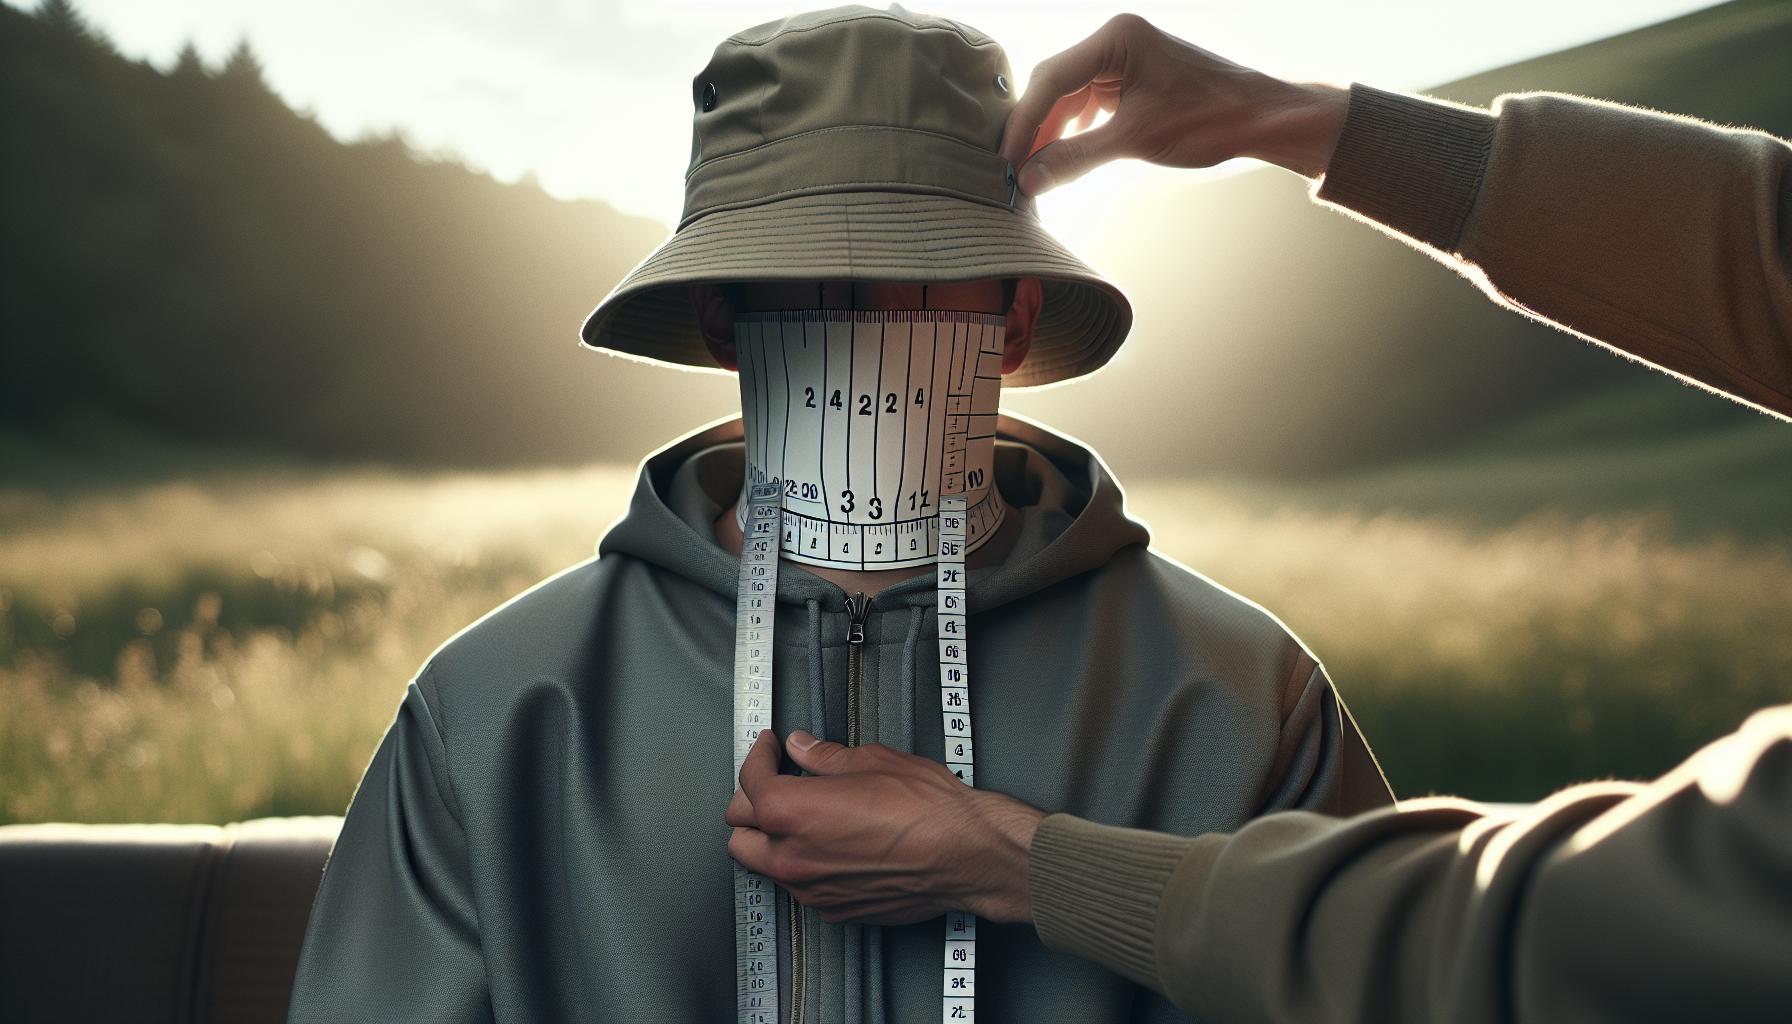
When crafting a bucket hat, achieving the perfect fit is essential for comfort and style. It’s fascinating to know that you can easily adjust sizes in your crocheted creation, whether you’re making it for yourself, a friend, or a child. The key is to measure carefully and use simple techniques to customize the size, ensuring that your delightful masterpiece looks great and feels comfy.
To begin, measure the head circumference where the hat will sit. For adults, this is typically around 21 to 23 inches, while children’s sizes can range from 18 to 20 inches. Add an inch to your measurement for ease, especially if you want a slouchy style. Use this measurement to determine how many stitches to start with. A good rule of thumb is this: the initial circle of double crochets should be about 10% smaller than the measured circumference. You can always test fit by trying the hat on as you go!
Adjusting the Stitches
If your initial hat is too tight or too loose, don’t worry! Here’s how to adjust:
- For a Larger Size: If the hat feels too snug, simply add more double crochet (dc) stitches in the base circle. For example, if your pattern suggests 12 dc, consider starting with 15 dc.
- For a Smaller Size: Conversely, if it’s too big, reduce your starting dc stitches. Going from 12 to 10 stitches can create a snugger fit.
- Keep It Even: Remember, adjustments need to be consistent to avoid a lopsided hat. You can also use stitch markers to track your progress around the circle.
Tweaking the Height and Brim
After establishing the base, you can modify the height and brim. If it’s still not fitting right, consider these tips:
- Adding Height: Continue your rounds without increasing stitches if you want additional height while keeping the width consistent.
- Adjusting the Brim: If your brim is too narrow or wide, simply change the number of rounds you crochet. A wider brim could be achieved by adding an extra couple of rounds before finishing.
Your crochet bucket hat can become a unique expression of your creativity once you master the fitting process. Embrace the challenge! With these adjustments and a little bit of trial and error, you’re well on your way to creating a hat that fits just right. Remember, every maker has their own approach, and what’s essential is that you enjoy the journey and the beautiful result at the end. You’ve got this!
Adding Fun Embellishments to Your Bucket Hat
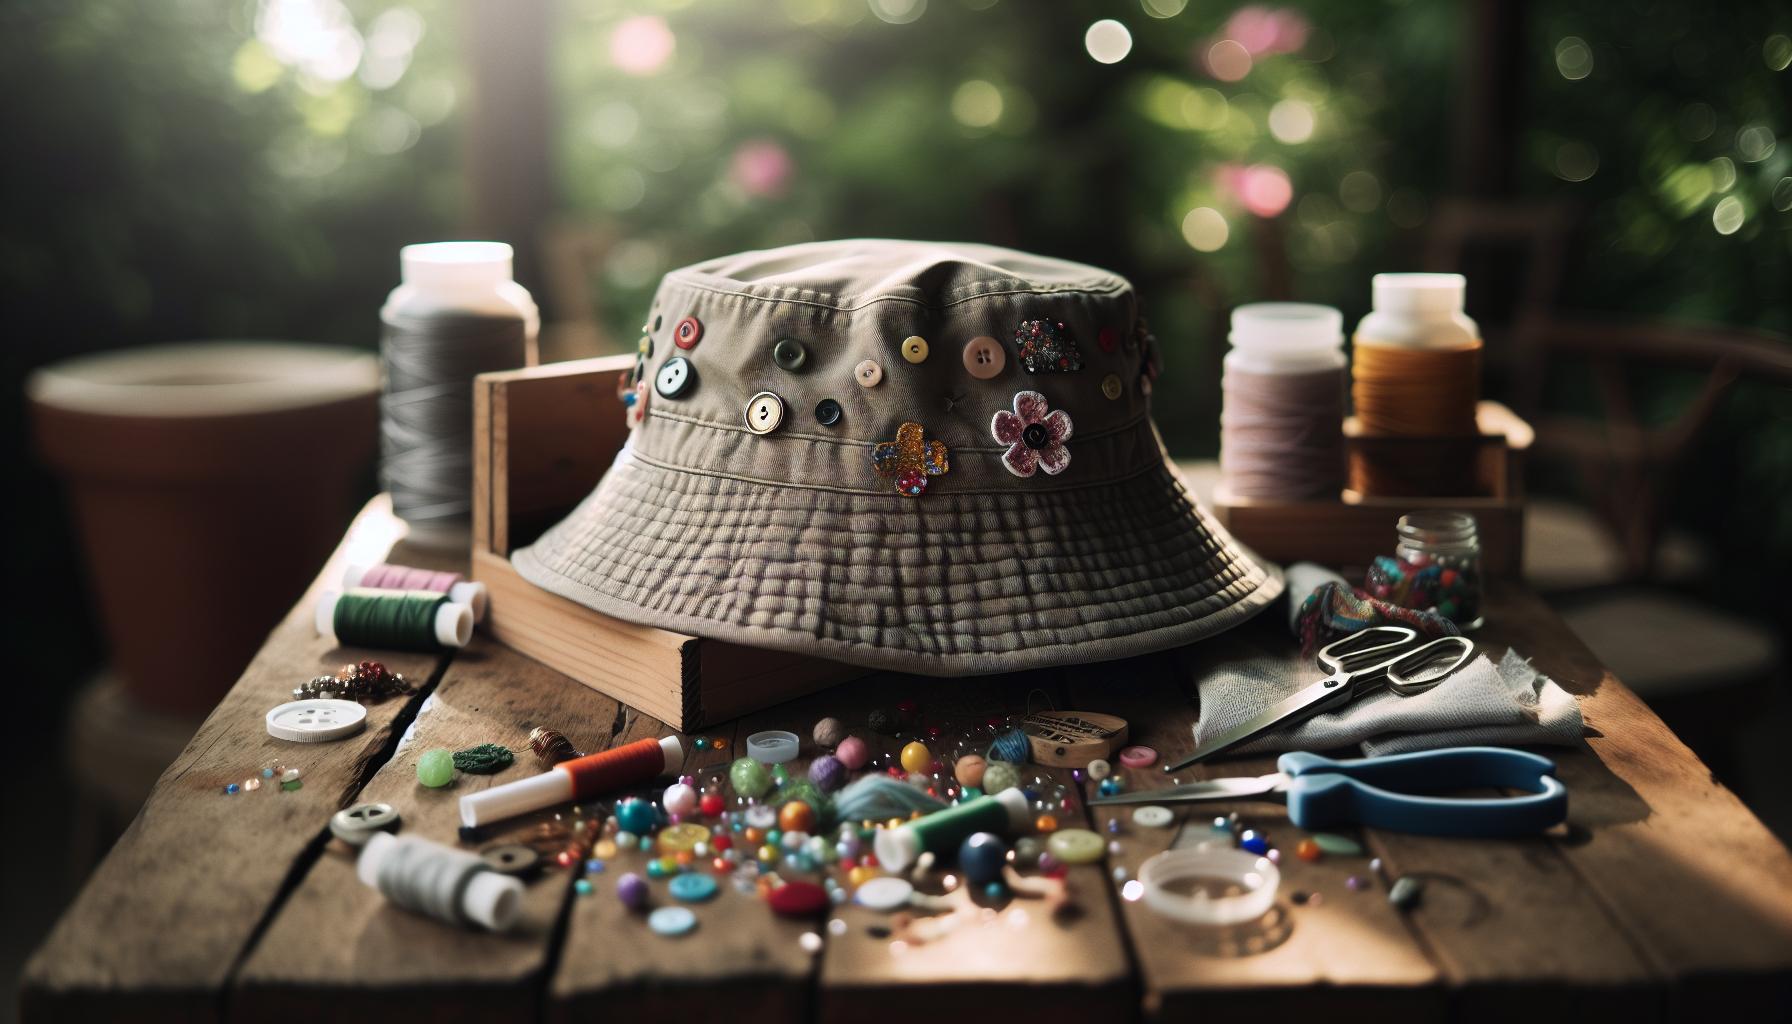
There’s something truly delightful about adding personal touches to your crochet bucket hat. Not only do embellishments make your hat uniquely yours, but they can also transform a simple project into an eye-catching accessory. Whether you’re looking to add color, texture, or just a touch of whimsy, you can easily elevate your creation with a few fun details. Let’s explore some creative ideas that you can try!
One of the simplest ways to enhance your bucket hat is by incorporating colorful appliqués. These can be flowers, stars, or any shape that inspires you. You can crochet these small designs separately and sew them on, or attach them using a slip stitch. To keep things coherent, use colors that complement your main hat yarn. You can also consider making matching or contrasting pom-poms to attach to the top of the hat or even along the brim for a playful look.
Another exciting approach is to experiment with surface crochet. This technique allows you to add decorative stitches over the finished hat without having to undo any work. You can create spirals, zigzags, or even simple lines that trail around the brim. Using a contrasting yarn can create stunning visual interest. Additionally, this method can be a great opportunity to incorporate different stitch patterns you’ve been wanting to test out, all while adding a bit of flair.
For those looking to make a statement, think about adding beads or sequins. You can thread these onto your yarn before working them into your design or sew them onto your hat afterward. This not only adds shine but also a fun texture that will catch the light beautifully. Be sure to distribute them evenly and think about how they will feel when worn – you want to ensure they’re not too heavy or fidgety!
Finally, don’t shy away from using ribbons or fringes. A pretty ribbon tied around the brim can add a chic feel, while fringes can bring a bohemian vibe. You can crochet a simple fringe directly onto the edge or attach pre-made ribbons. Play around with how these embellishments can change the overall style of your hat, transforming it from casual to chic in just a few steps.
Remember, this is your creative journey! Don’t hesitate to take risks and try out new ideas as you add those fun embellishments to your crochet bucket hat. With a little imagination and experimentation, you can produce a piece that truly reflects your personal style. Enjoy these crafty moments, and most importantly, have fun with it-because you absolutely can do this!
Troubleshooting Common Crochet Issues
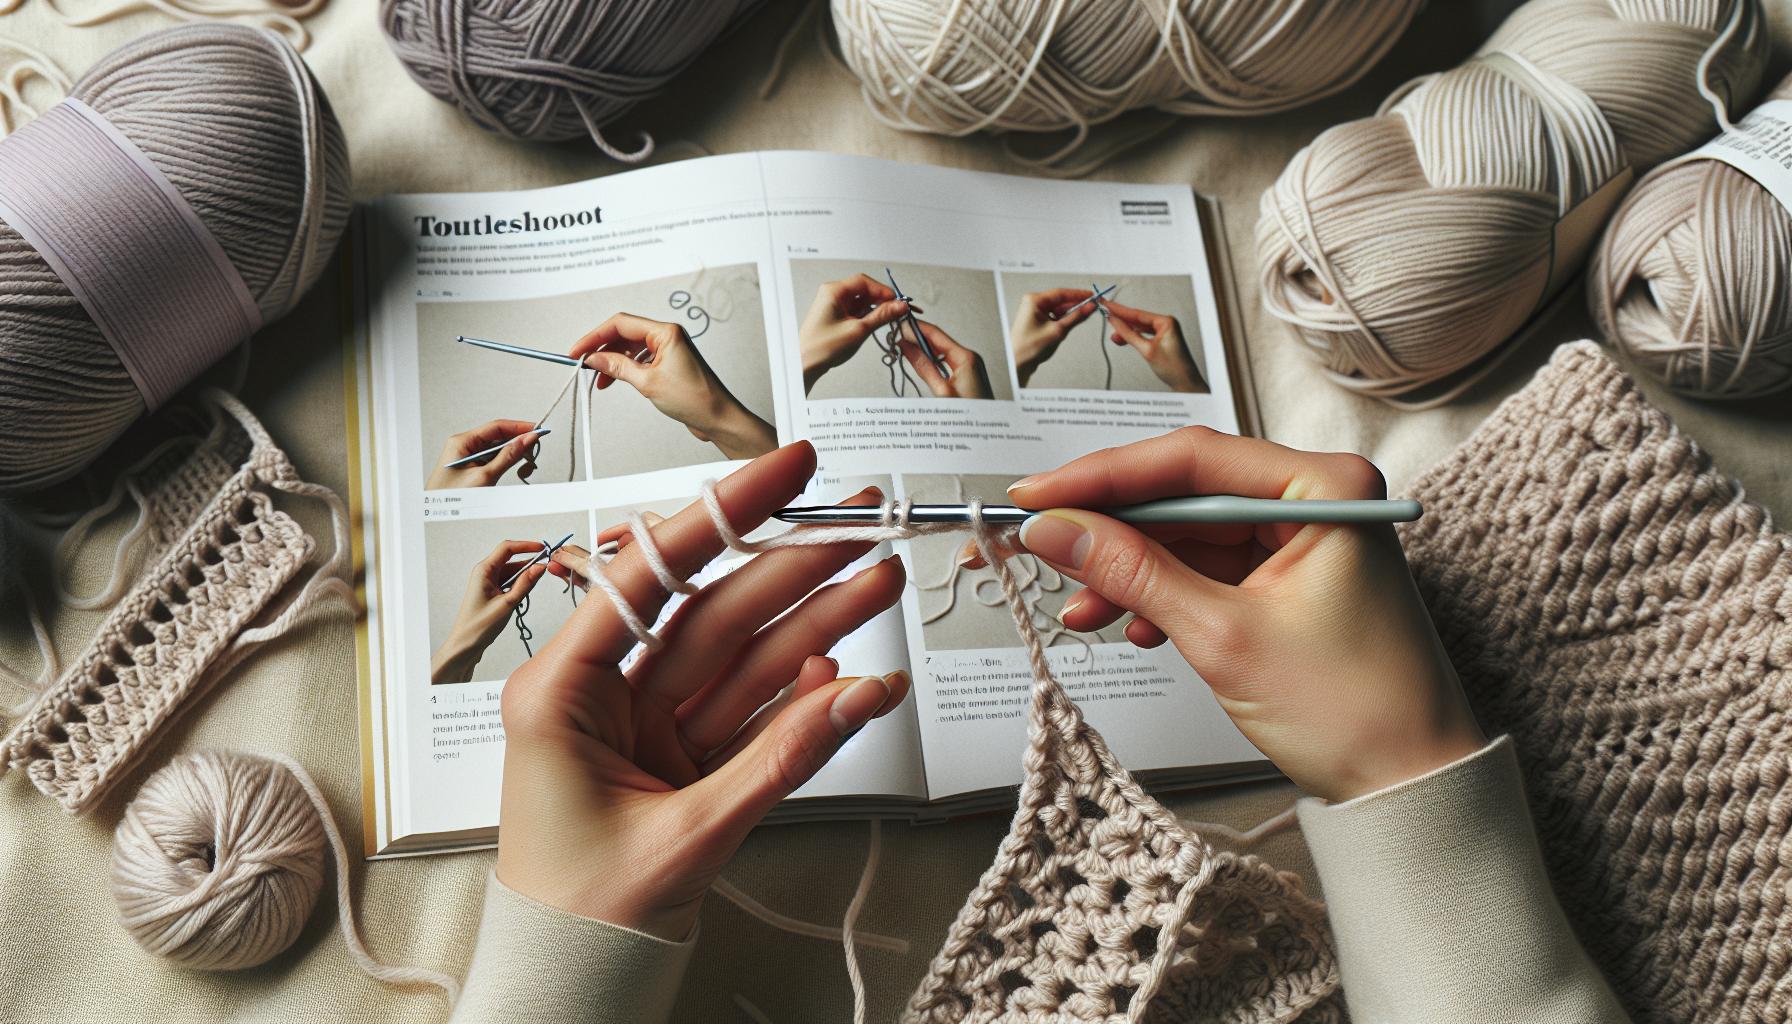
It’s a joy to crochet your very own bucket hat, but sometimes we encounter obstacles that can disrupt our creative flow. Common issues can trip up even seasoned crafters. The good news is, with a little awareness and some handy tips, you can overcome these hurdles and get back to making with confidence. Let’s dive into effective solutions to keep you on track!
One of the most frequent frustrations is uneven tension, which can cause your hat to look lumpy or distorted. If you notice that the stitches are too tight or too loose, take a moment to assess where you might need to relax your grip. Remember, your comfort is key! When starting a new round, count your stitches to ensure consistency. A great tip is to switch to a larger hook if you find that your tension is too tight. Conversely, if your stitches are too loose, a smaller hook might be the answer. You can also try holding your yarn differently to achieve a more uniform tension.
Another common snag is running out of yarn before completing your hat. To avoid this heart-sinking moment, always check the yardage required for your pattern and have a little extra yarn on hand. When working with multiple colors or yarns, make sure to weigh your yarn or keep track of the amount used. If you find yourself with too little yarn, consider incorporating a creative contrasting stripe or using a similar yarn for the finishing touches, which can also add a unique flair to your creation.
If you’ve run into problems with the size fitting incorrectly, take a breath and remember that adjustments can be made! If your hat is too small, adding a few extra rounds at the brim can help, as can using a stretchier stitch like double crochet. For a hat that’s too big, you can try adding a decorative band or using a drawstring to cinch it in a bit. Simply crochet a chain, thread it through the last row, and pull tight for a stylish adjustment.
Finally, if you’re consistently getting mistakes in your pattern – like unexpected holes or skipped stitches – consider slowing down and double-checking your stitch counts at the end of each row. Keeping a stitch marker handy for the beginning of each round can assist in maintaining your place and counting stitches accurately. If you’re following a video tutorial, pause regularly and review what you’ve done to ensure you’re on the right track. Remember, every maker goes through imperfect moments, and each mistake is simply a stepping stone toward mastering your craft.
Crocheting should be a relaxing and enjoyable activity, so don’t let these common issues deflate your enthusiasm! With each challenge you face, you’re strengthening your skills and creativity. Embrace the journey, keep experimenting, and remember-you can absolutely do this! Happy crocheting!
Customizing Your Bucket Hat with Color and Patterns
Get ready to unleash your creativity! Customizing your bucket hat with colors and patterns is one of the most exciting parts of the crocheting process. Not only does this allow you to express your unique style, but it can also transform a simple design into a standout piece that you’ll be proud to wear. Whether you want to go for bold stripes, playful polka dots, or intricate color work, you can definitely make your hat one of a kind.
Start by selecting a palette that inspires you. Look around your home or wardrobe for colors that resonate-perhaps warm earth tones or vibrant summer hues. If you’re feeling adventurous, consider using a free pattern like those available in tutorials to guide your color changes. For example, you could alternate colors every few rows or create a gradient effect by transitioning gradually between shades. Remember, when working with multiple colors, always keep your yarn untangled and organized-this will help you maintain your creativity without the knots!
Using Patterns and Techniques
Once you have your colors picked out, think about how you’d like to incorporate patterns into your design. You can use basic stitches to create textured patterns, like using front and back post stitches to give a ribbed effect or slip stitches for a more subtle look. If you’re ready for a challenge, try implementing granny squares or even an all-over popcorn stitch for added dimension. You could also explore mosaic crochet techniques, which cleverly combine colors to create eye-catching designs.
Accessorizing Your Hat
Don’t forget about embellishments! Adding details like flowers, buttons, or even fabric patches can personalize your hat further. A simple crochet flower on the side or a vibrant pom-pom on top can make your bucket hat fresh and playful. These little touches not only enhance your design but also showcase your personality and creativity.
In the end, the key to customizing your crochet bucket hat is to have fun! Embrace your creative flair, experiment with techniques, and don’t shy away from trying out new combinations. With each stitch, you’re weaving your story into every piece you make. You’ve got this-happy crocheting!
Exploring Different Bucket Hat Styles and Designs
When it comes to designing a crochet bucket hat, the options are virtually limitless! From classic silhouettes to modern twists, exploring different styles can help you find the perfect look that resonates with your personality. Whether you’re aiming for a laid-back summer vibe or something quirky and fun, there’s a bucket hat design for everyone. Let’s dive into some popular styles you can work with.
Classic Bucket Hat
The traditional bucket hat features a downward-sloping brim with a structured body, making it a timeless accessory. For this design, you can choose soft cotton yarn for breathability or a thicker yarn for a sturdier feel. It’s often worked in a single color, but you can easily experiment by adding subtle stripes or color blocks. This style serves as a great foundation to build upon with different stitches or embellishments.
Textured Bucket Hat
Creating a textured look is another fun approach. Use stitches like front and back post double crochet to give your hat dimension and flair. You can try a ribbed pattern that not only looks sophisticated but also adds warmth-perfect for cooler seasons. Consider different yarns with varying textures, such as boucle or bamboo, to enhance the visual interest.
Floral and Embellished Bucket Hat
For a pop of personality, why not decorate your bucket hat with charming embellishments? Crocheted flowers, fabric patches, or beads can instantly elevate your design. You can make flowers in various sizes and colors to match your yarn, sewing or crocheting them onto the hat for a unique touch. This is an excellent way to personalize your piece and showcase your crafting style.
Reversible Bucket Hat
Want the best of both worlds? A reversible bucket hat allows you to have two distinct styles in one accessory! Simply crochet the two sides in different colors or patterns, then stitch them together. This style gives you flexibility and ensures that you can switch up your look effortlessly. It’s a fantastic project to challenge your skills and try new techniques.
Remember, whatever style you choose, the key is to have fun and express yourself through your creations. Each hat tells a story and showcases your creativity, so don’t hesitate to experiment with colors, patterns, and textures. You can totally do this-happy crocheting!
Caring for and Maintaining Your Crocheted Bucket Hat
Taking care of your crocheted bucket hat is just as important as making it! Proper maintenance not only preserves the beauty of your creation but also extends its life, allowing you to enjoy it season after season. Here’s everything you need to keep your hat looking fresh and fabulous.
Firstly, washing your bucket hat with care is essential. If you’ve used cotton or synthetic yarn, hand washing is your best bet. Fill a basin with cool water and add a gentle detergent. Submerge the hat and gently swish it around-avoid twisting or wringing, as this can distort its shape. Rinse thoroughly under cool running water. For wool or delicate fibers, consider using a specialized wool wash to avoid felting. After rinsing, lay the hat flat on a clean towel to absorb excess water, then reshape it and let it air dry. Avoid placing your hat in direct sunlight to prevent fading.
To store your bucket hat, keep it in a cool, dry place. If it’s not too floppy, you can place it on a hat stand or in a box, which helps maintain its shape. Avoid cramming it into a bag or drawer-this can lead to unwanted creasing. If you like to wear your hat frequently, consider hanging it up to keep it fresh and ready for action.
Lastly, don’t forget the small details! If your hat is adorned with embellishments, check them regularly for any loose threads or detachment. A quick fix can save you from losing your favorite flower or bead. With these simple steps, your crocheted bucket hat will be a cherished accessory, proudly showcasing your crafting skills wherever you go. Remember-your creativity deserves to shine, and with a little care, your handmade treasures can last for years to come!
Incorporating Eco-Friendly Practices in Crocheting
When it comes to crocheting your own bucket hat, incorporating eco-friendly practices can make your crafting even more rewarding. Not only does this approach help reduce waste, but it also contributes to a more sustainable crafting community. By choosing the right materials and methods, you can create beautiful, functional items while leaving a lighter footprint on our planet.
One of the simplest ways to start is by choosing sustainable yarn. Look for options made from natural fibers like organic cotton, bamboo, or hemp. These materials are often produced with fewer pesticides and less water than conventional cotton, making them a more sustainable choice. Additionally, consider using yarn made from recycled materials, like upcycled cotton or remnants from the textile industry. These options not only give new life to discarded fibers but also support a circular economy.
Eco-Friendly Crochet Techniques
Apart from choosing the right materials, your crocheting techniques can also embrace sustainability. For example, practice mindful purchasing by buying yarn in bulk or from local suppliers, which reduces packaging waste and supports your community. When you start your project, think about using smaller amounts of yarn to minimize leftover scraps-this can be particularly effective when customizing or adding color to your hat. You can even use leftover yarn from previous projects to create fun color-block designs or unique embellishments, transforming what would be waste into eye-catching features.
Consider using tools made from sustainable materials. Bamboo crochet hooks, for example, are not only biodegradable but also lightweight and comfortable to work with. Finally, when you’re finished with your project, think about how you can care for your hat in a way that prolongs its life. Proper washing and storage can keep your creations looking fresh for years, reducing the need for replacements. Embrace these eco-friendly practices, and you’ll not only create a stylish bucket hat but also contribute to a more sustainable future!
Sharing Your Finished Bucket Hat: Tips for Photos and Social Media
Sharing your finished bucket hat online is not only a great way to celebrate your crafting journey, but it also connects you with a community of fellow makers who are eager to cheer you on! To capture the best photo of your magnificent creation, consider the lighting. Natural light is ideal-try photographing your hat during the golden hour, which is shortly after sunrise or just before sunset. This soft lighting flatters your hat and makes the colors pop, giving your photos a warm, inviting feel.
To make your sharing even more captivating, think about the background of your photos. A clean, uncluttered backdrop allows your bucket hat to shine. Use textured or contrasting surfaces, like a wooden table or a vibrant blanket, which can add depth and interest without distracting the viewer. You can also incorporate props that reflect your style-perhaps a pair of sunglasses or a drink to evoke a relaxed, summery vibe.
When you post on social media, don’t forget to engage with your audience! Use hashtags like #CrochetBucketHat or #HandmadeHat to reach more crafters and enthusiasts. Share a little about your process; was there a special yarn you used? A challenge you overcame? Including these details makes your post relatable and inspiring. Lastly, encourage others to share their makes by asking questions or starting a conversation in the comments.
Above all, remember to have fun with it! Each hat is a unique expression of your creativity, and showcasing it on social media can inspire others to dive into their own crochet projects. Celebrate your work-because every stitch and yarn choice has brought you to this moment, and that deserves to be shared!
FAQ
Q: What materials do I need to crochet a bucket hat?
A: To crochet a bucket hat, you need yarn (preferably worsted weight), a crochet hook suitable for your yarn size, scissors, and a yarn needle for weaving in ends. Optional materials include stitch markers and embellishments like buttons or patches to personalize your hat.
Q: How long does it take to crochet a bucket hat?
A: Typically, crocheting a bucket hat takes about 2 to 4 hours, depending on your skill level and the complexity of the pattern. Beginners may take longer, while experienced crocheters can complete it more quickly.
Q: Can I use different yarn weights for my bucket hat?
A: Yes, you can use different yarn weights, but consider that thicker yarns will create a bulkier hat while thinner yarns result in a lighter design. Just keep in mind that you may need to adjust your hook size and patterns accordingly.
Q: What are the best stitches for a bucket hat?
A: For bucket hats, popular stitches include single crochet, double crochet, and half-double crochet. These stitches offer a good balance of structure and flexibility, allowing your hat to maintain its shape while being comfortable to wear.
Q: How do I ensure my bucket hat fits properly?
A: To ensure a proper fit, measure your head circumference and adjust your pattern accordingly. You can also try on your hat as you work to make minor adjustments. Adding a row of elastic or a tie can help with fit as well.
Q: Can I decorate my crocheted bucket hat?
A: Absolutely! You can add decorations such as flowers, patches, or embroidery to customize your crocheted bucket hat. Choosing colors that contrast or complement your hat can create an eye-catching design.
Q: How do I wash and care for my crocheted bucket hat?
A: To wash your crocheted bucket hat, hand wash it gently with mild soap in cold water. Avoid wringing it out; instead, lay it flat to dry. This helps maintain its shape and prevents any potential damage in the washing machine.
Q: Are there free patterns available for crocheting a bucket hat?
A: Yes, many free patterns are available online, including video tutorials. Websites like VivCrochets offer step-by-step guides and videos that can help you create your own bucket hat without any cost [[1](https://vivcrochets.com/bucket-hat/)].
Wrapping Up
Congratulations on completing your crochet bucket hat! You’ve not only mastered a stylish project, but you’ve also embraced the joy of creating something truly unique. Remember, the satisfaction of seeing your handmade bucket hat in action is just the beginning. Share your results in the comments below and inspire fellow crafters to dive into their own projects.
If you loved this tutorial, check out our free resources on advanced crochet techniques and tips for custom crochet orders to elevate your skills even further. Don’t miss out on exclusive patterns and updates-sign up for our newsletter today!
Keep the creative spirit alive and explore our other tutorials to continue your crochet journey. With practice, you’ll soon be crafting hats, scarves, and more! You can do this, and we’re here to support you every step of the way. Happy crocheting!
Get our latest guides, news, and insights highlighted in your Google Search & AI Overviews.