
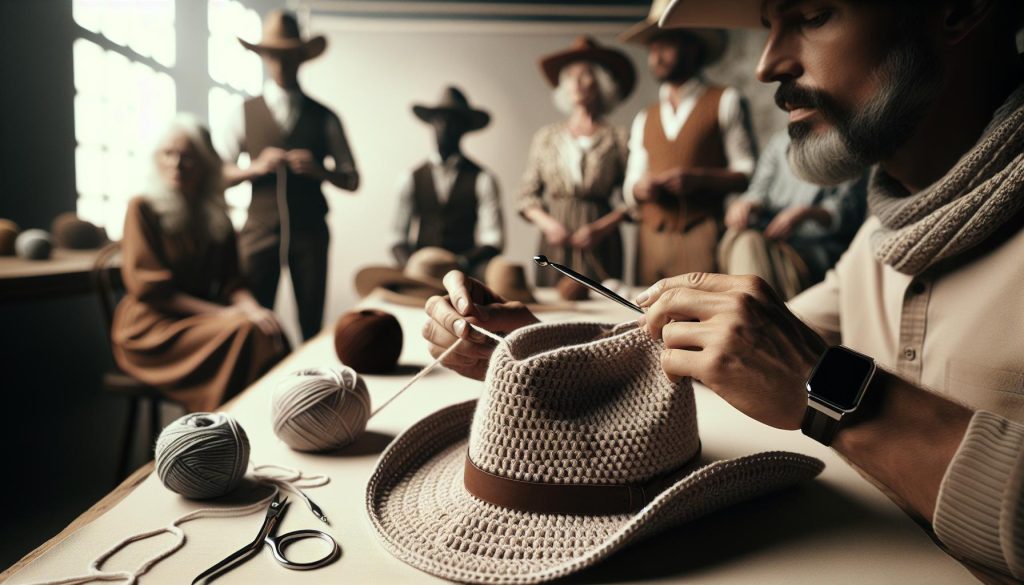
Are you ready to add a fun flair to your crochet collection? Crafting a cowboy hat with a charming, shaped brim is not only a delightful project but also a fantastic way to express your creativity. Whether you’re looking to complete an amigurumi doll’s outfit or want to enhance your wardrobe, this crochet project is perfect for all skill levels.
You’ll discover how to effortlessly create your own western-style hat that showcases your unique style and flair. Don’t worry if you’re a beginner! With straightforward steps, helpful tips, and a bit of enthusiasm, you’ll find that this project is more achievable than you might think. So grab your yarn and hooks-let’s dive into the world of crochet where you can turn simple materials into extraordinary creations. You can do this!
Choosing the Right Yarn and Hook for Your Cowboy Hat
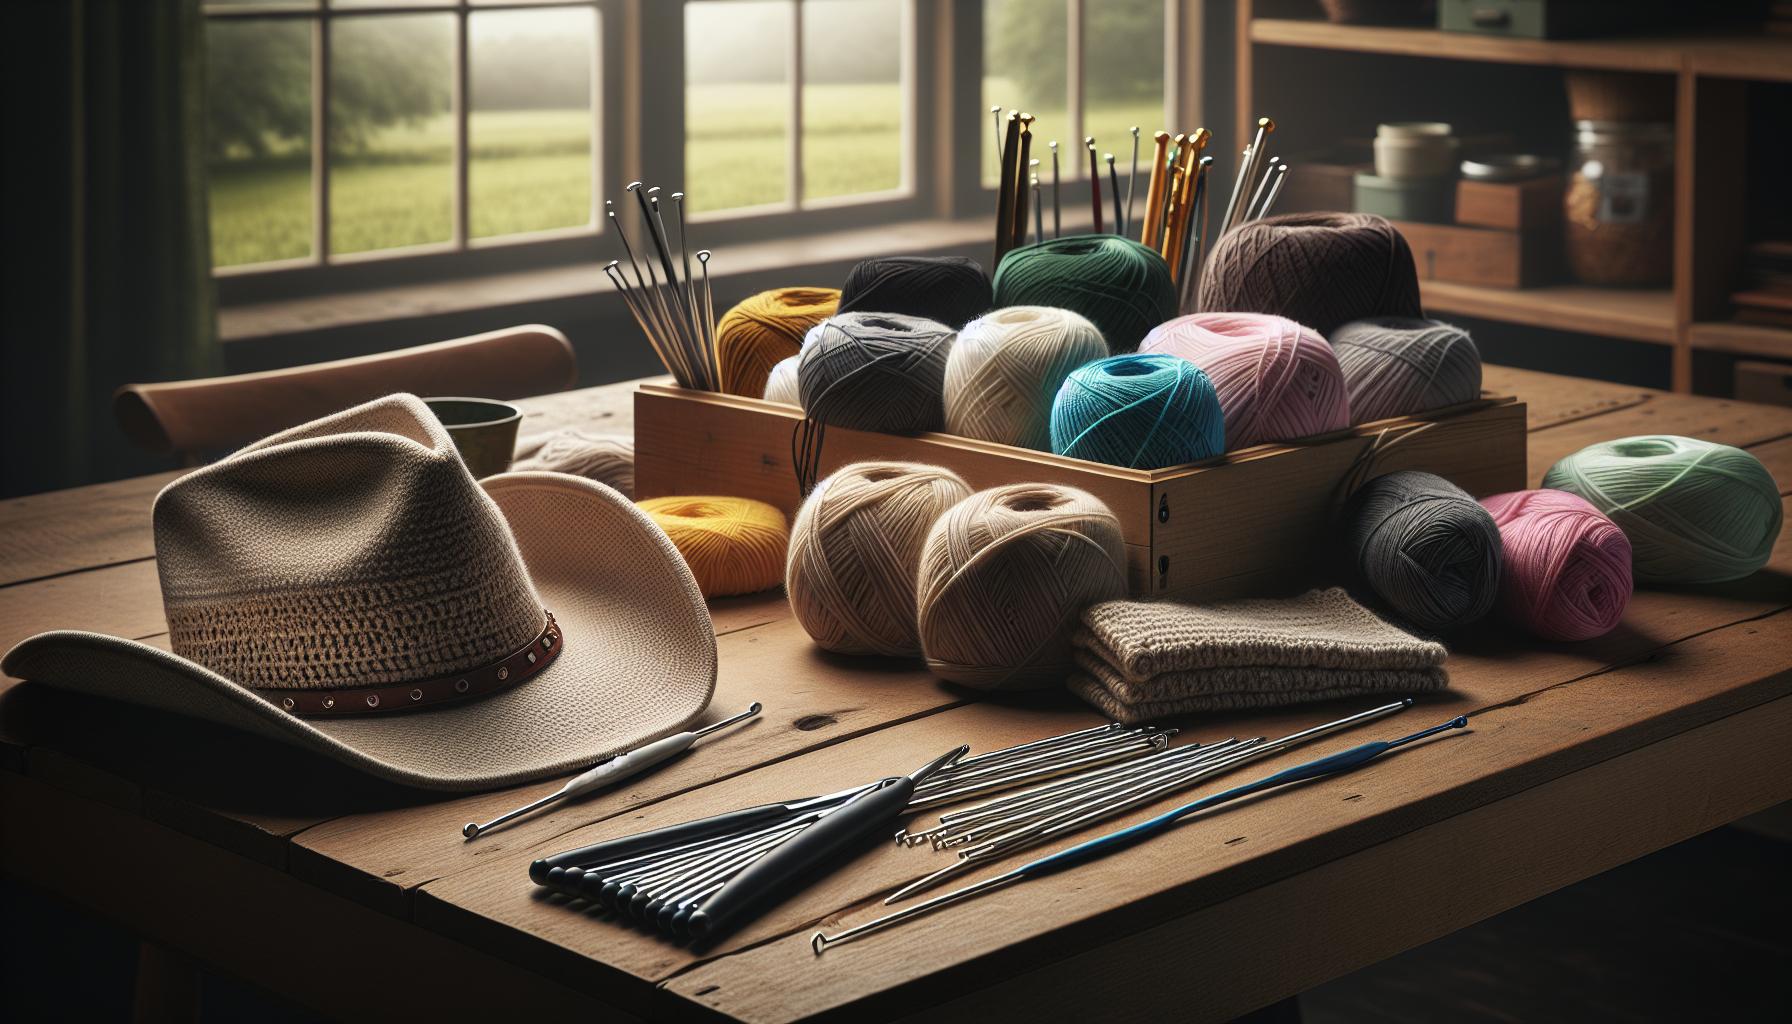
Choosing the right yarn and hook is a crucial first step in crafting your crochet cowboy hat, giving you the foundation for a successful project. The yarn will not only determine the hat’s appearance but also influence its comfort, durability, and how well it holds its shape. For cowboy hats, opt for medium-weight yarn, typically categorized as worsted weight (Category 4). This type offers a great balance of thickness and flexibility, allowing your hat to maintain its structure while still being soft enough for comfortable wear.
When selecting yarn, consider materials like acrylic, cotton, or wool blends. Acrylic yarn is budget-friendly and available in various colors, making it great for beginners. Cotton has a breathable quality that’s perfect for warmer climates, while wool blends provide warmth and a nice texture. Look for yarn with some elasticity to help your hat maintain its shape; many brands offer blends specifically designed for hats and accessories. Keep in mind that the color and texture of the yarn can also add personality to your creation, so feel free to get creative!
Next, choosing the right hook size is essential for achieving your desired gauge and overall look. A hook size of 4.0mm to 5.0mm is common for worsted weight yarn, but remember to check your pattern for specific recommendations. If you’re crocheting tightly, consider going up a hook size to avoid a stiff fabric. Additionally, practicing your tension with a swatch can help. Creating a small test piece will ensure that your stitches are uniform, and it will guide you in adjusting your hook size if needed. You’ve got this-the right yarn and hook set the stage for an amazing cowboy hat!
Essential Crochet Stitches for a Shaped Brim
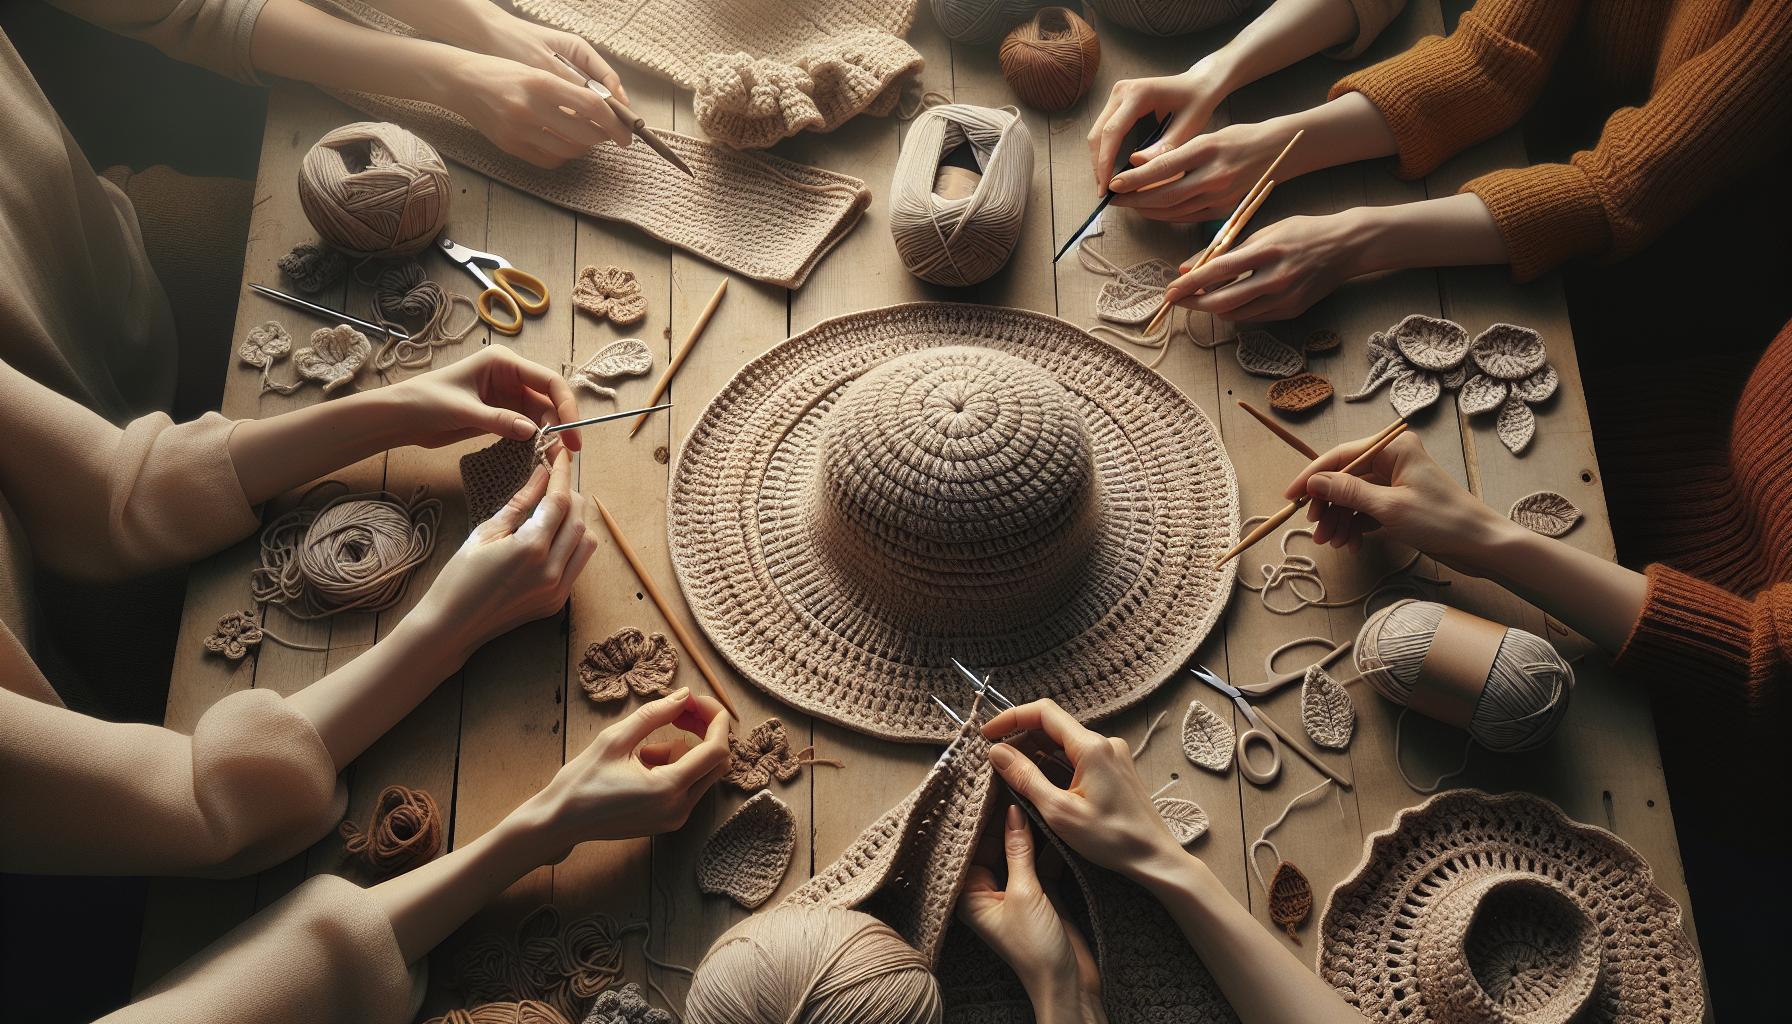
When it comes to crafting a beautiful cowboy hat, the secret lies in the stitches you choose, especially for creating that signature shaped brim. The brim isn’t just a stylish detail; it provides form and functionality, shading your face while adding personality to your hat. Understanding a few essential crochet stitches will empower you to create brims that are not only striking but also sturdy and well-defined.
One of the most effective stitches for shaping your brim is the double crochet (DC). This stitch creates height and allows for greater flexibility, making it ideal for building up the brim’s structure. To create a shaped brim, start by making a foundation chain and working a row of double crochet stitches. You can also incorporate half double crochet (HDC) stitches for a tighter fabric that still maintains some softness. For added texture and visual interest, consider alternating between DC and HDC stitches in your rows.
Another handy technique is using increases to create a gradual flare at the edge of your brim. An increase in crochet typically involves working two stitches into the same stitch from the previous row. By strategically placing increases (e.g., every few stitches), you can create a gently rounded or elongated shape that mirrors the classic cowboy hat style. Don’t be afraid to experiment with the number of stitches between increases to achieve the look you prefer.
Finally, mastering the slip stitch (SL) can help you finish your brim neatly. Slip stitches are perfect for adding a clean edge and preventing your brim from curling. As you work towards the end of your brim, you can use slip stitches along the edge to create a smooth finish, giving your cowboy hat a professional appearance.
Remember, practice makes perfect, and you can always unravel and redo sections if you need to adjust the shape. Enjoy the process, and take pride in your unique creation. With these essential stitches in your toolbox, you’re one step closer to crafting a cowboy hat that’s sure to impress!
Step-by-Step Guide: Creating the Cowboy Hat Base
Creating the base of your cowboy hat is an exciting step that sets the foundation for a stunning final project! This part may seem a bit daunting, but with a little practice and the right approach, you’ll be crafting a beautiful cowboy hat that you will be proud to wear. Let’s dive into the essentials of forming that perfect base.
Start with gathering your materials. For a classic cowboy hat, you’ll typically need a worsted weight yarn and a corresponding size H/8 (5.0 mm) crochet hook. This combination creates a solid structure while still maintaining some flexibility. Remember, you can always adjust your yarn and hook size to achieve your desired look, but keep in mind that thicker yarn will yield a bulkier hat.
Here’s a simple step-by-step guide to guide you through creating the base:
Step-by-Step Instructions
- Foundation Ring: Begin by forming a magic ring. This will be the center of your hat which will allow you to crochet in the round seamlessly.
- Round 1: Work 12 single crochets (SC) into the magic ring. Pull the tail of the ring closed to tighten.
- Round 2: Increase in each stitch by placing 2 SC into each SC from the previous round. You should now have 24 stitches.
- Round 3: Work 1 SC into the first stitch, then 2 SC into the next stitch. Repeat this pattern around to end with 36 stitches.
- Round 4 and beyond: Continue this increase pattern by adding one more single crochet before each increase in a round. This will gradually widen the base of your hat until you reach your desired diameter, usually about 7-8 inches for an adult size.
Once you have achieved the proper size for your cowboy hat base, it’s time to work straight rounds to establish the height of your hat. Simply crochet without increasing until you’ve reached the desired height. A height of around 3-4 inches is typical for a cowboy hat, but feel free to customize it based on your style!
Remember, the beauty of crocheting lies in your ability to express your creativity and personality. If this is your first cowboy hat, don’t worry if things don’t look perfect right away. Each stitch adds to your skill, and with patience and practice, you can create a remarkable piece. Enjoy the crafting journey, and embrace the joy of making something truly your own!
Techniques for Crafting a Curved Brim
Crafting a beautifully curved brim for your crocheted cowboy hat is one of the highlights of the project! A well-shaped brim not only adds style but also contributes to that classic western look. The key to achieving a great curve lies in understanding how to manipulate your stitches and the yarn you’re using. Let’s explore some techniques that will help you create that perfect brim.
One effective method is the use of increases and decreases to shape the brim. By alternating between increases and decreases, you can create a subtle curve. To begin, once you’ve completed the height of your hat, switch to a larger hook size if you want a looser stitch and more flexibility in the brim. Start your brim with a few rounds of single crochet (SC) to establish a sturdy edge. For the next round, plan to increase every third stitch by working two SC into that stitch. This will help give your brim a slight flared shape. Continue to mix in rounds with sc and rounds where you increase every few stitches to create a gradual curve.
Another technique involves using a combination of half double crochet (HDC) and double crochet (DC) stitches. HDC stitches provide a firm base while still allowing for some give, making them ideal for the main body of the brim. As you approach the outer edge, transition into double crochet stitches for added height and a soft curve. For instance, after a few rounds of HDC, switch to DC for the last few rounds to give your brim more volume and flair. This method not only enhances the shape but also adds texture to your hat.
When shaping the brim, remember to experiment with blocking after you finish your hat. Wet blocking your brim can help set the curve. Simply soak the brim in cool water, shape it around a circular object (like a bowl), and let it dry. This technique helps to reinforce the curve and ensures the brim holds its shape. Don’t hesitate to try out a few different methods to see what works best for your style. Each crafter has their preferred way to shape a brim, so finding your own rhythm is part of the fun!
At the end of the day, creating a curved brim is all about feeling confident in your crafting. With some practice and experimentation, you’ll soon discover the techniques that resonate with you, making your cowboy hat not just a project but a statement piece. Enjoy the process, and remember – every stitch is a step towards a creation that’s uniquely yours!
Adding Western Flair: Embellishments and Decorations
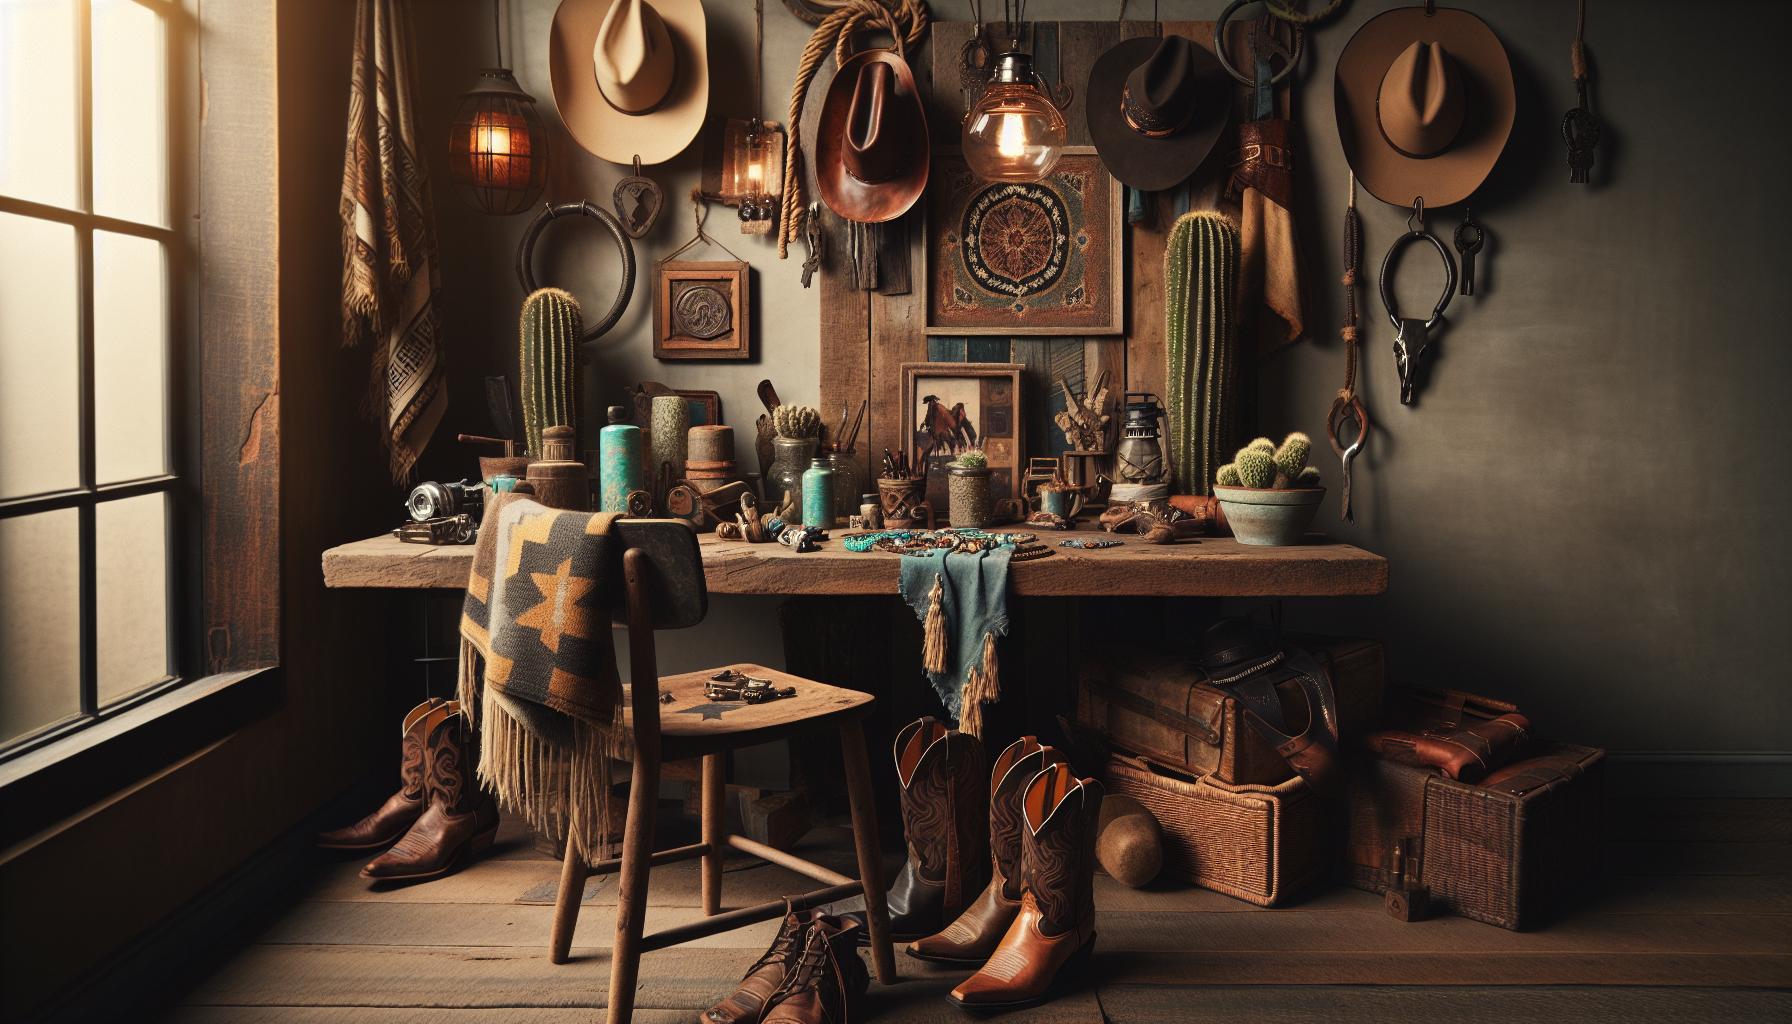
Elevate your crocheted cowboy hat into a true work of art by adding some Western flair through embellishments and decorations. These personal touches not only enhance the aesthetic but also showcase your unique personality and creativity. The best part? You don’t need to be an advanced crafter to achieve stunning results-anyone can customize their hat with a bit of imagination and some simple techniques.
Start by considering materials that embody that classic Western vibe. Think about using faux leather strips, beaded embellishments, or even ribbons in earthy tones or bright colors that resonate with the cowboy aesthetic. A simple way to adorn your hat is to create a decorative band that wraps around the base of the crown. You can crochet a band using basic stitches and mix in some chain stitches for added texture. Once you have your band, consider adding charms or beads to create interest and texture. An easy method is to thread beads onto your yarn before attaching the band or weaving in additional yarn for a pop of color.
Fun Techniques for Embellishment
Here are some techniques to add that special Western touch:
- Crocheted Flowers or Stars: Crocheting small flowers or star shapes to attach to the brim or the hat band offers a charming detail. Choose color combinations that match your hat while adding a bit of contrast to make them stand out.
- Fringe: Adding fringe to the brim can immediately evoke that bohemian Western feel. Use a slip stitch to attach long lengths of yarn to the outer edge of the brim; make sure to experiment with different yarn weights and lengths for varied effects.
- Patches: If you have a personal story or favorite design, consider applying patches. You can either crochet them yourself or use fabric patches that can be sewn or glued onto your hat for easy application.
Lastly, don’t shy away from experimenting. Every hat you make is a blank canvas waiting for your creative touch. Whether you stick to a classic style or go for a bold statement with bright colors and mixed textures, the joy is in the making. Remember, you’ve got this! Each stitch strengthens not just your hat, but also your confidence as a maker. Enjoy playing with these ideas, and your cowboy hat will not just be another accessory; it will be a reflection of your unique style.
Customizing Size: How to Fit Your Cowboy Hat

Fitting a crocheted cowboy hat to your unique shape is one of the most rewarding processes in creating your masterpiece. The beauty of crochet is that it allows for modifications and adjustments, ensuring that your hat not only looks fabulous but also feels comfortable. Understanding how to size your hat correctly can mean the difference between a chic accessory and one that unintentionally slips or feels too tight. Let’s dive into some practical steps that can help you achieve the perfect fit.
First, it’s essential to measure the head circumference accurately. To do this, take a soft measuring tape and wrap it around the widest part of the head, just above the ears and eyebrows. Record this measurement in inches or centimeters. This initial step provides a solid foundation for your sizing. If you don’t have a measuring tape, a piece of string can be used to measure the circumference, then you can lay it flat against a ruler for an accurate reading.
Once you have your measurement, you can begin crafting the base of your hat. For most patterns, you will find a size chart or some guidance on the number of stitches needed for your head size. If you’re venturing into designing your size, a common approach is to start by creating a magic ring and crocheting in the round. Add stitches until the diameter of the circle matches your head circumference. A simple tip here is to lay the base down flat and verify its size against your measuring tape periodically as you work, ensuring it aligns with your recorded measurement.
Adjustments and Customizations
If you find that your hat is too loose, you can easily tighten it by working extra rounds while reducing the stitches. Conversely, if the hat feels snug, simply add a couple of stitches in the rounds where needed. Another nifty trick is to incorporate adjustable bands, like a crocheted drawstring, which allows for slight size modifications once the hat is complete. This feature is particularly helpful if you’re gifting the hat or if multiple people will wear it.
Additionally, consider yarn types and their stretchability. Some yarns, especially those with wool content, have a natural give that can alter how snugly a hat fits. For those using cotton yarns, they tend to hold their shape more firmly. Therefore, experimenting with different materials can yield varying results in both comfort and fit.
Embrace the process of making your hat unique to you! Even when following a pattern, these adjustments can help you create a piece that feels like it was tailor-made. No matter your skill level, remember that the journey of crafting is just as enjoyable as the final product-you can do this! Each step not only brings you closer to a finished hat but also grows your confidence and creativity. Happy crocheting!
Troubleshooting Common Crochet Issues
When you dive into crocheting a cowboy hat, you’re not just creating a fun accessory; you’re fully engaging in a wonderful crafting experience. Still, every crafter can face challenges along the way. It’s perfectly normal to stumble upon some hiccups, whether it’s uneven stitches, miscalculations, or yarn tangles. The good news? Most issues are easy to fix with just a little guidance! Here are some common crochet problems you might encounter while crafting your hat and how to tackle them confidently.
One frequent issue is finding that your hat is too tight or too loose as you progress. This can often happen if you’re not consistent with your tension, which is crucial for achieving a smooth and even piece. If your hat feels snug, don’t panic! You can unravel a few rounds and add a couple more stitches to accommodate your head size. Conversely, if it’s too loose, simply tighten your tension as you work or adjust the stitch count. A handy tip is to keep trying on your hat as you go; this will help you catch any sizing issues before they escalate into larger adjustments.
Another common concern is the appearance of holes or gaps in the fabric, especially where you’ve joined rounds. This can be particularly visible at the base of the hat. To remedy this, make sure you’re not skipping stitches and that you’re working your slip stitch join correctly. If gaps persist, you might consider using a smaller hook for the joining round to create a tighter fabric. Remember, it’s all about experimenting until you find what works best for you!
Lastly, yarn tangles are almost inevitable, especially with larger projects. To keep your crafting stress-free, consider placing your yarn in a bowl or a yarn bag while you work. This simple step can help prevent those frustrating twists and knots that can pull you away from the joy of crocheting. If you do encounter a tangle, take a moment to unravel it gently instead of yanking at it. Patience is key, and you’ll be back to stitching in no time.
By embracing these troubleshooting tips, you’re not just solving problems; you’re learning along the way! Each little challenge adds to your skills, making your crafting journey richer and more fulfilling. So pick up that hook and yarn, and remember: you can do this! Happy crocheting!
Tips for Maintaining Your Crochet Cowboy Hat
Your crochet cowboy hat deserves some extra love because it’s not just a stylish accessory; it’s a reflection of your hard work and creativity! Proper maintenance will not only ensure it looks fantastic but also extend its life, allowing you to enjoy your creation for many seasons to come. Here are some practical tips to help keep your crochet hat in tip-top shape, no matter what yarn you’ve used or how intricate your design is.
Regular Cleaning
To maintain the appearance of your crochet cowboy hat, a bit of routine cleaning goes a long way. If you’ve used a washable yarn, you can hand wash your hat gently. Use cool water and a mild detergent. Never wring it out; instead, press out the water gently and lay it flat on a towel to dry. If your hat is made from non-washable yarn, simply take a soft brush (like a lint brush or a gentle pet brush) and lightly go over the surface to remove dust and debris. For deeper stains, spot cleaning with a damp cloth can help.
Form and Shape Maintenance
One of the unique joys of a cowboy hat is its distinctive shape. To preserve your hat’s structure, store it properly when not in use. Place your hat flat in a cool, dry area, away from direct sunlight, which can cause colors to fade and yarn fibers to become brittle. Avoid stacking items on top of it to prevent flattening the brim. If possible, consider keeping it in a hat box or on a dedicated shelf where it can breathe.
Dealing with Odors
Even the best hat can pick up odors over time, especially if worn frequently. A simple remedy is to lightly spray the inside of the hat with a fabric refresher or dry shampoo, making sure to hold the spray at a distance to avoid any direct saturation. This can help neutralize unwanted smells without damaging your yarn. If odors persist, consider placing a small bowl of baking soda inside the hat (when it’s not being worn) for a few hours to absorb any lingering scents.
Frequent Checks
As with any handmade item, love and care can help catch potential problems early. Periodically inspect your hat for signs of wear, such as frayed edges or loose stitches. If you notice any issues, address them as soon as possible; stitching a loose area is much easier to fix sooner rather than later. This proactive approach will keep your hat looking sharp and ready for whatever adventures come your way.
By following these simple maintenance tips, you can keep your crochet cowboy hat looking fabulous and ready to wear. Remember, you made this with your own hands, and with a little care, it can be a cherished item in your wardrobe for years to come. So don’t be shy-wear it proudly and show off your crafting skills!
Exploring Different Cowboy Hat Styles in Crochet
Cowboy hats come in a delightful variety of styles, making them a fantastic canvas for your crochet creativity! Whether you’re aiming for a simple, classic look or something more intricate with flair, you can customize your crochet project to reflect your personality and style. Each design can bring a different vibe, so let’s explore some popular cowboy hat styles and how you can bring these ideas to life in your own crocheted creation.
Classic Western
The classic cowboy hat style features a wide brim and a high crown. This is the quintessential look often seen in Western films. To achieve this style, use a sturdy yarn, such as cotton or a cotton blend, to help hold the shape of the hat. You can opt for traditional colors like tan, brown, or black, or jazz it up with vibrant shades if you prefer a modern twist. As you work, make sure to keep your stitches consistent to ensure a smooth finish.
Floppy Brim
Floppy-brimmed cowboy hats offer a more casual, relaxed aesthetic and are perfect for outdoor activities. They are generally wider and have a less structured brim, which makes them comfortable to wear. For this style, you can use a softer yarn, like acrylic, to give that relaxed look. When crocheting, create a flexible brim by adjusting your stitches or using a larger hook size. This allows the brim to “flop” beautifully while still maintaining a stylish appearance.
Bucket Hat Twist
If you want to experiment with a fun and trendy take on the cowboy hat, consider crocheting a bucket-style hat with Western elements. This style combines the rounded shape of a bucket hat with decorative elements such as fringe or motifs. Choose vibrant yarns and colorful embellishments to make your creation stand out! This is a great option for festivals or summer outings, showcasing a playful spirit while still embracing the cowboy hat aesthetic.
Embellished Western Hats
For those who love to personalize their projects, embellished cowboy hats are a perfect way to express your creativity. Add leather or faux leather bands, crochet flowers, or beaded accents to give your hat a unique touch. You can even incorporate motifs that capture your interests, like animals or stars. By varying the textures and colors, you can create a hat that’s as individual as you are.
No matter which style you choose to pursue, remember that the beauty of crocheting lies in making it your own. Each hat tells a story – your story. So, gather your materials and dive into this fun, rewarding project. With each stitch, you’re not just crafting a hat; you’re creating a piece of wearable art. Get inspired, and let your imagination run wild!
Inspiring Examples: Cowboy Hats Made by Crafters
There’s nothing quite like seeing the creativity of fellow crafters brought to life in their unique cowboy hats! Whether simple or ornate, each creation tells a story and can spark fresh ideas for your own projects. Here are some inspiring examples of crochet cowboy hats made by enthusiasts just like you!
Classic Charm in Cotton
One popular design features a classic Western style created from sturdy cotton yarn. Many crafters chose earthy tones like tan or brown, giving their hats an authentic look perfect for country outings. One crafter, Emily, shared her hat using a textured stitch that maintained structure, allowing for a crisp, defined brim. If you want to try this style, aim for about 4-5 hours for your project, and consider adding a simple band of contrasting color for an eye-catching detail!
Floppy and Fabulous
Another fantastic example comes from a group of makers who embraced the floppy brim style. Using soft acrylic yarn, they crafted these hats for summer festivals. The relaxed, wider brims were achieved by working with a larger hook size, promoting that bendable vibe. For those of you wondering about ease, this style is beginner-friendly and can be completed in about 3-4 hours, making it a fun weekend project to sport at your next picnic!
Embellished Creativity
Want to add a personal touch? Consider the embellished Western hat, where crafters like Sarah went all out with embellishments. She added a crochet flower and a faux leather band, giving her cowboy hat a bohemian flair. You can mix and match textures with beads or even crochet small charms to attach to your design. Embellishments not only elevate your project but also provide the perfect opportunity to express your personality. For those ready to tackle this, it might take a bit longer-around 5-6 hours-but the results are absolutely worth it.
Feeling inspired? Remember, these creations showcase the beauty of crocheting: it’s all about your unique touch. No matter your skill level, you can absolutely create a stunning cowboy hat that reflects your style. So grab your yarn and hook, and let’s get crocheting! You’ve got this!
Sharing Your Cowboy Hat Creations with the Community
Sharing your completed cowboy hat with the crafting community can be one of the most rewarding aspects of crochet. It’s not just about showcasing your work; it’s also about connecting with fellow makers, gaining inspiration from others, and sharing tips that can help you and others grow as crafters. Whether you’ve crafted a classic Western hat or a funky floppy design, there’s a whole community out there eager to celebrate your creativity!
One of the best ways to share your creations is through social media platforms like Instagram, Pinterest, or dedicated crafting groups on Facebook. You can use popular hashtags such as #CrochetCowboyHat or #HandmadeHat to reach a wider audience. Don’t forget to share the story behind your project! For instance, if you made a hat for a specific occasion, like a themed party or festival, mention that in your post. This personal touch often resonates with others and invites more interaction.
Engagement with the Crafting Community
Participating in online forums, such as Ravelry or Reddit’s crochet groups, can also be incredibly beneficial. Here, you can ask questions, troubleshoot any issues, and share your successes. Consider starting a thread about your cowboy hat project-what stitches you used, any challenges you faced, and how you overcame them. Sharing these details not only helps others but also builds your confidence as a maker.
Now, let’s talk about support. When you post your creations, be open to feedback and encourage others to share their own projects. After all, crafting thrives on collaboration! Offer tips that worked for you, like yarn choices or sizing adjustments-these insights can significantly aid fellow crafters. Plus, if you come across an impressive hat made by someone else, don’t hesitate to compliment their work and ask for their techniques. Chances are, they’ll be thrilled to share!
So, get ready to connect and inspire! Your unique cowboy hat is more than an accessory; it’s a piece of art that can ignite others’ creativity. As you share your journey with the world, remember: every stitch tells a story, and your creations can encourage others to pick up their hooks and join in the fun. You can do this!
Frequently Asked Questions
Q: What type of yarn is best for crocheting a cowboy hat?
A: For crocheting a cowboy hat, cotton or acrylic yarn is ideal. These materials provide durability and a structured finish, essential for a well-shaped brim. Choose a medium-weight yarn (worsted) for the best results. Check the “Choosing the Right Yarn and Hook for Your Cowboy Hat” section in our article for specific recommendations.
Q: How can I add personal touches to my crocheted cowboy hat?
A: You can personalize your cowboy hat by adding embellishments like ribbons, beads, or appliqués. Use decorative stitches or varied colors to create unique designs. Refer to the “Adding Western Flair: Embellishments and Decorations” section for more creative ideas.
Q: What are common mistakes to avoid when crocheting a cowboy hat?
A: Common mistakes include using the wrong yarn weight, inconsistent tension, and neglecting to measure your head size before starting. For tips on problem-solving, see the “Troubleshooting Common Crochet Issues” section in our article, which offers practical advice.
Q: How do I wash and maintain my crocheted cowboy hat?
A: To maintain your crocheted cowboy hat, hand wash it in cool water with mild detergent, then reshape and air dry it. Avoid wringing it out to prevent distortion. Detailed care tips can be found in the “Tips for Maintaining Your Crochet Cowboy Hat” section.
Q: How do I know what size to make my crocheted cowboy hat?
A: Measure your head circumference and refer to the sizing guide in the article. Adjust your starting chain and rows accordingly for a perfect fit. The “Customizing Size: How to Fit Your Cowboy Hat” section provides helpful insights on this process.
Q: Can I use a crochet hook with a grip for making a cowboy hat?
A: Yes, using a crochet hook with a comfortable grip can significantly enhance your crocheting experience, especially for longer projects like a cowboy hat. It helps reduce strain on your hands. Check out the article’s section on “Choosing the Right Yarn and Hook for Your Cowboy Hat” for more hook tips.
Q: What techniques can I use to achieve a curved brim on my cowboy hat?
A: To achieve a curved brim, consider techniques such as shaping while crocheting and adding starch or fabric stiffener once completed. The “Techniques for Crafting a Curved Brim” section in our article elaborates on these methods for better results.
Q: Where can I find inspiration for crocheting unique cowboy hat styles?
A: You can find plenty of inspiration by exploring online platforms like Pinterest, crochet forums, and social media, where crafters share their designs. For more specific examples, refer to the “Inspiring Examples: Cowboy Hats Made by Crafters” section in the article.
Insights and Conclusions
Congratulations on embarking on your journey to crochet a stylish cowboy hat with a shaped brim! Remember, creating this eye-catching piece not only showcases your crafting skills but also adds a unique touch to your wardrobe. If you’re feeling inspired, consider exploring additional crochet patterns, like the cozy “Unbreakable Bond Crochet Blanket” for those colder evenings or a delightful handmade dress to wear on special occasions-perfect for pairing with your new hat!
Don’t forget to share your finished projects or any questions you might have in the comments; we love to hear from you! For more crochet tips and tricks, sign up for our newsletter and stay updated on the latest patterns and tutorials. Dive deeper into the world of crochet today and let your creativity shine. You’ve got this, and we’re here to support you every step of the way! Happy crocheting!
Get our latest guides, news, and insights highlighted in your Google Search & AI Overviews.