
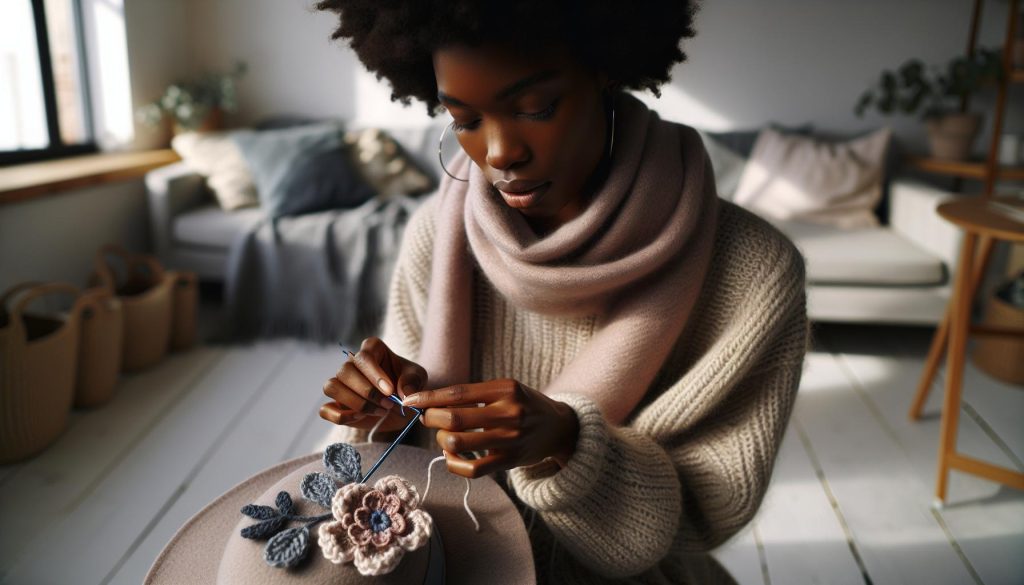
Crocheting a flower to embellish a hat is not just a fun project; it’s a fantastic way to add a personal touch to your wardrobe! Whether you’re looking to brighten up an old hat or create a unique gift for someone special, mastering this simple crochet technique can elevate your crafting game. You don’t need to be an expert to enjoy this creative endeavor. With just a few basic materials and easy-to-follow steps, you can bring a burst of color and charm to your accessories. Plus, crocheting can be a wonderfully relaxing and satisfying hobby! Get ready to unleash your inner maker-let’s dive into this delightful tutorial and transform yarn into beautiful blooms. You can do this!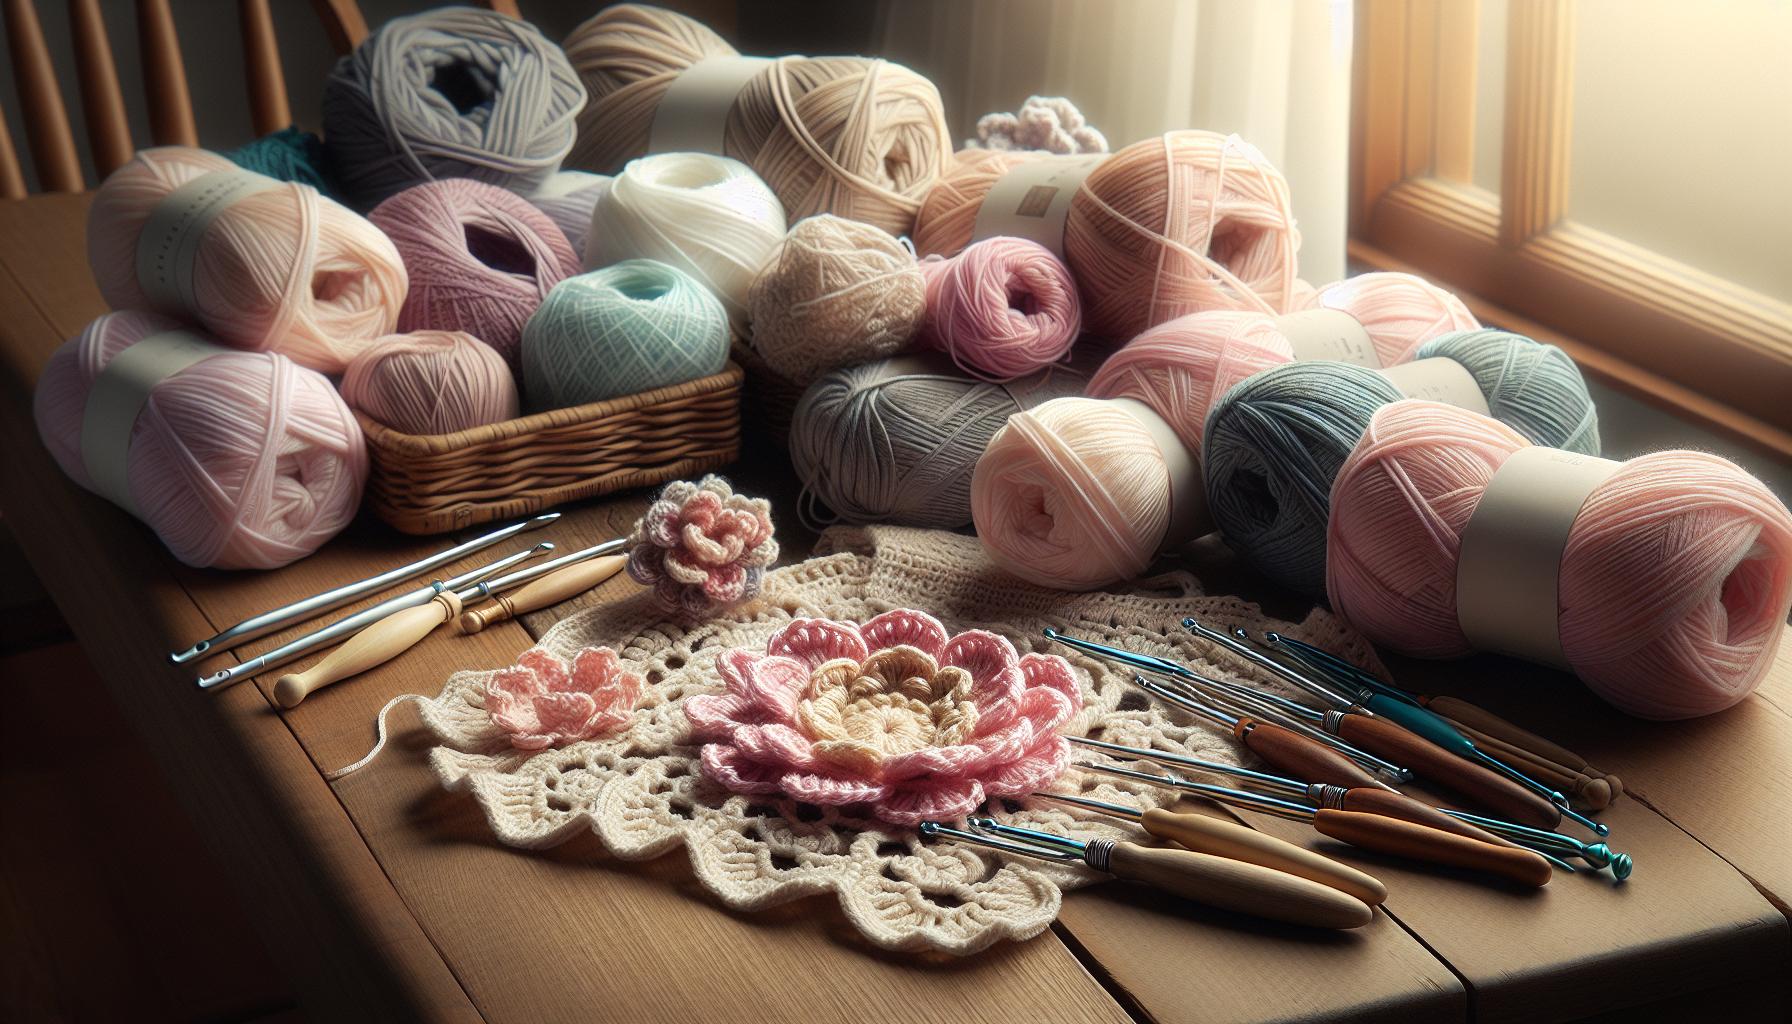
Choosing the Right Yarn and Hook for Crochet Flowers
Choosing the right yarn and hook can make all the difference in your crochet flower projects. For crochet flowers, a medium weight yarn (like worsted weight) is typically a great choice. It offers the perfect balance of structure and flexibility, making it easy to work with while helping your flowers maintain their shape. Cotton yarns, in particular, are excellent for floral designs due to their strength and crisp texture, giving your flowers a polished look.
When it comes to selecting your hook, you’ll want one that matches the yarn you’re using. For most worsted weight yarns, a size H-8 (5.0 mm) hook is ideal. This size allows for smooth stitching without compromising the yarn’s density. If you’re experimenting with different flower patterns, don’t hesitate to try a smaller hook for tighter stitches or a larger one for a looser, more airy effect.
Choosing Yarn and Hook: Helpful Tips
- Yarn Texture: Consider the texture. A smooth yarn will allow your hook to glide easily, reducing the risk of snagging.
- Color Choices: Flowers look stunning in vibrant colors or soft pastels-select shades that complement your hat design.
- Hook Material: Try different hook materials (aluminum, wood, or plastic) to find what feels comfortable for you. Wood hooks often offer more grip, while aluminum ones can be quicker for beginners.
Embrace the process of experimentation as you choose your materials. Remember, you’re crafting something uniquely yours, and finding the perfect yarn and hook combination will only enhance your enjoyable crocheting experience. Happy crocheting!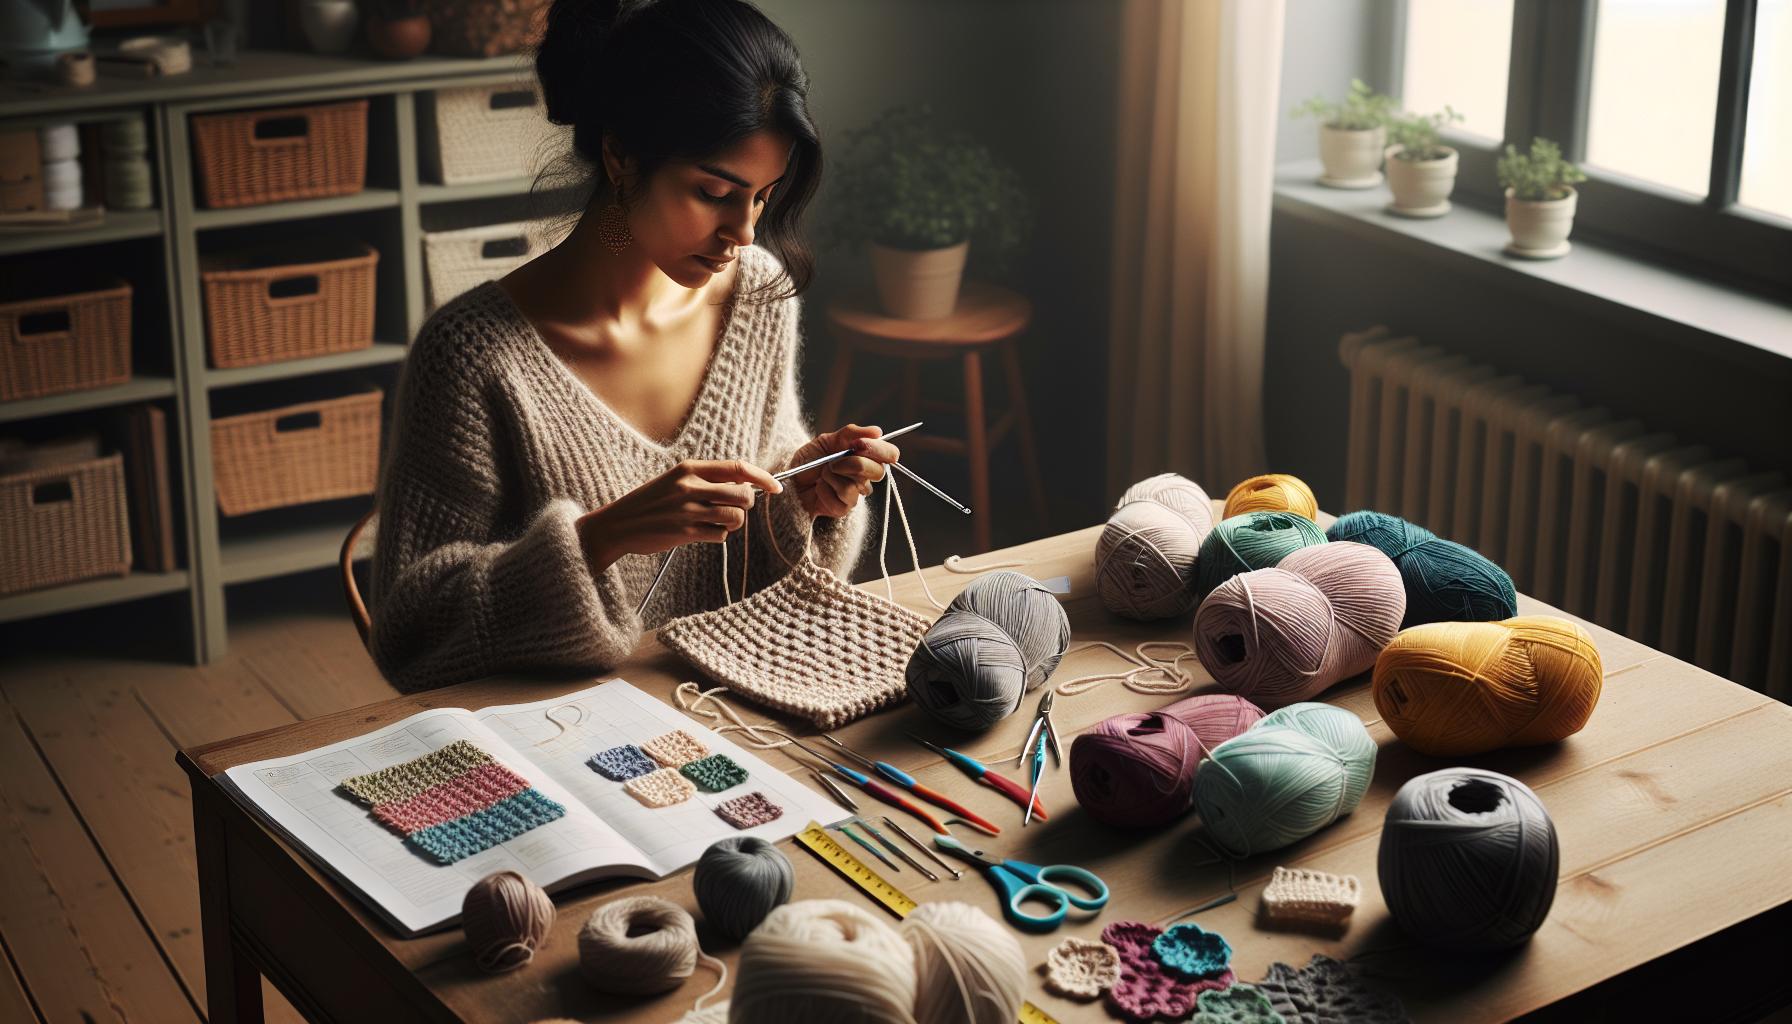
Essential Crochet Techniques for Beginners
Creating beautiful crochet flowers is a wonderful way to showcase your crafting skills while adding a personal touch to hats and other accessories. To get started on this delightful journey, it’s essential to familiarize yourself with some foundational crochet techniques. These basics will not only make your flower projects easier but will also help you build confidence and joy in your crochet practice.
One of the first techniques you’ll want to master is the slip knot. This simple knot forms the foundation for your crochet chain and allows you to easily attach your yarn to your hook. Chain stitches are next; they’re the building blocks of most crochet projects. Once you’ve got your chains down, practicing single crochet and double crochet stitches is crucial. These stitches form the core of many flower patterns. Don’t worry if your first few rows feel awkward; everyone starts somewhere, and the more you practice, the more fluid your movements will become.
A great way to get comfortable with these stitches is to create sample swatches. Make a small piece using different stitches and yarn weights to see how they feel and drape. This hands-on experience gives you a tactile understanding of your materials, boosting your confidence as you transition into flower-making. Remember, crochet is all about rhythm; find a pace that feels natural to you, and don’t hesitate to undo and redo until you’re satisfied with your work.
Keep in mind that tension is key in crochet, especially when crafting delicate floral designs. Aim for consistent stitches by relaxing your grip on the yarn and hook. This ensures that your flowers look neat and professional. If you find your tension is too tight, try taking a step back and focusing on making your movements more fluid. You’ve got this! With each stitch, you’re not just creating a flower; you’re cultivating your skills and expressing your creativity. Happy crocheting!
Easy Step-by-Step Guide to Crochet a Basic Flower
Creating a basic crochet flower is not only a fantastic starting project for those new to the craft but also a delightful way to add a personal touch to your hats and accessories. Flowers are quick to make and allow your creativity to blossom! With just a few materials and some simple stitches, you can craft a beautiful flower in no time. Let’s dive into the step-by-step process so you can make your first piece.
To get started, gather your materials. You’ll need a medium-weight yarn (like worsted weight), a pair of crochet hooks (typically size H or I works well), a pair of scissors, and a yarn needle for weaving in ends. Once you’re set up, you can begin by making a slip knot and chaining 4 stitches to form your ring.
Step-by-Step Guide
- Form the Ring: After creating your slip knot and chaining 4, join your chain with a slip stitch into the first chain to create a small loop.
- First Round: In your ring, crochet 10 double crochets. This will form the petals of your flower. Once done, join with a slip stitch to the top of your first double crochet.
- Second Round: To create a more textured flower, chain 2 (this counts as your first half double crochet) and then alternate between 2 half double crochets and 1 slip stitch in each stitch around. This will give your flower a ruffled effect. Join with a slip stitch once you complete the round.
- Finishing Touches: Complete your flower by fastening off and weaving in any loose ends with your yarn needle. You can now attach it to a hat, bag, or anywhere else for a bit of flair.
As you gain confidence in making your basic flower, you can experiment with different yarn colors and textures to create unique designs. You might even consider using smaller hooks for tighter stitches or larger hooks for a looser appearance. Remember, each flower you create will flourish with your personal touch-so have fun and embrace the joy of crafting! You can do this!
Creative Variations: Different Flower Patterns to Try
Exploring new flower patterns is one of the most exciting parts of crocheting flowers! Each design brings its own flair and style, allowing you to express your creativity and enhance your projects. From delicate daisies to vibrant sunflowers, the possibilities are endless. Not only will these patterns amp up your hat embellishments, but they can also serve as charming accents on bags, scarves, and home decor items.
Popular Flower Patterns to Try
Here are a few fun and engaging variations to bring into your crochet flower repertoire:
- Classic Granny Square Flower: This pattern combines the beloved granny square technique with floral elements. Create a small granny square in bright colors and then attach petals around it. This gives a cozy, patchwork look perfect for those cozy hats.
- 3D Rose: For a more sophisticated touch, a 3D rose pattern can add drama and elegance to your hat. These roses typically involve multiple layers of petals, creating depth and texture. You can crochet several in different sizes to build a bouquet effect!
- Succulent Flower: Take inspiration from nature’s beauty by crocheting succulents! These flowers often feature thick stitches that mimic the rounded, fleshy leaves of succulents, giving them a wonderfully unique appearance.
- Petaled Flowers: These are great for beginners! Simply crochet a circle and add petals as you go-easy to customize with various colors and sizes!
As you dive into these flower patterns, remember to play with different yarn weights and textures. Using lighter yarns for delicate flowers or chunky yarns for bold statements can completely change the look of your work.
Experiment with Techniques
Don’t be afraid to mix techniques! Try combining basic stitches like single crochet and double crochet to create more visual interest. You might also incorporate beads or buttons in the center of flowers for a pop of flair or even use a combination of stitches to form unique petal shapes. Adding embellishments or varying the number of petals can turn a simple pattern into an eye-catching centerpiece.
The beauty of crocheting flower patterns is that there is no right or wrong way to do it. Each flower reflects your style and creativity. So, grab your yarn and hook; let your imagination bloom with these creative variations! You can do this!
Adding Color: Using Multi-Colored Yarn Effectively
Exploring the vibrant world of crochet flowers opens up a universe of colors waiting to bloom. Using multi-colored yarn can elevate your floral creations, adding depth and interest to even the simplest patterns. Don’t shy away from experimenting! The magical mix of color can transform a basic flower into a stunning centerpiece for your hat or any accessory.
When working with multi-colored yarn, consider the color transitions carefully. For instance, yarns that shift gradually from one hue to another can create a beautiful ombre effect on your flowers. This technique works especially well in petals, where the changing colors can mimic the natural gradients found in real blooms. Alternatively, consider using yarn with speckles or variegated patterns; these can add playful texture to your work without needing extra effort on your part.
Tips for Effective Color Use
- Choose Complementary Colors: Look for color combinations that harmonize well together. For example, pairing shades of blue with yellows can give a fresh, lively look to your flowers. Use a color wheel as a guide to select hues that enhance each other.
- Plan Your Design: Before starting, visualize or sketch your flower. Decide where you’d like to see the most color variation. Will the center be a bold contrast, or will the petals showcase the color flow?
- Practice Simple Stitch Techniques: Incorporate stitches that allow the yarn’s color changes to shine, such as double crochet or cluster stitches. These stitches provide enough texture to highlight the yarn’s nuances.
- Use Small Samples: If unsure how a color scheme will look, crochet a small sample flower. This way, you can see how the colors blend and make adjustments before committing to your larger project.
By understanding how to mix and match your yarn effectively, you can create flower designs that pop with personality. Remember, it’s all about having fun with your crafting, so embrace the process! You can do this, and the results will speak for your creativity. So gather your yarns, let your imagination take flight, and watch your crochet flowers bloom beautifully with color!
Best Crochet Flowers for Hat Embellishments
Adding crocheted flowers to hats is a delightful way to infuse personality and charm into your accessories. Each flower type brings its own flair, and the best part is, you’re in control of the colors and styles used. Whether you prefer bold, eye-catching blooms or delicate, understated accents, there’s a perfect crochet flower for every hat design.
One fantastic option is the classic petal flower. These bloom-shaped embellishments can be crafted in multiple layers or even with varying sizes, making them versatile for any hat style. A simple five-petal flower is beginner-friendly and quick to make, yet it can transform a plain beanie into a charming statement piece. You can add dimension by crocheting each petal in a different color or use a gradient yarn for a seamless look. Another great choice is the crochet daisy; its cheerful appearance adds brightness to any winter hat and enhances sunny-day styles alike.
For those looking for something with a bit of texture, consider 3D flowers. These flowers usually have a puffier body that stands out more dramatically against the hat fabric. They’re perfect for adding a textural element; think of a crochet rose or a succulent-inspired flower for a modern twist. To make them sturdier, use a slightly thicker yarn and a larger hook, which provides more substance and visual interest.
Regardless of the type you choose, think about the color palette that complements your hat. Seasonal colors can make your creations feel fresh and relevant. For winter, rich jewel tones work wonderfully, while pastel hues shine in spring. Don’t hesitate to experiment with different combinations and remember, you can do this! Each flower you create adds your unique touch to every piece, making it special and truly one-of-a-kind.
As you crochet these flowers, engage with your creativity and let each petal blossom into a splendid accessory. Enjoy the process of making something lovely that not only showcases your skills but also enhances your wardrobe!
Embellishing Your Flower: Beads, Buttons, and More
Adding embellishments like beads and buttons to your crocheted flowers can elevate your designs and personalize your creations in delightful ways. Not only do these additions enhance the visual appeal, but they also allow for endless customization. Whether you prefer a minimalist touch or a more vibrant look, embellishing your flowers becomes a fun and creative extension of your crochet skills.
To begin, choose your embellishments based on the style of your flower and hat. Here are some popular options to explore:
- Beads: Small beads can add a touch of sparkle and interest. Look for translucent or colored beads that complement your yarn. Sew them onto the center of your flower for a stunning focal point.
- Buttons: Vintage or decorative buttons work beautifully as centers for your flowers. They add character and can be a delightful way to repurpose old buttons from your stash.
- Fabric Flowers: Mix crochet with small fabric flowers for a layered look, creating a playful contrast in textures.
When you’re ready to attach your chosen embellishments, keep the following tips in mind. First, ensure that your crochet flower has a sturdy base; this will help support the additional weight of your beads or buttons. If your flower is delicate, consider reinforcing it with extra stitches around the center.
Next, use a needle and thread to securely attach the embellishments. For beads, thread them one at a time, knotting them into place with a few tight stitches to prevent any movement. If you’re adding buttons, you can sew them through to the flower back, making sure they lay flat.
Remember, the key to successful embellishing is to balance your design. If you opt for a heavily embellished flower, consider keeping the rest of your hat decor subdued. Likewise, a simpler flower can shine brightly when combined with bold embellishments.
The process should feel light and joyful-explore different combinations and try new techniques. Ultimately, your goal is to create something that reflects your individual style. You can do this! Let your flowers flourish with uniquely chosen embellishments and enjoy each stitch in this creative journey.
Attaching Flowers Securely to Your Hat
Attaching your beautiful crocheted flowers to a hat can take your creation from simple to stunning. The way you secure your flowers is crucial-not only for aesthetics but also for ensuring that they stay put during wear. You might be wondering how to do this effectively, so let’s dive into some friendly tips and techniques that will help you achieve a polished look.
To start, choose the right location on your hat for the flower. Popular spots include the side or front brim, where the flower can stand out without obstructing your view. Once you’ve selected the perfect placement, it’s time to attach your design. Here’s a straightforward method to ensure your flower sits securely:
- Use a Needle and Thread: With a needle and some sturdy thread (matching or contrasting based on your style), you can sew the flower directly to the hat. Start by making a small stitch through the base of the flower and into the hat. Pull until snug but be careful not to pull too tightly, which could distort the flower’s shape.
- Reinforce with Multiple Stitches: To enhance stability, go through the flower and hat multiple times, forming a small star pattern around the back of the flower. This creates a strong foundation and ensures the flower won’t flop around.
- Check the Back: After you’ve added several stitches, flip your hat over to check how it looks from the back. Ensure that there are no loose threads that could snag or cause discomfort when worn.
If you’re looking for a quicker solution or prefer not to sew, fabric glue can be a great alternative. Apply a generous amount of fabric glue to the back of the flower, then press firmly onto the hat. Allow it to dry completely before wearing for the best results. Just keep in mind that while glue is effective, it may not withstand heavy wear and washing as well as sewn flowers.
Lastly, don’t shy away from experimenting! You can create a bouquet of flowers on your hat or layer them for a dramatic effect. You can do this! Remember, every flower you attach tells a story and adds a personal touch to your accessory. Enjoy crafting and expressing your unique style with every stitch!
Maintaining Your Crochet Flowers: Care and Tips
To keep your crocheted flowers looking fresh and vibrant, a little care goes a long way. These delicate embellishments can enhance your hats beautifully, but without proper maintenance, they can lose their charm. Whether you’ve adorned your favorite hat with a single blossom or a bouquet, follow these easy tips to ensure they remain a stunning feature of your accessory for years to come.
First, consider the materials used in creating your flowers. If you’ve used yarns that can withstand a bit of wear and tear, like cotton or acrylic, your flowers will likely hold up nicely. However, for those made from more delicate fibers, keep in mind that they may need a little extra TLC. Always hand wash your hats gently in cold water with mild detergent to prevent the stitches from stretching out or the colors from bleeding. Gently squeeze out excess water without wringing, and lay the hat flat to dry. This method helps retain the flower’s shape and color.
Storage is equally important in maintaining the integrity of your crocheted flowers. When you’re not wearing your hats, store them properly to avoid crushing the embellishments. Consider using hat boxes or simply keep them on a shelf in a way that doesn’t crush the flowers. If you’re short on space, placing the hats upside down on a flat surface will help preserve their shape while keeping the flowers intact.
Lastly, don’t forget to give your flowers periodic checks. Look for any loose threads or signs of wear. If you notice any small issues, tackle them right away by re-tying knots or adding a few stitches to reinforce the flower. Regular care not only keeps your flowers looking new but also gives you the chance to reflect on your beautiful handiwork and the joy of creating something special by hand. Remember, with just a bit of effort, you can keep your crocheted creations blooming beautifully!
Showcase: Inspiring Hat Designs with Crocheted Flowers
Flower-embellished hats can elevate your wardrobe, making even the simplest design feel enchanting. There’s something particularly delightful about seeing a beautifully crocheted flower perched atop a hat, adding a personal touch and a pop of color. Whether you’re crafting for yourself or making a special gift, capturing inspiration from existing designs can ignite your creativity and help you visualize how your flowers can transform different styles.
Examples of Stunning Hat Designs
Consider how a classic beanie becomes a work of art with the addition of a crochet flower. A simple, solid-colored beanie can serve as the perfect canvas for a bright, multi-petal flower. You might choose a warm palette to match autumn leaves or vibrant colors for a cheerful summer look. For a charming effect, try sewing multiple smaller flowers along the side of the hat, creating a whimsical garden feel.
Another popular design is the sun hat, perfect for those sunny days. A wide-brimmed sun hat adorned with crocheted daisies showcases not only your crochet skills but also provides shade with style. In this case, larger flowers can be crafted using a bulkier yarn, adding texture and depth. Attach these blooms using safety pins or secure them directly to the hat’s band, making it easy to switch them out depending on your outfit.
Accessorizing with Flowers
When it comes to accessorizing with your flowers, think about different sizes and styles. A slouchy beanie can benefit from a larger flower positioned to one side, giving it a trendy, relaxed look. On the other hand, a fitted cap could utilize smaller, delicate flowers scattered across the fabric, offering an understated yet charming embellishment. You can even experiment with varying flower patterns, such as layering a simple flower under a more intricate one for a three-dimensional effect.
No matter how you choose to embellish your hat, the key is letting your personality shine through. Embrace the joy of crocheting, and remember that with each flower, you are not just creating an accessory, but a unique statement piece that reflects your individual style. So grab your yarn and hook, and let your creativity bloom!
Troubleshooting Common Crochet Flower Mistakes
Creating beautiful crocheted flowers is a rewarding experience, but sometimes things don’t go as planned. Whether you’re a newbie or have some crochet experience, encountering mistakes is part of the journey. Don’t let these hiccups dampen your creative spirit! Here’s a helpful guide to troubleshoot common crochet flower mishaps.
One frequent issue crocheters face is uneven petals. This can occur if your tension is inconsistent or if you’re unintentionally skipping stitches. To fix this, focus on maintaining a steady tension throughout your work. Try using a stitch marker to keep track of your rounds, and if you notice a petal looks smaller, take a moment to count your stitches; you might need to unravel and redo that section to achieve uniformity. Remember, it’s all part of the process-each flower will improve with practice!
Another common problem is flowers that curl or bunch up instead of lying flat. This can happen due to using the wrong yarn weight or crochet hook size. Always refer to your pattern’s recommendations, but if you’ve deviated, such as using a thicker yarn, you might need to increase the number of stitches in each round or block the finished flower to help it maintain its shape. Blocking can involve dampening your flower and laying it flat on a towel to dry, which can dramatically improve its appearance.
For those moments when your flower seems more like a tangled mess than a lovely bloom, take a deep breath! It could be a simple case of having too many ends to weave in or a part of the flower where the yarn split. Spend a little time carefully reworking the tricky areas, using a tapestry needle for weaving in ends securely. This attention to detail will enhance not only your flower but also your overall crafting confidence, reminding you that every maker encounters bumps along the way.
Lastly, if you find your finished flower doesn’t look like the one in the tutorial, don’t be too hard on yourself. Personal style is part of the creative process! Embrace the uniqueness of your flowers, and remember that sometimes, the most beautiful pieces come from happy accidents. Keep experimenting, and let your creativity flow-before you know it, you’ll have a delightful bouquet of crocheted flowers ready to showcase on your favorite hat!
Sharing Your Creations: Connecting with the Crochet Community
Sharing your crochet creations, especially those delightful flowers that can brighten up any hat, is one of the most rewarding parts of being part of the crochet community. Not only does it celebrate your hard work, but it also inspires others to pick up their hooks and join in the fun. Plus, connecting with fellow crafters can provide encouragement, techniques, and valuable feedback. Whether you’re a seasoned pro or just starting, there’s a vibrant community waiting to connect with you.
To showcase your work, consider using social media platforms like Instagram or Pinterest where hashtags like #CrochetFlowers or #HandmadeAccessories can help you reach fellow enthusiasts. Share photos of your crocheted flowers on hats, perhaps paired with a little story about your creation. Did you use a new color combination? Was it a gift for a friend? Engaging narratives can foster connections and spark conversations. You can also join dedicated crochet groups on Facebook or forums like Ravelry, where you can share your projects, ask questions, and even participate in challenges or swaps.
Attend local yarn shops or crochet meet-ups if available in your area. These gatherings are perfect for sharing tips, showing off your latest creations, and learning from others’ experiences. Don’t hesitate to bring a few of your flowers-be it on hats or as standalone pieces-to share with others! You might inspire someone new to try their hand at crochet flowers, or you could even exchange tips on achieving that coveted perfect petal.
Remember, every flower you crochet brings joy not only to you but also to those you share it with. Celebrate your progress and share your unique style. The crochet community thrives on creativity, and your contributions are a part of that beautiful tapestry. Happy crocheting, and don’t forget-every stitch you take adds to the collective art of crochet!
Frequently asked questions
Q: What is the best yarn for crocheting flowers for hats?
A: The best yarn for crocheting flowers is usually a worsted weight yarn or cotton yarn, as these provide a good structure and vibrant colors. Choose yarn that is soft yet durable, ensuring your flower maintains its shape when attached to a hat. Check the “Choosing the Right Yarn and Hook for Crochet Flowers” section for details.
Q: How do I make sure my crochet flower stays secure on the hat?
A: To ensure your crochet flower stays secure on the hat, use a strong yarn and sew it down with a needle and thread through several points on the flower. This helps distribute the weight and prevents it from falling off. Refer to “Attaching Flowers Securely to Your Hat” for tips on techniques.
Q: Can I crochet flowers using multi-colored yarn?
A: Yes, you can definitely use multi-colored yarn to crochet flowers! It adds a unique flair and can create stunning visual effects. Just make sure to handle the transitions carefully to avoid tangling. Check out the section on “Adding Color: Using Multi-Colored Yarn Effectively” for some guidance.
Q: What should I do if my crochet flower patterns are turning out uneven?
A: If your crochet flower patterns are uneven, consider checking your tension and ensuring you’re using the correct hook size. Practice uniform stitches and avoid pulling too tightly. Explore the “Troubleshooting Common Crochet Flower Mistakes” section for more insights.
Q: How long does it take to crochet a flower for a hat?
A: Crocheting a flower can take anywhere from 20 minutes to an hour, depending on your skill level and the complexity of the pattern. For beginners, starting with simple designs can help build confidence and speed. Check the “Easy Step-by-Step Guide to Crochet a Basic Flower” for a quick start.
Q: Are there specific flower patterns that work best for hat embellishments?
A: Yes, some flower patterns are particularly suited for hat embellishments, like simple daisy or rose designs, which balance size and detail well. These flowers add a lovely touch without overwhelming the hat. Refer to “Best Crochet Flowers for Hat Embellishments” for pattern inspirations.
Q: What embellishments can I add to a crocheted flower on a hat?
A: You can enhance your crocheted flower with embellishments like beads, buttons, or sequin accents to add sparkle. These details can make the flower stand out more on the hat. Explore “Embellishing Your Flower: Beads, Buttons, and More” for creative ideas.
Q: How can I care for my crochet flowers on hats?
A: To care for your crochet flowers, hand wash them gently in cold water with a mild detergent, then reshape and air dry. Avoid machine washing to maintain their appearance. For care tips, see “Maintaining Your Crochet Flowers: Care and Tips” in the article.
Concluding Remarks
Congratulations on learning how to crochet a beautiful flower for your hat! This simple yet stunning embellishment can truly transform your accessories. Remember, the key to mastery is practice, so don’t hesitate to try different styles and colors to make it your own. If you loved this project, check out our tutorials on crochet scarves and baskets to expand your skills further! You can find them linked in the description.
Don’t forget to share your creations in the comments below-we’d love to see your unique designs! For more crochet inspiration and tips, subscribe to our newsletter and be the first to know about our latest patterns and tutorials. Your crafting journey has just begun; dive into the world of crochet and let your creativity shine!
Get our latest guides, news, and insights highlighted in your Google Search & AI Overviews.