
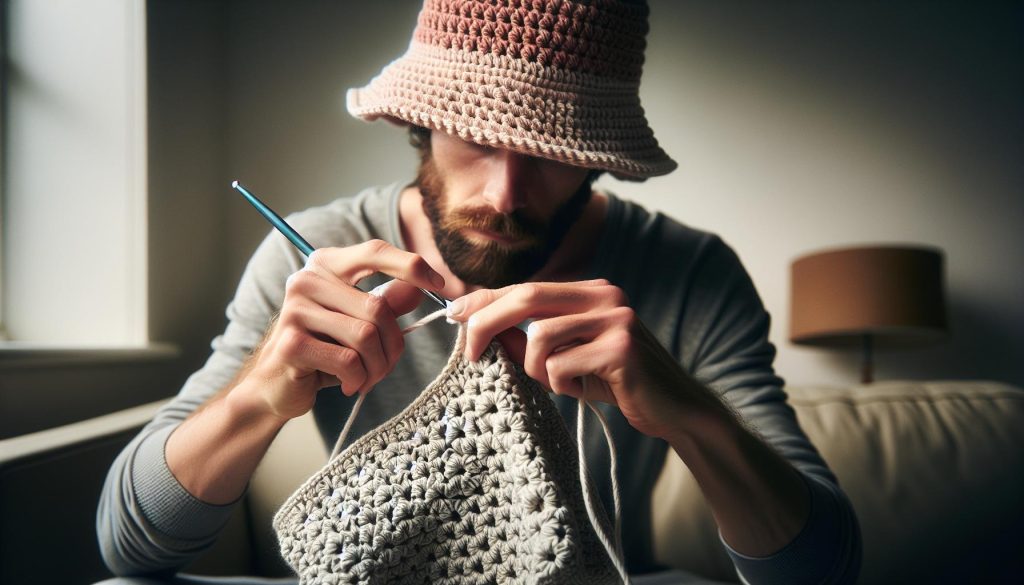
If you love crochet and want to make something truly unique, why not try your hand at creating a Granny Square Bucket Hat? Not only is this stylish accessory perfect for sunny days, but it also brings a retro flair that pairs beautifully with any outfit. Plus, it’s a fun project that can be tailored to your personal style with endless color combinations!
Crocheting a Granny Square Bucket Hat allows you to flex your creative muscles while honing your crochet skills. You’ll find that working with granny squares is not only satisfying but also a delightful way to use leftover yarn. Whether you’re a newbie or an experienced crafter, this project caters to all skill levels and provides a wonderful opportunity to showcase your handiwork. So grab your hook and some yarn, and let’s dive into this step-by-step guide that will have you sporting your new hat in no time. You can do this!
Understanding Granny Square Basics for Beginners
Creating granny squares can be a delightful and rewarding experience, especially for those venturing into crochet. Did you know that each unique square not only contributes to a larger project but also tells a story of creativity and skill? Understanding the foundational elements of granny squares equips you with the tools to craft vibrant, retro-style bucket hats that add a personal touch to your wardrobe.
To begin, let’s look at what makes granny squares so special. A traditional granny square is typically composed of a simple combination of chains and double crochets, formed into a square. This basic structure allows for endless variation in color and design, making it an ideal starting point for beginners. Start with a slip knot and a chain of 4 or 6 to create the center ring, then follow by working into this ring to build your square. The beauty lies in how each square can differ based on your chosen colors and stitches, so don’t be shy to experiment!
When crocheting your granny squares, pay attention to a few key tips to make the process enjoyable and fruitful. First, use a stitch marker to keep track of which round you’re on, especially as your squares grow larger. Second, remember that tension is your friend; maintain a consistent yarn tension to ensure uniformity across your squares. Lastly, don’t hesitate to incorporate different stitch patterns into your squares once you feel comfortable with the basics. This playful exploration can elevate your project and give your bucket hat a unique flair. You’ve got this, and with every stitch, you’ll grow more confident in your crochet journey!
Choosing the Right Yarn and Hook for Your Hat
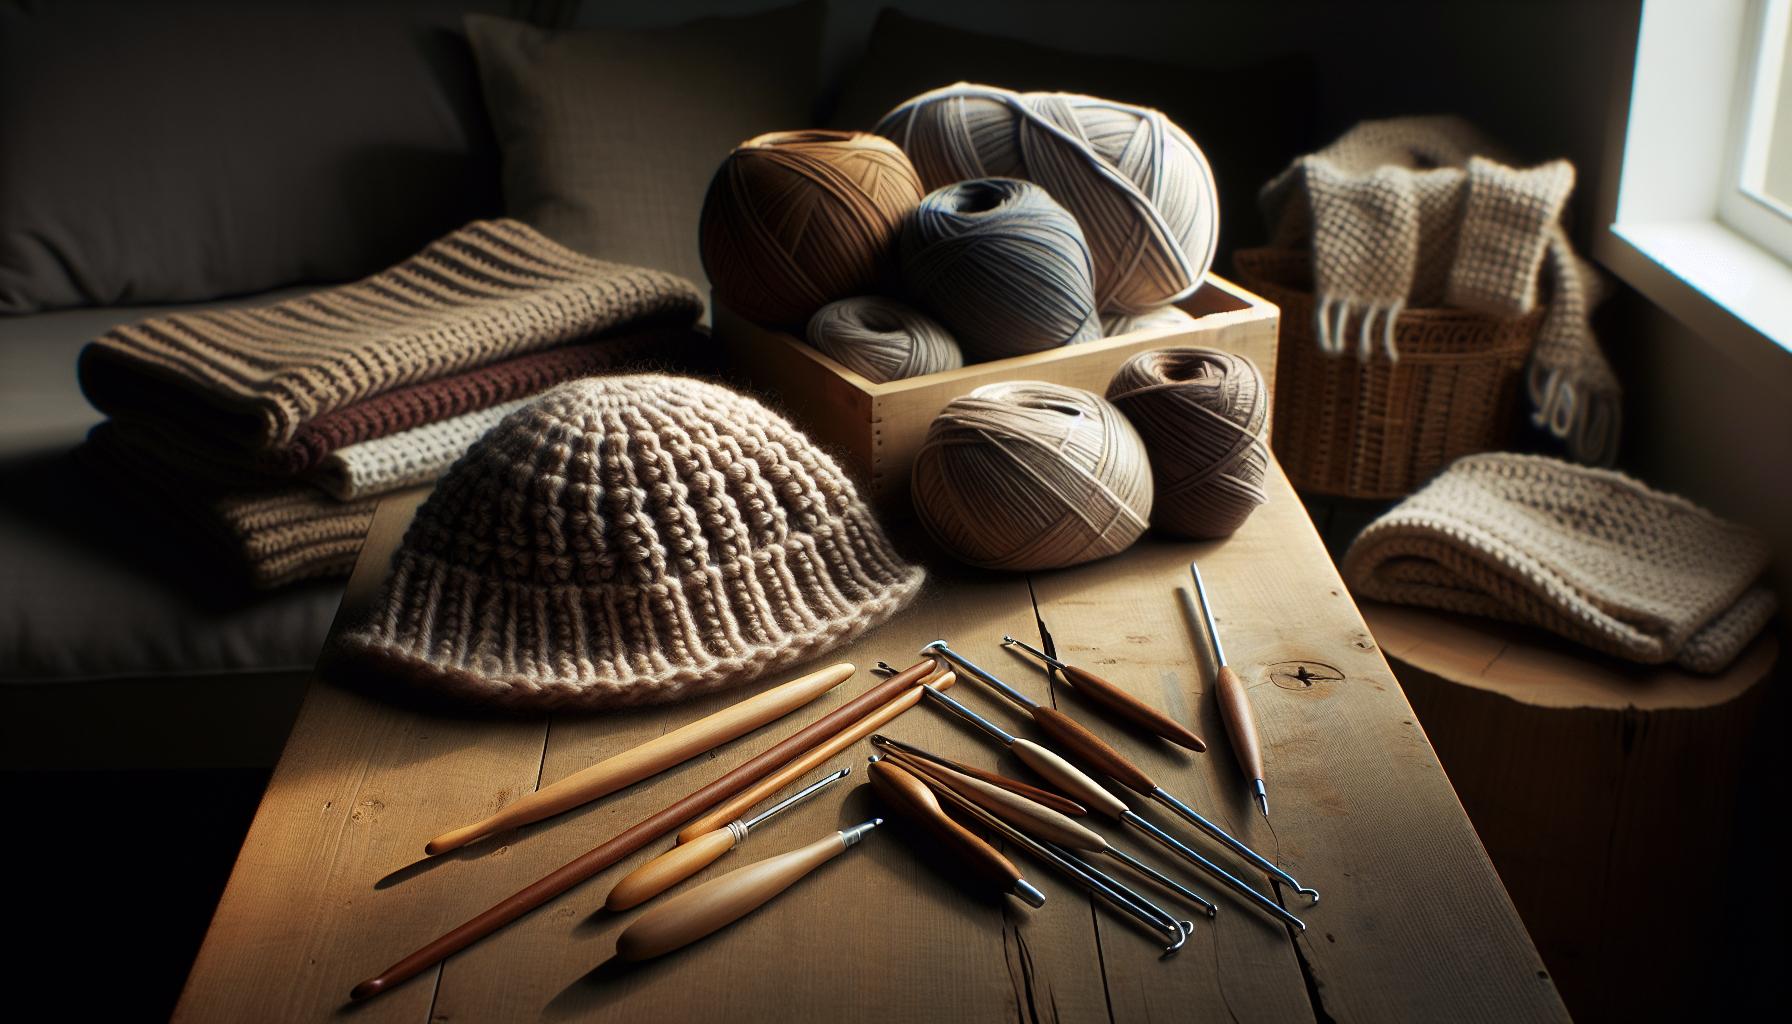
Choosing the right yarn and hook for your granny square bucket hat is a delightful step in your crochet journey. The choice of materials can significantly impact the look and feel of your finished project, so let’s explore what you need to consider to make the best choices.
First up is yarn selection. For a bucket hat, you’ll want something that provides structure yet offers a bit of flexibility. Worsted weight yarn is typically a solid choice for beginners, as it’s easy to work with and readily available in a myriad of colors. Look for fibers that are soft but durable; acrylic blends are fantastic for vibrant hues and easy care. If you prefer a more luxurious feel, consider natural fibers like cotton or bamboo. These materials not only breathe well, making your hat comfortable to wear, but also create a lovely drape.
Next, let’s talk about hook size. The crochet hook you choose should complement your yarn weight; for worsted weight yarn, a size H (5.0 mm) or I (5.5 mm) hook works beautifully. These sizes provide a good balance, allowing for tight stitches without making crochet too difficult for beginners. When selecting your hook, remember that different fibers can cause your stitches to vary slightly. If you’re using cotton yarn, you might want to go up a size to avoid a too-tight tension, ensuring your squares turn out neat and uniform.
Here’s a quick checklist to keep in mind:
- Yarn Type: Choose between acrylic, cotton, or bamboo.
- Weight: Worsted weight is ideal for beginners.
- Hook Size: Use H or I based on your yarn choice.
- Comfort: Ensure your yarn feels nice in your hands while working.
Remember, the goal is to create a hat you’ll love wearing. Don’t hesitate to experiment with various fibers and colors until you find the perfect combination that resonates with your style. You can absolutely do this, and with each choice, you’ll get closer to crafting that fabulous granny square bucket hat!
Step-by-Step Guide to Crocheting a Granny Square
Starting your journey into crocheting granny squares is an exciting adventure, especially as you envision them coming together into a trendy bucket hat. Granny squares are perfect for this project as they not only display vibrant colors but also allow you to express your creativity through various patterns. If you follow these straightforward steps, you’ll be well on your way to creating your own beautiful squares!
To begin, gather your materials: a worsted-weight yarn in your chosen colors, a size H (5.0 mm) crochet hook, and a pair of scissors. Having a yarn needle on hand for weaving in ends can make your finishing work much smoother. The entire process might take around 30 minutes to an hour per square, so find a comfy spot and enjoy the rhythm of crocheting.
Now, let’s dive into the steps for crafting your granny square:
1. Start with a Slip Knot
Create a slip knot on your hook. This slip knot will be the foundation for your first stitch.
2. Chain Four
Yarn over and pull through to create a chain of four stitches. This forms a small loop, which is crucial for the next step.
3. Form a Ring
Join the last chain to the first chain with a slip stitch to create a ring. This will be the center of your granny square.
4. Begin the First Round
Inside the ring, crochet three chains (this counts as your first double crochet). Then, make two more double crochets into the ring. Follow this with a chain two for a corner. Repeat the pattern of three double crochets followed by a chain two, working a total of three corners around the ring. Join with a slip stitch to the top of the starting chain.
5. Construct Additional Rounds
For the second round, slip stitch to the next chain two space. Chain three and create two double crochets in the same space. Follow with a chain two and then three double crochets in the same space. Repeat this for each corner, joining with a slip stitch to finish the round.
6. Finish Off Your Square
After completing your desired number of rounds (typically three or four gives a nice size), cut your yarn, leaving a long enough tail to weave in later. Pull the tail through the last loop to secure it.
You can mix and match colors for each round to create an eye-catching patchwork effect! Each granny square you make can be unique, so feel free to experiment with different color combinations and stitch placements. Remember, this is your creation, and the joy of crafting lies in the freedom to express your individual style. You can do this, and before you know it, you’ll have a fabulous collection of granny squares ready for your stylish bucket hat!
Designing Your Bucket Hat: Color and Pattern Ideas

Designing your bucket hat is where your creativity truly shines! Each granny square gives you a chance to play with colors and patterns, making your hat a unique accessory. Start by considering a palette that inspires you; colors can evoke feelings and memories, so choose shades that resonate with your style. A retro motif style often features bright colors, bold contrasts, and playful combinations, so don’t be shy about mixing and matching.
When selecting colors, think about balance. You might want to pick three to five main colors that complement each other. For instance, a combination of sunny yellow, sky blue, soft pink, and fresh green can bring a cheerful vibe to your hat. To create a more muted, vintage look, consider pastels or earth tones like terracotta, mustard, and olive green. Here are some tips to help you design your squares:
- Choose a Dominant Color: Let one color take the lead in your design, using others to accentuate and enhance it.
- Experiment with Contrasts: Dark colors can be balanced with bright shades to add depth and visual interest.
- Incorporate Patterns: Use different stitch styles for different squares, like adding popcorn stitches in some or stripes in others for textural diversity.
As for patterns, consider traditional granny squares for a classic vibe, but feel free to branch out into variations like solid squares or diagonal stripes. Think of incorporating motifs or icons that reflect your personality or interests, such as flowers or geometric shapes. The goal is to create an eye-catching and cohesive look that tells a story through your chosen elements.
Lastly, plan the arrangement of your granny squares. Lay them out before joining to see how they interact with one another. Play around until you find a composition that feels right to you. This is your hat, and it should reflect your unique style! Remember, the best part about creating with yarn is that there are no rules-get excited and have fun with it! You can do this, and you’re sure to end up with a fabulous hat that will turn heads.
Assembling Your Granny Squares for the Bucket Hat
As you sit down to bring your colorful granny squares together, think of this step as piecing together a beautiful quilt-one that you’ll wear with pride! Assembling your squares is where all your hard work pays off, and it’s easier than you might think. The key is to work systematically and enjoy the process; remember that each square tells a part of your story, making your bucket hat a truly personal creation.
Start by laying out your squares in a layout that pleases you. You might want a balanced look or perhaps choose a more random arrangement for a whimsical flair. Take a step back and view the layout from a distance. Walk around your squares and switch them up as needed until you find a composition that feels right. Once satisfied, it’s time to join them together! You can choose between different joining methods, but the whip stitch or slip stitch are both beginner-friendly options that create neat, less bulky seams.
Joining Your Squares
Here’s a quick guide to joining your squares using the whip stitch:
- Position Your Squares: Place two squares right sides together, lining up the edges.
- Thread Your Needle: Use a yarn needle with a long tail of yarn to thread through; make sure it matches your square colors for a seamless look.
- Start Stitching: Insert your needle through the top loops of both squares, pulling through to create a tight join. Repeat every couple of stitches until you reach the end, making sure to keep tension evenly across the seam.
- Secure and Trim: Once you’ve reached the edge, secure the last stitch by weaving in the tail. Trim excess yarn, taking care not to cut the seam!
Be sure to reference any tutorials or visual guides, which can be immensely helpful. Assembly can be a time-consuming process, but don’t rush it; take breaks if needed. Each stitch contributes to the character of your hat, and soon enough, you’ll notice how your project begins to come together into something wonderful. You can do this! Once all your squares are joined, you’ll have a gorgeous base ready for the next exciting step-adding the brim! This is where you can let your creativity soar even further. Keep up the fantastic work; your stylish bucket hat awaits!
Adding a Brim: Techniques for the Perfect Finish
To create a stunning finish on your crochet bucket hat, adding a well-structured brim is essential. Not only does it provide sun protection, but it also enhances the overall aesthetic of your hat, giving it that chic, retro vibe. There are various techniques for crafting a brim, each offering a unique style. The beauty of this project is that you can customize your brim size, shape, and stitch type to suit your personal taste.
You’ll want to start by deciding on the style of brim you prefer. A simple flat brim can be achieved by working in rounds, while a wider, floppy brim might call for more stitches and a relaxed tension. For a classic look, consider using half double crochets or double crochets to give your brim some height and texture. This will not only add to the visual appeal but also help the brim maintain its shape.
To get started, follow these steps:
- Choose Your Yarn: Use the same yarn as your body if you want a cohesive look, or switch it up for contrast.
- Determine Your Starting Point: Attach your yarn at the base of the hat, where your squares join. Make sure to start stitching in a manner that flows with your current squares.
- Work in Rounds: Begin your rounds with a foundation chain and then continue with your chosen stitch. For a flat brim, you might want to crochet in a continuous round to avoid any unsightly seams.
- Add Extra Width: To create a floppy look, increase your stitches every few rows. For instance, if you’re working in double crochet, add an increase stitch every 4th or 5th stitch.
- Finish Off: Once you reach your desired width, finish with a row of slip stitches to give the brim a polished edge.
Don’t hesitate to play with colors or even create a striped effect by changing yarns every few rounds. The brim is your canvas to express your creativity, so let it shine! Remember, the more you practice your stitches, the more comfortable you’ll feel, transforming what might seem complex into a fun, achievable task. Enjoy this crafting journey-soon enough, you’ll be sporting a fabulous bucket hat that’s uniquely you!
Embellishments to Personalize Your Granny Square Hat
Add a personal touch to your crochet bucket hat with some thoughtful embellishments! Personalization is what makes your handmade piece truly yours, and there are countless ways to enhance your granny square design. From simple motifs to striking accents, embellishments can transform a straightforward hat into a bold statement piece or a charming accessory.
One of the easiest ways to adorn your hat is by incorporating flowers or decorative patches. These can be crocheted separately and sewn on, or you can create them directly on the hat. Consider using different yarn textures or colors-the contrast can add depth and intrigue. For example, a vibrant flower featuring a combination of yellows and oranges stitched onto a pastel-colored hat creates a lovely pop of color that is eye-catching and vibrant.
Here are some creative ideas for embellishments:
- Buttons and Beads: Adding mismatched buttons or decorative beads to your granny squares can give your hat a whimsical flair. Sew them on at the center of squares or randomly across the hat.
- Ribbons or Bows: A simple ribbon can be threaded through the stitches of the brim or tied into a bow as a charming accent.
- Appliqués: Crochet small shapes like hearts, stars, or even initials, then stitch them onto your hat for a personalized touch.
- Fringe or Tassels: Adding a fun fringe along the brim or attaching tassels to the top of the hat can give it a playful boho look.
When considering which embellishments to use, think about your personality and style. Are you going for something bold and colorful, or perhaps something more subtle and classic? You can also match your embellishments to your favorite outfits, ensuring your hat becomes a versatile staple in your wardrobe.
Don’t forget to have fun with it! The beauty of crafting is that there are no hard-and-fast rules-let your creativity shine! With a bit of practice, you’ll find that these embellishments not only elevate the appearance of your hat but can also enhance your skills as a crocheter. After all, you can do this; it’s about enjoying the process and embracing your unique style!
Caring for Your Crochet Hat: Maintenance Tips
To keep your handmade bucket hat looking fabulous for years to come, it’s essential to adopt a caring routine that preserves the beauty and integrity of your work. After all, you put so much love and effort into crocheting those charming granny squares! A little bit of maintenance goes a long way in ensuring your hat remains a staple accessory in your wardrobe.
Washing Your Hat
Start by checking the type of yarn used for your bucket hat. If you used cotton or another washable yarn, you’re in luck! For washing, it’s best to hand wash your hat in cool water with a gentle detergent. Avoid wringing it out, as this can distort the shape. Instead, press the water out gently in a towel and reshape it while damp to its original form. If your hat features embellishments, like buttons or beads, ensure they are securely attached to avoid any mishaps during washing.
Storing Your Hat
When it comes to storage, place your hat in a dry, cool area. Avoid crushing it under heavy items; instead, consider storing it on a shelf or in a designated box. If you’re worried about dust or potential damage, a breathable fabric bag can protect it while allowing air circulation. Remember to keep it out of direct sunlight for extended periods, as this can cause colors to fade.
Checking for Damage
Regularly inspect your hat for any signs of wear or damage. Look for loose yarns or frayed edges. If you do spot any issues, don’t fret! You can easily fix these by re-sewing or crocheting small repairs. Keeping your hat in good condition enhances its lifespan and allows you to enjoy your craftsmanship longer.
By following these simple yet effective maintenance tips, you can ensure your crocheted bucket hat stays vibrant and functional. Remember, you can do this! Caring for your hat not only safeguards your creative work but also reinforces the joy that comes from making something with your own two hands. Happy crocheting!
Creative Ways to Style Your Granny Square Hat
Your unique granny square bucket hat is not just a stylish accessory; it’s a canvas for self-expression! Styling it can be a fun adventure, and there are countless ways to make it your own. From casual outings to chic events, the versatility of this hat allows you to create looks that suit any occasion. Plus, each styling option can reflect your personality and creativity. Let’s explore some engaging ways to give your granny square hat a standout flair.
Mix and Match with Outfits
Your bucket hat pairs wonderfully with a variety of outfits. Consider wearing it with relaxed, bohemian attire, like an oversized denim jacket and a flowy sundress. The play of textures complements the crochet aesthetic beautifully. For a more urban look, try it with a simple crop top and high-waisted jeans. Don’t shy away from bright colors or bold patterns-your hat is a conversation starter! Remember, the key is to balance your patterns; if your hat is vibrant, opt for more subdued clothing to let it shine.
Accessorizing for Impact
Adding accessories can take your styling to the next level. Here are some ideas:
- Sunglasses: Oversized or cat-eye frames can add a playful touch.
- Jewelry: Layered necklaces or statement earrings work well without overpowering your hat.
- Scarves: Tie a brightly colored scarf around the brim of your hat for a splash of color and a vintage vibe.
Mixing textures through accessories can create a balanced look, helping to highlight your handcrafted hat.
Seasonal Styling Tips
The beauty of a granny square bucket hat is its adaptability across seasons. In warmer months, go for lightweight fabrics and breathable materials to keep cool. Pair your hat with a crisp white tank top and shorts for a classic summer vibe. As the weather cools down, think layering. Style your hat with a fitted turtleneck and a cozy cardigan. Transitioning into winter? Switch it up with a chic trench coat, making sure the hat complements the coat’s color palette.
You can absolutely do this! Remember, the main goal is to have fun and express yourself. So, don’t hesitate to experiment with different combinations and find the styles that make you feel confident and comfortable. Your crochet creations are a reflection of your creativity, and styling them uniquely only adds to their charm!
Troubleshooting Common Crochet Issues
Crocheting a granny square bucket hat can be a joyous adventure, but like any creative project, you may encounter some challenges along the way. Understanding common crochet issues can save you time and frustration, and help you produce the beautiful, unique piece you envision. With a little patience and these troubleshooting tips, you can navigate through any hiccups and keep your crafting experience enjoyable.
One common issue is tension. If your granny squares look uneven, your tension may be too tight or too loose. A good way to check is to ensure your stitches are consistent across all squares. To adjust your tension, play around with your hook size. If your squares are too tight, switch to a larger hook; if they are too loose, try a smaller hook. Remember, you can always practice with scrap yarn until you find a comfortable tension that works for you!
Another frequent problem is joining your squares neatly. If the seams look messy, try to use a whip stitch or slip stitch for a cleaner finish. Lay the squares together with the right sides facing each other and carefully stitch along the edges. The goal is to keep the stitches snug but not overly tight, allowing for a clean look without puckering. If you realize you’ve made a mistake, don’t panic-simply use a yarn needle to carefully undo the stitches and rejoin as needed.
Finally, if you notice your hat doesn’t fit well, it’s often due to the crochet pattern not matching your gauge. Always check your gauge before starting a project by crocheting a small sample square. If your sample differs from the pattern, adjust by using a different hook size. You’ve got this! Crocheting should be fun, so don’t hesitate to experiment and tweak your design until it feels just right. By addressing these common issues, you’ll not only enhance your crochet skills but also create a stunning piece that reflects your personal style. Happy crocheting!
Inspiration from Retro Motif Styles: Trends and Ideas
Embracing retro motifs in your crochet projects can transform a simple bucket hat into a stunning statement piece. With the resurgence of 70s and 80s styles, granny squares are taking center stage in the world of fashion. The colorful, geometric shapes not only pay homage to the past but also allow for endless personalization and creativity. Choosing bold, contrasting colors or soft, pastel palettes can set the tone for your hat and reflect your unique personality.
When selecting a color scheme, consider drawing inspiration from vintage patterns. Retro colors like burnt orange, mustard yellow, and olive green can evoke the warmth of summer days, while a classic black and white pairing can give your hat a chic and timeless appeal. Create a mood board with your favorite retro images and color swatches to visualize your design. This will help keep your creative momentum going as you dive into your project. A simple mix-and-match technique can also be fun-try combining solid squares with patterned ones for a dynamic look!
Another great way to enhance your hat’s retro vibe is by incorporating different stitches into your squares. For instance, experimenting with popcorn stitches, shell stitches, or even the classic double crochet can add texture and depth. These variations not only beautify your project but can also make your final piece truly one-of-a-kind. When assembling your squares, don’t be afraid to mix shapes and sizes; it’s all about playful experimentation. The beauty of crochet lies in its flexibility-if something doesn’t turn out as expected, embrace it as part of your creative journey!
Finally, draw from your favorite vintage looks or fashion icons to inspire your style and embellishments. Think wide-brimmed hats adorned with oversized flowers or playful pom-poms for an extra pop. Pinterest is a fantastic resource for seeing how others have interpreted retro styles in their own crochet projects. Remember, the goal is to have fun and reflect your personality in every stitch. You can do this! Let nostalgia guide your creativity, and soon you’ll have a bucket hat that’s not just a fashion accessory but a nostalgic piece of art. Happy crocheting!
Sharing Your Finished Project: Social Media Tips
Sharing your finished crochet projects on social media can be both thrilling and rewarding! Not only does it allow you to celebrate your creativity, but it also connects you with a community of fellow crafters who share your passion for handmade artistry. Whether you’ve created a striking granny square bucket hat adorned with retro motifs or a cozy blanket, showcasing your work invites feedback, inspiration, and camaraderie. Here’s how to do it successfully!
Start by capturing vibrant photos that truly highlight the details and colors of your project. Natural light can work wonders, making your work pop. Try taking pictures from different angles: a close-up on the texture of your granny squares or a wide shot of you wearing your new hat can tell a visual story. Consider these tips to elevate your photography game:
- Use a clean background: A simple, uncluttered backdrop can make your project stand out.
- Show the process: Include behind-the-scenes shots of your crochet journey. It adds context and authenticity!
- Incorporate props: If your bucket hat is inspired by nature, hold it against a floral backdrop or wear it in a blooming garden.
Once you’ve taken those stunning photos, it’s time for the fun part: crafting your post! Think of a catchy caption that reflects your excitement. Whether you share the pattern you followed, the yarn choices you loved, or the challenges you overcame, your story encourages others and fosters community. Use relevant hashtags to reach a wider audience-some great options might include #CrochetHat, #GrannySquareStyle, or #RetroCrochet. Engaging with other makers in the comments and challenges helps build relationships; don’t hesitate to ask questions or share tips!
Lastly, don’t forget to share your final project on platforms like Instagram, Facebook, and Pinterest to inspire others. Join crochet groups or communities where you can post your work and get involved in crochet-alongs. Whether you’re a beginner or a seasoned pro, your creations deserve to be seen. You can do this and inspire others along the way! Happy sharing!
Frequently Asked Questions
Q: What materials do I need to crochet a Granny Square Bucket Hat?
A: To crochet a Granny Square Bucket Hat, you’ll need yarn, a crochet hook (size depending on your yarn), scissors, and a tapestry needle for weaving in ends. A measuring tape is also helpful for sizing. For detailed choices, refer to our section on Choosing the Right Yarn and Hook for Your Hat.
Q: How long does it take to crochet a Granny Square Bucket Hat?
A: Crocheting a Granny Square Bucket Hat typically takes 3 to 5 hours, depending on your skill level and the complexity of the design. This estimate includes the time for making Granny Squares, assembling them, and adding embellishments.
Q: Can I customize the size of my Granny Square Bucket Hat?
A: Yes, you can easily customize the size of your Granny Square Bucket Hat. To do this, simply increase or decrease the number of Granny Squares you make and adjust the foundation chain in your Step-by-Step Guide to Crocheting a Granny Square section for a snug fit.
Q: What is the best stitch to use for a Granny Square?
A: The double crochet stitch is the most popular for making Granny Squares due to its ease and versatility. It creates a nice, open fabric that allows for a variety of patterns. For more details, check our Step-by-Step Guide to Crocheting a Granny Square.
Q: How do I add a brim to my Granny Square Bucket Hat?
A: To add a brim, crochet a row of double crochets around the bottom edge of your hat, and then work additional rounds to achieve your desired width. Refer to our section on Adding a Brim: Techniques for the Perfect Finish for specific instructions.
Q: What embellishments can I add to a Granny Square Bucket Hat?
A: You can personalize your Granny Square Bucket Hat with buttons, flowers, or patches. Consider sewing on contrasting colors or attach a decorative band around the base for a unique touch. Explore more in the Embellishments to Personalize Your Granny Square Hat section.
Q: Are there color pattern ideas for my Granny Square Bucket Hat?
A: Absolutely! You can explore bold contrasting colors or create a pastel palette for a subtler look. Additionally, incorporating retro patterns can enhance the vintage vibe. For more ideas, see our Designing Your Bucket Hat: Color and Pattern Ideas section.
Q: How can I care for my crocheted hat?
A: To care for your crocheted hat, hand wash it in cold water with mild detergent and lay it flat to dry. Avoid wringing it out to maintain its shape. For further maintenance tips, please read our Caring for Your Crochet Hat: Maintenance Tips section.
In Conclusion
Congratulations on mastering the art of crocheting your very own Granny Square Bucket Hat! This stylish piece not only showcases your creativity but also keeps you in tune with retro trends. If you enjoyed this project, why not explore other fun crochet patterns? Check out our collection of easy crochet tutorials for fun accessories, or dive into playful amigurumi projects that are perfect for all skill levels.
We know you might have questions about yarn choices or the best crochet hooks-don’t hesitate to drop them in the comments! For more expert tips and tricks, consider signing up for our newsletter to stay updated on the latest crochet techniques. Remember, the joy of crafting is just a hook away, so gather your supplies and create more unique pieces that express your style. You can do this! Happy crocheting!
Get our latest guides, news, and insights highlighted in your Google Search & AI Overviews.