
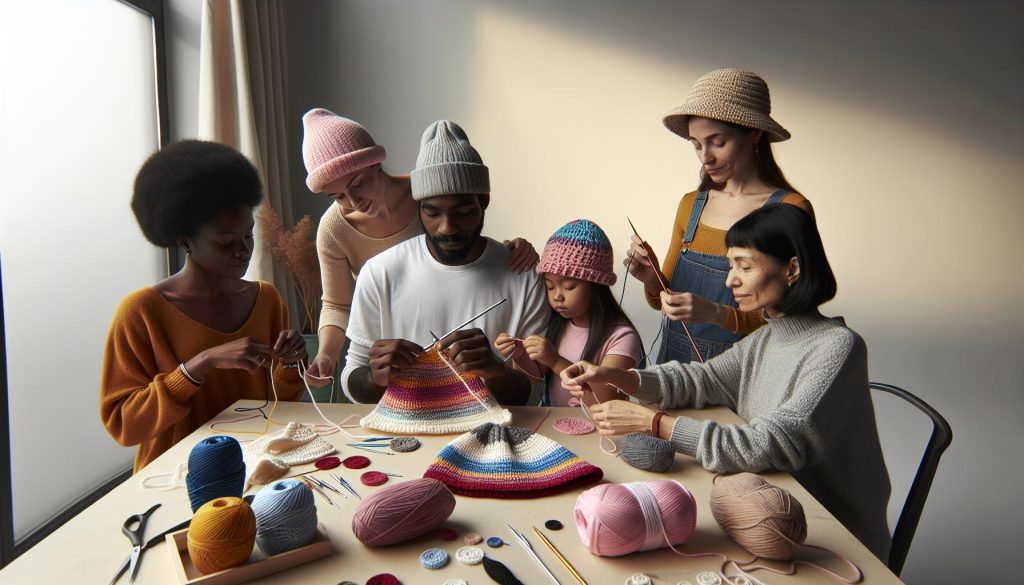
Crocheting a hat is a fantastic first project that blends creativity with practicality. Whether you’re seeking a cozy gift or a stylish addition to your wardrobe, knowing the right technique-like joining rounds or seaming panels-can make a world of difference in your finished piece. Many crafters face the struggle of uneven seams or awkward joins, often feeling discouraged. But fear not! In this guide, you’ll discover straightforward methods that anyone can master, regardless of skill level. With clear instructions and tips to ensure a seamless look, we’ll turn this rewarding craft into an enjoyable experience. So grab your yarn and hooks; you’re just a few steps away from making your very own hat!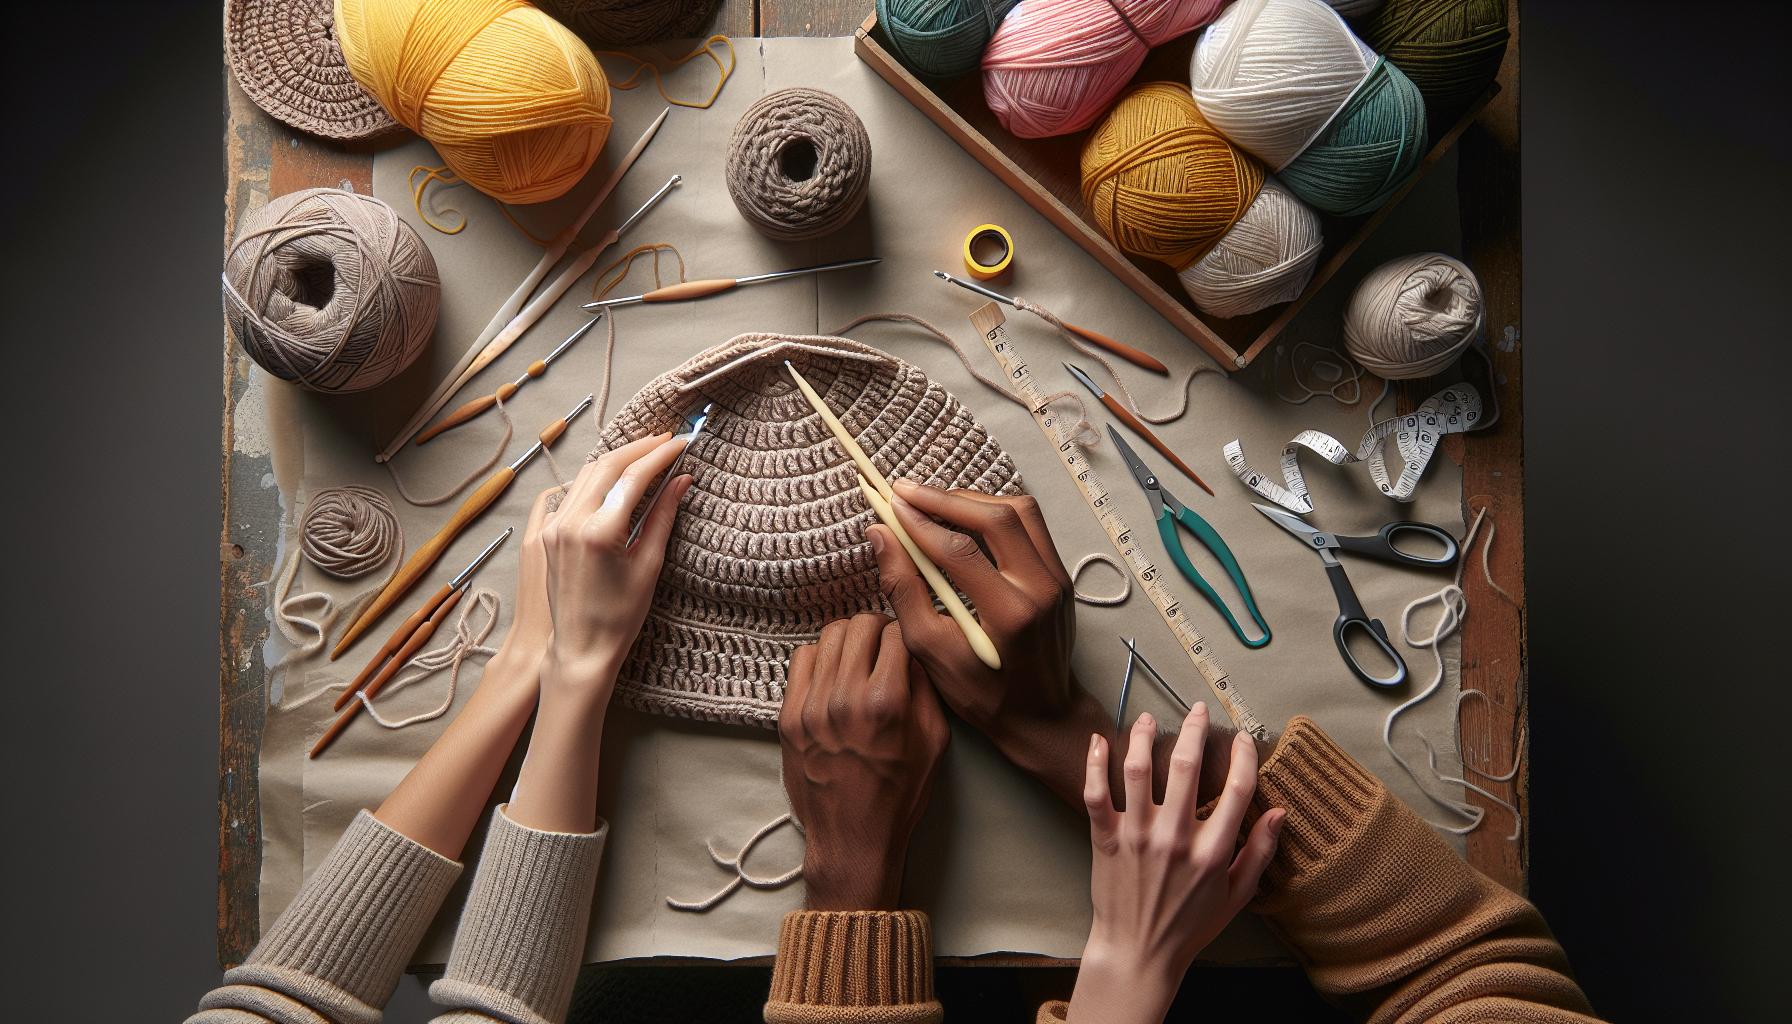
Understanding Crochet Hat Construction Techniques
Crafting a crochet hat can feel like a magical journey from yarn to cozy wearability. The essence of hat construction lies in understanding the techniques that bring your unique design to life. Whether you’re starting with a simple pattern or diving into complex shapes, knowing how to effectively seam panels or join rounds ensures your hat has a polished finish and fits beautifully.
When constructing your hat, you’ll typically follow one of two methods: crocheting in the round or working with panels. If you choose to crochet in the round, you create a continuous fabric that eliminates seams, resulting in a smooth finish perfect for beanies or slouchy hats. This technique often involves using a stitch marker to keep track of your rounds, ensuring you don’t lose your place. You can easily transition from the crown to the body of the hat by adjusting your stitch count, which can lead to creative shaping opportunities like adding a ribbed band or a textured stitch pattern.
Seaming Techniques
If you opt for panel construction, seaming becomes crucial. You’ll crochet separate sections-often the body and the brim-and assemble them. A common method is the slip stitch, as it creates a low-profile seam that’s almost invisible from the outside. Alternatively, a whip stitch can offer a more decorative edge if you want to show off your handiwork. Whichever seaming method you choose, it’s essential to match your yarn and stitch tension to avoid puckering at joins.
Understanding these construction techniques not only helps in the technical execution but also opens up a whole world of creative possibilities. From using different yarn weights to experimenting with unique stitch patterns, each decision impacts the overall look and feel of your hat. Remember, crochet is about exploration and comfort-be brave in trying new methods, and don’t hesitate to rip out sections that don’t meet your vision. You’ll find joy in the process, and through practice, you’ll create hats that are truly one-of-a-kind.
Essential Materials for Crochet Hat Making
When you embark on your crochet hat-making adventure, gathering the right materials is key to ensuring your project goes smoothly and results in a beautiful, wearable creation. Not only will the right supplies enhance your crafting experience, but they will also elevate the final product’s appearance and durability. Here’s a breakdown of what you need to get started on your crochet hat.
The most important material is, of course, your yarn. Choose a yarn that suits the look and feel you want for your hat. Soft acrylic or cotton yarn is great for beginners, while wool blends offer warmth and a cozy touch. Aim for a medium weight yarn (like Worsted weight) for most classic hat patterns, as it provides a good balance between structure and softness. If you’re feeling adventurous, try a chunky yarn for a quick project or a finer yarn if you want something more delicate. Don’t forget to check your yarn label for gauge recommendations, as this will help you match your hat size to your recipient’s head or your own!
Next, you’ll need the right crochet hook. The size of your hook should correspond to your yarn weight; for most medium-weight yarn, a 5.0mm (H-8) hook works well, but always check your yarn label for specific guidance. If you’re new to crocheting, consider investing in an ergonomic hook for added comfort, especially during longer projects. You might also find it useful to have a stitch marker on hand. This little tool is invaluable for keeping track of your rounds in both panel construction and when crocheting in the round, preventing any confusion as you progress with your design.
Finally, gather a few essential accessories to make your crochet journey enjoyable. A pair of scissors for snipping your yarn, a tapestry needle for weaving in loose ends, and a measuring tape for ensuring the right fit are all handy tools that can streamline your process. Bonus points for having fun stitch markers or decorative elements that can add a personal flair to your workspace!
Remember, every hat is a chance to express your creativity, so feel free to experiment with colors, textures, and designs. You’ve got this! Each stitch you make is a step closer to crafting a unique hat that you (or someone special) will cherish. Happy crocheting!
Beginner-Friendly Methods to Join Hat Rounds
When you begin crocheting a hat, understanding how to effectively join rounds can make a big difference in achieving a seamless look. For beginners, there are several user-friendly techniques that can help you join your rounds cleanly and confidently. This is especially important if you’re choosing to work in the round rather than constructing panels, as it sets the foundation for a professional finish.
One of the simplest methods to join rounds is the slip stitch join. To do this, once you’ve completed your last stitch of the round, insert your hook into the first stitch of the round, yarn over, and pull through both loops on your hook. This creates a neat transition into the next round while keeping the edge flat. If you want to maintain a smooth transition, try using a stitch marker to mark your beginning stitch in each round. Move the marker up with each round, so you’re always aware of where to finish your current round.
Another beginner-friendly method is the chain join. Instead of connecting with a slip stitch, you can chain 2 after completing your last stitch, which will help elevate the next round and minimize the “jog” that can occur when changing rounds. This technique works well for double crochets and taller stitches, ensuring your hat maintains a consistent shape. If you find your edge too bulky, decrease the number of chains or consider using a smaller hook size for your joining chains.
For those looking to add an extra touch of style, the invisible join might be worth exploring. After finishing the last round, pull the last loop through to the front of your work. Then, use your tapestry needle to weave through the front loops of your first row to create a nearly invisible finish. This technique takes a bit of practice, but it’s great for achieving a polished look in your projects.
Remember that joining rounds can take some experimentation to find what feels right for you. Don’t be discouraged if it doesn’t look perfect at first! You’re developing your skills, and every stitch is a step towards mastery. Embrace the learning process and enjoy the excitement that comes with creating something uniquely yours. Happy crocheting!
Advanced Seam Techniques for Professional Finishing
Crafting a crochet hat requires not just creativity but also skill in finishing techniques that elevate your project from handmade to handmade with flair. If you’re ready to take things up a notch and achieve that polished, professional look, advanced seam techniques will be your new best friends. These methods do more than just hold your pieces together; they create visually seamless finishes that enhance the overall design.
One popular technique is the whip stitch, perfect for joining panels. This method creates a sturdy seam and can be used effectively on various materials. To start, align your panels with the right sides facing out. Using a contrasting yarn for clarity, thread your needle and come up through both pieces, securing your yarn in the seam. Continue stitching along the edge, ensuring each stitch pulls the panels snugly together without puckering. This technique not only provides strength but lends a clean edge, making it ideal for hats featuring multiple elements or colors.
Another method to explore is the flat slip stitch. This technique can be a game changer when finishing the top of a hat where a tidy look is essential. Begin by folding your hat’s edges inward and securing with a few stitches to prevent slipping. Using a slip stitch, pick up a small amount of the fabric from both layers, moving in a back-and-forth motion around the crown. This creates a nearly invisible seam and minimizes bulk, perfect for creating a refined look that elevates your hat’s appeal.
Embrace these techniques as tools in your crochet arsenal, and remember that practice makes perfect. You can do this! As you refine your skills, you’ll not only enhance your crochet projects but also build a sense of confidence in your crafting journey. Don’t hesitate to experiment with these methods to find what works best for your style. Happy crocheting!
Creative Ways to Seam Panels for Unique Hats
Creating unique hats can be an exhilarating journey, and the way you seam the panels is crucial to making your project stand out. Different techniques not only impact the structural integrity of your hat but also its overall aesthetic. Embrace creativity by experimenting with various seaming methods that can transform a basic design into a true statement piece.
One exciting technique to explore is the reverse single crochet, also known as the “crab stitch.” This method not only adds a lovely twisted edge to your seams but also creates texture that enhances the visual appeal of your hat. To achieve this, simply yarn over and pull through the stitch from right to left instead of the traditional left to right. This creates a unique look while finishing off the edges. You can use this technique around the brim for a stylish touch that sets your hat apart.
Another innovative approach is the joined double crochet, which is excellent for combining panels with less bulk. Instead of using a standard slip stitch to join, incorporate a double crochet stitch. This method allows for a seamless transition with a slight elevation that can add dimension to your design. To do this, create a double crochet in the last stitch of the previous row and the first stitch of the new row simultaneously. This technique works wonders for slouchy hats or beanies where a subtle detail keeps the design interesting.
Practical Tips for Seaming Success
- Choose the Right Yarn: Use a yarn that complements your project. A similar texture can enhance the seam’s look.
- Don’t be afraid to mix colors: Experimenting with contrasting yarn for seams can highlight panel joins and add flair.
- Practice your tension: Consistent tension is key. Too tight can pucker the fabric, while too loose can create gaps.
You can totally tackle these techniques, whether you’re a seasoned crocheter or just starting out. Remember, every seam is an opportunity to express your individuality. Embrace the adventure of seaming, and soon, you’ll discover the perfect methods that resonate with your style. Enjoy the process and celebrate your creative journey!
Tips for Troubleshooting Common Crochet Joining Issues
Troubleshooting joining issues in crochet can feel daunting, but you’re definitely not alone. Many crocheters, regardless of experience level, encounter challenges when assembling their projects. The key to overcoming these hurdles is understanding the common pitfalls and knowing how to correct them. With some patience and practice, you’ll be able to tackle these issues seamlessly!
One common issue is uneven joins that create unsightly gaps or bulky seams. This often occurs when your stitch tension differs between panels or rounds. To remedy this, try to maintain a consistent tension throughout your work. An excellent technique to ensure better tension alignment is to pay close attention to your starting stitch for each new round. Opt for a stitch marker to mark the beginning of your round, allowing you to see the stitch clearly and keep your work even. If you notice a gap after joining, simply pull the stitches tighter and adjust your hook size for a snugger fit.
Another frequent problem is the dreaded “twisted seam,” which can happen when working in the round. This usually results from not checking your work before joining. To avoid this, take a moment to lay your project flat and ensure it’s not twisted before making that final connection. When joining rounds, try using a slip stitch instead of a regular stitch to create a smoother transition. If you still find twisting problematic, consider adjusting your pattern to create a flat panel rather than working in rounds entirely.
Lastly, if your panels seem to bunch or pucker, take a closer look at your yarn and hook size. Using a thicker yarn with a smaller hook can cause excessive tightness, while a larger hook with a thin yarn may lead to looseness. Experiment with different combinations until you find a balance that works for your project. Remember, crafting is a journey-embrace the minor setbacks as learning opportunities to improve your skills. Enjoy the process and keep crafting with confidence!
Exploring Different Crochet Hat Styles and Patterns
Crocheting hats offers endless opportunities for creativity and self-expression, allowing you to explore a variety of styles that can be both practical and fashionable. Whether you’re drawn to the classic beanie or the whimsical earflap hat, each style not only serves a purpose but also reflects your unique personality. Imagine the satisfaction of wearing a hat that you designed and crafted yourself!
When embarking on your hat-making journey, consider these popular styles and patterns:
Classic Beanies
The quintessential beanie is perfect for beginners and can be created using simple stitches. To craft a standard beanie, select a worsted-weight yarn and a size H (5.0 mm) hook. Start with a foundation chain that fits snugly around your head, and work in continuous rounds without joining for a seamless look. You can even personalize it with stripes or a pom-pom to elevate the classic design.
Slouchy Hats
Slouchy hats bring an effortlessly chic vibe to any outfit. These typically require a bit more yarn and a larger hook, which allows for more drape. Begin the same way as a beanie, but increase your stitches more frequently to create that relaxed fit at the back. Add texture by alternating stitches like double crochets and front post stitches, making your hat stand out.
Earflap Hats
Perfect for winter weather, earflap hats provide extra warmth and style. They require a bit more construction but are completely worth it! Start with a basic beanie pattern and then attach additional panels for earflaps. You can even add braids or tassels for a fun finish. Experiment with two contrasting yarns to create an eye-catching design.
Bucket Hats
Bucket hats have made a trendy comeback, offering a modern twist on traditional crochet methods. They involve more shape and require you to master the art of working in joined rounds. Use cotton yarn for a lighter feel, making your bucket hat perfect for sunny days. Follow the pattern for increasing stitches around the crown and finish with a sturdy brim.
As you dive into these styles, remember that the beauty of crocheting lies in customization. Mix and match colors, add embellishments, or combine techniques to create a hat that’s truly your own. Whatever style you choose, embrace the process, and know that you’re capable of crafting something wonderful. Happy crocheting!
Enhancing Your Hat Design with Color Techniques
Making a hat is not just about the stitches; it’s also a vibrant canvas for your creativity! Whether you want a subtle touch or a bold statement, the color techniques you choose can elevate your design from ordinary to eye-catching. Let’s explore some fun ways to play with color that will make your crocheted hats stand out.
One of the most straightforward methods is the use of stripes. You can easily incorporate stripes by alternating different colored yarns in your rounds. Here’s how you can do it:
- Choose Your Colors: Pick 2-3 colors that complement each other. For example, a base color like navy can be beautifully accented with mustard and cream.
- Plan Your Width: Decide how wide you want each stripe. You can stick with even widths or make some stripes wider for a jagged look.
- Join New Colors: When changing colors, do it at the end of the round for a clean transition. Yarn over with the new color and pull through to finish the last stitch of your previous color.
This technique can be applied to almost any hat style, such as beanies or slouchy hats, giving them a fun twist!
A more advanced technique is color pooling, where you intentionally choose variegated yarns that create patterns as you crochet. To achieve this:
- Select the Right Yarn: Choose a variegated yarn that has longer color repeats to see distinct patches of color in your finished hat.
- Crochet Tension: Keep your tension consistent to ensure the colors pool together as desired.
- Practice with Small Swatches: Experiment with swatches before committing to a full project, as color pooling can be unpredictable.
Additionally, consider mosaic crochet for intricate designs. This method uses only one color per row and creates stunning patterns through slip stitches and double crochets, making it perfect for striking hats.
Finally, don’t forget the impact of embellishments! Adding pom-poms, flowers, or even buttons in contrasting colors can bring a whole new dimension to your hat design. The options are endless, and the key is to let your personality shine through your choices.
You’ve got the tools, you just need to embrace your creativity! You can make that unique hat design you’ve been dreaming about. Happy crocheting!
Common Mistakes to Avoid When Crocheting Hats
When crocheting hats, many makers stumble upon common pitfalls that can turn their project from fabulous to frustrating. One of the biggest mistakes is inconsistency in tension. Maintaining even tension is crucial for a hat that fits well. If your stitches are too tight, the hat may become too small; too loose, and you risk a floppy creation. To maximize success, practice a few rows or swatches to find a comfortable tension before diving into the full hat pattern. Use various yarn weights and hooks to see what feels best in your hands.
Another frequent misstep involves forgetting to check the pattern gauge. Many crochet patterns specify a gauge, which is the necessary measurement of stitches and rows over a certain area. Ignoring this can lead to an entirely different hat size than intended. Always create a gauge swatch before starting your hat: it’s a small investment of time that pays off big in fitting accuracy. If your gauge doesn’t match, adjust your hook size until it does, or consider changing the yarn for a better match.
- Overlooking Rounds or Rows: Count your stitches as you work to avoid unintentional increases or decreases that can disrupt the shape. Regularly double-check your stitching at the end of each round to reinforce that you’re on track.
- Skimping on Final Finishing Techniques: Rushing through finishing touches like weaving in ends or adding a proper edge can detract from the professional look of your hat. Take the time to neatly and securely weave in all ends, which ensures longevity.
Finally, be wary of the yarn choice. Selecting a fiber that doesn’t have good elasticity can lead to a hat that stretches out of shape-especially if it’s intended for a snug fit. Always consider the yarn weight and material conceived in your pattern. Make a swatch and wear it around for a bit before committing to the whole project. Trust your instincts; if a yarn feels off, don’t hesitate to experiment with alternatives!
Mistakes are part of the creative journey, and with each project, you’ll learn and improve. Embrace the process, and remember-every crocheter, no matter their skill level, has been there. With these insights, you’ll be better equipped to create beautiful, well-fitting hats that truly showcase your unique flair! Happy crocheting!
Inspiration: Unique Hat Projects to Try Today
Looking for something fresh to inspire your next crochet project? There are countless unique hats that you can create, each one offering an opportunity to experiment with different techniques and styles while expressing your creativity. Whether you’re a seasoned pro or just starting out, these projects can spark your imagination and get those hooks busy!
One fantastic idea is to create a textured beanie. Start with basic stitches like single crochet or half double crochet, then incorporate fun textures by alternating stitches or using front post and back post techniques. Using a bulky yarn can enhance the texture and warmth. For embellishments, consider adding a pom-pom on top or crocheting a matching scarf to complete the set. These hats are not only functional but make wonderful gifts for family and friends!
For those who enjoy a challenge, how about trying your hand at a colorwork hat? You can use basic tapestry crochet techniques to create intricate patterns. The results are stunning and truly showcase your skills. Choose a base color and two or three contrasting colors to create geometric shapes, or go for a more whimsical design, like hearts or stars. This project might take a bit more time, but the satisfaction of finishing a colorful, eye-catching piece is unparalleled.
If you’re looking for something quicker, consider a slouchy hat. These are great for using up scraps of your favorite yarns. Simply crochet a large rectangle using basic stitches, then seam the sides together and cinch the top to create that stylish slouchy look. You can customize each hat with different stitch patterns or by adding delicate lace details for a touch of sophistication. This method is forgiving and perfect for practicing your joining techniques, making it ideal for beginners.
Lastly, don’t forget the power of unique hat embellishments. Think of using buttons, bows, or crocheted flowers to accentuate your design. Adding these little details not only enhances the visual appeal of your hats but also allows you to add your personal touch.
Embrace the joy of creating-each hat you crochet is a step toward improving your skills and exploring new techniques. Remember, you can do this, and your creativity is your only limit! Happy crocheting!
Resources for Learning More About Crochet Techniques
When it comes to mastering crochet techniques, particularly for making hats, having the right resources at your fingertips can be a game changer. The beauty of crochet is that there are countless tutorials, patterns, and communities online that can support your journey, regardless of your skill level. Here’s how to dive into a treasure trove of learning and inspiration.
Start by exploring free crochet tutorials available on websites like Joy of Motion Crochet. They offer a multitude of projects that cater to various techniques and styles-from basic to intricate. You can find step-by-step video instructions that walk you through the process of assembling hat panels or joining rounds. This visual guidance can be particularly helpful for beginners or those looking to refine their skills.
Additionally, LoveCrafts is a fantastic resource for downloading thousands of free patterns. You can search specifically for hat designs that challenge your joining techniques. Try looking for patterns that utilize unique construction methods or embellishments that you’re eager to learn.
Finally, don’t underestimate the power of community. Joining a crochet group or forum can offer invaluable insights. Websites like Facebook and Ravelry have dedicated groups where members share tips, troubleshoot common problems, and showcase their projects. Engaging with fellow crochet enthusiasts not only enhances your learning experience but also builds a support network to cheer you on as you tackle your next hat project. Remember, every stitch you make brings you closer to becoming a more confident crocheter. You can do this! Happy crocheting!
Join the Community: Crochet Hat Makers’ Insights
Engaging with a community of crochet enthusiasts can significantly enhance your skills and enjoyment, especially when it comes to creating hats. One of the most rewarding aspects of joining these groups is sharing insights and techniques learned from real experiences. Many makers started with simple hats and saw their skills grow as they exchanged tips on how to effectively seam panels or join rounds. The warmth and support found in these communities make all the difference-you’re not alone on this journey!
In many online crochet groups, members frequently discuss common challenges, such as achieving a seamless join or selecting the right materials. For instance, using a contrasting yarn color when joining rounds can create a visually striking effect while also helping you spot any mistakes that need fixing. Typically, groups will hold virtual “crochet-alongs” where everyone works on similar patterns and shares progress photos. This collaborative environment not only motivates you but also allows for immediate feedback and encouragement from fellow crocheters.
Additionally, many makers find that showing their projects for critique helps uncover innovative techniques they might not have discovered on their own. You might learn about a special stitch that creates a snug finish or discover a particular way to join panels that adds flair to your design. Local yarn shops also often host meetups where you can get hands-on help and share a love for the craft. These interactions build connections and friendships, making the crochet hat-making process more enjoyable and less isolating.
So, whether you’re just starting or have been crocheting hats for years, joining a community can provide the support, inspiration, and insight you need to keep crafting. Remember, every project is a step toward mastering your skills, and with the help of fellow makers, you can tackle any challenge that comes your way. You can do this! Keep crocheting, keep sharing, and enjoy the creative journey together.
Frequently asked questions
Q: How do I join crochet hat panels seamlessly?
A: To join crochet hat panels seamlessly, use a slip stitch or whip stitch along the edges. Align the panels with right sides facing, then insert your hook into both layers and pull yarn through. This technique creates a smooth finish and ensures your hat looks polished. For more tips, check the *Advanced Seam Techniques* section.
Q: What is the best method for joining rounds in crochet hats?
A: The best method for joining rounds in crochet hats is by using a slip stitch at the end of each round. This creates a clean transition between rounds. Alternatively, you can use continuous rounds to avoid seams altogether, which is discussed in the *Beginner-Friendly Methods to Join Hat Rounds* section of the article.
Q: How can I avoid gaps when crocheting seams?
A: To avoid gaps when crocheting seams, ensure your tension is consistent. Use a smaller hook size at the seam or crochet tightly. Additionally, create the last stitch of your row slightly tighter than usual. Refer to the *Tips for Troubleshooting Common Crochet Joining Issues* for more strategies.
Q: What yarn types work best for making crochet hats?
A: The best yarn types for crochet hats include acrylic, wool, or cotton blends. These materials offer warmth, durability, and comfort. Choose worsted weight yarn for easy handling and quick projects, as mentioned in the *Essential Materials for Crochet Hat Making* section.
Q: How can I make my hat seams more attractive?
A: To enhance the look of your hat seams, consider using contrasting yarn for the seams or trying decorative stitches like the crab stitch. Adding embellishments such as buttons or pom-poms can also elevate your design, as elaborated in the *Creative Ways to Seam Panels for Unique Hats* section.
Q: When should I use a slip stitch versus a whip stitch to join panels?
A: Use a slip stitch for a seamless, flatter finish and when joining rounds, as it minimizes bulk. Choose a whip stitch for a sturdier seam that holds better under stress, making it ideal for panels. These techniques are covered in detail in the *Advanced Seam Techniques for Professional Finishing* section.
Q: Why is my crochet hat too loose at the seams?
A: A loose seam can result from uneven tension or skipping stitches when sewing panels together. To remedy this, check your tension consistency throughout the project and ensure you’re not missing any stitches during the joining process. More tips are available in the *Tips for Troubleshooting Common Crochet Joining Issues* section.
Q: How do I ensure my crochet hat fits properly after joining seams?
A: To ensure a proper fit after joining seams, measure your head circumference before starting. Use a stretchy stitch pattern and adjust the number of rows or stitches if you feel the initial gauge is off. Testing your gauge is essential, as mentioned in the *Understanding Crochet Hat Construction Techniques* section.
Insights and Conclusions
Congratulations on mastering the art of crocheting a hat! By learning how to seamlessly join rounds or create stylish seam panels, you’ve unlocked the potential for countless creative projects. Remember, practice is key, so don’t hesitate to revisit this tutorial as you refine your skills. Whether you plan to gift your creation or keep it for yourself, the joy of making is unmatched.
Want to expand your crochet repertoire? Check out our free crochet tutorials for flower embellishments or explore easy baby blanket patterns to try next. If you’re interested in more advanced techniques, consider signing up for our newsletter for exclusive tips and trends in the crochet community.
Keep the creativity flowing and don’t forget to share your finished hat with us! We’d love to see your work and hear about your crochet journey. Every stitch brings you closer to becoming the crafter you aspire to be-so keep going!
Get our latest guides, news, and insights highlighted in your Google Search & AI Overviews.