
Crocheting hats is not just a craft; it’s an opportunity to express your creativity while keeping warm and stylish. Whether you’re a beginner eager to make your first cozy beanie or an experienced crafter ready to tackle intricate designs, this guide will help you master every style from simple to advanced. Did you know that a well-crafted hat can elevate your wardrobe and make perfect gifts? As you dive into the world of crochet, you’ll discover the joy of creating something unique with your own hands. With clear instructions and step-by-step techniques, you’ll build confidence in your skills, transforming yarn into beautiful, wearable art. So grab your hook and yarn, and let’s get started on this rewarding journey of hat-making! You can do this!
Choosing the Right Yarn and Tools for Crochet Hats
Choosing the right yarn and tools can make all the difference when it comes to crocheting hats that not only look good but also feel great to wear. The beauty of crochet is in its versatility, but picking the right materials might seem daunting at first. Start by selecting yarn based on the project requirements, including the desired softness, warmth, and drape of the finished hat. For cozy winter hats, wool or acrylic blends can be perfect, providing both insulation and ease of care. For warmer seasons, cotton or bamboo yarns are lightweight and breathable. Always check the yarn label for the recommended hook size and gauge to ensure your hat turns out just right.
Essential Tools are equally important. A good quality crochet hook is a must. While aluminum and plastic hooks are common, consider ergonomic options if you plan on crocheting for extended periods. These hooks provide better grip and reduce hand fatigue. Additionally, a stitch marker can be your best friend when working in the round, helping you to keep track of where your rows begin. You might also want to invest in a yarn needle for weaving in ends and attaching embellishments-small tools that pack a big punch in helping you create a polished final product.
Project Materials List
| Material | Purpose |
|---|---|
| Yarn (Wool or Acrylic) | Warmth and durability |
| Cotton Yarn | Breathability for summer hats |
| Crochet Hook | The main tool for creating stitches |
| Stitch Markers | Track the beginning of rounds |
| Yarn Needle | Weave in ends and attach parts |
When it comes to color, don’t shy away from experimenting! Using variegated or multi-colored yarn can add a unique flair to your hats, making them one-of-a-kind pieces. You can mix and match colors to create stripes or use different shades for an ombre effect. Remember, the goal is to enjoy the process and celebrate your creativity, so choose yarns that inspire you and tools that feel comfortable in your hands. With the right materials, you’re well on your way to mastering the art of crochet hats!
Essential Crochet Stitches for Beginners
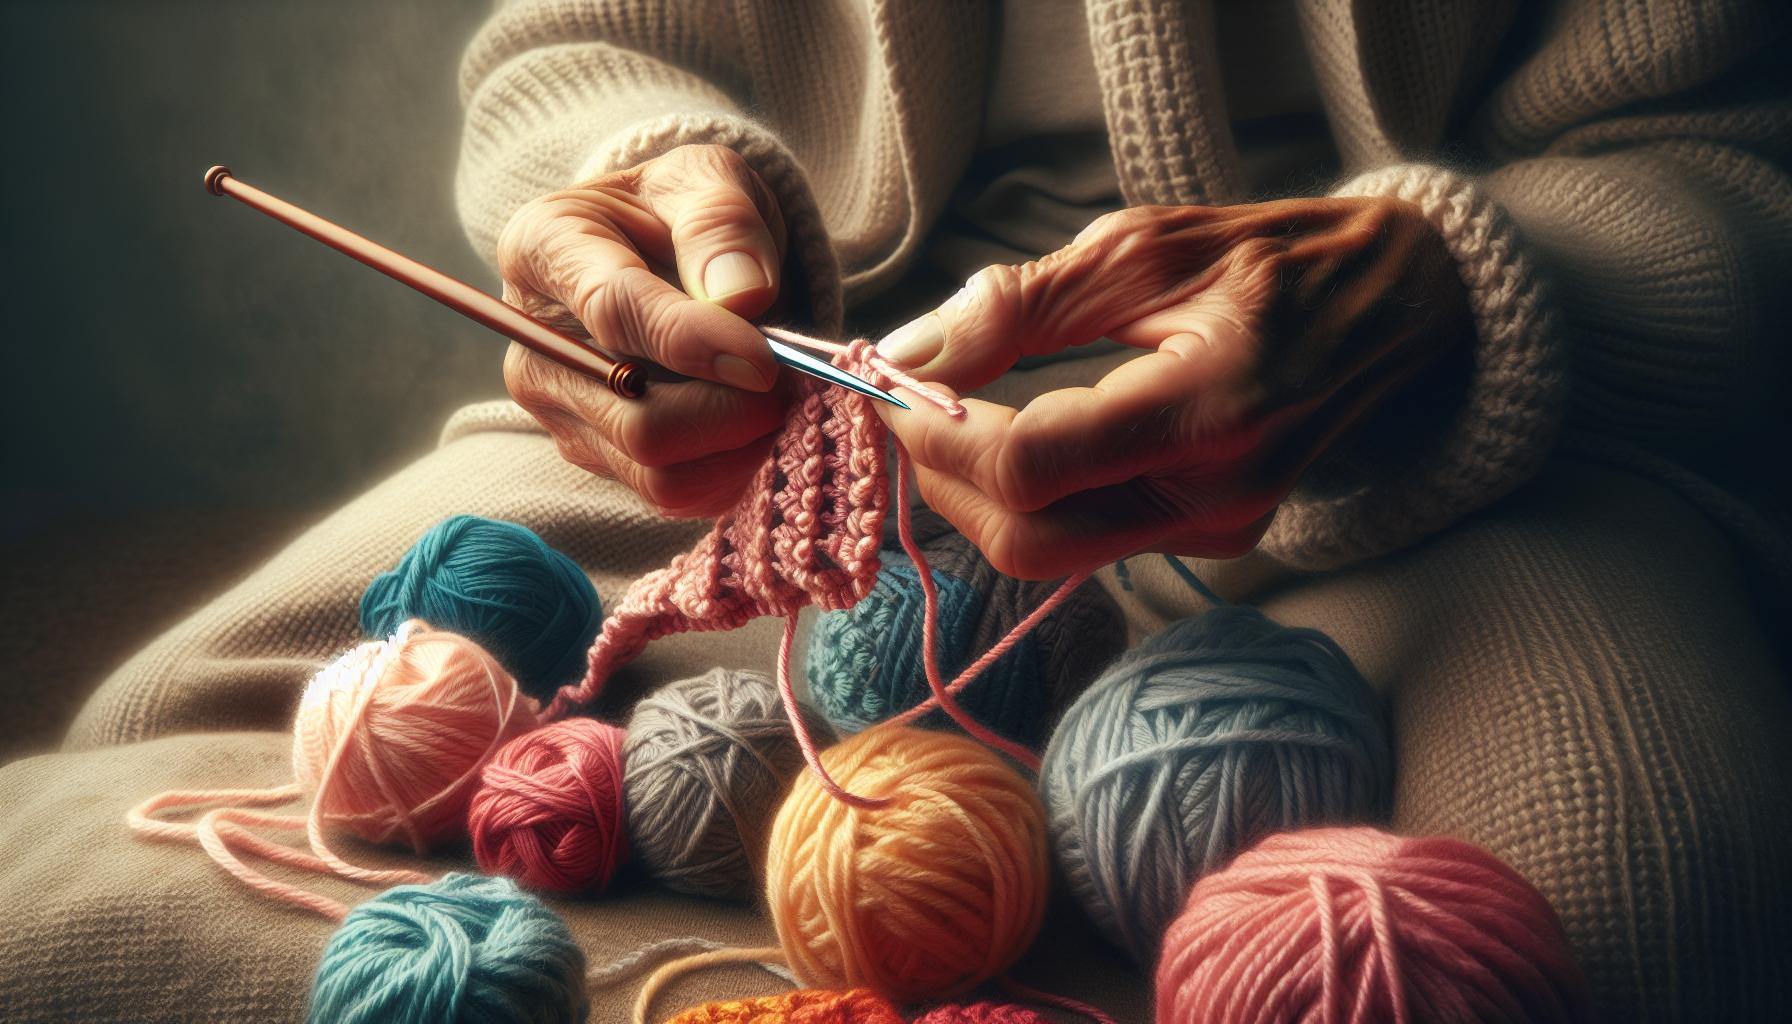
The beauty of crochet lies in the foundation of stitches that allow your creativity to flourish. As a beginner, mastering a few essential crochet stitches will set the stage for your hat-making journey. Each stitch holds its own charm and function, making it easier for you to explore various styles and techniques. Let’s dive into some fundamental stitches that every crocheter should know along with their uses in creating cozy hats.
Start with the chain stitch (ch). This foundational stitch forms the basis of almost every crochet project. To create a chain, simply yarn over and pull through the loop on your hook. For your hat, begin by making a desired length of chains, which will serve as your starting point. After chaining, the next stitch you’ll often use is the slip stitch (sl st). This stitch is perfect for joining the end of a round or creating delicate finishes. To work a slip stitch, insert your hook into the stitch, yarn over, and pull through both the stitch and the loop on your hook.
Moving on, the single crochet (sc) and double crochet (dc) stitches are crucial for building height and texture in your hats. The single crochet creates a tight, dense fabric that works well for beanies. To do this, insert your hook into the next stitch, yarn over, pull through, yarn over again, and pull through both loops on your hook. The double crochet adds more height and is great for a looser stitch pattern, providing a bit of extra warmth without bulk. Yarn over, insert your hook into the next stitch, yarn over again, pull through, yarn over, pull through two loops, yarn over again, and finally pull through the last two loops.
Here’s a quick reference of the essential stitches you might use:
| Stitch | Use |
|---|---|
| Chain Stitch (ch) | Foundation for most projects |
| Slip Stitch (sl st) | Joining and finishing |
| Single Crochet (sc) | Tight fabric for beanies |
| Double Crochet (dc) | Looser, taller stitches for warmth |
By practicing these stitches, you will build your confidence and skill in crochet. Remember, the key is to enjoy the process. As you practice, feel free to experiment with different yarns and colors. You can create a simple beanie using just a few rounds of single crochet or add interest with double crochet stitches in various patterns. You’ve got this, and with each completed stitch, you’re one step closer to crafting your perfect hat!
Step-by-Step Guide to Basic Hat Patterns
Creating your own crochet hat can be an incredibly rewarding project, allowing you to express your personal style while keeping warm. Whether you’re a complete beginner or someone looking to refine your skills, this step-by-step guide will help you craft a basic hat pattern that can be customized to fit your unique style.
To get started, gather your materials: a skein of worsted weight yarn, a corresponding crochet hook (usually size H/8 or I/9), a pair of scissors, a yarn needle, and a measuring tape. This project typically takes about 2-3 hours, depending on your speed and skill level.
Basic Hat Pattern Steps
- Start with a Magic Ring: Begin by creating a magic ring, which will form the top of your hat. This method creates a neat center and avoids a hole. If you’re not familiar with it, make a loop with the yarn and pull the working yarn through the loop to form a circle.
- Round 1 – Establish the Base: Chain 2 (this counts as your first double crochet). In the ring, work 11 double crochets (dc), then pull the magic ring tightly to close the circle. Join with a slip stitch in the top of your beginning chain. You should have a total of 12 stitches.
- Round 2 – Increase Stitches: Chain 2 again, and in the same stitch, make 2 double crochets. In each stitch around, work 2 double crochets. Join at the end of the round. You should now have 24 stitches.
- Round 3 – Further Increases: Chain 2, then work 1 dc in the next stitch, followed by 2 dc in the following stitch. Repeat around-this creates a gradual increase. Join, resulting in 36 stitches.
- Rounds 4-10 – Building Height: For the next rounds, simply work 1 dc in each stitch without increasing. Continue until your hat measures about 7-8 inches from the center. This can vary depending on your style preference-shorter for beanies, longer for slouchy styles.
- Finishing: Once the desired height is achieved, you can add a ribbed band by switching to a single crochet (sc) stitch for 5-7 rounds, which creates a snug fit.
- Final Touches: Cut the yarn, leaving a long tail, and weave it through the remaining stitches before tightening. Use the yarn needle to weave in any loose ends.
This simple pattern lays the groundwork for endless creativity. Feel free to experiment with different yarn colors, patterns, or embellishments like pom-poms or appliqués to truly make it your own. Each completed hat not only adds to your project portfolio but also builds your confidence. Remember, this is your journey-embrace it and have fun along the way!
How to Customize Your Crochet Hat Size
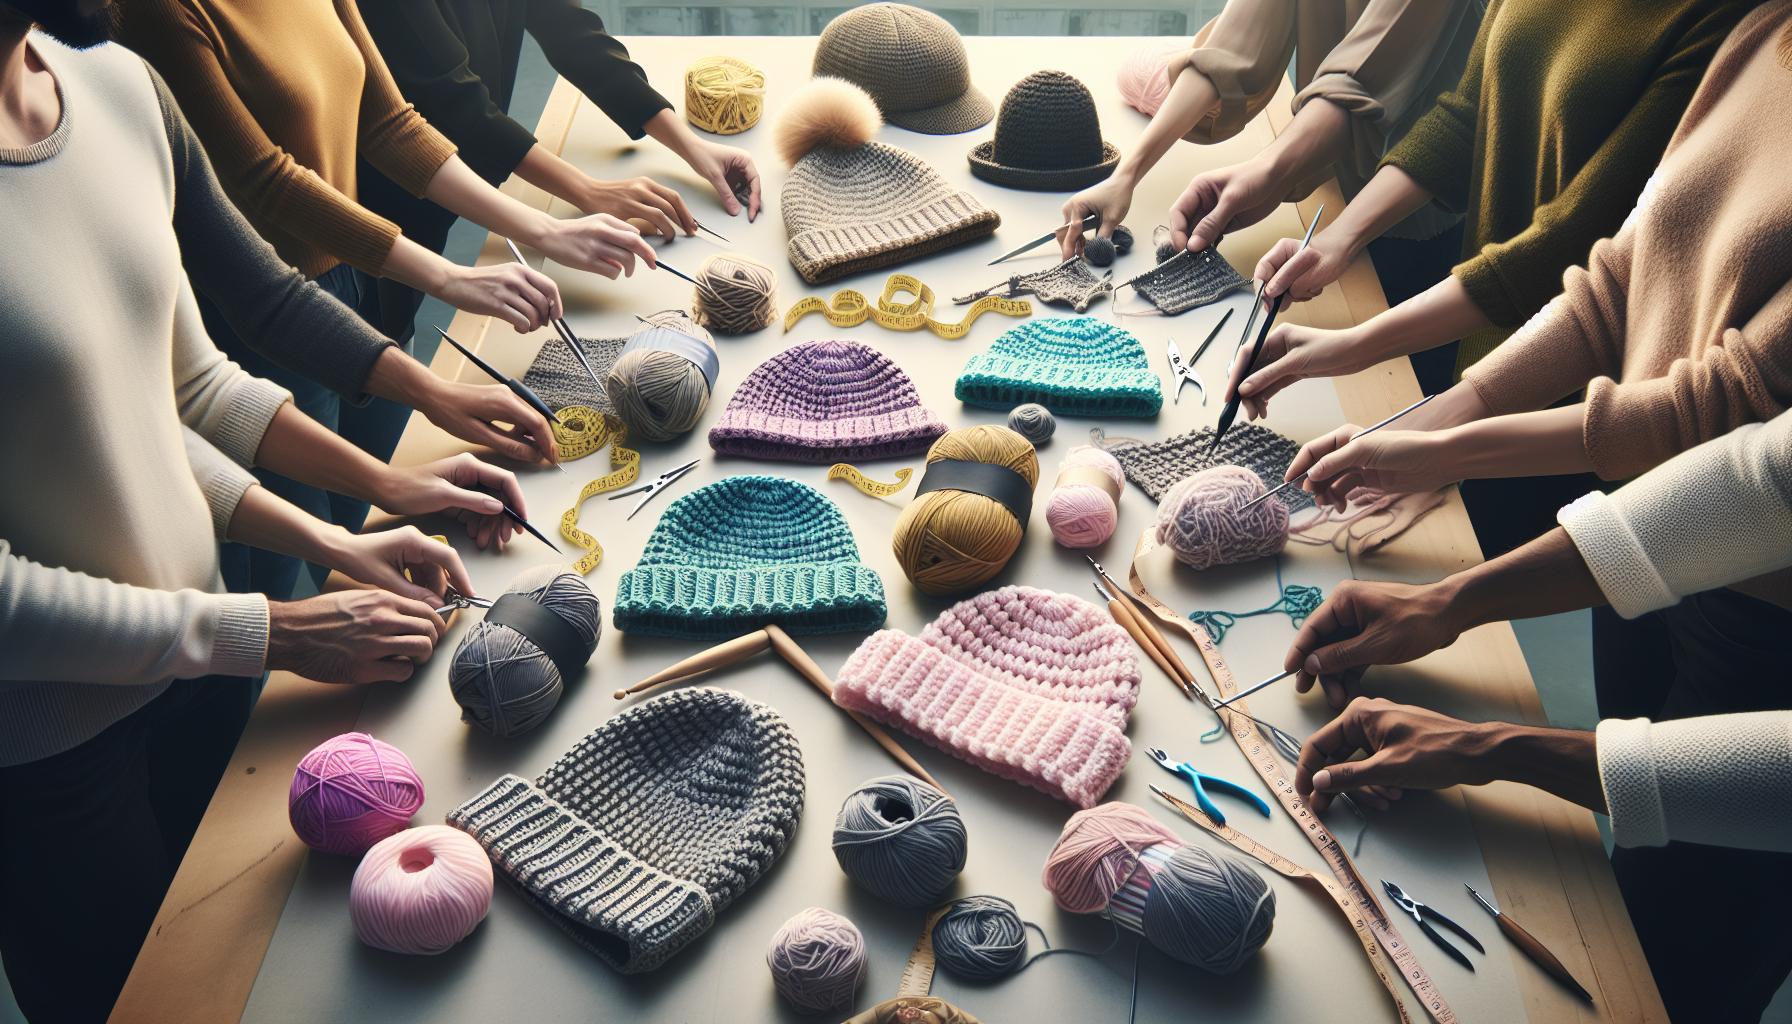
When you’re crafting a crochet hat, getting the size just right can make all the difference between a snug, cozy fit and an uncomfortable one. Luckily, adjusting the size of your crochet hat is approachable and fairly straightforward, regardless of your experience level. Whether you’re making a gift or treating yourself, it’s important to understand how to tailor your hat size to fit perfectly.
To start, measuring the head circumference is crucial. Grab a measuring tape and measure the head where the hat will sit-usually just above the ears and across the forehead. This measurement will serve as your guide. If you’re aiming for a beanie style, you’ll generally want the hat to fit snugly, so take 1-2 inches off your measurement for a bit of stretch. For a slouchy style, maintain the full circumference measurement.
Adjusting Stitch Count
The next step involves modifying your pattern’s stitch count based on your measurements. Most basic hat patterns begin with a certain number of stitches-often around 12 or 24 in the first round-but you can easily scale this. Calculate how many stitches you need to meet your target measurement by considering the gauge-how many stitches fit into a given space with the yarn you’re using. If you discover that your gauge is 4 stitches per inch, and your measurement is 20 inches, multiply 20 by 4 to find that you’ll need a cast-on of approximately 80 stitches.
Adding Height and Width
As you progress with your hat, keep a close eye on both the height and width. If your hat feels too tight or too loose, you can adjust the number of increase rounds or take out a round altogether. Remember, you can always try the hat on as you go, and if you’re making a gift, ask for the recipient’s head size if possible! If you find yourself working on a hat that’s too small, adding a few extra rows of double crochets can give you that extra height and width to prevent it from being a disaster.
In addition to stitch and row adjustments, experimenting with different yarn weights can also impact your final result. If you find your initial yarn choice is too stiff and doesn’t provide the stretch needed for a comfy fit, consider switching to a softer blend or a lighter yarn that maintains better elasticity.
Creating a personalized crochet hat is all about experimenting and tailoring the details to suit your needs and style. So grab that yarn and hook, and feel empowered to adjust your design-because you’ve got this!
Exploring Popular Hat Styles: Beanies, Berets, and More
When it comes to crocheting hats, the world is bursting with vibrant styles to explore and enjoy. From the simplest beanies to the regal allure of berets, each style brings its own flair and function. Understanding these popular hat styles is key to mastering your crochet projects and expressing your creativity. Plus, each type can be customized in various ways, so the possibilities are endless!
Beanies
Let’s kick things off with the quintessential beanie. This style is beloved for its cozy fit and versatility, making it perfect for both casual wear and more polished looks. To create a basic beanie, you’ll need medium-weight yarn and a 5 mm crochet hook. Start with a magic ring, then work in double crochets for a classic texture. You can easily adjust the height to make it more slouchy or fitted based on your taste. A simple ribbing at the brim can add a touch of style too!
Berets
Next up is the ever-chic beret, often associated with French style. This project may take a little more finesse, but don’t be intimidated! To get started, use a lighter yarn, like a DK weight, and a 4 mm hook. The secret to a perfect beret is in the shaping: you’ll want to start with a circle and then work increases to create a dome effect. Finish with a band to keep it snug on your head. Play with colors or even add a cute pom-pom for a fun twist!
Newsboy Caps
For something more structured, consider a newsboy cap. This classic style combines a flat crown with a brim, creating a distinctive silhouette. Choose a yarn with a bit more structure, like a wool blend. Start by crocheting the brim separately, then attach it to the crown, ensuring a comfortable fit. Add buttons or embellishments to give it your personal touch!
Customization Options
No matter the style you choose, adding embellishments or experimenting with color can make your hats truly unique. Try using variegated yarn for a multi-colored effect, or incorporate simple stitches like popcorns or shells to add texture. Stitches like cables or lace can elevate your project to wow status, so don’t hesitate to challenge yourself with advanced techniques as you grow in confidence.
The beauty of crocheting your own hats is that each project can reflect your individual taste and style. Whether you’re curling up with a beanie or stepping out in a chic beret, remember that each stitch is a step towards mastering your craft. So grab your yarn and hook-you can absolutely do this!
Adding Personality: Embellishments and Color Techniques
Adding personal touches to your crochet hats is a delightful way to express your creativity and ensure each piece is uniquely yours. Whether you’re just starting or looking to refine your skills, understanding how to incorporate embellishments and use color techniques can transform a simple hat into a stunning accessory. Let’s explore how you can brighten up your crochet creations and make them stand out.
One of the easiest ways to enhance your hats is through the use of different yarn types. A quick upgrade can be swapping a solid color for variegated yarn, which creates a beautiful, multi-colored effect as you work. This type of yarn allows for unexpected bursts of color that can add depth and character. If you want to take it a step further, consider ombre yarns, which gradually shift color, adding an elegant gradient to your hat. Remember to choose a yarn that matches your hat style-softer yarns are great for casual beanies, while more structured options suit caps and berets.
For those looking to incorporate embellishments, the sky’s the limit! Simple additions like a decorative flower or a stylish pom-pom can elevate the aesthetic of any hat. You can create a crochet flower in contrasting colors to make it pop against a neutral background. Here’s a quick step-by-step to make a simple flower embellishment:
- Start with a magic ring: This forms the center of the flower.
- Crochet short stitches: Work a series of chain stitches followed by single crochets to form petals.
- Attach: Use a yarn needle to securely sew the flower onto your hat.
You can also explore adding texture with fun stitch techniques. For example, using popcorn or bobble stitches not only enhances the visual appeal but also adds a tactile element. Layering different stitches can make certain areas of your hat more pronounced, creating a dynamic look that’s both interesting and sophisticated.
Lastly, consider the overall theme of your hat to determine your color palette. Seasonal themes can guide your choices; warmer colors like reds and oranges are perfect for fall, while pastels shine in spring. By mixing and matching colors, you can create hats that not only keep you warm but also reflect your personality and style. Remember, this is about celebrating your creativity-trust your instincts. So get your yarn, hook, and let your imagination lead the way-you’re going to create something beautiful!
Advanced Techniques: Cables, Lace, and Textures
Experimenting with advanced crochet techniques like cables, lace, and texture can elevate your hat-making game from ordinary to extraordinary. These methods not only enhance the visual appeal of your creations but also empower you as a maker. Although they might seem intimidating at first, with practice, you’ll find that you can easily incorporate these techniques into your hat designs. Let’s break down some key methods that you can try!
Cables
Creating cable patterns involves working stitches out of order to form intricate twists and braids. While cables may look complex, they follow a fairly straightforward process once you get the hang of it. Here’s a quick guide on how to create cable stitches:
- Materials Needed: Worsted weight yarn, an additional dpn (double-pointed needle) or a cable needle.
- Time: About 30-45 minutes for practice.
- Steps:
- Start your project with a multiple of stitches that accommodates your cable pattern.
- Identify where you want your cable; typically, cables are formed over a set number of stitches.
- For a basic cable, when you reach the designated stitch, slip the required stitches onto your cable needle and hold it to the back of your work.
- Continue crocheting the next stitches as usual, then return to your cable needle and work those slipped stitches.
You can create beautiful hats with chunky cables that are perfect for winter, adding both warmth and style.
Lace
Lace crochet can give your hats an airy, delicate look that is simply stunning, especially for spring or summer wear. The open weave of lace stitches allows for ventilation, making these hats not only stylish but practical for warmer weather.
Embarking on lace work involves just a few artistic stitches, and here’s how to begin:
- Materials Needed: Light-weight yarn (like cotton) and a smaller hook for tighter stitches.
- Time: Expect to spend about an hour to get comfortable.
- Steps:
- Start with a foundation chain that supports your lace pattern; a common choice might be a multiple of 4 for basic lace.
- Incorporate chain spaces to create holes; these are formed by chaining 2 or 3 stitches between double crochets.
- Practice simple lace stitches like shell stitches or fans that alternate between tight and loose stitches to form beautiful patterns.
With lace techniques, you can create whimsically beautiful hats that are just perfect for picnics or garden parties.
Textures
Adding texture to your crochet hats can make them visually interesting and enjoyable to wear. Textured stitches like popcorn, bobble, or cluster stitches can make your projects pop.
Here’s how you can add texture:
- Materials Needed: Any yarn of your choice, a crochet hook one or two sizes larger than recommended to give your stitches extra room.
- Time: Dedicate around 30 minutes to practice a few textured stitches.
- Steps:
- Choose the areas on your hat where you want to add texture; commonly, this could be the brim or as an accent on the body.
- Practice the popcorn stitch by working into the same stitch multiple times, then pulling through all loops to create a rounded bobble.
- Incorporate these textures throughout your hat to create rhythm and contrast with the body of your piece.
These techniques not only provide visual flair but also invite compliments from those around you, celebrating your craftsmanship.
Embrace these advanced techniques and let your creativity flourish! With the right yarn and practice, you can transform your crochet hats into personalized works of art-so grab your hook, and let’s get crafting! You can absolutely do this!
Understanding Different Crochet Techniques for Hats
can truly open up a world of creativity in your crafting journey. Whether you’re just starting out or looking to enhance your skills, mastering these techniques can make your projects more enjoyable and visually stunning. Did you know that varying your crochet method not only alters the look of your hats but also affects their fit and functionality? Exploring different techniques will help you create unique pieces that reflect your personal style and meet various practical needs.
Basic Crochet Techniques
To get started, familiarize yourself with essential crochet techniques such as single crochet, double crochet, and slip stitches. These foundational stitches are crucial for building your hat. For instance, a simple beanie typically comprises rows of double crochets, which create a lovely, stretchy fabric. Materials Needed: Medium-weight yarn and a standard crochet hook (5.0 mm or H-8). Time: Expect to spend about 20-30 minutes to make the base of your hat.
- Steps:
- Create a magic ring to start your project.
- Ch 2 (counts as your first double crochet) and then work double crochets into the ring until you have 12 stitches.
- Slip stitch to join and tighten the ring.
- Continue to work in rounds until you reach the desired height for your hat.
Shaping Your Hat
Shaping your hat involves techniques like increasing and decreasing stitches. Mastering these will allow you to create snug fits and various styles, from beanies to slouchy hats. Materials Needed: Your chosen yarn and an appropriate-sized hook. Time: 10-15 minutes for your first attempt.
- Steps to Increase:
- In a round, simply place two stitches in the same stitch at regular intervals to widen your hat.
- For example, in the first round, crochet 2 double crochets in every second stitch for a total of 24 stitches.
- Steps to Decrease:
- To narrow your hat, crochet two stitches together. This can be done at the start of a round or as desired.
- For example, stitch decrease every third stitch in a round to slowly taper the hat.
Texturing Your Hats
Adding texture can transform an ordinary hat into something extraordinary. Techniques such as popcorn or bobble stitches introduce delightful dimensionality. Materials Needed: Any yarn (try a textured variety!) and a hook one size larger for more room. Time: Set aside 30 minutes to practice these fun stitches.
- Steps to Perform a Popcorn Stitch:
- Work 5 double crochets into the same stitch and then pull the last stitch through the first stitch’s top to create a bobble.
- This works great on the body of the hat or as an accent around a brim.
By integrating these different techniques into your hat-making process, you’re not just creating a functional item-you’re weaving your artistic expression into each stitch. Remember, practice makes perfect, and every hat you create is an opportunity to learn something new. So grab your yarn and hook, and let your creativity flow-because you can do this!
Tips for Working with Multi-Colored Yarns
Working with multi-colored yarn can bring a vibrant twist to your crochet hats, turning a simple project into a stunning work of art. Whether you’re creating stripes, color blocks, or intricate patterns, there are a few tips that can help you achieve a polished and professional look. Remember, the joy of crochet is all about expressing your creativity, so let’s dive into how to make the most of those colorful yarns!
To start, it’s essential to choose the right types of yarn for your project. Opt for yarns that complement each other; contrasting colors can create bold effects, while harmonious shades can offer a more subtle blend. For beginners, consider using worsted weight yarn, as it’s easy to handle and works well for hats. Get familiar with simple color-changing techniques like the “join as you go” method, which minimizes the number of ends to weave in later. The trick here is to create clean transitions between colors so that your work remains neat and tidy.
When you’re ready to incorporate multiple colors, a good tip is to keep your tension consistent while switching yarns. This ensures that your stitches remain even and that the colors don’t pull or sag in unexpected ways. Working with a color chart or pattern guide can also be incredibly helpful. Focus on one section at a time to avoid feeling overwhelmed. Consider using stitch markers to designate where you plan to change colors or where your rows begin and end, making it easier to track your progress.
If you’re planning to create intricate designs, such as fair isle or tapestry crochet, take the time to practice your technique on a small swatch first. This will give you a feel for how the colors interact and allow you to adjust your tension before committing to your final piece. Lastly, always remember that crochet is about having fun. Feel free to experiment with color combinations and patterns. With practice, you’ll find that working with multi-colored yarn can be a delightful way to express your unique style. You can do this!
How to Fix Common Crochet Hat Mistakes
Mistakes are a natural part of any crochet journey, especially when it comes to crafting hats. Whether you’re new to the craft or an experienced maker, encountering issues can sometimes feel discouraging. But with a little patience and the right techniques, you can easily fix those little hiccups and keep your project on track. Let’s dive into some of the most common crochet hat mistakes and how to remedy them, so you can wear your creations with pride!
One of the most frequent issues is incorrect sizing. Maybe your hat turned out too big or too small. If you find yourself in this situation, don’t fret! You can often adjust the final size. For a too-large hat, try adding a decorative band or even lining it with a softer material. For a smaller hat, you can opt for a contrasting color and add a crocheted edge, effectively making it larger while adding personality. Remember, borders are your friends; they can both correct mistakes and elevate your design.
Another common hurdle is uneven tension. You might notice that some stitches look tighter than others, which can disrupt the overall appearance of your hat. To solve this, focus on the following:
- Relax your grip: Sometimes the simplest fixes come from adjusting how tightly you hold your yarn.
- Practice tension: Crochet a small swatch before diving back into your hat. This warm-up can help you settle into a more consistent rhythm.
- Keep your hook easy to maneuver: Make sure you’re using the right size hook for your yarn; this can significantly impact how even your stitches are.
Lastly, don’t overlook those pesky holes that can appear in your work. These often arise from accidentally pulling your yarn too tightly or not working into the right stitches. If you spot holes, you can easily fix them by carefully weaving in ends or adding a small decorative stitch over the area. Alternatively, consider adding a lining if you’re consistently struggling with structural issues; it can give your hat a polished finish while masking any imperfections within.
Remember, every mistake is an opportunity to learn and grow as a crocheter. Embrace those moments and use them to refine your skills. With practice, you’ll not only create beautiful crochet hats but also gain the confidence to tackle more complex projects. You can do this!
Creating Seasonal and Themed Crochet Hats
is a delightful way to express your creativity and embrace the changing tides of the year. Whether you’re gearing up for chilly winter days, festive holidays, or the vibrant colors of autumn, crafting a hat that reflects the season can be an engaging project. Plus, it’s a wonderful opportunity to practice your skills and try out new techniques!
One approach to get started is to think about the colors and textures that represent each season. For spring, consider soft pastels or vibrant floral hues, while summer hats might benefit from bright, cheerful colors. Autumn can inspire earthy tones like rust, mustard, and olive, and winter’s cold can be celebrated with rich jewel tones or classic neutral palettes. Using seasonal yarns, like cotton for summer and wool or acrylic blends for winter, can also lend a unique feel to your creations.
As for design elements, don’t shy away from incorporating seasonal motifs. Think of adding crochet flowers to a spring hat, snowflakes for winter, or leaves for autumn. You can even weave in fun details-like pom-poms or tassels-to give your hat an extra pop. Here’s a simple process to help you create your perfect seasonal hat:
- Select your materials: Choose yarn colors that reflect the season, along with a suitable hook size according to your pattern.
- Choose a pattern: Look for patterns that suit your skill level. Beginner-friendly options might involve simple beanies while more advanced designs can incorporate textured stitches or color work.
- Start crocheting: Follow your chosen pattern step-by-step, ensuring to take breaks and enjoy the process. Remember, it’s all about making something fun and personal!
- Embellish your hat: Once your basic hat is complete, add your chosen seasonal motifs or embellishments to enhance its theme.
With each seasonal project, you’ll not only hone your crocheting skills but also create beautiful accessories that bring joy and warmth to both the maker and the wearer. So grab your yarn, let your imagination take flight, and you’ll find that crafting seasonal hats is not just doable, it’s immensely satisfying. You can do this!
Gift-Worthy Crochet Hat Projects for All Ages
Creating crochet hats as gifts is a fantastic way to spread warmth and joy, and they can be personalized for every recipient-whether it’s a cozy beanie for a winter birthday or a sun hat for summer outings. The beauty of crafting a hat lies in its versatility; you can adjust the size, color, and style to suit anyone from babies to grandparents. Plus, the satisfaction of giving a handmade item is unmatched. Here are some delightful projects that can easily become cherished gifts for all ages.
Charming Projects for Every Age
Start with a basic beanie-perfect for beginners, this project typically takes around 2-3 hours and requires minimal materials. You’ll need medium-weight yarn and a corresponding hook. Follow a simple pattern, and you can customize the beanie by changing the color or adding stripes. For extra flair, consider adding a pom-pom on top or a simple crochet flower embellishment to make it uniquely theirs.
For more seasoned crafters, a slouchy hat offers a stylish twist. This project may take about 3-5 hours, depending on the complexity of the stitch patterns you choose. Use a soft, drapey yarn to give it a relaxed look. Add texture with stitches like front post and back post to elevate its design. Personalize it by incorporating the recipient’s favorite colors or even their initials crocheted into the pattern!
Fun and Festive Options
Looking for something whimsical? Animal-themed hats can be a hit, especially for kids! A cute bear or bunny hat can be completed in a couple of hours, making it a quick gift option. Use a base color and add ear flaps or crochet ears and noses for that playful touch. This project can be adjusted in size easily by modifying the number of stitches, making it suitable for children or even adults who enjoy a bit of fun in their attire.
Don’t forget seasonal hats! Create hats that celebrate different holidays or themes-think of a cozy Christmas hat adorned with snowflakes or a bright summer hat featuring flowers. These projects can spark creativity and allow you to experiment with various yarn textures and colors.
With every stitch, you’re not only crafting an item but also embedding your love and warmth into each gift. Remember, it’s not just about the final product; it’s the joy of the process and the happiness it’ll bring to the recipient. So grab your yarn and hook-embracing the adventure of gift-making means that you can absolutely do this!
Faq
Q: What types of yarn are best for crocheting hats?
A: Acrylic and cotton yarns are popular choices for crocheting hats due to their durability and ease of care. Additionally, consider using wool blends for warmth. For a lighter touch, try bamboo yarn. Make sure to choose a yarn suitable for the hat style and the season.
Q: How can I determine the right size for a crochet hat?
A: To determine the right size for your crochet hat, measure the circumference of the recipient’s head. Use this measurement to adjust basic patterns as needed. Check out the section on “How to Customize Your Crochet Hat Size” in the main article for detailed tips.
Q: What are the easiest crochet stitches for beginners to use in hats?
A: Beginners should start with single crochet, half double crochet, and double crochet stitches. These stitches are simple to learn and form the foundation for various hat designs. As you gain confidence, you can explore more complex techniques.
Q: How do I add embellishments to my crochet hat?
A: You can add embellishments like pom-poms, flowers, or appliqués to personalize your crochet hat. Use contrasting yarns or different textures to make them stand out. For ideas and inspiration, refer to the section on “Adding Personality: Embellishments and Color Techniques.”
Q: Can I crochet hats using a combination of colors?
A: Yes, using multi-colored yarns or changing colors with every few rows can create vibrant designs in your hats. Refer to the “Tips for Working with Multi-Colored Yarns” section in the article for techniques to achieve a flawless color transition.
Q: How can I troubleshoot common crochet hat mistakes?
A: To troubleshoot common mistakes, like uneven stitches or incorrect sizing, carefully measure your work while crocheting. If you notice errors, don’t hesitate to unravel a few rows. The section “How to Fix Common Crochet Hat Mistakes” provides specific solutions.
Q: What are some popular crochet hat styles I can try?
A: Popular crochet hat styles include beanies, berets, floppy hats, and bucket hats. Each style offers unique shaping and techniques, expanding your crochet skills. Explore the “Exploring Popular Hat Styles” section for more information on crafting these fun looks.
Q: How long does it typically take to crochet a hat?
A: The time it takes to crochet a hat varies based on complexity and your skill level, but a basic hat can typically be completed in 2 to 4 hours. Set aside additional time for embellishments or advanced techniques. Get started today to enjoy the satisfying experience of creating your own hat!
Concluding Remarks
Congratulations on completing your journey through “How to Crochet Hats: Master Every Style From Basics to Advanced”! You’ve gained the skills to create stunning hats, whether you’re starting with easy beanies or diving into intricate patterns. Remember, the joy of crocheting lies not just in the finished product but in the creative process itself-so keep crafting with confidence!
Feel inspired? Explore more with our guides on basic crochet stitches or dive into free crochet patterns to keep your projects fresh. Don’t forget to sign up for our newsletter for tips, tutorials, and exclusive patterns straight to your inbox!
Join our community-share your hats and don’t hesitate to ask questions in the comments below. Your next project awaits, and remember: every stitch brings you closer to mastery. Happy crocheting!
Get our latest guides, news, and insights highlighted in your Google Search & AI Overviews.