
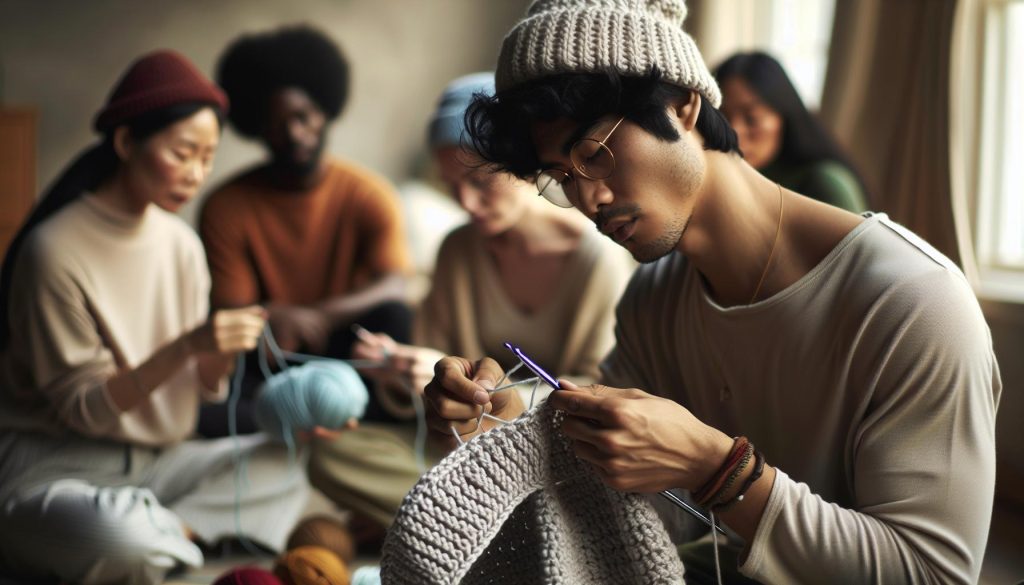
Crocheting a hat is a joyful journey, but the end can feel daunting, especially when it comes to decreasing rounds. Did you know that mastering these techniques can transform your project from ordinary to extraordinary? Not only does it create a polished finish, but it also enhances the fit of your hat. Whether you’re a beginner or looking to sharpen your skills, this guide breaks down the decrease process into simple steps, ensuring that you feel confident and empowered. By learning these essential techniques, you can tackle any crochet hat pattern with ease and create beautiful, cozy accessories for yourself or your loved ones. Let’s dive in and unlock the secrets to seamless hat finishes!
Understanding Decrease Rounds in Crochet Hats
As you approach the fascinating world of crocheting hats, understanding how to effectively decrease rounds is essential for achieving that perfectly crafted beanie or warm winter hat. Decrease rounds help shape the crown of the hat, creating a snug fit that flatters while keeping the warmth in. If you’re wondering how to tackle this seemingly tricky technique, don’t fret! With a little guidance, you’ll be reducing stitches like a pro in no time.
To begin, remember that decreasing rounds typically involve reducing the number of stitches in each round to form the top portion of your hat. This is done through various methods, such as single and double crochet decreases. An essential tip is to keep track of your stitch count as you decrease, which will help maintain the shape and avoid any confusion later on. You can use a stitch marker to indicate your starting point for each round, making it easier to track your progress.
When you’re ready to decrease, try using the “invisible join” technique to maintain a clean finish. This ensures that your decreases appear seamless, making your hat look polished. Here’s a simple method to get started with your decreases:
- In the first decrease round, crochet up to a specified stitch count (check your pattern for exact numbers) and then work two stitches together (decrease).
- Repeat this process around the hat until you reach the last few stitches, where you typically just finish with single crochet stitches to give it a neat closure.
- For the next round of decreases, you’ll increase the number of stitches between decreases, so that as you proceed, the fabric begins to tighten at the crown.
As you practice, it’s important to keep your tension even, as inconsistent tension can lead to a lumpy or misshapen top. If you’ve just learned to crochet and find decreases a bit daunting, take a deep breath. Remember, practice makes perfect! You can do this. Embrace the process, and soon you’ll be creating beautiful hats that showcase your newfound skills with confidence.
Essential Materials for Hat Crocheting
When it comes to creating cozy hats, having the right materials on hand is crucial to ensure your project is both enjoyable and successful. The good news is that making a wonderful, snug fit is easier than you might think! With a few essential tools and materials, you’ll be ready to crochet your very own hats with absolute confidence.
The most important item you’ll need is yarn. For beanies and winter hats, consider using a medium-weight yarn (#4), as it provides warmth without being too bulky. Acrylic yarn is a popular choice for beginners due to its affordability and wide availability, but don’t hesitate to explore blends that include wool or alpaca for extra softness and warmth. Always check your pattern for specific yarn recommendations, but 100-150 yards will typically suffice for a standard adult hat.
Next on the list is a crochet hook. Your hook size will depend on the yarn chosen, but for medium-weight yarn, a 5mm (H8) or 6mm (J10) hook is generally a great fit. Remember that your hook impacts the tension of your stitches, so if your fabric is too loose or too tight, try a hook size up or down to find that Goldilocks zone.
To make your crocheting smoother and more organized, consider adding a few accessories to your toolkit. Stitch markers are invaluable for keeping track of your rounds and decreases; they help ensure your hat maintains its shape. A tape measure is essential, especially as you adjust your hat to the right size or length, and having a scissors on hand will make it easy to snip yarn quickly.
Finally, if you’re aiming for a tidy finish, a yarn needle for weaving in ends will be your best friend. A comfortable working environment can also enhance your crocheting experience, so find a cozy spot, grab a cup of tea, and settle in! With these essentials at your fingertips, you’re all set to embark on your hat-making adventure-you can do this! Happy crocheting!
Step-by-Step Guide to Decreasing Rounds
Creating a snug and stylish hat is all about mastering the art of decreasing rounds. This is the moment where your crochet project transforms from a broad circle into a beautiful fitted hat, and it’s easier than you might think! Whether you’re making a cozy beanie or a fashionable slouchy hat, understanding decrease rounds will elevate your crocheting skills.
To begin with decreasing, make sure you’re at the point in your pattern where it’s time to shape the crown of the hat. Here’s a straightforward step-by-step breakdown to help you confidently navigate through this process:
1. Preparation
Grab your current project, your crochet hook, and a stitch marker to help track your rounds. Before starting your decrease, ensure you’ve reached the designated stitch count stated in your pattern.
2. Basic Decrease Technique
Now, let’s work on the decrease. The most common method is the single crochet decrease:
- *Insert your hook into the next stitch and yarn over (YO), pulling through (2 loops on hook).
- *Insert your hook into the following stitch, yarn over, and pull through (3 loops on hook).
- *Yarn over again and pull through all 3 loops on your hook.*
Repeat this decrease method around the entire hat, stitch by stitch, counting as you go to ensure uniformity.
3. Adjusting for Size
As you continue, be mindful of the stitch count outlined in your pattern. Most decreases will require you to reduce the number of stitches evenly across your rounds. For example, if your pattern suggests a decrease every 5 stitches, it would look something like this:
- Single crochet 5, then decrease.
- Repeat this sequence until you reach your marker.
This method keeps your decreases consistent and gives your hat a polished finish.
4. Finishing Touches
After a few rounds of decreasing, you’ll notice the top of your hat taking shape. Once you’ve reached the final round, it’s time to close up! Cut your yarn, leaving a long tail, and thread it through your final stitches to pull them tight, securing your closure. Weave in any loose ends with a yarn needle for a clean finish.
Each decrease round is a step closer to your finished project, so be patient and celebrate your progress; you’re creating something unique! With practice, you will master this essential technique and unlock the secrets of stunning crochet hats. You can do this!
Common Mistakes and How to Avoid Them
Mastering the decrease rounds in your hat project is essential, but even experienced crocheters can trip up along the way. Common mistakes often stem from miscounted stitches or unclear pattern instructions, leading to a hat that might not fit or look as intended. The good news? Many issues can be easily avoided with a bit of awareness and some proactive techniques.
One frequent blunder is accidentally missing a stitch during the decrease. This can create gaps that disrupt the overall look of your hat. To combat this, make a habit of using a stitch marker to track where each round starts, especially important when you’re decreasing. Take your time when working through each stitch, and periodically take a glance at your work to ensure you haven‘t lost count. If you do find yourself in a tricky situation, don’t hesitate to unravel a few stitches back to correct the mistake-it’s all part of the learning process!
It’s also common for crocheters to not follow the recommended stitch decrease evenly. If your pattern suggests a decrease every five stitches but you accidentally knit six or four, you might end up with an unevenly shaped crown. Keeping a scrap piece of paper or an app handy to jot down your stitch counts can help you stay organized. For beginners, it can be helpful to practice the decrease technique on a swatch before committing it to your hat. This will not only build confidence but will also give you a chance to perfect your method.
Additionally, many crafters forget to check their tension when they switch to decreasing rounds. If your stitches are too tight, it can make it challenge to continue making decreases fluidly. If you notice you’re straining your yarn, try relaxing your grip or using a larger hook for a couple of rounds to maintain a comfortable flow. Remember, ease is key! Decreasing rounds can feel intimidating, but with each project, you’ll gain the experience needed to tackle them with gusto. You can do this! Keep experimenting, and your crochet journey will be all the more enjoyable.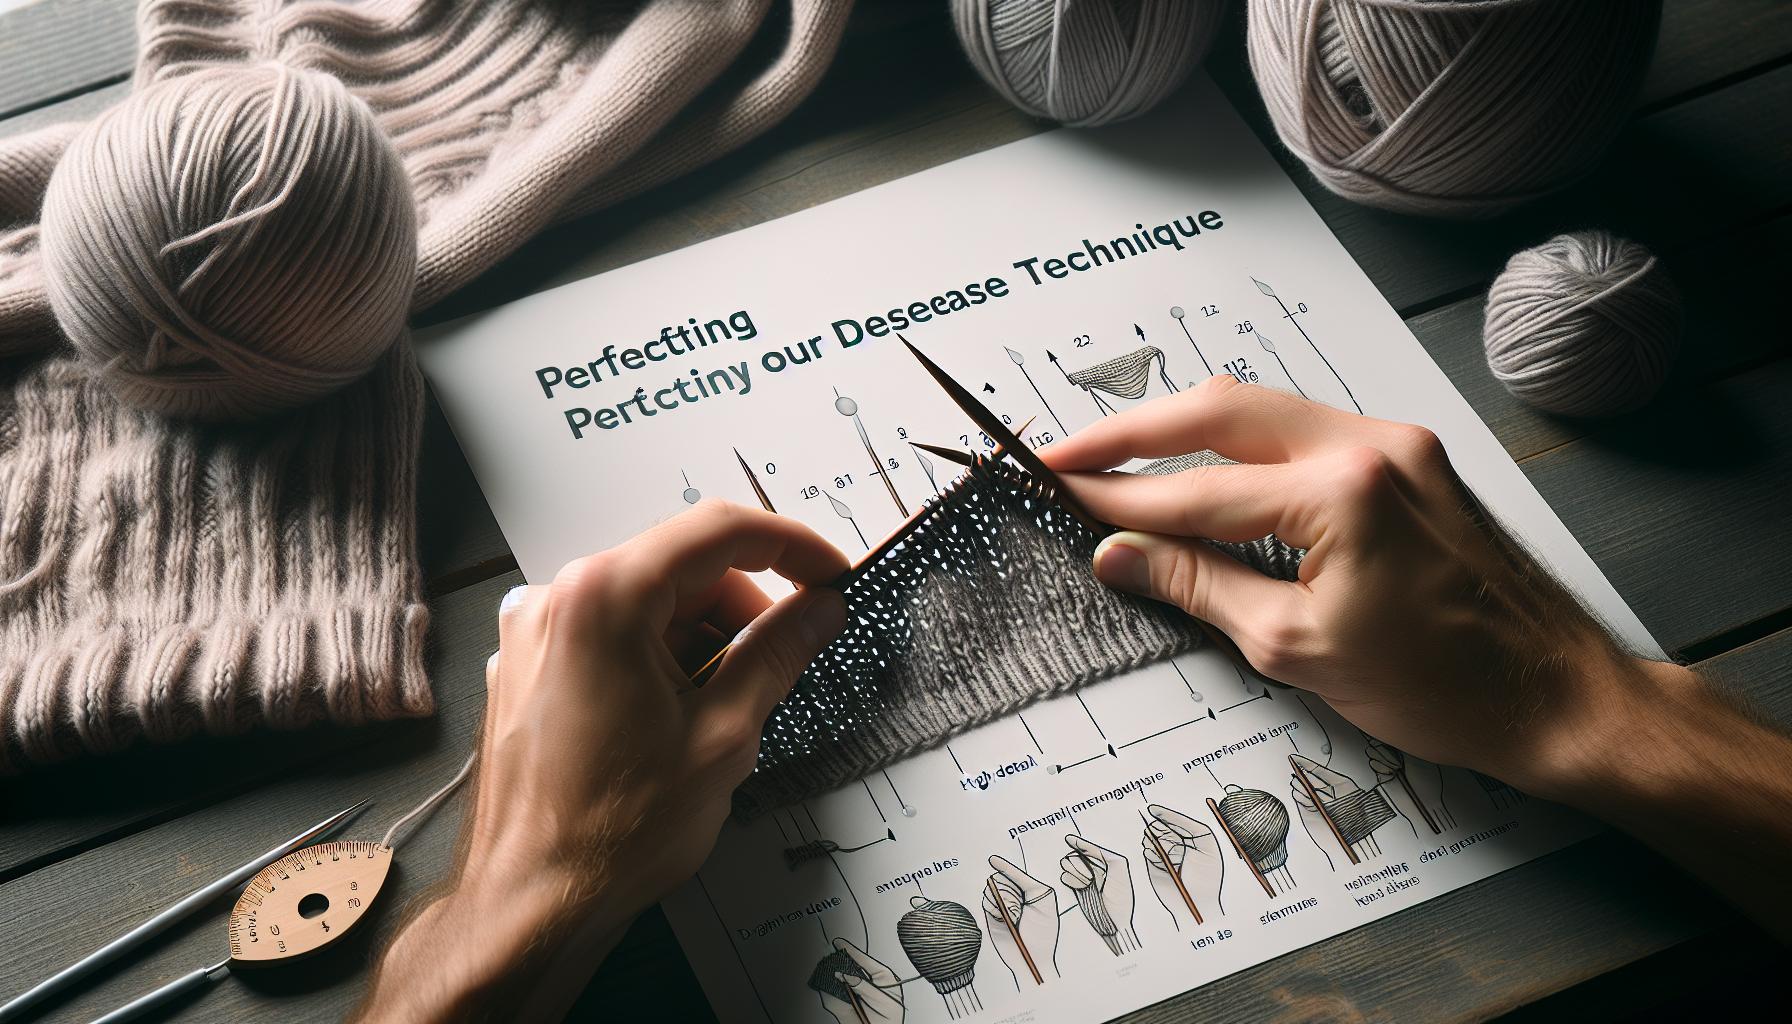
Tips for Perfecting Your Decrease Technique
Perfecting your decrease technique is essential for crafting a beautifully shaped hat. As you journey through the final rounds, keep in mind that mastering your decreases not only enhances the fit of your hat but also boosts your overall confidence in crocheting.
One of the most effective ways to ensure consistent decreases is to practice regularly. Set aside time to create swatches using different decrease methods, such as single crochet decreases or double crochet decreases. By experimenting with these techniques, you’ll develop a feel for how each one affects your fabric. Consider maintaining a decrease journal where you record what worked well, and what didn’t, along with your results. This kind of experimentation allows beginners to familiarize themselves with how decreases manipulate the structure of their work.
Additionally, tracking your stitch count is critical. Use a stitch marker to mark the beginning of each round, so you can keep an accurate tally of your decreases. If your pattern instructs you to decrease every few stitches but you’re unsure, count out your stitches before you start the next round. This small practice can prevent frustration as you near the end of your project.
Finally, don’t forget to regularly assess your tension. If you notice your stitches becoming tight, it can hinder your ability to decrease effectively. Try switching to a larger hook for a few rounds or consciously relaxing your grip on the yarn. Remember, the joy of crocheting lies in creating and experimenting, so allow yourself the space to learn and grow through each project. You’ve got this! With patience and practice, your decreasing technique will flourish, leading to stunning, well-fitted hats that showcase your crochet skills.
Creative Variations for Unique Hat Designs
Finding ways to express your creativity while crocheting hats can result in truly unique designs that reflect your personal style. There are countless methods to incorporate variations in your decrease rounds, leading not just to functional but also visually stunning wearables. Whether you want to play with textures, colors, or silhouettes, diving into creative variations can reinvigorate your projects and push your crafting boundaries.
One fantastic approach is to experiment with different stitch combinations during your decrease rounds. Instead of using the traditional single or double crochet decreases, try incorporating clustered stitches or half-double crochet techniques. Not only will these stitches add interest to your fabric, but they will also create unique shapes and textures. For example, alternating between traditional decreases and a puff stitch every few rounds can yield a lovely bobble effect that adds dimension to your hat.
Color changes offer another exciting way to enhance your hat designs. Consider using a variegated yarn or changing your color every few rows, especially during decrease rounds. This technique can create a gradient effect or striking stripes that highlight the shaping of the hat. To keep your design cohesive, you might choose colors that evoke a particular season or theme-think soft pastels for spring or rich jewel tones for winter. Using contrasting colors at your decreases can also emphasize the crown of the hat, drawing the eye upward.
To make your hats even more unique, you can add embellishments post-decrease. This includes adding flowers, appliqués, or even embroidery that plays up the decreases. These final touches can personalize your hat and make it stand out in a crowd. Don’t hesitate to involve your kids or friends in this creative process; designing hats as group projects can be a fun way to bond and share ideas.
Incorporating these variations is not only enjoyable but also boosts your confidence as a maker. Remember, the process is just as important as the final product, so allow your creativity to flow freely. You’ve got this-each hat you craft is an opportunity to showcase your unique style and skills!
How to Finish Your Hat with Style
Finishing off your crochet hat is like adding the cherry on top of a delicious sundae-it’s the moment when your hard work comes together and truly shines. As you wrap up the decrease rounds, keep in mind that your final stitches set the stage for how polished and professional your hat will look. With just a few thoughtful details, you can elevate your creation from a simple hat to a stylish accessory that you’ll be proud to wear or gift.
Start by ensuring that your last few decrease rounds are snug and neat. This not only helps the hat hold its shape but also creates a clean finish at the top. Typically, you’ll want to decrease until you have about 6-8 stitches left. Here are the steps to wrap up your hat with style:
Final Steps to Complete Your Hat
- Cut the Yarn: Leave a tail about 6 inches long; this will allow you to weave in the ends later.
- Pull the Yarn Through: Using a yarn needle, pull the yarn through the remaining stitches, and gently tighten them to close the gap.
- Secure the Crown: Weave your yarn tail back and forth across the stitches at the top to secure it in place. This helps to prevent any gaps from forming.
- Weave in the Ends: Turn your hat inside out and use the yarn needle to weave in the ends securely along the inside. Make sure to hide them well so they don’t poke through.
Once you’ve secured the top, it’s time to move onto the exciting part-adding your own unique flair!
Add Personal Touches
Consider embellishing your hat with a pom-pom, which can bring a fun, playful vibe. If you’re a fan of textures, try crocheting a flower or some other decorative motifs and attach them using slip stitches. You can even sew fabric appliqués directly onto the hat for a more personalized look.
Additionally, don’t shy away from the option of adding a decorative border. A couple of rows of single crochet in a contrasting color around the brim can create a lovely finished edge that ties the whole look together. Think about using ribbing through half-double crochets for added stretch and comfort around the ears.
Remember, this is your creation-let your personality shine through! Every decision, from the color of the yarn to the embellishments you choose, reflects your style and bite-sized bursts of creativity. Whether it’s a gift or a cozy accessory for yourself, you can be proud knowing you crafted it with care. So grab those finishing touches, and enjoy wrapping up your delightful hat!
Troubleshooting Common Crocheting Issues
As you dive into the exciting world of crocheting hats, you might encounter a few bumps along the way-don’t worry, it happens to all of us! Troubleshooting common issues during decrease rounds is part of the learning journey, and it’s a great opportunity to develop your skills. With a little guidance, you can tackle these challenges and keep your project flowing smoothly.
One common issue is creating a pointy or uneven top on your hat. This might occur if your decreases aren’t even or if you skip stitches inadvertently. To avoid this, always count your stitches after each round. You can also use stitch markers to track the beginning of your rounds, making it easier to see where decreases should happen. If you notice your hat is leaning or has an odd shape, it might be worth checking your tension. Consistent tension leads to a more uniform look. If you find yourself too tight in some areas, relax your grip and practice maintaining an even tension throughout.
Another potential hiccup is dealing with holes or gaps in your decreases. These can happen if you’re not pulling your stitches tightly enough or if you accidentally skip a decrease. To prevent holes, ensure that when you complete your decrease, you pull the stitch snugly without over-tightening, which can lead to a distorted shape. If you’ve already made some gaps, don’t fear! You can often stitch them up with a yarn needle and a little extra yarn, weaving in those gaps from the inside of the hat.
Lastly, if your hat feels too large or small, check your yarn and hook size against the pattern. Sometimes, a simple change in yarn thickness or hook can make a world of difference in fit. Additionally, remember that practicing different yarns or patterns can help you perfect your technique. Keep experimenting and remember-every project is a step toward improvement. You can absolutely master these techniques, and soon, you’ll find joy in every crochet hat you create! Happy crocheting!
Enhancing Your Skills: Advanced Decrease Methods
To truly master your crochet skills, delving into advanced decrease methods can elevate your hat-making game to new heights. By learning these techniques, you open up a world of creative possibilities while ensuring your projects have professional finishing touches. Whether you’re looking to refine your current technique or explore new patterns, these advanced methods will keep you inspired and engaged in your crochet journey.
Advanced Decreasing Techniques
- Brutal Decrease: This technique pulls together multiple stitches into one, creating a smooth, shaped top. It might look complex, but once you practice, it becomes a seamless part of your workflow. Start by crocheting two stitches together, then performing a slip stitch over the next stitch, before repeating the process around the hat.
- Invisible Decrease: For a nearly undetectable finish, the invisible decrease is your best friend. Instead of working through both loops of a stitch, insert your hook only under the front left loop of the first stitch and the front left loop of the next stitch, yarn over, and pull through. This method maintains the integrity of your fabric and is perfect for delicate hats.
- Extended Decrease: This unique method combines a single or double crochet with a decrease. For instance, work two single crochets together, then follow with a single crochet. This skill adds an interesting texture and can be visually appealing in specific yarns.
Real-World Application
Think about knitting a beanie with a more defined shape. Using these advanced decreases allows you to create a hat that not only fits beautifully but also has a stylish crown finish. Consider using the brutal decrease technique on chunky yarn for a cozy winter hat that will keep you warm while looking chic. Alternatively, for finer yarns, the invisible decrease can perfect your lightweight summer hat, providing an air of elegance without clunky finishing touches.
As you experiment with these techniques, don’t forget that practice is key. Begin with a small project, such as a simple beanie or a prototype swatch. Document your progress and any challenges you face; this will help you troubleshoot as you continue on to more complex designs. Celebrate each success-no matter how small-because every crochet piece is a testament to your growing talent. Remember, the world of crochet is expansive and full of joy; every stitch brings you closer to mastering your craft! You can absolutely do this-keep pushing your limits!
Inspiration: Popular Hat Patterns to Try
As you dive into the world of hat crocheting, you’ll find that mixing in some popular patterns can ignite your creativity and enhance your skills. Experimenting with different styles not only keeps you engaged but also helps you understand how decreases can shape your projects. Here are a few captivating hat patterns to inspire your next masterpiece:
Simple Beanie
The classic beanie is a fantastic starting point for crocheters of all levels. This pattern typically uses worsted weight yarn and a size H hook, making it a quick and satisfying project. You’ll learn essential techniques for decreasing while creating a functional and stylish accessory. In just a few hours, you can whip up a cozy beanie that can be customized with various colors or embellishments.
Slouchy Hat
For those seeking a bit more flair, the slouchy hat pattern is a wonderful choice. It combines simple stitches with decrease rounds, allowing for a relaxed fit that’s both trendy and comfortable. Try using a soft, chunky yarn to add texture and warmth. As you work through the decrease rounds, you’ll get a chance to practice methods like the invisible decrease, which will keep your project looking sharp and professional.
Textured Cable Hat
Elevate your crocheting by tackling a textured cable hat. This pattern introduces post stitches and intricate decreases that add depth and visual interest. The cable effect can look complex, but once you nail down the basic post stitch technique, the rest will come together smoothly. You’ll gain confidence in your ability to manipulate stitches while creating an eye-catching piece that’s sure to impress.
Hat with Pom-Pom
Who doesn’t love a playful pom-pom on the top of their hat? This pattern is ideal for showcasing your creativity. You can craft a simple beanie or slouchy hat and then add a pom-pom for that extra something. Experiment with yarn colors to create contrasting effects. The pom-pom adds a fun finishing touch and gives you an opportunity to practice making decorative elements from your leftover yarn.
These patterns not only serve as excellent practice for your decreasing skills but also encourage you to explore your creativity. Remember, you can do this! Each project is a stepping stone on your crochet journey, and with every stitch, you’re one step closer to becoming the maker you’ve always wanted to be. Enjoy the process and embrace each new challenge!
Join the Crochet Community: Where to Share Your Work
Building connections with fellow crocheters can amplify your creativity and boost your skills. Sharing your finished projects, especially those unique hat creations you’ve crafted through the fun of decreasing rounds, is a fantastic way to celebrate your journey while inspiring others. Platforms exist that cater specifically to craft enthusiasts, where not only can you showcase your work but also receive valuable feedback and encouragement. Whether you’re a beginner or a seasoned pro, the crochet community welcomes all!
Online Platforms to Share Your Work
A variety of social media networks and dedicated crafting sites can help expand your reach. Consider these popular options:
- Instagram: Use hashtags like #crochethat or #crochetcommunity to find and connect with fellow crafters. Post photos of your completed hats and share your crafting journey through stories and posts.
- Ravelry: This is a dedicated site for knitters and crocheters where you can create a profile, log your projects, and participate in forums. It’s a great place to track your progress and discover new patterns and ideas.
- Facebook Groups: Look for groups dedicated to crochet, such as “Crochet for Beginners” or “Crochet Addicts.” These communities often encourage members to share their work and ask for advice.
Engage and Encourage
When you share your work, don’t hesitate to ask for tips or support on your projects! Fellow crocheters can offer insights into techniques like decreasing rounds, which can be particularly tricky for beginners. Take the opportunity to celebrate others’ work as well; a kind comment or a simple like can go a long way in fostering a positive environment.
Feeling connected to a community can transform your crocheting experience from a solitary hobby into a vibrant exchange of creativity and support. As you share your hats, whether they feature playful pom-poms or intricate stitches, remember: every project is a masterpiece, and you’re part of a much larger tapestry of makers. Now, grab your yarn and hook, and let’s stitch together the joy of creation!
FAQ
Q: What is the best way to start decreasing rounds when crocheting a hat?
A: Start decreasing rounds by identifying your final hat size. Usually, you decrease every few rounds, for example, every 6th round. Consider using a stitch marker to keep track. This method allows your hat to gradually taper, creating a smooth crown.
Q: How do I know when to stop decreasing rounds in my crochet hat?
A: Stop decreasing when the crown fits snugly on your head or the intended recipient’s head. To check the fit, gently pull the hat over your forehead. If it sits securely without stretching too tightly, you are ready to finish!
Q: Can I use different decrease methods for various hat styles?
A: Yes, different styles may benefit from specific decrease methods. For a rounded crown, try standard double crochet decreases, while a squared crown might require chained or slip stitch decreases. Experimenting will lead you to your preferred look and fit.
Q: What should I do if my decreases look uneven?
A: If your decreases appear uneven, check your tension. Keeping consistent tension is crucial. You can also try using stitch markers to track your decrease intervals and practice the technique on a swatch before continuing with your hat.
Q: Is it essential to block my hat after finishing?
A: Yes, blocking your hat can enhance its shape. Soaking it in lukewarm water and letting it dry flat defines the stitches and gives a polished look. This step is particularly effective for wool hats but can improve all materials.
Q: Should I add a finishing round after my decreases?
A: It’s advisable to add a finishing round after decreases. This round helps seal the top, ensuring every stitch is secure. Slip stitch or single crochet around the final edge can create a neat finish before weaving in ends.
Q: How can I decorate or embellish my completed hat?
A: You can personalize your hat using buttons, patches, or yarn flowers. Adding embellishments can turn a simple design into a unique piece. For ideas, check the “Creative Variations for Unique Hat Designs” section of our article!
Q: What should I do if I run out of yarn while decreasing?
A: If you run out of yarn, consider using a contrasting color for the last few decreases. This technique can add a playful twist to your hat. Always keep extra yarn on hand to avoid interruptions, and check your yardage before you start.
In Retrospect
Congratulations on mastering the decrease rounds for your crochet hat! You’ve just taken a significant step in your crafting journey, and with practice, you’re sure to refine your technique even further. Remember, this skill not only enhances your projects but also opens up a world of possibilities for future creations like beanies and winter accessories. If you’re eager to continue building your crochet skills, check out our collection of easy crochet patterns for more fun projects to try next, or dive into our detailed guide on crocheting in the round for a deeper understanding.
Don’t forget to share your finished hat in the comments below-we love seeing your creations! And if you found this tutorial helpful, consider signing up for our newsletter for exclusive tips and more free patterns delivered straight to your inbox. Keep crocheting, and who knows? Your next masterpiece could be just around the corner!
Get our latest guides, news, and insights highlighted in your Google Search & AI Overviews.