

Did you know that the average adult head has a circumference of about 22 inches? Yet, when crocheting hats, a perfect fit can feel elusive! Understanding how to measure for a crochet hat is vital – it ensures your hard work results in a snug, comfortable finish that you or your loved ones will actually want to wear. Whether you’re a seasoned crocheter or just starting out, knowing how to accurately take measurements can save you from redoing your projects and boost your confidence. In this guide, we’ll walk you through easy steps to measure for the perfect fit and provide a handy sizing chart that takes the guesswork out of crochet hat making. Grab your measuring tape-let’s make sure your next hat is just right!
Understanding Crochet Hat Sizes: Why Measurement Matters
When it comes to crochet, crafting the perfect hat involves more than just picking a pattern and yarn-you’ll want to have accurate measurements. Understanding crochet hat sizes is essential, as the fit can make or break your project. An ill-fitting hat can lead to discomfort or even social awkwardness when a well-meaning gift turns out too snug or too loose. Luckily, with a few simple measurements and techniques, you can ensure that your crochet hats fit beautifully every time.
Taking the time to measure your head or the head of your intended recipient is the first step in creating a lovely, wearable piece. Use a soft measuring tape and wrap it around the fullest part of the head, which is typically just above the eyebrows and around the back. This measurement gives you a solid foundation for finding or creating patterns that fit well. Don’t forget to factor in the stitch stretch of your yarn; some fibers have more give than others, which can influence how snugly the hat will fit.
Another important point is to understand that different styles of hats may call for different sizing techniques. For instance, beanies, newsboy hats, and slouchy hats might each require you to tweak your measurements slightly to achieve that desired look. With practice, you’ll start to grasp how varying yarn types and patterns can affect the overall fit, allowing you to experiment with confidence. Remember, it’s all about making adjustments along the way-embracing the art of measurement means celebrating creativity, not just precision!
Essential Tools for Measuring a Crochet Hat
When diving into the world of crochet hats, having the right tools to measure is as essential as the yarn itself. You want to achieve that perfect fit, ensuring your hard work translates into a piece that feels just right. The great news is that you don’t need a whole toolbox; just a few simple items will make all the difference!
Start with a soft measuring tape-the same kind used in sewing. These tapes are flexible and easy to wrap around your head or the heads of those you’re crafting for. You can find these at any craft store or online. For precise measurements, it’s helpful to have a marking tool, like tailor’s chalk or even a fine pen, to jot down the sizes. This way, you won’t have to rely on memory and can easily refer back to your notes when you’re deep into your project.
Having a notepad or an app on your phone to keep track of your measurements can also be beneficial. You might find yourself measuring multiple heads, trying out different patterns, or adjusting your work as you go. This organized approach saves time and reduces frustration later, especially when you’re aiming for that flawless finish. And if you’re measuring for different hat styles, consider using a simple chart to easily compare sizes and adjustments tailored to each design’s unique needs.
So, gather your tools: a soft measuring tape, a marking tool, and a way to document your findings. With these at your side, you’ll be one step closer to crafting hats that not only look good but fit beautifully! Remember, the more comfortable and stylish your finished hat is, the more joy it will bring, not just to the wearer but to you as the proud maker!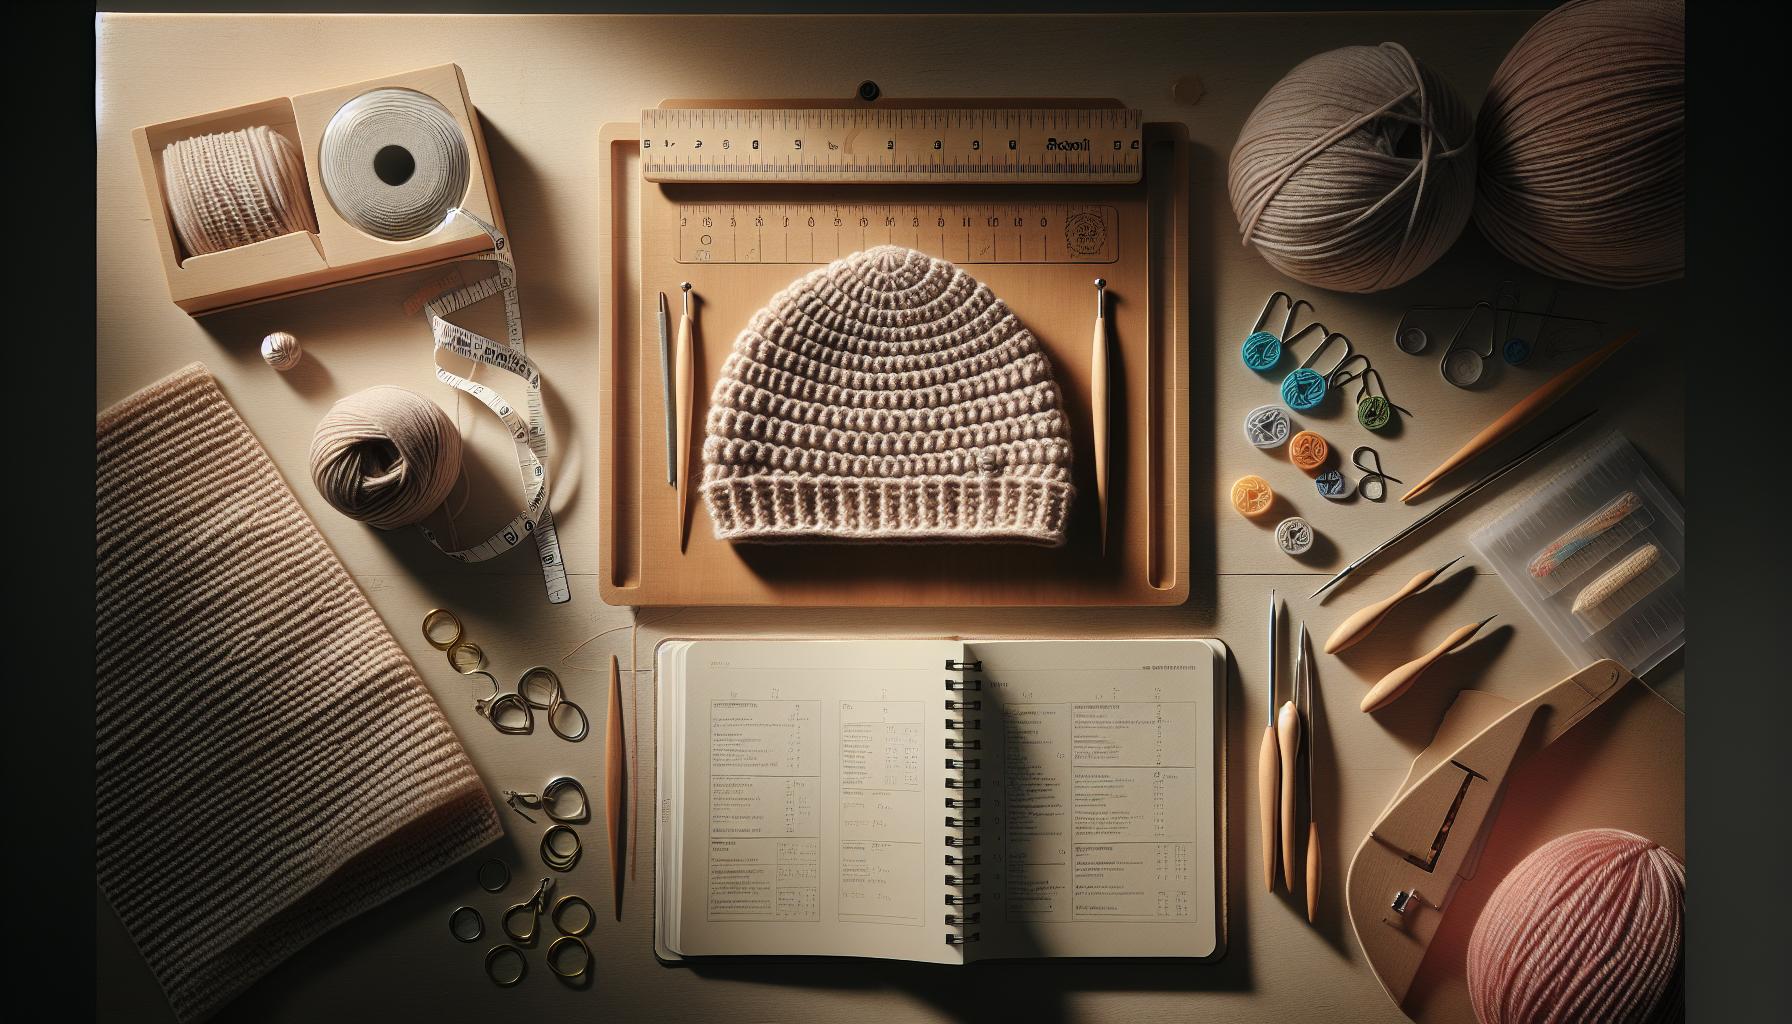
Key Measurements for a Perfect Fit
To create a crochet hat that fits just right, understanding the key measurements is paramount. A snug yet comfortable fit not only enhances the look but also ensures the hat stays in place during wear. Remember, sizing is not just about the diameter-it’s a combination of several essential dimensions. Here’s how to nail those measurements like a pro!
First, you’ll want to measure the circumference of the head. This is the most crucial measurement as it determines how well the hat will fit. To do this, take your soft measuring tape and wrap it around the widest part of the head, typically just above the eyebrows and ears. Make sure the tape is snug but not too tight-this will give you the best baseline measurement. Write down the circumference in inches or centimeters.
Next, consider the hat height, which is vital for styles like beanies and slouchy hats. Measure from the base of the back of the neck straight up to where you want the hat to sit-usually about one to two inches above the forehead, depending on your desired style.
It’s also important to account for the ear coverage if you’re making a more fitted hat. Measure from the top of the ear to the desired point on the head where the hat will sit. This can help ensure that your finished hat provides warmth and comfort, especially in colder weather.
Other Important Measurements
As you embrace this journey, keep these additional measurements in mind:
- Breadth of the Hat Brim: This is especially relevant for decorative styles like wide-brimmed hats. Measure the distance from one side of the hat to the other at the base of the brim.
- Depth of the Hat: For a more structured look, measure how deep you need the hat to go to cover the ears adequately.
- Type of Yarn and Stitch: Remember that different yarns and stitches can affect the elasticity and fit of your hat. If you’re using a particularly stretchy yarn, you may want to reduce the size slightly.
With these measurements in hand, you’re well on your way to crafting a one-of-a-kind hat that not only looks fantastic but fits perfectly. Its all about making those measurements work for you. So grab your crochet hook and yarn, and let your creativity flow-happy crafting!
Interpreting the Crochet Hat Sizing Chart
To navigate the world of crochet hat sizing, understanding how to interpret a sizing chart is crucial to your crafting success. A good sizing chart takes the guesswork out of your projects, letting you match your measurements with standard sizes. It’s not just about picking a number; it’s about ensuring comfort and style all in one go.
When examining a typical crochet hat sizing chart, start by locating the head circumference, which is usually the first measurement listed. This will be your anchor point. For instance, if the chart indicates that a medium size fits a head circumference of 22-23 inches, and you’ve measured 22.5 inches, that’s your go-to. Remember, hats can stretch, but a good fit starts with accurate measurements.
Another commonly included measurement is hat depth, which dictates how far down the hat will sit on the head. You might find sizes linked to specific styles (like beanies or slouchy hats) that influence how deep you want the cap to be. For example, if you want a beanie that sits snugly just above the ears, consult the depth indicated for the size you’re aiming for.
Finally, don’t overlook the need for adjustments based on the yarn and stitch used. If the chart suggests a specific size for a standard worsted weight yarn, but you’re using a bulky yarn, you may want to go down a size for that snug fit. Always keep a flexible approach in mind-knowing that the sizing chart is a guide, not a rule, will help you embrace the creativity of crochet and make hats that are truly one-of-a-kind. So, with your measurements in hand and the chart as your ally, dive into your next crochet project with confidence! Happy crafting!
Adjusting Sizes for Different Styles of Hats
When it comes to crafting hats, different styles often necessitate tweaks in sizing for the best fit. Each style has its own unique guidelines that can help you create a hat that not only looks great but also feels comfortable. For example, a beanie usually needs to hug the head snugly, while a slouchy hat can be more relaxed. Understanding the nuances of these different styles will make a huge difference in the final product.
For snug-fitting styles like beanies or caps, aim for a head circumference that’s on the tighter side of the sizing chart, especially if you’re using a yarn with a lot of stretch, like acrylic or wool blends. A helpful strategy is to crochet a swatch to see how the yarn behaves. If you find the yarn tends to stretch significantly, consider going down a size to maintain that snuggish fit. Many hat patterns also include guidance for depth-most beanies should cover the ears for warmth, while a more casual slouchy hat can sit higher up.
Conversely, if you’re making something cozy like a fedora or a cloche, you might want to allow for extra space. These styles can benefit from a bit of looseness to enhance their drape. Depending on the stitch pattern and yarn selected, you might find yourself adjusting upwards by a half-inch or more. Always pay attention to the anatomy of the hat; styles that have brims or wider openings may need additional adjustments to fit comfortably around the head without sliding off.
Finally, don’t forget about personal preferences and head shapes. Everyone’s noggin is a bit different! Before you finalize your project, it’s invaluable to try the hat on (or have the intended wearer try it on), making minor adjustments as needed. Embrace the process; you’re crafting something unique. So grab your hook and yarn, and let your creativity shine! You’re capable of making stunning hats that fit just right, and each piece you create adds to your crafting journey.
Common Mistakes in Measuring Crochet Hats
Measuring for crochet hats can be tricky, and making mistakes is surprisingly common, even among seasoned crafters. Accurate measurements are key to ensuring a hat fits comfortably and looks great. One major error is neglecting to account for hair or head coverings. If the wearer has thick hair or often wears a wig, be sure to add extra inches to accommodate that volume. Always measure with the intended final look in mind!
Another frequent pitfall is failing to use the right tools. While a fabric measuring tape is ideal, many people resort to unreliable methods like using a string and then measuring it against a ruler. This can lead to variations in measurement. Invest in a soft measuring tape, which gives you the flexibility to wrap it around the head snugly without gaps. Additionally, it’s essential to measure at the widest part of the head-usually around the forehead and above the eyebrows-to get an accurate circumference.
Many crafters also make the mistake of measuring flat when they should be measuring around. Remember, crochet hats need to fit the natural curves of the head, so measuring that circumference rather than a flat piece is crucial. To help with this, you might consider making a practice hat in a simple stitch that can be easily adjusted after trying it on, allowing you to refine your measurements further.
Finally, do not forget to check the gauge. You might be thinking, “But I followed the pattern!” Even if the yarn is the same as specified, different stitching tension can create size discrepancies. Always crochet a gauge swatch before diving into your project to ensure that your measurements translate to the right fit. By keeping these tips in mind, you can avoid common measuring mistakes and craft hats that fit perfectly!
Using Gauge to Ensure Accurate Sizing
When embarking on a crochet hat project, ensuring that your hat fits perfectly can often feel like a daunting task. One crucial element that can make or break your fit is gauge. Using gauge not only helps you achieve the intended size but also allows your project to look polished and professional. The concept of gauge involves crocheting a small swatch to see how many stitches and rows fit within a specific measurement. This step is essential because different yarns, hook sizes, and even individual tension can result in significant variations in sizing.
To start, grab your yarn and hook, and carefully crochet a swatch, ideally 4 inches by 4 inches. Once you’ve completed your swatch, lay it flat and measure how many stitches and rows fit into that space. Here’s a simple step-by-step guide to help you through:
- Choose Your Pattern: Check the yarn label and your pattern for the recommended gauge.
- Make Your Swatch: Using the same yarn and hook you plan to use for your hat, crochet a swatch. Aim for a larger square to get a more accurate measurement.
- Measure: After completing your swatch, flatten it and use a ruler to count the number of stitches and rows in a 4-inch square.
- Compare: Refer back to the gauge specified in your pattern. If your count differs, you’ll need to adjust either your hook size or your tension accordingly.
This approach ensures that the rest of your project will coincide with the sizing you need, which can be especially important if you’re changing yarn types or using new materials. If your swatch comes out smaller than the pattern suggests, simply switch to a larger hook or try to loosen your tension. Conversely, if your swatch is too large, try a smaller hook or tighten your stitches.
Remember, the magic of crochet lies in the nuances, and getting your gauge right is like laying the foundation for a solid building. By taking the time to create and measure your gauge swatch, you equip yourself with the knowledge necessary to adjust your project’s dimensions, ultimately leading to a well-fitted, gorgeous hat that you’ll be proud to wear or gift. So, don’t skip this step-you can do this, and the satisfying outcome will confirm its worth!
Tips for Trying on Crochet Hats Before Finalizing
When you’re excited about finishing a crochet hat, there’s nothing quite like trying it on for the first time to see how it fits. This is a crucial step that can help identify any necessary adjustments before you declare your project complete. Many crocheters find joy in watching their creation transform into something they can wear, so taking a moment to try it on not only allows you to check the fit but also connects you with the effort you’ve put into your work. Here’s how to make this experience as effective as possible.
Firstly, ensure you try on your hat multiple times during the crafting process. As you work, especially after you’ve completed the main body of the hat, slip it on to see how it feels. Pay attention to the following:
- Crown Fit: The top of the hat should sit comfortably without feeling too tight. If it’s snug or pushing down on your forehead, consider adjusting your stitch count by adding a few more stitches.
- Headband Area: This section should hug your head gently without leaving marks. If it’s too loose, you can easily add a few rounds of single crochet to tighten it up.
- Length: When you try it on, check that it covers your ears if you’re aiming for winter wear, or sits at your desired point for a fashionable look. If it feels too short, always add a few extra rows before finishing off.
Another tip is to involve a friend or family member in the process. Having someone else put on the hat can give you a fresh perspective. They may notice aspects of the fit that you might overlook. If they feel comfortable, ask them to wear it for a bit and see how it performs; there might be areas pulling or bunching in ways you didn’t anticipate.
Finally, don’t forget about the weight of your yarn and the style of the hat. A heavier yarn may stretch and sag a little over time, which can alter the fit after washing. Consider trying on the hat with a similar thickness of yarn to anticipate its behavior. Each of these steps reinforces a pleasant fact: you can adjust and refine effortlessly. With a little patience and creativity, your crochet hat can transform into a perfect custom piece that showcases your hard work-because you absolutely can do this!
Crafting Custom Sizes for Unique Head Shapes
Crafting a crochet hat that fits perfectly can be an exciting journey, especially when considering the unique shapes of our heads. Everyone has different measurements-some may have wider foreheads, rounder crowns, or narrower chins. This is where customizing your hat comes in. By paying attention to key factors and adjusting your pattern accordingly, you’ll create a one-of-a-kind piece that fits beautifully.
To start, take accurate measurements of the head you’re crafting for. Use a flexible measuring tape to record the circumference just above the ears, around the forehead, and the distance from the crown to the nape of the neck. These measurements will guide your adjustments. For example, if you know someone has a larger forehead, you might want to adjust the crown area by adding extra stitches, allowing for a bit more room. In contrast, if the recipient has a smaller head, consider reducing the stitch count to ensure a snug fit.
Additionally, the style of hat can influence how you measure and adjust. A beanie might need more stretch and depth, while a brimmed hat might require more attention to the width and height of the brim itself. If a person has a specific style they prefer, like a slouchy fit or a close-cropped style, adjusting the length of the body of your hat accordingly will enhance comfort and style. Don’t hesitate to create a test swatch of fabric to visualize how different stitch counts and styles affect the overall fit.
Finally, remember that crochet is all about experimentation. If your first attempt doesn’t fit perfectly, that’s okay! Each project is a learning experience. You can undo your stitches and rework the hat based on your try-on experiences. Keep in mind that hats made from heavier yarn may stretch over time, so crafting with care-while being mindful of style, technique, and fit-will yield beautiful results. With each project, you’ll refine your skills and create hats that are not only stunning but tailored for every unique head shape. You can absolutely do this, and each finished hat will be a testament to your crafting journey!
Maintaining the Perfect Fit After Washing
Crafting a crochet hat can be a rewarding journey, but did you know that the proper care after washing is just as crucial to maintaining that perfect fit? It’s true! Washing can affect the size and shape of your beloved hats, especially if they’re made from yarns that are prone to stretching or felting. With just a few thoughtful steps, you can keep your hat fitting beautifully for years to come.
To maintain the perfect fit after washing, always start by checking the yarn label for specific care instructions. Different fibers react differently to washing and drying. For example, acrylic yarns are often machine washable, while wool may require gentle handwashing to prevent shrinkage. Here’s a quick approach:
- Handwash with care: Use lukewarm water and a gentle detergent. Soak the hat gently and avoid rubbing or agitating it too much to prevent distortions.
- Rinse thoroughly: Ensure all soap is removed, as residue can affect the fibers over time. Rinse under cool water until it runs clear.
- Dry flat: Rather than twisting or wringing out the water, gently lay your hat on a clean towel. Roll the towel with your hat inside to absorb moisture without stretching the shape. Then reshape your hat and lay it flat to dry.
Don’t forget to check that it has maintained its original dimensions. Before it dries completely, try it on to ensure it still fits well. If it feels a bit tight or loose, remember that you can always make minor adjustments before it sets. For some hats, steaming can help reshape the fibers, giving them that perfect fit if they’ve shrunk a bit or lost their shape.
It’s also a great idea to avoid exposing your hats to direct sunlight or high heat sources while drying, as this can lead to fading or further shrinkage. By being mindful of these washing techniques, you can ensure your crochet hats look fabulous and fit just right each time you wear them. You’ve put in the work to make a beautiful piece, so let’s keep it looking its best! Happy crafting!
How to Make Size Adjustments to Finished Hats
Making size adjustments to finished crochet hats is not just about correcting mistakes; it’s also an opportunity to personalize your creation for the perfect fit! Whether you’ve realized your hat came out slightly too large or too small, the good news is that you can easily modify it with a few handy techniques. Just remember, this is part of the crafting journey, and with a bit of patience and creativity, you can make it happen!
If your hat is too large, consider adding a drawstring or a band. To do this, you can use a small length of yarn or a contrasting string through the last row. Gently gather the fabric at the base of the hat and tie it off to create a snugger fit. This method not only resolves sizing issues but also adds a unique decorative element! If you have crochet skills, you could also crochet a ribbed band or a few rows of single crochet at the brim to tighten the fit around your forehead.
On the flip side, if your hat is too small, there are a couple of effective solutions. For instance, you can try soaking the hat in lukewarm water and gently stretching it while it dries. This technique works especially well if you’ve used natural fibers, as they tend to be more forgiving. Alternatively, consider adding an embellished section at the top-like a flower or pom-pom-this can draw attention away from the fit while making the hat more stylish.
Your options for adjusting the size will depend on your hat’s style and what fibers you’ve used. Don’t hesitate to experiment! The wonderful thing about crochet is its flexibility, and as you keep crafting, you’ll gain more confidence in making these kinds of adjustments. Remember, every small change you make can transform your project from “just okay” to “absolutely fabulous.” Keep creating, and have fun with every stitch!
Frequently Asked Questions About Crochet Hat Sizing
When diving into the world of crochet hats, one question often pops up: how do I get the sizing just right? The great news is that measuring and understanding hat sizes is a fulfilling process that can significantly enhance your crafting experience. Let’s tackle some frequently asked questions to help you navigate through the essentials of crochet hat sizing.
If you’ve ever wondered why your hat doesn’t fit as expected, you’re not alone! One common issue is not accounting for stretch. Different yarns stretch differently; for example, wool tends to have more give than acrylic. When measuring, always consider the yarn’s elasticity. Additionally, do remember that if you’re making a gift, it can be tricky to know the recipient’s size. A handy trick is to reference a sizing chart that includes average head circumferences-this can guide you toward the appropriate size.
Another frequent concern is how to measure accurately. The best way to get a proper fit is to use a soft tape measure. Wrap it around the head just above the ears and eyebrows, ensuring it’s snug but not tight. Jot down the measurement, and remember, it’s always better to err on the larger side; you can adjust the fit later with methods like adding a ribbed band or drawstring for extra snugness. Don’t forget to account for the pattern! Sometimes, crochet designs can be more forgiving or fitted, so adjust accordingly if you’re following a specific pattern.
If you’re still hesitant about sizing, don’t shy away from trying on your creations during the process. Use a willing friend or even a mannequin head if you have one. This can give you visual feedback and allow you to make immediate adjustments. Lastly, washing and blocking your hat after it’s finished can help set the final size. Many fibers will relax and conform slightly to the shape of the head after washing, which can be a delightful surprise if you’ve measured correctly from the start.
Embrace the joy of crafting and remember, perfecting your hat sizes is all about practice and a bit of experimentation. With these tips up your sleeve, you can confidently create crochet hats that fit beautifully and look fabulous! Happy crocheting!
Faq
Q: How do I measure my head for a crochet hat?
A: To measure your head for a crochet hat, use a flexible measuring tape. Wrap it around the widest part of your head, typically just above your ears and eyebrows. Note the measurement in inches. For accuracy, ensure the tape is snug but not tight.
Q: What is the best crochet hat size for adults?
A: The ideal crochet hat size for adults generally falls between 21 to 23 inches in circumference. A medium adult hat usually measures around 22 inches. Refer to your sizing chart to adjust for fit depending on the yarn and stitch variety.
Q: Can I use a sizing chart for different hat styles?
A: Yes, you can use a sizing chart for different hat styles. However, adjust your measurements based on the style-beanies may fit snugger, while slouchy hats require a bit more room. Always consult the specific sizing chart for the style you’re crafting.
Q: What should I do if my crochet hat is too small?
A: If your crochet hat is too small, consider adding a stretchy brim or using yarn that has some stretch. You can also try blocking the hat on a larger head form or adding rows of stitches to increase size. For future projects, double-check your measurements before starting.
Q: How can I ensure my crochet hat fits after washing?
A: To maintain the fit of your crochet hat after washing, always follow care instructions specific to the yarn used. Avoid hot water and aggressive drying methods; opt for cold washes and air drying. This prevents shrinkage while preserving the hat’s shape.
Q: What adjustments should I make for different yarn types?
A: Different yarn types can affect the fit of your crochet hat. For thicker yarns, you may need to reduce the number of stitches to maintain a snug fit. Always conduct a gauge swatch to determine the best adjustments needed for your specific yarn.
Q: What are common mistakes when measuring for a crochet hat?
A: Common mistakes include measuring too tightly or loosely, neglecting to measure at the widest part of the head, or failing to account for yarn stretch. Ensure accurate readings by checking your tape measure and taking multiple measurements for consistency.
Q: How do I adjust a crochet hat for a child’s size?
A: To adjust a crochet hat for a child’s size, decrease the circumference based on age-typical sizes range from 18 to 20 inches for kids. Use a sizing chart tailored for children’s hats, and always consult your key measurements section for precise adjustments.
Future Outlook
Congratulations on mastering the art of measuring a crochet hat! By following our sizing chart, you’re now equipped to create the perfect fit for anyone. Remember, the right measurements can make all the difference in your crochet creations. Don’t let doubts hold you back-grab your yarn and hook, and start crafting today!
If you’re looking for more inspiration, check out our guide on choosing the best yarn for your project, or dive into our tips for basic crochet techniques. Want to stay updated? Join our newsletter for exclusive patterns and crafting tips to elevate your skills even further.
Would you like to share your crochet hat success story? We’d love to hear from you in the comments below! Keep creating, keep sharing, and remember-the joy of crafting is all about exploring new designs and techniques. Happy crocheting!
Get our latest guides, news, and insights highlighted in your Google Search & AI Overviews.