
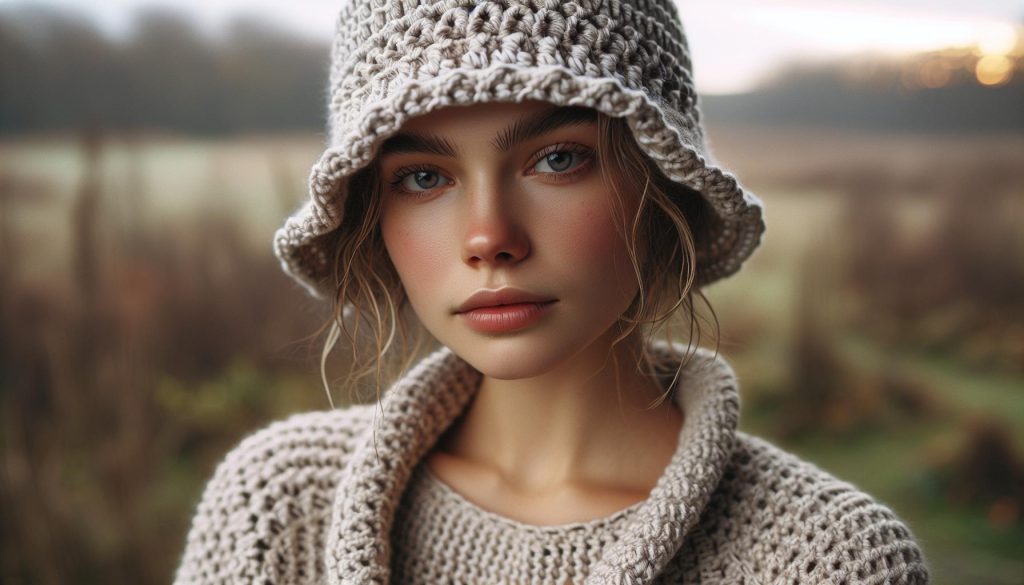
Are you ready to create a cozy accessory that’s perfect for all seasons? The “Slouch Hat Crochet Pattern: Relaxed Fit Tutorial” is your go-to guide for crafting a stylish hat that combines comfort and flair. Whether you’re a beginner or an experienced crocheter, this pattern empowers you to make a unique piece that showcases your creativity. Not only will you keep warm, but you’ll also add a personal touch to your wardrobe.
Crocheting a slouch hat is not just about practicality; it’s a chance to express yourself and enjoy the satisfaction of making something with your own hands. As you follow along, you’ll discover helpful tips and techniques to enhance your skills and boost your confidence. So grab your yarn and hook, and let’s dive into an enjoyable project that promises to add a relaxed vibe to any outfit! You’ve got this-let’s get started!
Choosing the Right Yarn for Your Slouch Hat
is a crucial step that directly influences the final look and comfort of your creation. With so many options available, it’s essential to consider not just the aesthetic appeal but also the texture, weight, and fiber content. Whether you’re aiming for a lightweight, airy feeling or a cozy, warm hat, the right yarn can make all the difference. A popular choice for slouch hats is acrylic yarn due to its affordability and wide range of colors. It’s easy to work with and provides a nice drape, making your hat look effortlessly stylish.
When selecting yarn, keep in mind the intended season for your slouch hat. For cooler months, natural fibers like wool or alpaca offer warmth and insulation, while cotton blends are fantastic for lightweight summer hats. Here’s a quick guide to help you choose:
- Acrylic Yarn: Best for beginners; easy care and available in many colors.
- Wool: Warm and stretchy; perfect for winter projects.
- Cotton: Breathable and lightweight; ideal for summer hats.
- Blends: Mixtures of fibers can offer the best of both worlds; look for wool-acrylic blends for versatility.
The yarn’s weight should also be considered according to your pattern. A worsted weight yarn is commonly used for slouch hats, providing enough structure while still allowing for a relaxed fit. Additionally, always check the recommended hook size on your yarn label; using the right size hook ensures that your stitches are consistent, leading to a polished end product.
With your yarn picked out, you’re already on your way to crafting a stunning slouch hat that reflects your personal style. Remember, experimenting with different yarn types can lead to unique textures and looks, so don’t hesitate to try something new! You can do this! Happy crocheting!
Essential Crochet Tools and Supplies You’ll Need
To embark on your slouch hat crochet journey, having the right tools and supplies is key to creating a beautiful and comfortable piece. Whether you’re just starting out or have a bit of crochet experience, assembling your toolkit can make the process more enjoyable and successful.
Begin with your crochet hook. For most slouch hats, a size H (5.0 mm) or I (5.5 mm) hook works wonders, especially with worsted weight yarn-a popular choice for achieving that lovely drape and relaxed look. If you’re unsure about spool sizes, refer to the recommendations provided on your yarn label, as using the right hook size ensures that your stitches are even and the fabric turns out just right.
Next up, grab your yarn needle for weaving in those pesky ends once you’re finished. It’s a small but mighty tool that makes a big difference in giving your hat a clean, finished look. You might also find stitch markers handy for keeping track of your rows or specific stitches; they can be especially helpful if you’re trying a new pattern. Lastly, don’t forget about scissors for those snips when you’re ready to change yarns or cut off excess threads.
A cozy workspace will set the mood for creativity. Consider having a soft pillow or blanket nearby, and maybe even a cup of your favorite beverage. Create an atmosphere that makes you excited to crochet! With the right tools and a cheerful setup, you’ll be well on your way to crafting an adorable slouch hat. Remember, enjoy the process-it’s all about making something uniquely yours. You’ve got this!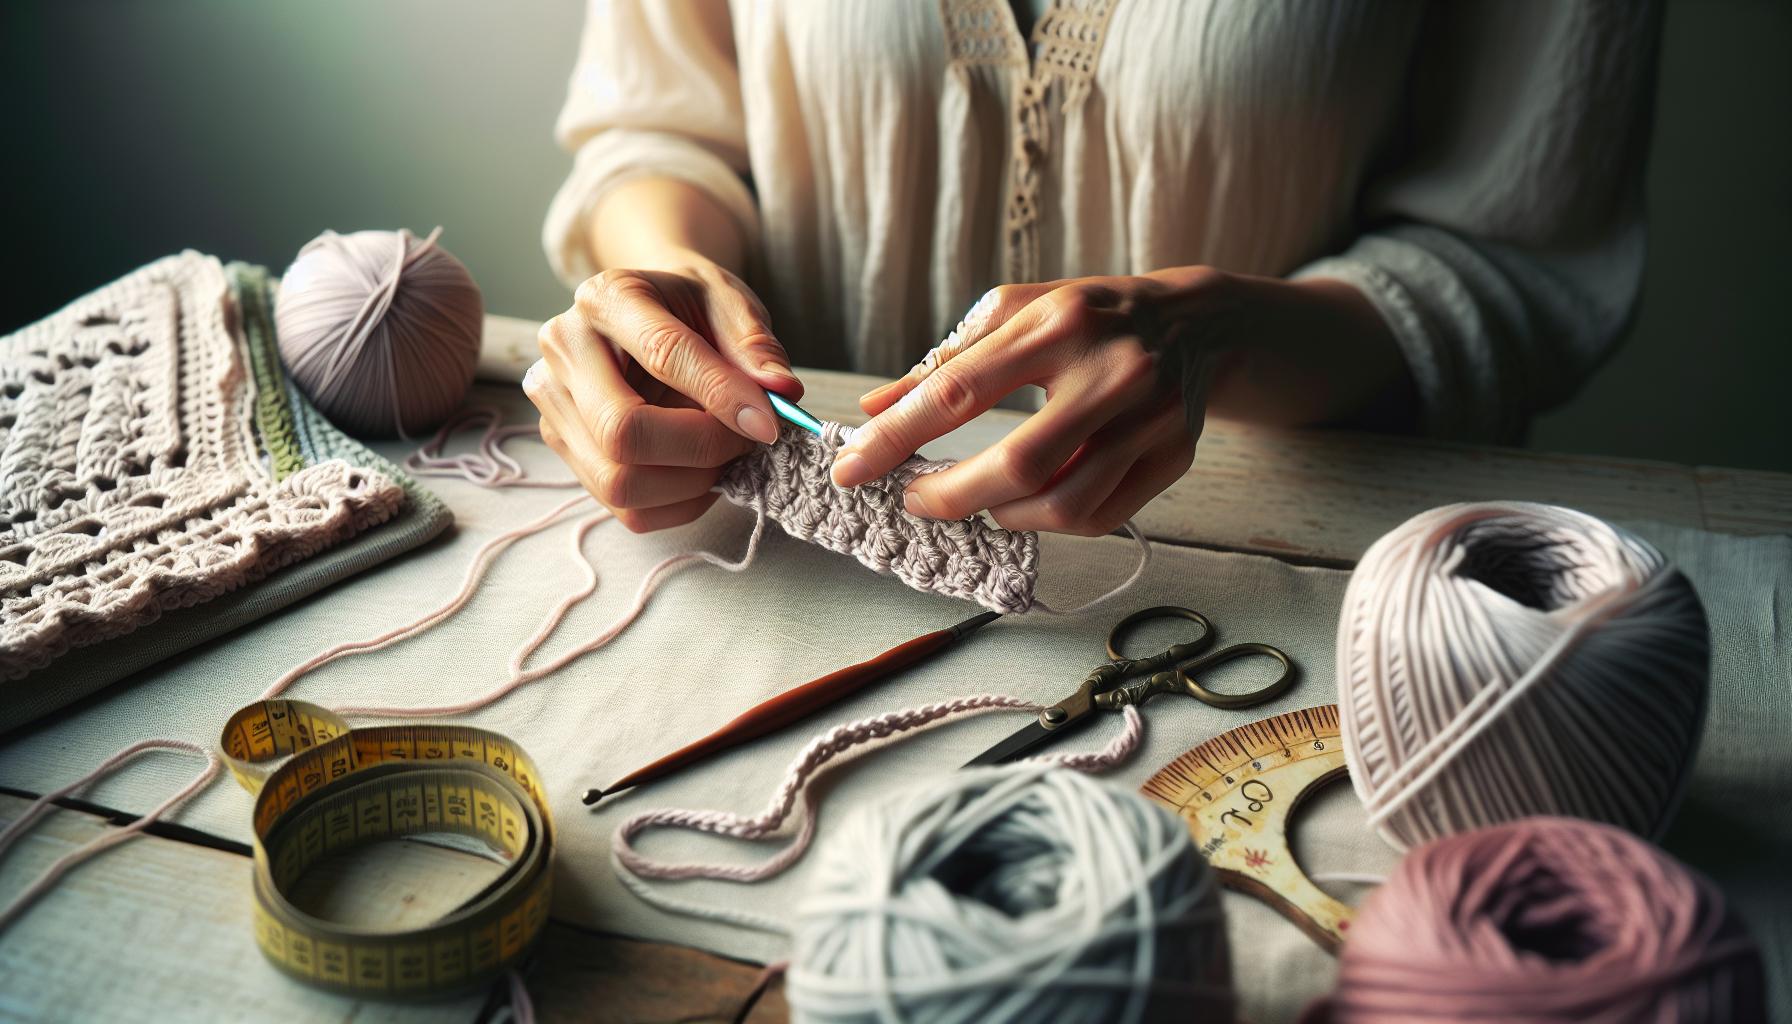
Step-by-Step Guide to Basic Crochet Stitches
To help you get started on your journey to creating a stylish slouch hat, let’s dive into the fundamental crochet stitches that will become your best friends. Mastering these basics will not only boost your confidence as a crocheter but also equip you with the skills needed to tackle more intricate patterns down the road. Remember, every expert was once a beginner, so embrace the learning process!
The most essential stitches you’ll need for a slouch hat are the chain stitch, single crochet, half double crochet, and double crochet. These stitches form the backbone of many crochet projects, and once you learn how to create them, you can mix and match to form a variety of textures and designs.
Basic Stitches to Know
- Chain Stitch (ch): This is your starting point for most patterns. To create a chain stitch, simply yarn over and pull through the loop on your hook. Repeat this for as many stitches as your pattern requires.
- Single Crochet (sc): A staple stitch that creates a tight fabric. Insert your hook into the stitch, yarn over, pull through (you’ll have two loops on your hook), yarn over again, and pull through both loops.
- Half Double Crochet (hdc): This stitch gives a slight lift compared to single crochet. Yarn over, insert your hook into the stitch, yarn over again (three loops on your hook), and pull through all three loops.
- Double Crochet (dc): This stitch is taller than the others and adds an airy feel to your hat. Yarn over, insert your hook, yarn over (three loops), yarn over again and pull through the first two loops, then yarn over and pull through the remaining two.
As you progress, don’t shy away from practicing these stitches in small swatches before you commit them into your project. It’s a great way to build muscle memory and get comfortable with your hook and yarn. Plus, making swatches is fun and gives you a chance to experiment with colors and tension.
Remember, crochet is a journey filled with creativity and a bit of trial and error. You can do this! Whether you’re aiming for a chic, slouchy look or just getting the hang of basic stitches, each yarn you touch and stitch you create is a step toward crafting something uniquely yours. Enjoy the process, and happy crocheting!
Creating the Perfect Slouch Hat Shape: Techniques Explained
To design a slouch hat that perfectly balances style and comfort, understanding the right techniques is vital. Whether you’re a novice crocheter or have some experience under your belt, shaping your slouch hat is key to achieving that relaxed, stylish look. One important factor to consider is the yarn you choose, as it influences the drape and final shape of your hat. For a nicely slouched effect, opt for a medium to bulky weight yarn that provides enough structure without being too stiff.
As you begin your project, the initial foundation is crucial. Start with a solid base by using the chain stitch to create your desired width. Once you’ve laid the groundwork, transition into the body of your hat with stitches like double crochet or half double crochet. These stitches not only create a lovely texture but also allow for flexibility, essential for that relaxed fit. Pay attention to your tension; looser stitches can enhance the slouchy effect, while tighter stitches will hold a more structured shape.
To further refine the silhouette, consider incorporating increases and decreases as you progress. For instance, to create a more pronounced slouch, gradually increase your stitches at the base and then decrease towards the top. This technique creates a gentle taper that gives your hat depth and character. If you want to emphasize the slouch, you might also experiment with different stitch patterns, such as ribbing or shell stitches, which add visual interest while allowing for more flexibility.
Finally, don’t forget to measure as you go; fitting the hat periodically will help ensure that you achieve the perfect slouch. The key is to have fun and embrace the creative process. You can do this! Enjoy trying out different styles and stitches until you get the slouch hat that feels just right for you. Happy crocheting!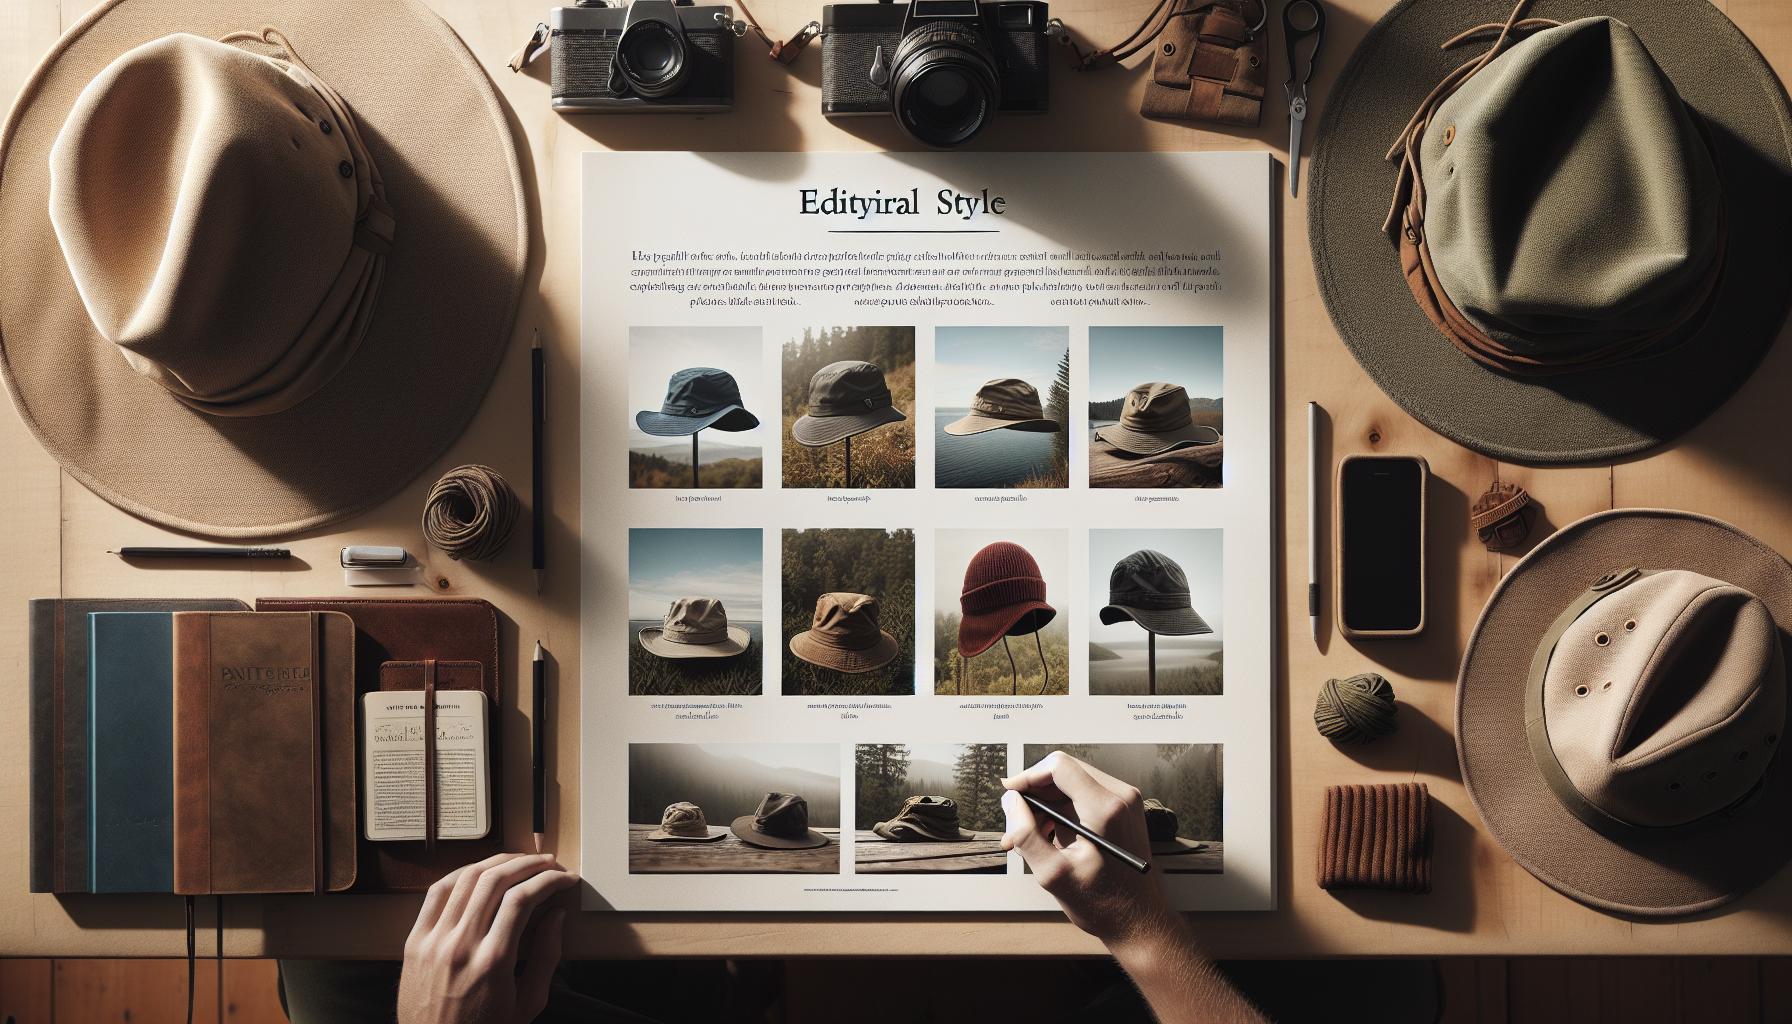
Understanding Different Slouch Hat Styles
Choosing the perfect slouch hat style can be just as crucial as mastering the crochet techniques to create it. Each style brings its own flair, allowing you to express your personality while enjoying that comfy, relaxed fit. From timeless classics to trendy updates, understanding these styles will inspire you to make a slouch hat that you love to wear and showcase.
One popular style is the classic beanie slouch, characterized by its simple, round shape and a gentle downward slouch at the back. This hat is incredibly versatile, making it easy to dress up or down. You can crochet it using a medium weight yarn for a snug fit or a bulky yarn for a cozier feel. Pair it with a matching scarf for a chic winter look! Experimenting with different stitch patterns like the traditional double crochet or a twisted rib can add unique texture and depth.
Another exciting option is the boho slouch hat, which features a more exaggerated slouch and often includes decorative elements like fringe or colorful patterns. This style is perfect for summer festivals or casual outings, giving a laid-back yet stylish vibe. When crafting this type, consider using lighter yarns for breathability-cotton or bamboo blends work wonderfully. Play around with bold colors or even add a brim for a slightly different take on the bohemian aesthetic.
Don’t overlook the oversized slouch hat! This eye-catching piece is made to drape dramatically over the head and shoulders, offering a relaxed elegance that’s perfect for lounging or casual outings. To achieve the look, use a combination of bulky yarn and loose stitches; this creates depth and maximum slouch. Remember, as you explore these styles, the most important thing is to have fun with your creations. Slouch hats can be as unique as you are, so let your creativity flow, and enjoy the process of making something truly special! You can do this!
Customizing Your Slouch Hat: Patterns and Variations
Creating a slouch hat isn’t just about following a pattern; it’s an opportunity to infuse your personality and creativity into your work. One of the best parts of crocheting your own slouch hat is that you can customize it in countless ways to make it truly yours. Whether you want to play with colors, add unique stitch patterns, or incorporate special embellishments, the possibilities are endless!
To start, consider the yarn choice for your custom slouch hat. Yarn weight can dramatically affect the drape and slouch of your hat. For more structure, opt for a medium-weight yarn, but if you’re after that relaxed, cozy look, bulky yarns are your best friends. Don’t hesitate to mix yarns too; for instance, combining a plush acrylic with a cotton blend can create a delightful texture.
Next, let’s talk about stitch patterns. You can give your hat personality by incorporating various stitches. For example, consider a simple ribbing pattern along the brim to add a snug fit, while using larger stitches like half double crochet or a shell stitch for the body to enhance that relaxed vibe. If you’re feeling adventurous, try combining stitches for an eye-catching effect, such as alternating half double crochet and double crochet rows to create a unique texture that stands out.
Adding embellishments can elevate your slouch hat from ordinary to extraordinary. Think about adding a tassel or pom-pom on top for some fun flair, or even crochet some flowers and sew them onto the side. You could also use fabric patches or beads to personalize it further. Remember, the most beautiful creations come from experimenting, so don’t shy away from pairing unusual materials or techniques. If you enjoy a little sparkle, consider integrating sequins through your stitches or using shimmering yarn.
Customizing your slouch hat allows you to create something that not only keeps you warm but also showcases your individuality. Embrace the chance to make it your own, and most importantly, enjoy the process! You can do this!
Mastering the Relaxed Fit: Tips for Comfort and Style
When it comes to achieving that effortlessly stylish relaxed fit for your slouch hat, there are a few key elements to keep in mind that will ensure comfort and flair. A slouch hat is not only about the pattern; it’s about how it drapes and adapts to your head. You can create a perfect balance of snugness and slouch with this tutorial!
To start, yarn choice will significantly impact the hat’s overall feel. Opt for a yarn that is soft and has good drape-this typically means looking for fibers like acrylic, wool blends, or cotton. Bulky yarns are fabulous for adding that cozy slouch, while lighter worsted-weight yarns can give a more structured look. Whichever yarn you choose, be sure it feels comfortable against your skin. If you’re unsure, test a small swatch to see how it wears.
Next, pay attention to your stitch tension. Crocheting too tightly can lead to an uncomfortable fit. If you’re using a pattern, consider going up a hook size if the fabric feels restrictive. Leave a little extra slack in your tension to create that relaxed, flowing style. Remember, adjusting your crochet style is part of the learning process, so don’t hesitate to play around until you find what feels best for you.
Now, let’s discuss the hat shape. The brim is an essential aspect where you can apply ribbing or stitches that allow for some stretch. Aim for a snug finish rather than tight, since you want your hat to rest comfortably without compromising airflow or comfort. Think about the overall silhouette! A wider crown will naturally decrease the slouch factor and bring you to a comfortable fit around your head.
Finally, don’t underestimate the power of personalization. A little creativity can make your relaxed fit look intentional. Try adding a simple decorative band or experimenting with color gradients that flow with the yarn. You could also throw in a unique stitch pattern that adds depth and character while keeping the hat light and laid-back. This personal touch not only enhances the aesthetic but makes your creation feel more ‘you.’
Always remember, enjoying the process is what crafting is all about. With practice and experimentation, you’ll master that relaxed fit that makes each slouch hat uniquely yours. Happy crocheting-you can do this!
Finishing Touches: Adding Embellishments and Details
When it comes to making your slouch hat truly stand out, the finishing touches are where your creativity can shine! Adding embellishments and details not only enhances the visual appeal but also reflects your unique style. Imagine your slouch hat adorned with a lovely pom-pom, a vibrant floral accent, or even a chic brooch. These little additions can transform a simple design into something spectacular!
To begin, think about different types of embellishments. Here are some ideas to explore:
- Pom-Poms: These classic decorations are a fun way to add a dash of playfulness. You can make pom-poms in colors that match or contrast with your hat. Simply use a pom-pom maker or wrap yarn around your fingers, tie it off, and trim the edges for a fluffed-up look.
- Bows and Ribbons: A ribbon woven through the stitches or a bow tied around the brim can add a touch of elegance. Choose contrasting colors or patterns to create an eye-catching detail that sets your hat apart.
- Flowers: Crocheted or fabric flowers can be stitched directly onto the hat or pinned on as a removable option. Mixing textures with yarn or fabric flowers can create depth and interest.
- Textured Stitches: Consider using different stitches as embellishments. For instance, a row of shell stitches or popcorn stitches along the brim can add subtle texture that enhances the overall design.
Let’s put these ideas into practice! Start by gathering your materials like yarn in various colors, scissors, and any additional embellishments you wish to use. If you’re opting for pom-poms, you might need a pom-pom maker or cardboard for the DIY version.
Once you’ve crafted your embellishments, think about placement. Pin them in place before securing with needle and thread or crochet stitches. This allows you to visualize their arrangement and adjust as necessary. Don’t be afraid to layer textures and colors-creating a cohesive look is all about experimenting until it feels right.
Finish with a bit of sparkle or shine if you’re feeling adventurous! Beads or sequins can be sewn onto the hat in strategic places for a touch of glam. Remember, these embellishments should express your personality and style, so let your imagination run wild. With these variations, your slouch hat will not only keep you cozy but also make a stylish statement in any season. Happy crafting-you’ve got this!
Troubleshooting Common Crochet Issues
Every crafter faces challenges along the way, and can turn a frustrating situation into a fun learning experience. Whether you’re struggling with tension, sizing, or stitch techniques while crocheting your slouch hat, remember-you’ve got the creativity and skill to find solutions!
One of the most frequent issues is tension. If your stitches are too tight, your hat may end up smaller than anticipated, and if they’re too loose, it can create a sagging effect. To fix this, focus on using a relaxed hand while crocheting. You might also consider switching to a larger hook size or yarn if you’re consistently finding your stitches overly tight. Practicing with a stitch gauge swatch before starting your hat can also give you a better sense of your tension.
Another common hiccup is size discrepancies. If your hat isn’t fitting as desired, measure your head circumference and compare it to your crochet pattern. Often, a few extra rounds or a different starting chain count can remedy this. If the hat seems too small, don’t hesitate to add a few rounds before finishing off; it’s all part of the crafting journey! Conversely, if it’s too large, you could potentially tug or gather some stitches to create a more fitted look around the brims.
Lastly, issues with stitching mistakes can happen to anyone! A missed stitch or row can disrupt your entire project. If you notice a mistake, don’t panic. Take a moment to backtrack to the last correct stitch. Use a stitch marker to help keep track of your progress, making this process smoother in the future. Learning to recognize and rectify your stitch tension or counting issues will boost your confidence-and you’ll be surprised how often you find these small tweaks can enhance your overall project.
Keep crafting with joy, and remember that every stitch you make is a step towards honing your skills. You’ve got this!
Inspiring Slouch Hat Ideas for Every Season
There’s something truly magical about a slouch hat; it’s more than just a stylish accessory-it’s a canvas for creativity! With every season offering its own unique charm, these hats can be adapted to suit the changing weather while reflecting your personal style. Whether you’re dressing up for a chilly winter gathering or looking to add flair to your spring wardrobe, here are some inspired ideas to get those creative juices flowing.
Winter Warmth
For the colder months, opt for thicker yarns like bulky wool blends. A cozy slouch hat adorned with a fluffy pom-pom can not only keep you warm but also turn heads! Try a classic cable-knit pattern that adds texture and interest. Pair it with a matching scarf and mittens for a complete winter ensemble. A neutral palette works great for a timeless look, while bold colors can make a lively statement against the winter gray.
Spring Freshness
As the flowers begin to bloom, consider using lighter weight cotton or bamboo yarn for a breezy vibe. Bright pastels or floral patterns can brighten any outfit. A slouch hat featuring lace stitches can achieve a beautiful, airy look, perfect for outdoor gatherings or picnics. Add a delicate floral embellishment or crochet a flower brooch to pin on your hat for an extra pop of spring cheer!
Summer Chic
For summer, lightweight straw or raffia yarn can create a sun hat version of your slouch design. Perfect for beach days or summer festivals, don’t shy away from vibrant colors or playful stripes! Protect your eyes with an oversized brim by crocheting wider edges. You can even experiment with openwork stitches to allow for airflow, keeping you cool while looking fabulous.
Autumn Cozy
As leaves turn and the air cools, deep burgundies, oranges, and earthy tones are perfect for autumn. A chunky-knit slouch hat not only looks inviting but is also practical for those brisk mornings. Incorporate textured stitches like bobbles or shells to capture the essence of fall. Explore ideas like crocheting a simple “leaf” appliqué to attach, celebrating the beauty of the season right on your hat!
Inspiration is everywhere, and these seasonal ideas can help you transform your slouch hats into wardrobe staples that are as functional as they are fashionable. So grab your yarn and hook, embrace the process, and remember: each stitch is a step closer to creating something truly unique and personal! You’ve got this!
Sharing Your Slouch Hat Creations: Community and Social Media
There’s nothing quite like the thrill of showcasing your crochet creations to a community that appreciates the art just as much as you do. As you complete your slouch hat, remember that sharing your work not only inspires others but also connects you with fellow crafters who can offer encouragement, advice, and fresh ideas. Whether you’re a seasoned crocheter or a newbie, social media platforms and crafting communities are invaluable resources for sharing your process and progress.
Create eye-catching posts that highlight your handmade slouch hats. Use natural light to capture the texture and details of your work, and consider including a short description of your creative process, such as the yarn choice and patterns used. Don’t forget to show off your hat in action-take photos of yourself wearing it, accessorizing it with your favorite outfits, or even styling it on a mannequin. Engaging visuals grab attention, and personal stories resonate with followers. Try using popular hashtags like #CrochetCommunity, #SlouchHat, and #HandmadeFashion to reach a broader audience who shares your passion.
Joining online groups dedicated to crochet can also be a fantastic way to find support and encouragement. Platforms like Facebook, Instagram, and Ravelry host vibrant communities where you can share your creations, ask for advice, and participate in challenges. These interactions can spark new ideas for your crochet projects and provide valuable feedback on your work. Consider starting a crochet-along where you invite others to join in making slouch hats together. This collaborative effort fosters a sense of belonging and makes the crafting experience even more enjoyable.
In addition to sharing your work through personal posts, consider collaborating with other crafters. You might partner with someone for a joint tutorial or challenge, blending your strengths to create unique content. Not only does this diversify your creative engagement, but it also introduces you to the respective audiences of your collaborators. Remember, every stitch you take contributes to a wonderful journey of creativity and connection. So, don’t hesitate-share your slouch hat creations and watch as your little piece of art inspires others to pick up their hooks and create!
FAQ
Q: What is a slouch hat crochet pattern?
A: A slouch hat crochet pattern is a design specifically for creating a relaxed-fit beanie that has extra length at the back, allowing it to “slouch” down. These patterns usually involve simple stitches and techniques suitable for various skill levels, making them a popular choice for both beginners and experienced crocheters.
Q: How do I choose the right yarn for my slouch hat?
A: Choose a yarn that offers comfort and warmth, like acrylic or wool blends. Look for medium weight yarn (worsted or bulky) for a cozy feel. Refer to the section on Choosing the Right Yarn for Your Slouch Hat in the tutorial for specific recommendations tailored to different styles.
Q: Can I customize my slouch hat with different stitches?
A: Absolutely! You can experiment with different crochet stitches, such as bobble or shell stitches, to add texture and interest. Refer to the Customizing Your Slouch Hat: Patterns and Variations section for creative ideas on how to personalize your hat.
Q: What are some common mistakes to avoid when crocheting a slouch hat?
A: Common mistakes include using the wrong yarn weight, crocheting too tightly, or not following gauge. Always check your gauge swatch before starting, and consult the Troubleshooting Common Crochet Issues section for tips on rectifying mistakes.
Q: How long does it typically take to crochet a slouch hat?
A: Crocheting a slouch hat can take anywhere from 2 to 6 hours, depending on your skill level and the complexity of the pattern. Set aside a cozy afternoon or two to complete your project comfortably!
Q: What size crochet hook is best for a slouch hat?
A: The best size crochet hook typically ranges from 5 mm to 8 mm (H to L) depending on the yarn weight. Always check your pattern’s recommendations to ensure the right fit and drape for your slouch hat.
Q: Can I use a slouch hat pattern for different sizes?
A: Yes! Many slouch hat patterns include size variations for adults and children. Adjust the starting chain or stitches to customize the fit, and check out the Mastering the Relaxed Fit: Tips for Comfort and Style section for helpful guidelines.
Q: Where can I find slouch hat crochet inspiration?
A: You can discover a wealth of slouch hat ideas in the Inspiring Slouch Hat Ideas for Every Season section of our tutorial. Additionally, consider joining online crochet communities for more creative patterns and personal touches from fellow crafters!
In Retrospect
Congratulations on completing your Slouch Hat! Now that you’ve mastered this relaxed fit crochet pattern, it’s time to showcase your creation. Share your beautiful designs and tell us how it went in the comments below – we love hearing from you! Feeling inspired? Check out our other tutorials, like the Cozy Scarf Pattern or the Classic Beanie, to expand your crochet skills even further.
Don’t forget to grab your free crochet guide before you go – it’s packed with tips and tricks that will elevate your crafting game. Remember, every stitch you make brings you closer to becoming the confident maker you aspire to be. Dive deeper into our resource section for additional patterns and expert advice that will keep you hooked!
Your next project awaits, so keep creating and don’t hesitate to come back for more crochet inspiration. Happy crocheting!
Get our latest guides, news, and insights highlighted in your Google Search & AI Overviews.