
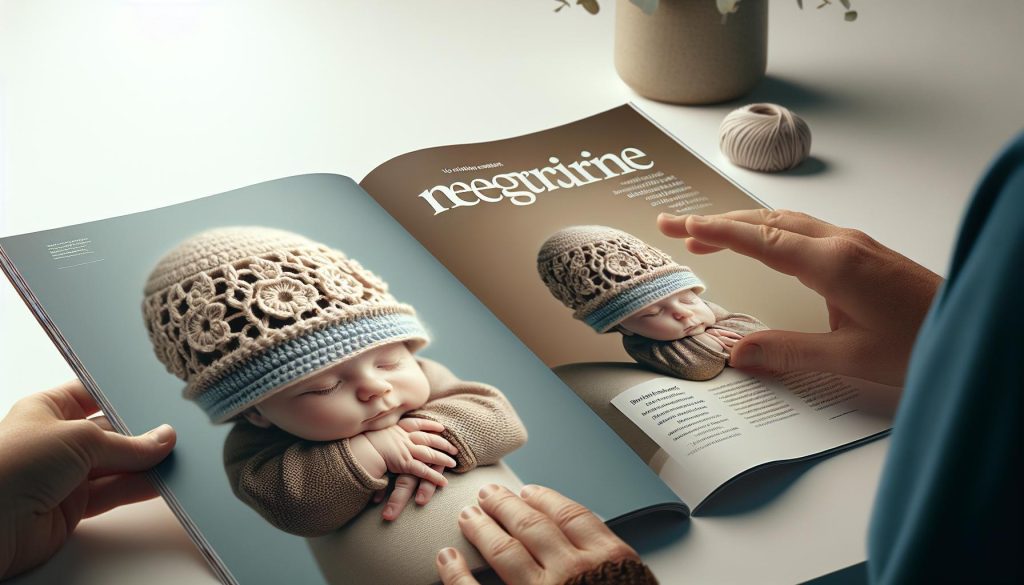
Imagine whipping up a cute baby hat in under an hour! Crocheting adorable hats not only warms tiny heads but also makes for heartfelt gifts that parents will cherish. Whether you’re a seasoned crocheter or just starting, these quick and easy patterns will inspire you to create something special. In this guide, we’ll explore a variety of delightful styles that require minimal time and effort, perfect for welcoming new additions to the family or brightening a friend’s day. Get ready to discover how simple yarn and a few stitches can bring joy to your crafting journey and the little ones in your life. Let’s dive into these charming patterns and unleash your creativity!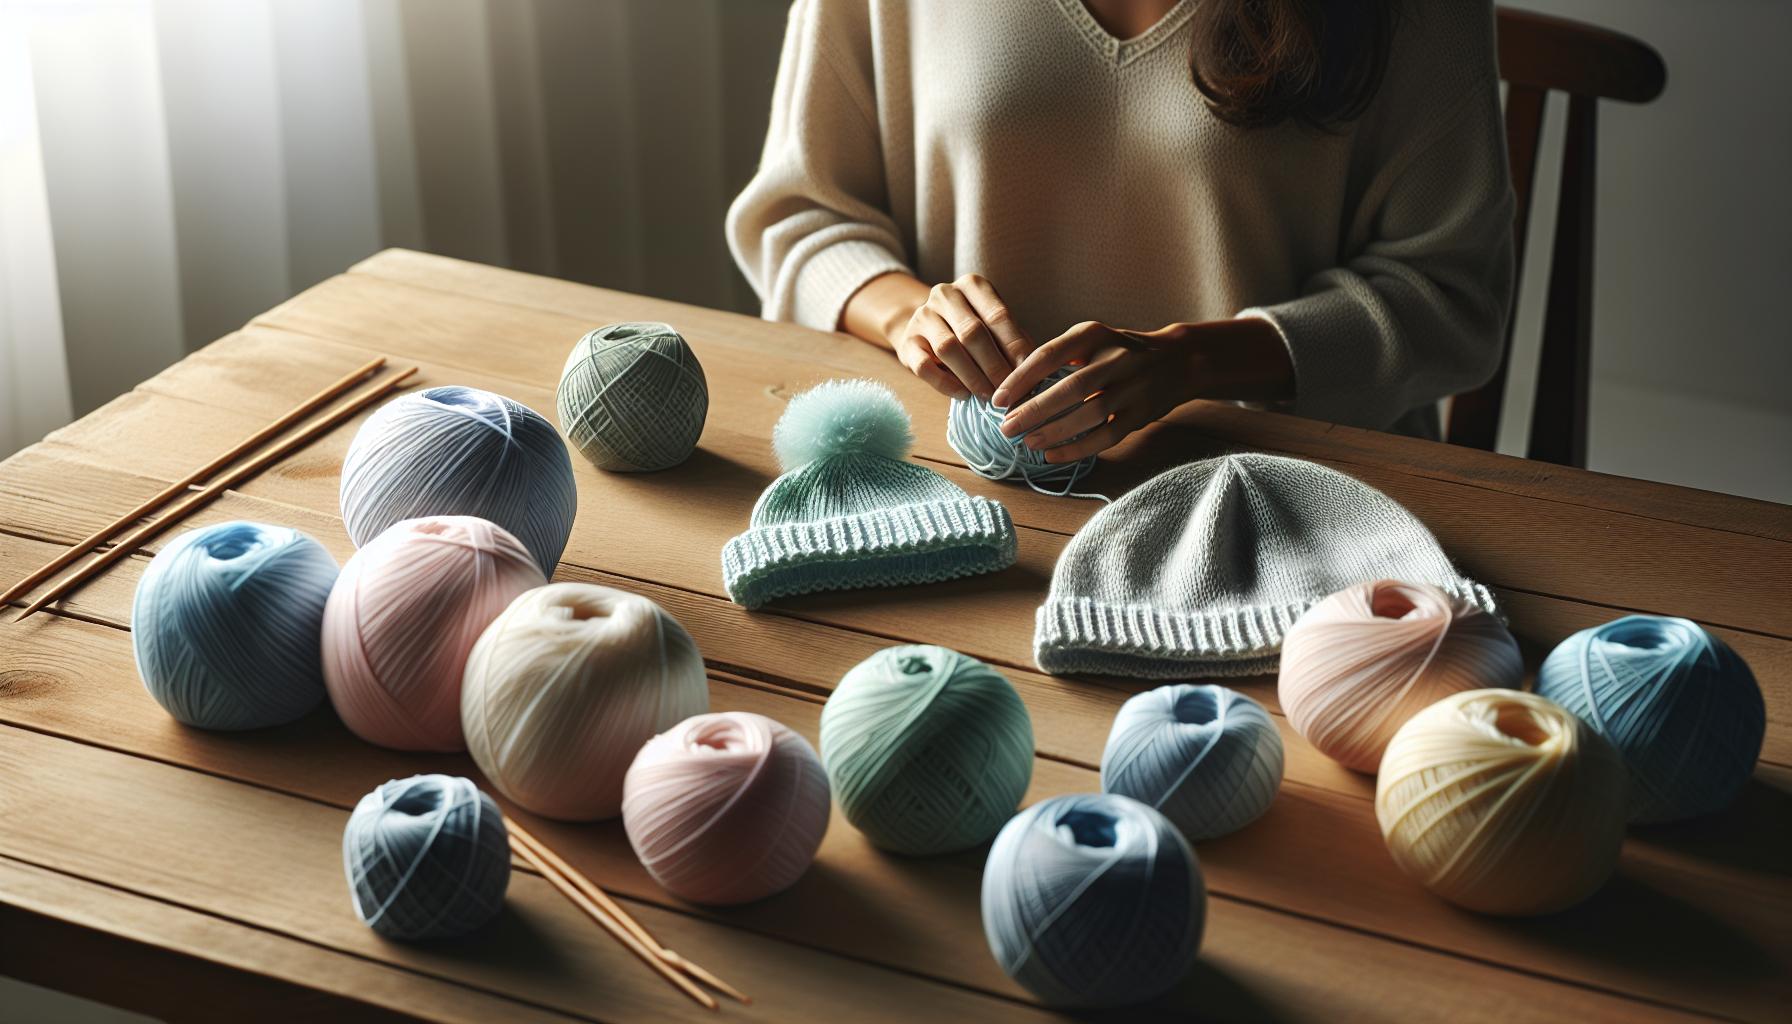
Choosing the Perfect Yarn for Baby Hats
Choosing the right yarn for baby hats can make all the difference, not only in terms of comfort and warmth but also in achieving that adorable finish that every handcrafted piece deserves. When you’re working on a baby hat, you want fibers that are gentle against delicate skin. A common go-to is soft acrylic yarn, which is easy to care for, holds its shape well, and comes in a delightful array of colors. If you’re looking to create something extra special, consider using cotton yarn for its breathability, especially if you’re crafting a hat for warmer months.
Another important factor is the yarn weight. For quick projects, a worsted weight yarn can be your best friend, as it allows for faster stitching and a pleasing bulk that keeps little heads cozy. However, lighter weights like sport or DK (double knitting) might be preferable if you are crafting a more intricate or lacy design. Check the label for recommended hook sizes to ensure your stitches come together seamlessly.
Lastly, always keep in mind the washability of your chosen yarn. Babies tend to create plenty of mess, so opting for machine-washable materials is practical and saves time on cleanup. Using hypoallergenic yarn can also be a thoughtful choice, minimizing the risk of irritating sensitive skin. All these aspects will help you create beautiful, functional baby hats that are as delightful to wear as they are to make!
- Recommended Fibers: Soft acrylic, cotton, blended yarns
- Ideal Yarn Weights: Worsted, sport, DK
- Care Instructions: Choose machine-washable, hypoallergenic yarns
Essential Crochet Tools for Quick Projects
To whip up adorable baby hats in under an hour, having the right crochet tools at your fingertips can make all the difference! You don’t need a sprawling toolkit to get started; a few key tools will streamline your process and boost your crafting confidence. Whether you’re a beginner or have some experience under your belt, being equipped with the essentials will help you enjoy the craft even more.
First off, a good pair of crochet hooks is your best friend. For most baby hat patterns, a size H (5mm) hook is perfect-it’s just the right size to work with worsted weight yarn, allowing for quick stitches that create a cozy fabric. If you’re planning to explore intricate patterns, consider getting a set of hooks in various sizes. This way, you can experiment with different yarn weights and textures. Don’t forget to have a tapestry needle on hand for weaving in those pesky ends and securing your work!
Next, scissors are a must-have tool. A small, sharp pair will do the trick, making it easier to snip yarn cleanly and accurately. You’ll also want to keep a measuring tape nearby-this helps to ensure your hats come out the right size, especially if you’re designing for different ages. And while not strictly necessary, a stitch marker can be a lifesaver for keeping track of rounds in your project. It allows you to maintain your focus on the fun part: the crochet itself!
Lastly, think about your workspace. A comfy chair, good lighting, and perhaps a cozy blanket can make your crafting session even more enjoyable. Settle into a space that inspires you, and remember that every time you pick up your crochet hook, you’re creating something beautiful with your own two hands. So gather your tools, and let’s get stitching!
Simple Stitch Techniques for Cute Designs
Each stitch you crochet can transform plain yarn into a charming baby hat! Simple stitch techniques not only enhance the look of your project but can also be a source of joy in your crafting journey. Whether you’re a beginner or more experienced, understanding a few fundamental crochet stitches will open the door to creating adorable designs. Plus, many of these techniques are quick to learn, making them perfect for whipping up hats in under an hour!
To get started, consider the classic single crochet (sc). This foundational stitch is versatile and generates a tight fabric, which works wonders for baby hats. To create a single crochet, insert your hook into the designated stitch, yarn over (yo), pull up a loop, yarn over again, and pull through both loops on your hook. Easy, right? With this stitch, you can create solid-textured hats that are not only cute but warm and cozy for little ones.
Another delightful stitch to play with is the half double crochet (hdc). This stitch offers a slightly taller height than a single crochet and works up quickly. It’s done by yarn over, inserting your hook into the stitch, yarning over again, pulling up a loop (three loops on your hook), and yarning over once more to pull through all three loops. This stitch results in a softer, more fluid fabric, making it great for beanie designs where comfort is key.
For those looking to add a bit of flair, the double crochet (dc) stitch is your go-to. It creates a lacy, airy feel that’s fantastic for warmer months. The technique involves yarning over, inserting your hook, yarning over to pull up a loop (three loops on your hook), yarning over again to pull through the first two loops, and then yarning over one last time to pull through the final two. Try mixing combinations of these stitches to create stripes or patterns.
Lastly, don’t shy away from embellishing your basic stitches with techniques like the slip stitch to create faux ribbing or textured finishes that can elevate your design. Remember, experimenting with these stitches is part of the joy of crocheting! So grab your yarn and hook, and let your creativity run wild-you can do this!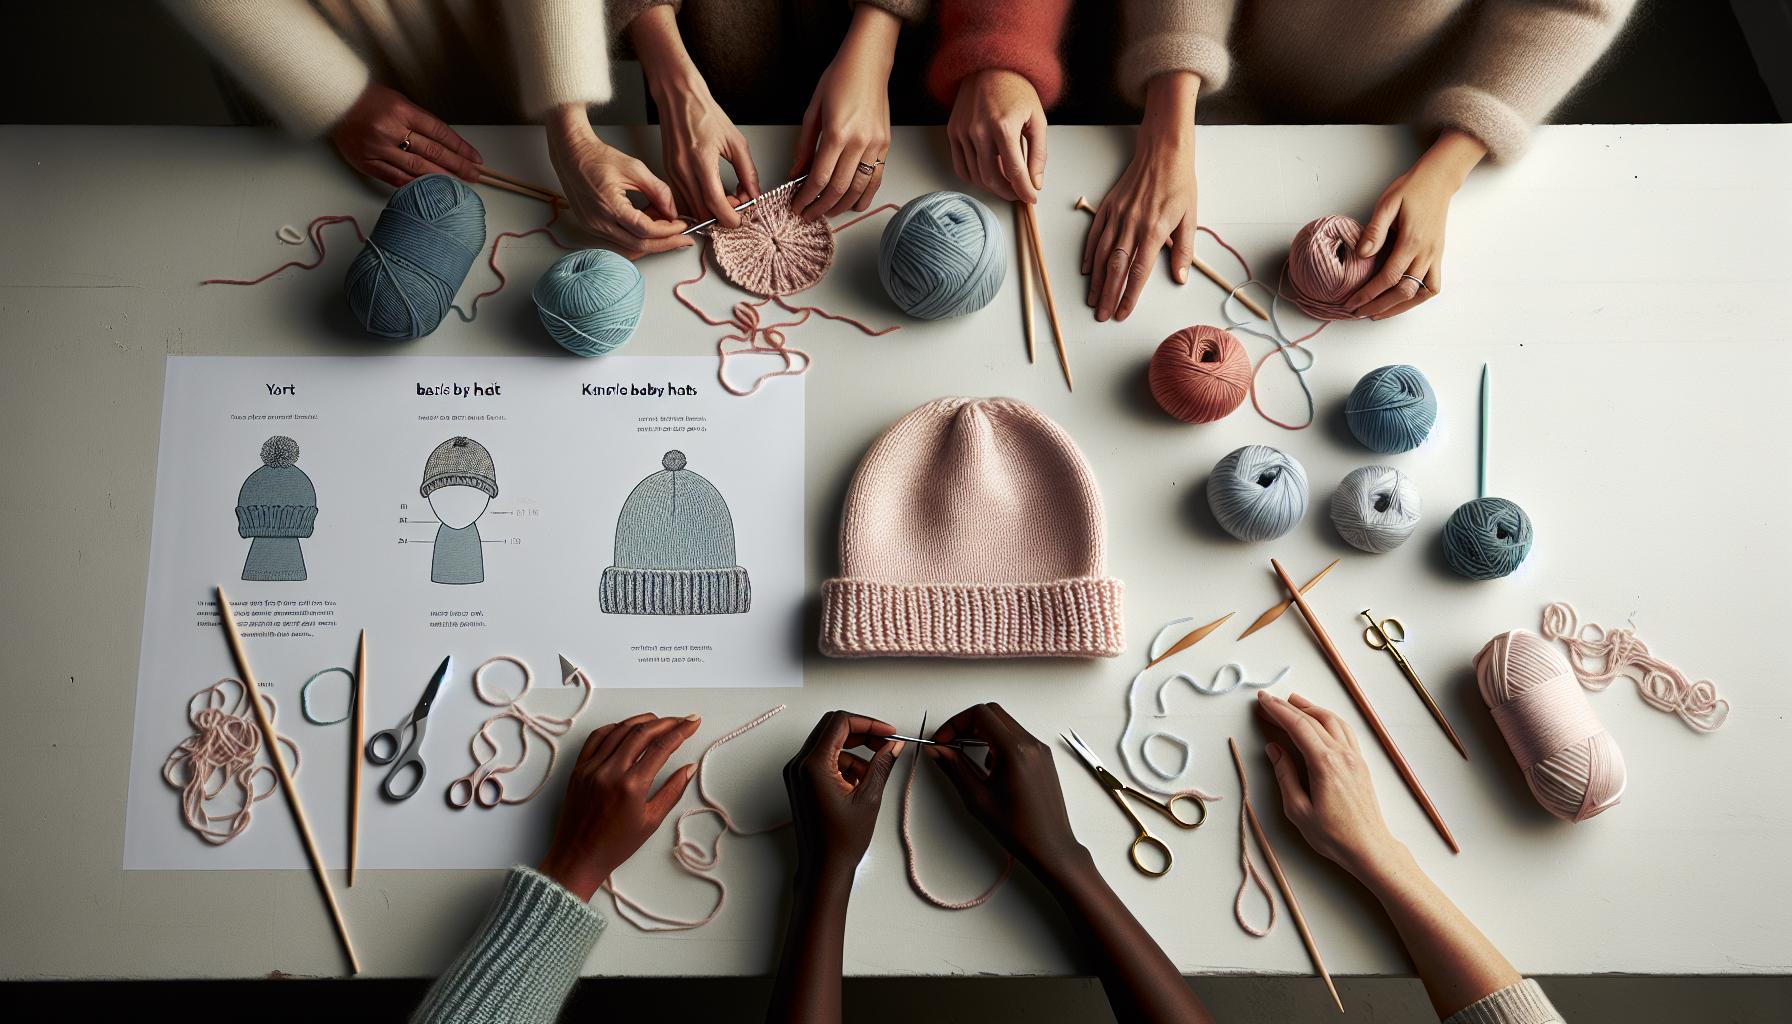
Step-by-Step: Basic Baby Hat Pattern
Crafting a basic baby hat is not only a satisfying project but also a wonderful way to bring a little joy to your day! In just about an hour, you can create a snug, adorable cap perfect for keeping those tiny heads warm. Whether you’re a novice crocheter or have a bit of experience under your belt, you can absolutely tackle this project. Let’s dive into the steps!
Begin by gathering your materials: you’ll need a yarn suitable for babies-think soft and gentle like cotton or acrylic-along with a crochet hook that fits your yarn, scissors, and a yarn needle for finishing touches. This project typically takes medium worsted weight yarn, so if you’re ready, let’s get started!
Step-by-Step Instructions
- Start with a Magic Ring: This technique creates a tight center circle. Wrap the yarn around your fingers to form a loop, then pull a loop of yarn through and chain one to secure it.
- Round 1: Create Your Foundation: Inside your magic ring, work 10 single crochets (sc). Pull the yarn tail to close the ring tightly. Join with a slip stitch (sl st) to the first sc.
- Round 2: Increase: Chain one, then make two single crochets in each stitch around for a total of 20 stitches. Join again with a slip stitch.
- Round 3: More Increases: Chain one, then (sc in the next stitch, 2 sc in the next stitch) around. You’ll end up with 30 stitches. Join with a sl st.
- Round 4-8: Work Even: Chain one and sc in each stitch for the next five rounds. This will give the hat enough height to cover the baby’s head. Feel free to try out different stitches or patterns here if you’re feeling adventurous!
- Finishing: Once you’ve reached your desired height (about 6 to 7 inches is standard), cut the yarn, leaving a long tail for sewing. Pull the tail through your last loop to secure it. Use the yarn needle to weave in any loose ends.
And voila! You have a beautiful, cozy baby hat that’s perfect for gifting or keeping your little one warm. Customize it further by adding a pom-pom on top, a cute flower, or stripes in different colors-it’s all up to you! Remember, crocheting is about enjoying the process as much as the end result, so let your creativity shine! You can do this!
Creative Variations: Styles to Explore
Exploring different styles for baby hats can be a delightful adventure in creativity! One of the exciting aspects of crocheting is the ability to easily adapt basic patterns into a variety of fun designs. Whether you want to make something classic, whimsical, or unique, there are countless styles to try-and they can all be completed in under an hour!
Start with basic variations such as a beanie, which is perfect for every day, and then expand to more playful options like animal hats. For instance, creating a hat resembling a bunny or bear with simple ear shapes can turn a straightforward design into a charming statement piece. Use basic double crochet stitches and add ears by working in rows before attaching them to the body of the hat. Unique features like 3D embellishments can make your hats stand out. Think about adding a small plushie button on top or a heart motif for a sweet touch!
Textured Styles
Textures can also enrich your designs significantly. You can incorporate stitches such as the shell stitch or star stitch to add visual interest and depth. For example, a star stitch beanie looks intricate but is surprisingly simple to create. By alternating between single crochet and star stitches, you can create a lovely textured fabric that feels delightful against a baby’s skin.
Seasonal Variations
As you explore these styles, think about the seasons. In cooler months, a chunky yarn hat with earflaps could keep little ones warm while looking adorable. For summer, consider lighter materials and open stitch patterns, such as lacework, to make breathable sun hats. A sun hat with a wide brim can be as simple as modifying your basic pattern with extra rounds and a row of single crochet applied to the brim for added structure.
Don’t forget that you can always personalize your creations with color choices and embellishments. You can easily transform a standard hat into something truly special! After all, the best part of crocheting baby hats is that there’s no limit to your creativity. So grab your yarn and hook, and get ready to explore all the wonderful styles waiting for you. You can do this!
Adorable Color Combinations for Baby Hats
Choosing the right colors for your baby hats can transform an ordinary project into an extraordinary one! Color combinations not only enhance the visual appeal but also convey warmth and personality. You don’t need to be a color expert-just have fun experimenting! Consider starting with a basic color palette or theme that reflects the season, occasion, or even the baby’s nursery decor.
Seasonal Inspirations
Incorporating seasonal hues can amplify your designs. For example, soft pastels like pale pink, baby blue, or mint green work beautifully for spring and summer. Try pairing a solid color with a fun variegated yarn for a unique look. In contrast, bold colors like rich burgundy or deep navy can be perfect for fall and winter hats. Don’t shy away from mixing and matching! Using a combination of colors, such as a bright yellow with a soft gray, can add a cheerful touch suitable for any time of year.
Playful Patterns and Textures
Beyond seasonal colors, think about adding patterns. Stripes are an easy and effective way to introduce more than one color into your design. You can alternate colors every few rows to create a stripy effect or use a self-striping yarn to do the work for you. Polka dots or color blocking with bold solid colors can bring an adorable playfulness to your hats, making them perfect for gifts or special occasions.
- Classic combinations: Blue and white, pink and gray.
- Vibrant mixes: Bright orange and teal, yellow and purple.
- Soft neutrals: Beige and cream, soft blush and olive green.
You can do this! Don’t forget to test your color combinations on a small swatch first to see how they work together before committing to the entire hat. With a little creativity and play, you’ll create adorable, colorful baby hats that are sure to delight both the maker and the recipient. Happy crocheting!
Personalizing Your Hat: Embellishments and Add-ons
Adding a personal touch to your baby hats can turn a simple crochet item into a treasured keepsake. Embellishments and add-ons not only enhance the visual appeal of your creation but also allow you to express your creativity and make each piece unique. With just a few additional supplies and a touch of imagination, you can transform your basic hat patterns into charming masterpieces that stand out.
One of the easiest ways to add character to your hats is by incorporating flower appliqués. These can be crocheted separately and sewn onto the hat for a delightful touch. You might choose a classic daisy design or explore more intricate patterns like roses or sunflowers. Consider using contrasting yarn colors to make the flowers pop against the hat’s base color. If flowers aren’t your style, other fun options include animals, stars, or hearts, which can be effortlessly found in many free pattern resources online.
Beyond appliqués, think about using ribbons and bows to create a charming and girly touch for baby girl hats. You can simply tie a ribbon around the base of the hat or stitch a bow onto the side for added flair. Another fun idea is to add buttons, which can serve as both decorative and functional elements. Choose whimsical buttons in shapes like animals or flowers to contribute to the overall theme of the hat. If you prefer safety over small accessories, consider large, soft buttons that won’t pose a choking hazard.
For a winter twist, think about adding earflaps or braided ties. These can keep little ears warm while adding a stylish touch to your hats. You can even create a playful pom-pom on top, which is not only adorable but also an easy way to finish off your crochet project. And remember, the sky’s the limit when it comes to your personal style. Don’t hesitate to mix and match different embellishments; creating a unique hat is all about combining various elements that reflect your personality and the baby’s character.
You can do this! Personalizing your hat is a wonderful opportunity to showcase your creativity and make the project your own. Enjoy the process, and don’t forget to share your finished creations with family and friends-they’re sure to love the thoughtful detail you put into each piece!
Time-Saving Tips for Faster Crocheting
When you’re eager to whip up a cute baby hat in under an hour, every second counts! Luckily, there are a host of time-saving techniques that can keep you from getting bogged down, ensuring you spend more time crocheting and less time unraveling or figuring things out. Here are some tips that will boost your efficiency and help make your crochet time even more enjoyable.
One of the best ways to quicken your crocheting pace is to choose simple patterns and stitches. Opt for designs that use basic techniques, such as single crochet or double crochet, which work up faster than more intricate stitches. For instance, a classic beanie can be made in just a few rounds by working in the round, allowing for consistent progression without complicated shaping. Also, consider using patterns that require fewer color changes, as each change adds time to the project. You’ll be amazed at how quickly a straightforward pattern can come together.
Another effective strategy is to prepare your workspace in advance. Gather all your materials-yarn, hooks, scissors, and a yarn needle-before you start crocheting. Keeping your workspace organized will minimize interruptions, letting you focus solely on your stitching. You can even use a project bag to keep everything in one place, so you can grab and go if needed. Plus, keeping your yarn untangled and ready to use can also save you precious minutes.
Additionally, try to eliminate distractions. Set up a cozy corner with minimal noise and interruptions to help you concentrate. Listening to music or an audiobook can turn your crocheting time into a relaxing experience. If you’re new to crocheting or your pattern is tricky, set timers for short play sessions. Work in focused bursts of 20-30 minutes, and then give yourself a short break to keep your creativity flowing without burnout.
Adopting these strategies won’t just save you time; they’ll also enhance your enjoyment of the process. Plan ahead, keep it simple, and soon you’ll find that creating adorable baby hats becomes a delightful and speedy endeavor. You can absolutely do this, and before you know it, you’ll have a stack of lovely hats ready to gift or donate!
Crochet Patterns for Different Seasons
When it comes to creating precious baby hats, you’ll find that different seasons inspire a delightful variety of styles and patterns. Whether you’re preparing for the chilly months or the bright, sunny days, each season brings its own unique flair to your crochet projects. The beauty of crocheting is that you can easily tailor your designs to the weather while adding warmth or coolness as needed.
Winter Warmth
For winter, think cozy and snug. Use thicker yarns such as bulky acrylic or wool blends to ensure the hats provide ample warmth. Patterns featuring bulky stitches, like half double crochet or ribbing, work up quickly and create dense, insulating fabrics. Here are a few popular ideas:
- Classic Beanie: A simple design that can be made in just about an hour using single and double crochet stitches.
- Ear Flap Hat: Incorporate ear flaps for extra warmth; they’re trendy and functional!
- Snowman or Reindeer Hats: Add fun embellishments like buttons for eyes or felt for noses to create holiday-inspired hats that bring smiles!
Spring and Summer Styles
As the weather warms, switch to lighter yarns, like cotton or bamboo blends. These fibers are breathable and perfect for playful spring and summer hats. Aim for quick, airy stitches to keep your creations light and stylish. Here are some seasonal favorites:
- Floppy Sun Hat: Perfect for sunny days at the park. Use a lace or shell stitch pattern to create elegance!
- Bucket Hat: An adorable option that’s both fashionable and practical; these can be decorated with bright colors or cute appliqués.
- Lightweight Beanies: Choose a lighter color palette with pastel tones; use stitches that create a more delicate look, like lace.
Year-round Colors and Textures
While the patterns can vary, the magic of crochet allows you to explore a myriad of color combinations and textures suitable for any season. You can create vibrantly colored hats in cotton for summer and switch to warmer earthy tones for autumn. Don’t hesitate to mix fibers for more interesting textures, bringing a unique touch to each piece.
Remember, you can do this! No matter the season, each hat you create can be a joyful expression of your crafting journey. With just an hour and the right materials, you’ll have adorable, cozy hats that celebrate every stage of life!
Gift Ideas: Baby Hats for Every Occasion
When you’re looking to spread joy, nothing says “I care” quite like a handmade baby hat. These adorable accessories not only keep little ones warm but also add a personal touch that store-bought options just can’t match. Plus, with so many crochet patterns available, you can whip up a charming hat in just under an hour! Whether it’s for a baby shower, a birthday, or just because, here are some thoughtful ideas for gifting baby hats that will delight both parents and their little ones.
For Newborns
New babies bring immense joy, so why not celebrate their arrival with a cozy hat? Newborn hats are essential for keeping those tiny heads warm, especially in cooler months. Consider patterns that are soft and gentle on baby’s skin, like cotton or acrylic yarns. A classic beanie or a whimsical animal-eared hat can make for the perfect gift. Add a bit of flair by personalizing the hat with a monogram or cute embellishments like pom-poms. Remember, you can create these gifts quickly, making them a meaningful souvenir that parents will cherish.
Seasonal Celebrations
Each season offers a unique backdrop for gift-giving. In winter, a chunky ear flap hat is not only functional but also stylish. Use bulky yarns to create warmth and add fun colors or snowflake motifs for a festive vibe. For the spring and summer, lightweight cotton hats with bright colors or floral designs can keep babies cool while looking adorable in sunny weather. A floppy sun hat will protect delicate skin from harmful rays while adding extra style to their wardrobe.
Special Occasions
For milestones such as birthdays or holidays, tailor your creations to fit the theme. A hat adorned with festive decorations for a first birthday, like a fun party hat shape, brings smiles and makes for fantastic photo ops. Think about themed hats for holidays, too. An Easter bunny hat or a Santa hat for Christmas are perfect for holiday celebrations and create timeless memories.
Remember, every gift of a handmade hat is a celebration of creativity and love. Each stitch carries a sentiment that is sure to warm hearts, making every hat not just a functional piece, but a treasured keepsake in every family’s memories. So grab your hooks and yarn-you can do this!
Troubleshooting Common Crochet Challenges
When crafting a baby hat, it’s easy to get caught up in the joy of creativity, but sometimes challenges arise that can make the process feel daunting. The good news? You’re not alone! Many crocheters face similar hiccups, and understanding how to troubleshoot these issues can transform your crocheting experience into a smooth, enjoyable journey. Here are some common problems you might encounter and the best ways to solve them.
One frequent issue is gauge-if your hat turns out too big or too small, it might be that your gauge is off. To prevent this, always take a moment to check your gauge by crocheting a small swatch before starting your project. Use the same yarn and hook you plan to work with, then measure your swatch against the pattern’s gauge requirements. If it doesn’t match, adjust your hook size accordingly. Remember: a change in hook size can make a big difference!
Another common challenge is uneven tension, which can lead to a hat that looks inconsistent or has holes. To maintain even tension, try the following tips:
- Relax your grip on the yarn.
- Use the same amount of yarn slack throughout your project.
- Practice with a heavier yarn if you’re a beginner to get a better feel for tension control.
If you find a particular section of your hat does appear loose or tight, don’t hesitate to pull out a few stitches and rework them until they’re just right.
Sometimes you may notice that your yarn splits frequently, particularly with fuzzy or fluffy yarns. To combat this, try using a sharper hook. This can help you navigate through the yarn fibers more easily, preventing splits. Additionally, always ensure you’re using the recommended yarn weight for your pattern. If you’re feeling ambitious, you can even mix yarn types for added texture, just keep an eye on how they behave together.
If you encounter a specific stitch that confuses you or a step that doesn’t seem to make sense, feel free to reach out to online crochet communities or local crafting groups. There’s a wealth of knowledge out there, and asking for help is part of the learning process. Embrace the challenge! Learning to troubleshoot effectively not only enhances your skills but also builds your confidence as a crocheter. So, pick up that yarn and hook-you’re well on your way to creating beautiful, cozy baby hats!
Inspiration: Showcase Your Finished Baby Hats
When you finish crocheting a baby hat, the sense of accomplishment is incredibly rewarding! Not only have you created a cozy accessory for a little one, but you’ve also had the opportunity to express your creativity. Sharing your finished projects is a delightful way to inspire fellow crafters and showcase the unique styles you’ve put together. Whether it’s a bright and bubbly beanie or a sweet little earflap hat, there’s so much joy in sharing your work.
Consider starting an online gallery of your baby hats. Social media platforms like Instagram, Pinterest, or even dedicated crochet groups are perfect places to share your creations. Use clear, bright photos that highlight the texture and colors of the yarn. Include captions that detail the materials used, the pattern followed, and any personal touches you added. For example, you could highlight a cute bow you crocheted separately and stitched on for flair. This not only inspires others but also engages with a community of makers who can offer support and encouragement.
Another fun idea is to host a little showcase with friends or in your local community. This could be an informal gathering where everyone shows off their crochet projects, or perhaps even a part of a larger craft event. You might even organize a mini-challenge where you and your friends can follow the same basic pattern but add your unique twists, like colors or embellishments. Sharing these experiences amplifies the excitement of crafting and demonstrates that creativity thrives in community settings.
As you showcase your baby hats, consider creating a story around them. Each hat can symbolize a special moment or emotion-like the cheerful colors for a sunny day or soft pastels for a sweet gift. Engage your audience with stories that resonate; this connection can be just as delightful as the hats themselves. Remember, every finished piece is a chapter in your crafting journey, and sharing them with others can inspire, instruct, and infuse your crafting community with enthusiasm. So go ahead, flaunt those darling baby hats and celebrate the wonderful world of crochet!
Faq
Q: What materials do I need for a quick baby hat crochet pattern?
A: To make a quick baby hat, you’ll need worsted weight yarn, a size H (5 mm) crochet hook, scissors, and a tapestry needle for weaving in ends. Check the “Choosing the Perfect Yarn for Baby Hats” section for recommendations on yarn types that are soft and safe for babies.
Q: How long does it take to crochet a baby hat?
A: Most baby hats can be crocheted in under an hour, especially with simple patterns. If you’re following the “Step-by-Step: Basic Baby Hat Pattern” section, you can easily gauge your time and skill level.
Q: What are some beginner-friendly baby hat crochet patterns?
A: Beginner-friendly patterns usually involve simple stitches and limited shaping. Check out the “Simple Stitch Techniques for Cute Designs” section for easy patterns and creative variations that you can try.
Q: Can I personalize a crocheted baby hat?
A: Yes! You can personalize a baby hat by adding embellishments like buttons, flowers, or embroidery. Refer to the “Personalizing Your Hat: Embellishments and Add-ons” section for ideas to make your hat unique.
Q: What crochet stitches are recommended for baby hats?
A: Commonly used stitches for baby hats include double crochet and single crochet, which create a soft and stretchy fabric. Visit the “Simple Stitch Techniques for Cute Designs” section for tutorials on these basic stitches.
Q: Do I need to block my crochet baby hat?
A: Blocking is generally not necessary for baby hats unless you want to achieve a specific shape. However, a light steam could help even out stitches. You can learn more about finishing techniques in the “Troubleshooting Common Crochet Challenges” section.
Q: What colors are trending for baby hats?
A: Popular color combinations include soft pastels like pale pink, mint green, and light yellow. Check the “Adorable Color Combinations for Baby Hats” section to see inspiring palettes that are perfect for any season.
Q: How can I save time while crocheting baby hats?
A: To save time, consider using chunky yarn and a larger hook, which allows for quicker progress. Implementing techniques from the “Time-Saving Tips for Faster Crocheting” section can also enhance your speed and efficiency.
The Conclusion
Congratulations on completing your adorable baby hat crochet project in under an hour! You’ve not only created something wonderful, but also gained skills that will make future patterns even easier. If you’re eager to keep crafting, check out our related guides on quick crochet projects and essential tips for designing your own patterns for more creative inspiration.
Feeling inspired? Don’t forget to snap a photo of your finished hat and share it with us! We’d love to see your creations in the comments below. And if you want to stay updated on the latest patterns and crafting techniques, sign up for our newsletter for exclusive content and special offers.
Now that you’ve mastered this quick baby hat, why not explore more about enhancing your skills? Search for “crochet techniques for beginners” or “how to market your crochet patterns” to continue your crafting journey. Remember, every stitch you make adds to your expertise, and you can do this! Keep crafting, sharing, and exploring the joy of handmade creations!
Get our latest guides, news, and insights highlighted in your Google Search & AI Overviews.