
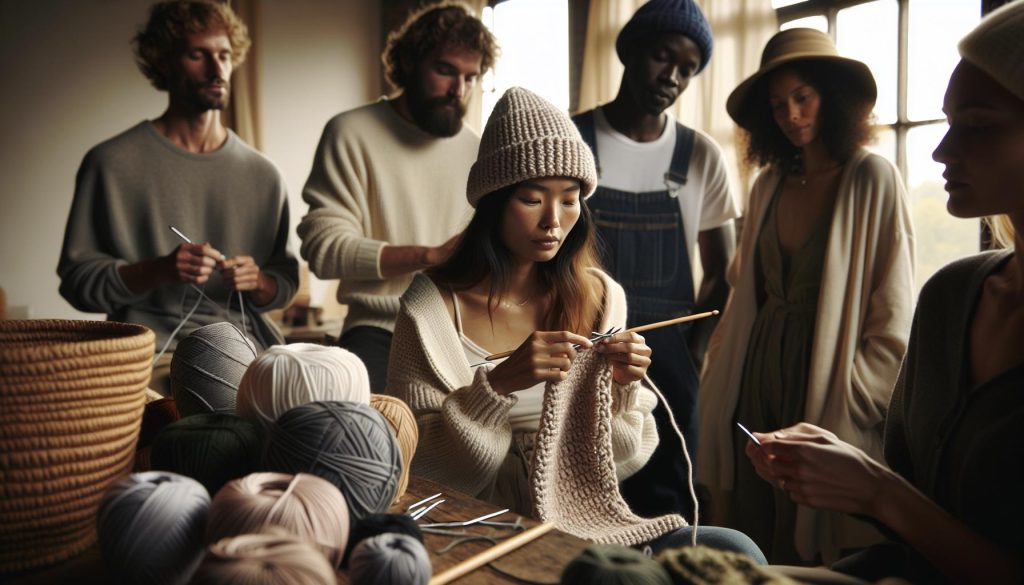
Ready to cozy up your wardrobe? Crocheting a classic beanie hat is a fantastic way to express your creativity and stay warm, all in under an hour! This beginner-friendly project is perfect for anyone who wants to learn the basics of crochet while creating something functional and stylish. If you’re looking to make a thoughtful gift or simply enjoy a relaxing craft session, this beanie offers you both. With just a few materials and simple stitches, you can master a fun accessory that enhances any outfit. You might be surprised at how quickly you can go from yarn to hat! Let’s dive into the colorful world of crochet and make this delightful beanie together. You can do this!
Choosing the Right Yarn and Hook for Your Beanie
Choosing the right yarn and hook is crucial for creating a cozy beanie that not only looks great but also feels comfortable. When selecting yarn, consider the weight and fiber content. For a quick project, a worsted weight yarn is an excellent choice. It’s versatile, provides good structure, and works up fast-perfect for those moments when you want a hat in a hurry! Look for options labeled “easy care” for washable yarns, which is especially helpful for gifts. Blends like wool and acrylic provide warmth while ensuring durability, making your crocheted hat a reliable accessory.
The hook size significantly impacts your finished beanie. Generally, you’ll want to use a hook that complements your yarn weight. For worsted weight yarn, a 5.5 mm (I-9) or 6 mm (J-10) hook usually does the trick. This size allows for a tight yet stretchy fabric, important for a comfortable fit. If you’re aiming for a slouchier style, consider going up a hook size to make the stitches looser, enhancing the overall drape of the beanie.
As you gather your materials, don’t hesitate to experiment with colors and textures. A marled yarn can add depth to your project, while solid colors allow you to play with stitch patterns. Remember, the goal is to enjoy the process, so choose materials that inspire you. You can do this! With the right yarn and hook in hand, you’re well on your way to a beautifully crafted beanie hat in under an hour. Happy crocheting!
Essential Crochet Stitches for a Classic Beanie
The heart of any beautiful beanie lies in the crochet stitches you choose. Whether you’re just starting out or looking to refine your skills, understanding the essential stitches will set you up for success. Here, we’ll explore a couple of foundational stitches that are perfect for crafting a classic beanie. These stitches are not only straightforward but also versatile, allowing you to create a warm and stylish hat in under an hour.
One of the easiest and most commonly used stitches for beanies is the single crochet (sc). It creates a dense, warm fabric that’s ideal for hats. To start, simply chain the desired number of stitches for your beanie’s band or circumference. Then, work a single crochet into each chain across the row. When you turn your work, remember to chain one before starting the next row of single crochets. This creates a solid base and is a fantastic way to practice your tension and stitch consistency.
Another fantastic option is the double crochet (dc) stitch, which adds a bit of height and a lovely drape to your beanie. This stitch allows your beanie to work up even faster! Start as you would with the single crochet by chaining your base. Instead of a single crochet stitch, you will yarn over, pull up a loop, yarn over again, and pull through the first two loops before yarning over once more to pull through the last two. This stitch not only keeps your hat lightweight but also allows for a bit of stretch, giving it that comfy fit everyone loves.
Tips for Practical Stitches
- Variation is Key: Feel free to mix single and double crochet stitches to create texture or a patterned look.
- Gauge Swatching: If you’re experimenting with new yarn or stitches, do a quick gauge swatch to ensure your beanie will fit.
- Practice Rows: Work a few rows in single crochet before switching to double crochet to get accustomed to your yarn and hook.
Using these stitches, you can customize your beanie effortlessly. Try alternating colors or incorporating ribbing by changing back and forth between rows of single and double crochet. The best part? You can do this! Creating your own beanie is an enjoyable journey, and with these essential stitches in your toolkit, you’ll be well on your way to a cozy, handcrafted accessory. Happy crocheting!
Step-by-Step Guide: Crocheting Your Beanie
Crafting your own beanie can feel like an overwhelming endeavor, but it doesn’t have to be! With just basic crochet skills and a little bit of time, you can create a classic beanie that you’ll love to wear or gift, all in under an hour. Whether you’re a seasoned crocheter or just venturing into the craft, this step-by-step guide will empower you to make a cozy hat that reflects your own style.
To get started, gather your materials: a medium-weight yarn in your favorite color, a suitable crochet hook (usually size H/8 or 5mm for this project), a pair of scissors, and a yarn needle for weaving in ends. Begin by making a slip knot and chaining a length that fits comfortably around your head or desired head size. A common measurement for an adult beanie is around 20-22 inches; feel free to adjust based on your needs.
Once your foundation chain is ready, join it into a circle by slip stitching into the first chain, ensuring there are no twists in your work. From here, you’ll switch to your primary stitch; let’s go with single crochet for a snug fit. Work in rounds by crocheting into each stitch around, joining with a slip stitch at the end of each round. Keep an eye on your tension to avoid a tight or uneven beanie, and remember to count your stitches!
To create height and shape for the beanie, you can gradually increase your stitch count by adding extra single crochets in certain rounds or switch to double crochet for quicker progress. After about six to eight rounds, you’ll begin to see your beanie take form. Finish by tapering the top, which can be done by decreasing stitches as you work. When you reach your desired height, finish off your yarn and weave in the ends. And there you have it-a beautiful, handmade beanie that showcases your unique style!
Remember, this is all about enjoying the process and honing your skills. Feel free to experiment with different colors, textures, or even patterns as you gain confidence! You are capable of creating something wonderful, and each beanie you make will teach you something new. Happy crocheting!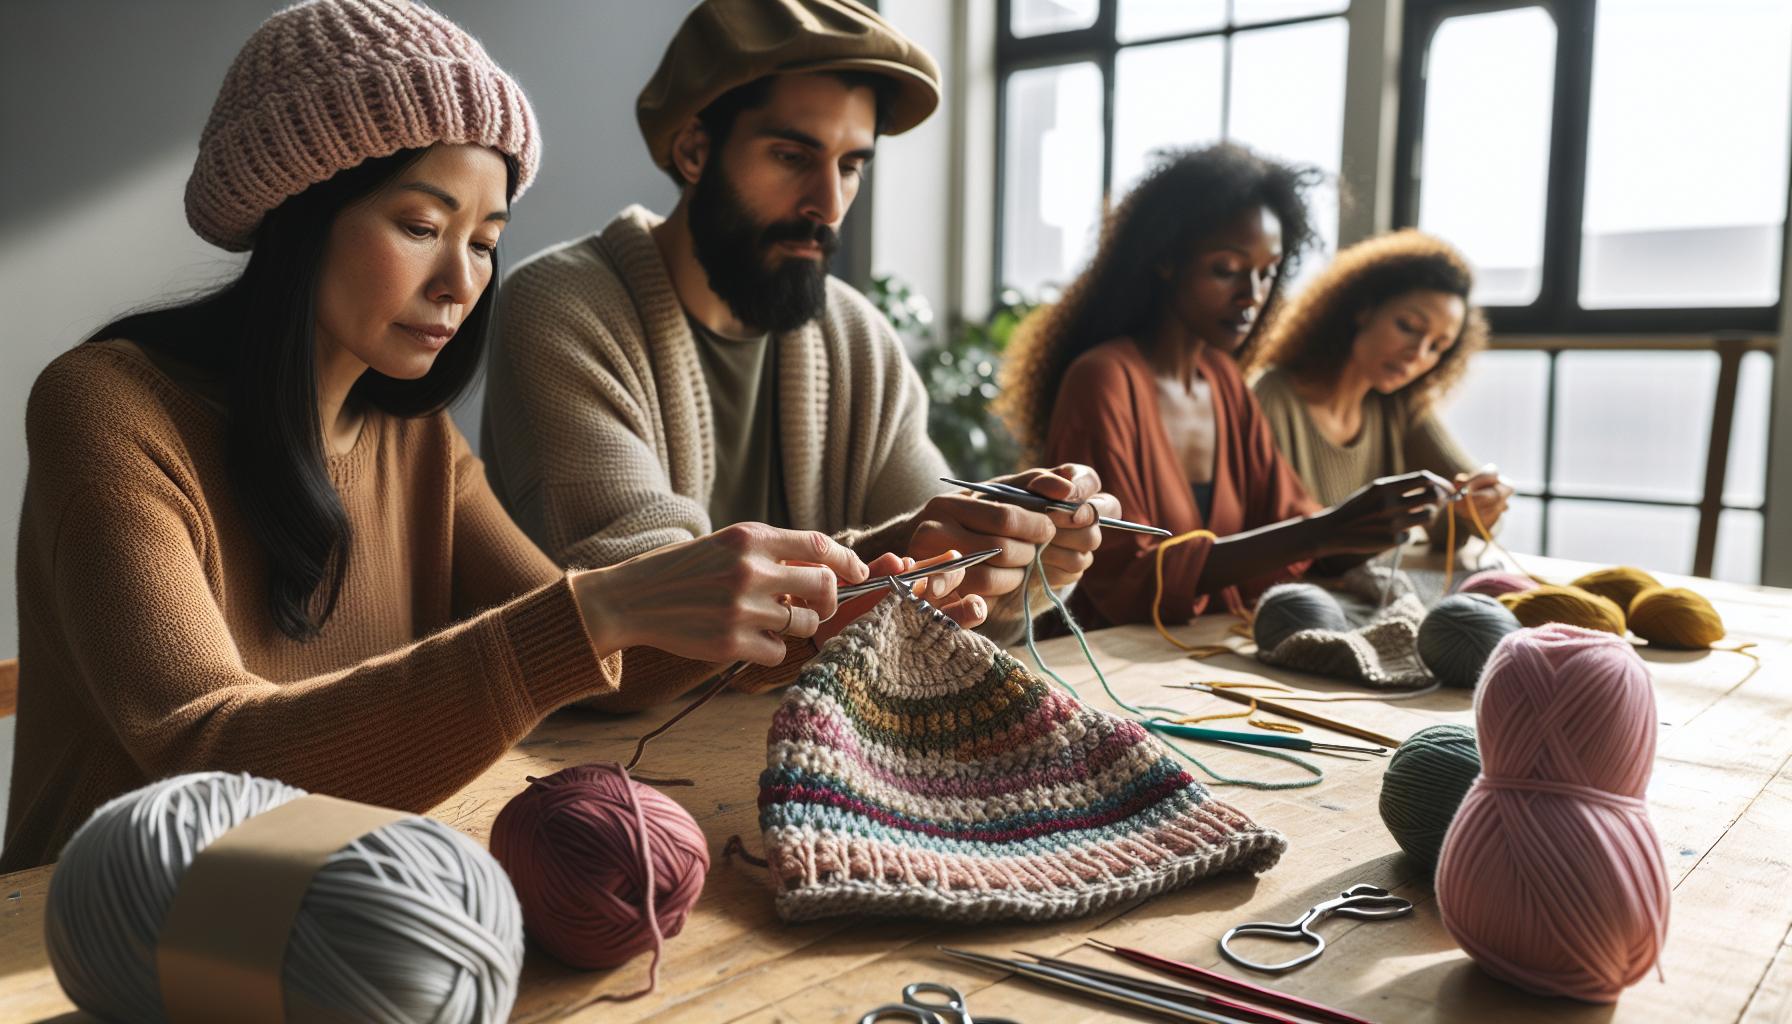
Customizing Your Beanie: Patterns and Colors
When it comes to crocheting your beanie, the fun really begins when you start thinking about patterns and colors. Customizing your beanie not only reflects your personal style but also allows you to play with textures and trends that can turn a simple project into a statement piece. Whether you prefer bold, bright hues or more subtle pastels, the choices are limitless, making your creation uniquely yours.
Patterns to Try
Patterns can add amazing detail and interest to your beanie, and they’re easier to incorporate than you might think. Here are a few ideas:
- Stripes: Alternate between two or three colors to create a fun striped pattern. Simply change colors at the start of a new row for a clean transition.
- Textured Stitches: Experiment with stitches like half double crochet, front post double crochet, or shell stitches to add texture to your beanie.
- Color Blocks: Create sections of color by crocheting a few rounds in one color before switching to another. This results in a modern and chic look.
Each of these patterns can easily be integrated into your beanie. For instance, if you start with a base color, you can switch to stripes after a few rounds, which adds dimension but doesn’t require complex skills. If you’re feeling adventurous, combine textures and colors for a unique masterpiece.
Choosing Your Colors
The best part about customizing your beanie is exploring color combinations! Here are some tips for selecting colors that work together beautifully:
- Color Wheel: Use a color wheel to find complementary colors that pair well together. Colors opposite each other on the wheel (like blue and orange) can make a striking beanie.
- Monochromatic Shades: For a more subtle look, choose different shades of the same color for depth and variety.
- Nature Inspired: Look to nature for inspiration! Earth tones like greens and browns or vibrant floral palettes can guide your color choices for a fresh feel.
You can try yarn swatches to see how the colors look together before you commit. Play around with combinations until you find a mix that excites you! Remember, your choice of colors can convey mood-bright colors are cheerful and playful, while muted tones are calm and sophisticated.
In the end, customization turns your beanie from a simple accessory into a personal expression of who you are. Whether you’re curling up on a chilly night or planning to gift your creation, having fun with patterns and colors ensures each stitch you hook isn’t just a craft-but a work of art. So grab your yarn and let your imagination soar!
Time-Saving Tips for Faster Crocheting
If you’re eager to whip up a cozy beanie in record time, incorporating a few clever techniques can help you crochet quickly without sacrificing the quality of your work. Who wouldn’t want to create a gorgeous hat in under an hour? With a little strategy, you can not only finish fast but also enjoy the process!
First, let’s talk about the type of yarn and hook you choose. Opt for a thicker yarn, such as bulky or super bulky, which allows you to cover more ground in fewer stitches. Pair it with a larger hook, typically a size N or P (10 mm or larger), as this combination will help you work up those rounds quickly. Additionally, if you’re a fan of slouchy beanies, using a simple double crochet stitch instead of more intricate ones can reduce your time significantly while still looking fabulous.
Another key tip for speeding up your crocheting is to simplify your pattern. Start with a basic beanie design, focusing on a straightforward stitch sequence. Once you’re comfortable, you can experiment with embellishments or more complex stitches in future projects. Keep an eye on how you hold your yarn; using a finger or a yarn guide can streamline the process by allowing you to maintain consistent tension without frequent adjustments.
Lastly, practice makes perfect! If you find yourself struggling with speed, try timing your work. Set a timer for specific intervals, challenging yourself to complete a certain number of rounds within that time frame. This not only builds your confidence but also helps you develop a rhythm that feels natural. Before you know it, you’ll be cranking out beanies for friends and family, all while enjoying the satisfaction of finishing them in no time. Remember, crocheting should be fun and fulfilling-so grab your supplies and let your creativity flow!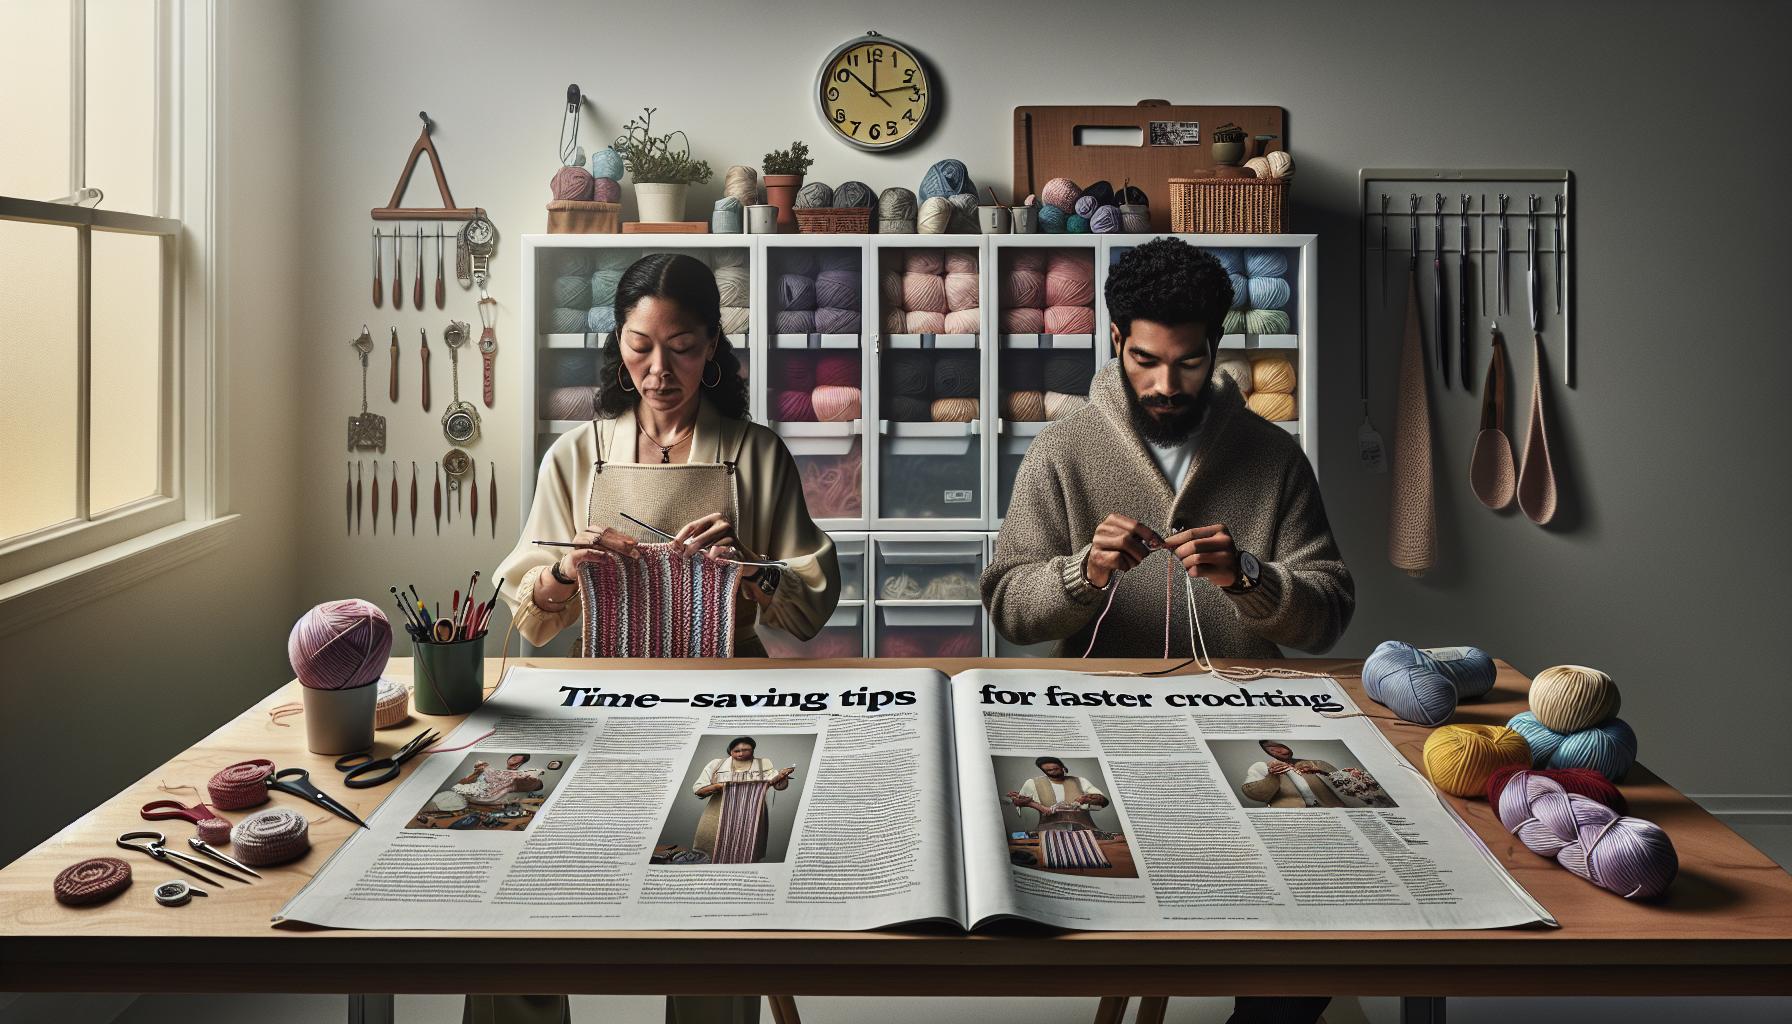
Troubleshooting Common Crochet Issues
When crocheting a beanie, encountering a few bumps along the way is completely normal and part of the creative journey. Whether it’s uneven stitches, a weird shape, or yarn tangles, knowing how to troubleshoot common issues can make the experience more enjoyable and less frustrating. Let’s dive into some of the most common crochet problems and how to solve them, so you can keep those creative juices flowing and finish your cozy beanie with confidence.
One of the most frequent issues is uneven tension, which can lead to a beanie that looks lumpy or has tight spots. If you notice this happening, take a moment to relax your grip on the yarn and hook. It might help to take a break and stretch your fingers or yarn. If you’re consistently pulling too tight, try using a larger hook size for a couple of rows just to ease up on your tension. Remember, the goal is to ensure that your stitches are even and relaxed. Consistent tension will lead to a much smoother finish.
Another hurdle many crafters face is a beanie that doesn’t fit correctly. If your beanie is too small, consider whether you used the right size hook or followed the correct gauge. To fix this, you might need to add a few extra rows or make adjustments by adding stitches in strategic places. If it’s too large, simply reduce your stitch count for the next round, or add a fascinating stitch pattern that takes up a bit more space. Crocheting with a thicker yarn can also help achieve a snugger fit without having to redo your entire project.
Finally, webbing or funky holes can sometimes show up, particularly if your stitch count is off or if your stitches are too loose. This can be easily rectified by carefully counting your stitches at the end of each round, ensuring they match the number specified in your pattern. If spots appear after the fact, you can stitch over them with a needle and thread or strategically crochet a patch to cover them. And remember, every crafty maker has been there-you can embrace these little quirks as part of your unique creation. The beauty of handmade items is that each one carries its own story!
By addressing these common issues, you’ll not only improve your crochet skills but also gain confidence in your ability to troubleshoot effectively. Remember to take your time, be patient with yourself, and most importantly, enjoy the process of making something beautifully handmade!
Adding Embellishments: Making Your Beanie Unique
Adding personal touches to your beanie is what elevates your project from generic to uniquely yours! The beauty of crocheting is the infinite opportunities for customization. With just a few simple embellishments, your beanie can become a one-of-a-kind statement piece that reflects your personality and style.
Start by considering different yarn textures and colors that can add depth to your beanie. For instance, you could mix and match yarns-using a soft wool for the main body and a sparkly yarn for stripes or borders. This not only enhances the visual appeal but also offers varying textures that feel delightful against the skin. Another fabulous idea is to attach a contrasting pom-pom at the top. Making your own pom-pom is easier than you think and only requires some yarn and a pair of scissors! Simply wrap yarn around your fingers or a cardboard template, tie it tightly in the middle, and cut the loops to create a fluffy ball.
Stitches and Patterns
Incorporating different crochet stitches or patterns can add sophistication to your beanie. You might opt for a simple shell stitch around the brim for a charming, textured look. Alternatively, you can use simple embroidery techniques to stitch small flowers or geometric patterns directly onto the beanie. If you’re feeling adventurous, try out surface crochet techniques to add raised designs without needing to change your hook size.
Fun Accessories
Accessorizing your beanie with pins, buttons, or patches can also give it a fresh vibe. Vintage buttons can add flair, while crocheted flowers or motifs can create a fun, whimsical touch. Consider sewing or pinning a fabric patch that showcases something meaningful-like a favorite pop culture reference or a nature design. Just ensure any attached embellishments are securely fastened, especially if the beanie is intended for kids or active wearers.
With these creative embellishment ideas, you’re not just making a beanie; you’re creating wearable art that showcases your individuality. So grab your yarn and hooks, let your creativity flow, and remember-you can do this! Each small embellishment contributes to the larger story of your handmade creation, making it something to cherish and proudly wear.
Gift-Ready Beanie Ideas: Perfect for Any Occasion
There’s something incredibly special about gifting a handmade beanie. It’s not just a cozy accessory; it’s a piece of your creativity and love that keeps the recipient warm both physically and emotionally. Whether you’re crafting for a birthday, holiday, or just because, beanies make fantastic gifts that can be customized to suit anyone’s style.
Consider choosing yarn that reflects the personality of the person you’re making it for. For a friend who loves vibrant colors, a bright, chunky yarn can make a bold statement. If the recipient prefers subtle tones, opt for soft, muted shades. Texture plays a vital role too; a plush yarn could make a beanie extra snuggly
- For Kids: Fun patterns and playful colors are key. Think about adding animal ears or bright pom-poms on top.
- For Teenagers: Consider trendy colors or patterns like a simple ribbed design that’s popular right now.
- For Adults: Go for classic styles; a simple beanie in a warm wool works great for everyday wear.
Personal Touches
To elevate your gift, personalize the beanie with initials or a small emblem using basic embroidery stitches. This thoughtful detail shows you care and transforms the beanie into a unique accessory. Additionally, consider packaging your gift creatively. A simple paper bag or a gift box wrapped in twine adds an extra touch of charm.
When your handmade gift is complete, don’t forget to think about presentation. Tie it up with a beautiful ribbon or add a little card with a heartfelt note. This small gesture turns your beanie into the perfect gift, ready to warm someone’s heart and head alike! You can do this; with a little creativity and thoughtfulness, your beanie will be a cherished item for years to come.
Caring for Your Crocheted Beanie: Maintenance Tips
Caring for your crocheted beanie ensures that your handmade creation stays cozy and looks great for years to come. By following simple maintenance tips, you can keep your beanie in top shape, allowing the person you gifted it to-or even yourself-to enjoy its warmth and style with pride.
To wash your beanie, always check the care label of the yarn you used. Most acrylic yarns can be machine washed in cold water, while natural fibers like wool often fare better with hand washing. If you’re hand washing, gently swish it in cool water with a mild detergent, then rinse thoroughly without wringing or twisting, which can cause deformation. For machine washing, place the beanie in a mesh laundry bag to prevent snags, and always use a gentle cycle.
Drying and Storing Your Beanie
After washing, it’s crucial to dry your beanie correctly. Avoid hanging it up to dry, as this can stretch the fabric. Instead, lay it flat on a clean towel, reshaping it to its original form and allowing it to air dry. For storage, keep the beanie in a cool, dry place. A drawer or a shelf away from direct sunlight can prevent fading while also preserving its shape. Consider using a garment bag if you’re storing it for an extended time.
Managing Pilling and Repairs
Over time, beanies might develop pilling due to friction, especially if made from yarn with natural fibers. To refresh its look, gently remove pills with a fabric shaver or a fine-toothed comb. If you notice any snags or small holes, don’t fret! You can mend these areas by weaving in a bit of yarn or using a needle and thread to reinforce weak spots, ensuring that your beanie remains a cherished accessory.
Maintaining a crocheted beanie doesn’t have to be a chore. With a little care and attention, your handcrafted treasure can continue to bring warmth and joy, making it a beloved item for years to come. You’ve got this-celebrate your creativity and keep those beanies looking fabulous!
Expanding Your Skills: Advanced Beanie Patterns
Taking on advanced beanie patterns is like upgrading from a cozy coffee to a rich espresso; it offers a deeper experience and opens up a world of creativity! As you dive into more intricate designs, you’ll not only enhance your skills but also create stunning headwear that reflects your personal style. Whether it’s mastering new stitches or exploring interesting textures, pushing the boundaries of your crochet abilities can be thrilling.
Start by selecting a few advanced techniques that catch your eye. For instance, you might try out the crochet cables, which add a beautiful, knitted look to your beanie. You’ll only need basic stitches to start, but the texture can make your work look intricate. Alternatively, consider working with colorwork techniques like the “granny square” or “fair isle” style that can transform your beanie into a vibrant work of art. These patterns often require more concentration and practice, but the result is a unique piece that you’ll be proud to wear or gift.
Materials for Advanced Patterns
Before you begin, gather some necessary materials that can elevate your project:
- Yarn: Opt for medium to bulky weight yarns for better texture. Wool blends can provide warmth and elasticity, great for intricate stitches.
- Hooks: Use a hook that’s one size larger to accommodate thicker yarns for more intricate patterns.
- Stitch markers: Essential for keeping track of rows and complex designs.
Each advanced pattern will differ slightly in difficulty, time, and techniques, but remember-every project you complete builds up your confidence. Whether it takes an afternoon or several days, allow yourself grace as you learn. Take a moment to appreciate the satisfaction of mastering a new stitch or crafting a vibrant color palette. You’ve got this! Keep exploring new patterns, and before you know it, you’ll have a stunning collection of beanies that showcase your unique flair.
Inspiring Crochet Projects to Try Next
Ready to take your crochet skills to the next level? After mastering the classic beanie, there are so many exciting projects you can dive into that will expand your creativity and technique. Here are some inspiring crochet projects that will keep your crochet hook moving and your passion ignited!
First up, consider crocheting a slouchy beanie. This trendy style is not only fun to make but also provides a relaxed look perfect for any wardrobe. To create one, you can use a simple increase pattern, allowing the top to be loose and the sides to fall gracefully. Choose a soft, drapey yarn-like a cotton blend-to achieve that comfy vibe. Add a pom-pom on top for a playful finish!
Next, how about trying your hand at colorwork with a Fair Isle pattern? This technique allows you to incorporate multiple colors into your beanie, creating dynamic and eye-catching designs. Start with a simple two-color pattern, using your classic beanie structure. This type of work not only adds visual interest but also helps you practice your tension and stitch consistency. Don’t shy away from experimenting with bright contrasting colors or subtle gradients!
For those who love unique textures, a crochet cable beanie can be your next challenge. Using the basic stitches you’ve already mastered, you can introduce cables that mimic the look of knitting. These textured cables create depth and warmth, making your beanie a standout accessory. Use medium-weight yarn to keep it cozy and manageable as you practice this new technique.
Lastly, consider making matching sets-a beanie and a scarf! The satisfaction of coordinating your accessories is delightful and perfect for gifting. You can choose to use the same yarn and stitch pattern to create a unified look. Plus, crafting a matching scarf allows you to practice longer rows and different stitch combinations, further honing your skills.
No matter which project you choose, remember that each piece you create enhances your crochet journey. You can do this! Every new project is an opportunity to learn and express your style in ways that only crochet can offer. Happy crocheting!
Join the Crochet Community: Sharing Your Creations
Sharing your crochet creations not only enhances your skills but also connects you with a vibrant community of fellow makers. Each time you complete a beanie, you’re inviting others to celebrate your hard work and creativity. Whether you’re a seasoned pro or just starting, showcasing your beanie can inspire others and ignite conversations about techniques, patterns, and styles.
Join online platforms where crafters gather to share their projects. Websites like Ravelry and Instagram offer spaces to post pictures of your finished work, ask for feedback, and discover new patterns. When you share, use popular hashtags like #CrochetBeanie, #HandmadeHat, or #YarnAddict to reach a broader audience and connect with others who share your passion. Not only does this create connections, but it also opens doors to learning new skills and finding fresh ideas for your next project.
Engaging with the Community
Consider setting up or joining local crochet groups where you can meet other enthusiasts face-to-face. This environment fosters sharing not only finished projects but also tips, resources, and encouragement. Many communities even host stitch-n-bitch gatherings, making it a fun, social experience. Don’t shy away from contributing by offering your beanie-making tips or by demonstrating unique stitches that you’ve mastered.
You don’t have to be perfect; share your progress, mistakes, and triumphs. This honesty invites camaraderie and shows that everyone, no matter their skill level, is on a journey of creativity and learning. You might find that someone else needs help with a concept you’re comfortable with, creating a rewarding exchange that strengthens your skills and passion.
In summary, sharing your beanie-making journey is about more than just the outcome; it’s about connection, joy, and the growth of your craft. So grab your camera, snap a few photos of your latest creation, and let the world see the unique flair you bring to crocheting! You can do this, and the community is here to cheer you on every stitch of the way. Happy sharing!
Q&A
Q: What materials do I need to crochet a beanie hat quickly?
A: To crochet a beanie hat in under an hour, you’ll need medium-weight yarn (like worsted acrylic), a crochet hook (size H/5 mm is recommended), and scissors. Optionally, a yarn needle for weaving in ends and measuring tape for size accuracy can be helpful.
Q: How do I measure my head size for a crochet beanie?
A: Measure your head circumference using a flexible measuring tape just above your ears and eyebrows. Make sure to keep the tape snug but not too tight. This measurement helps ensure your beanie fits comfortably.
Q: Can I use different yarn types for a beanie?
A: Yes, you can use various yarn types for your beanie! Just be aware that different fibers (like cotton, wool, or blends) can affect the drape and warmth of the hat. Always check the yarn label for weight recommendations suitable for quick projects.
Q: What are some easy crochet stitches for a beginner beanie?
A: For a beginner-friendly beanie, use the chain stitch (ch) and single crochet (sc) stitches. These simplify the process while still creating a classic look. You can find detailed stitch guides in the “Essential Crochet Stitches for a Classic Beanie” section of our article.
Q: How can I customize my beanie design?
A: You can customize your beanie by experimenting with colors, patterns, or adding embellishments like pom-poms or appliqués. Consider using stripes or granny squares for added interest. Check the “Customizing Your Beanie: Patterns and Colors” section for more ideas!
Q: Is it possible to crochet a beanie without a pattern?
A: Absolutely! You can crochet a beanie without a written pattern by following general guidelines based on your measurements. Start with a simple base of stitches and increase to achieve the desired fit. This approach encourages creativity!
Q: What common mistakes should I avoid when crocheting a beanie?
A: To avoid common mistakes, ensure your tension is consistent, check your stitch count frequently, and verify that your starting chain is the correct length. Refer to the “Troubleshooting Common Crochet Issues” section for more tips!
Q: How can I make my crocheted beanie stretchy?
A: To ensure your beanie is stretchy, consider using a yarn with a small amount of elastic or incorporate stitches like double crochet that allow for more stretch. Additionally, adding a slightly larger brim can enhance comfort and fit.
Final Thoughts
Congratulations on completing your classic beanie hat in under an hour! By mastering this simple project, you’ve taken a great step toward becoming more confident in your crochet skills. Remember, you can create countless variations-try adding stripes or embellishments for a unique look! If you’re eager to explore more techniques, check out our guide on “Essential Crochet Stitches for Beginners” and our extensive library of free crochet patterns here to keep your creativity flowing.
Ready to start your next project? Grab your yarn and hook, and dive into other fun tutorials like “How to Crochet a Scarf” or our tips for making cozy blankets. Don’t forget to share your creations with us in the comments below! Your feedback is invaluable, and we’d love to celebrate your progress. Subscribe to our newsletter for more hands-on projects and exclusive tips to keep those hooks moving. You’ve got this-happy crocheting!
Get our latest guides, news, and insights highlighted in your Google Search & AI Overviews.