
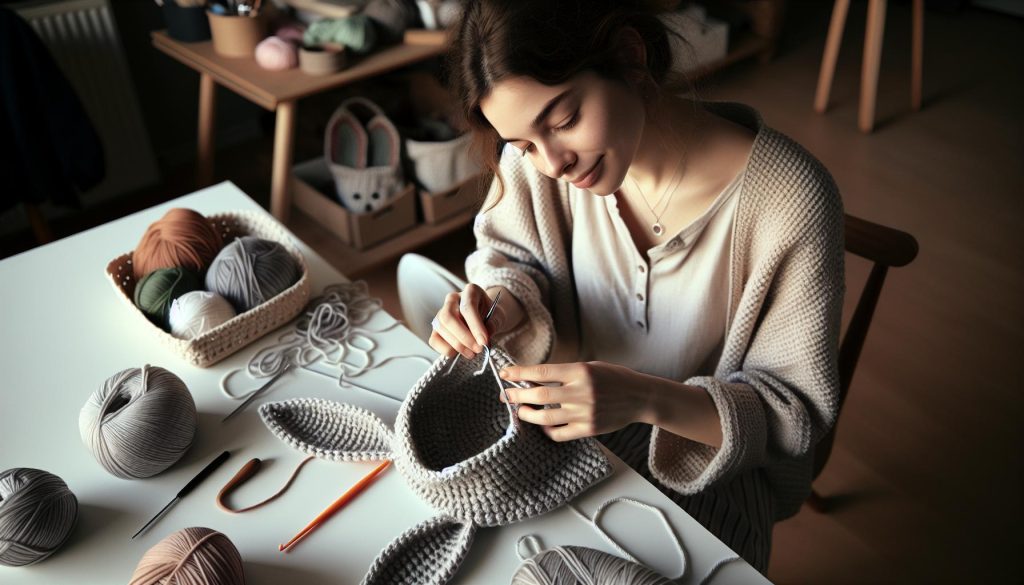
Are you ready to add a touch of whimsy to your spring wardrobe or create a memorable gift that brings joy? Crocheting a bunny ear hat with floppy ears is not only a fun project, but it’s also a delightful way to celebrate Easter or special occasions. With just a few basic crochet skills, you can craft this adorable hat that suits newborns to toddlers, making it a versatile addition to your crafting repertoire.
In this guide, we’ll walk you through the steps to create your very own bunny ear hat, from selecting your yarn to achieving those lovely floppy ears. Whether you’re a beginner taking your first stitches or an experienced crafter looking for a quick project, this pattern is designed to inspire. Plus, making something yourself always adds that special personal touch! So grab your hook and let’s hop into the joyful world of crochet together-you’ve got this!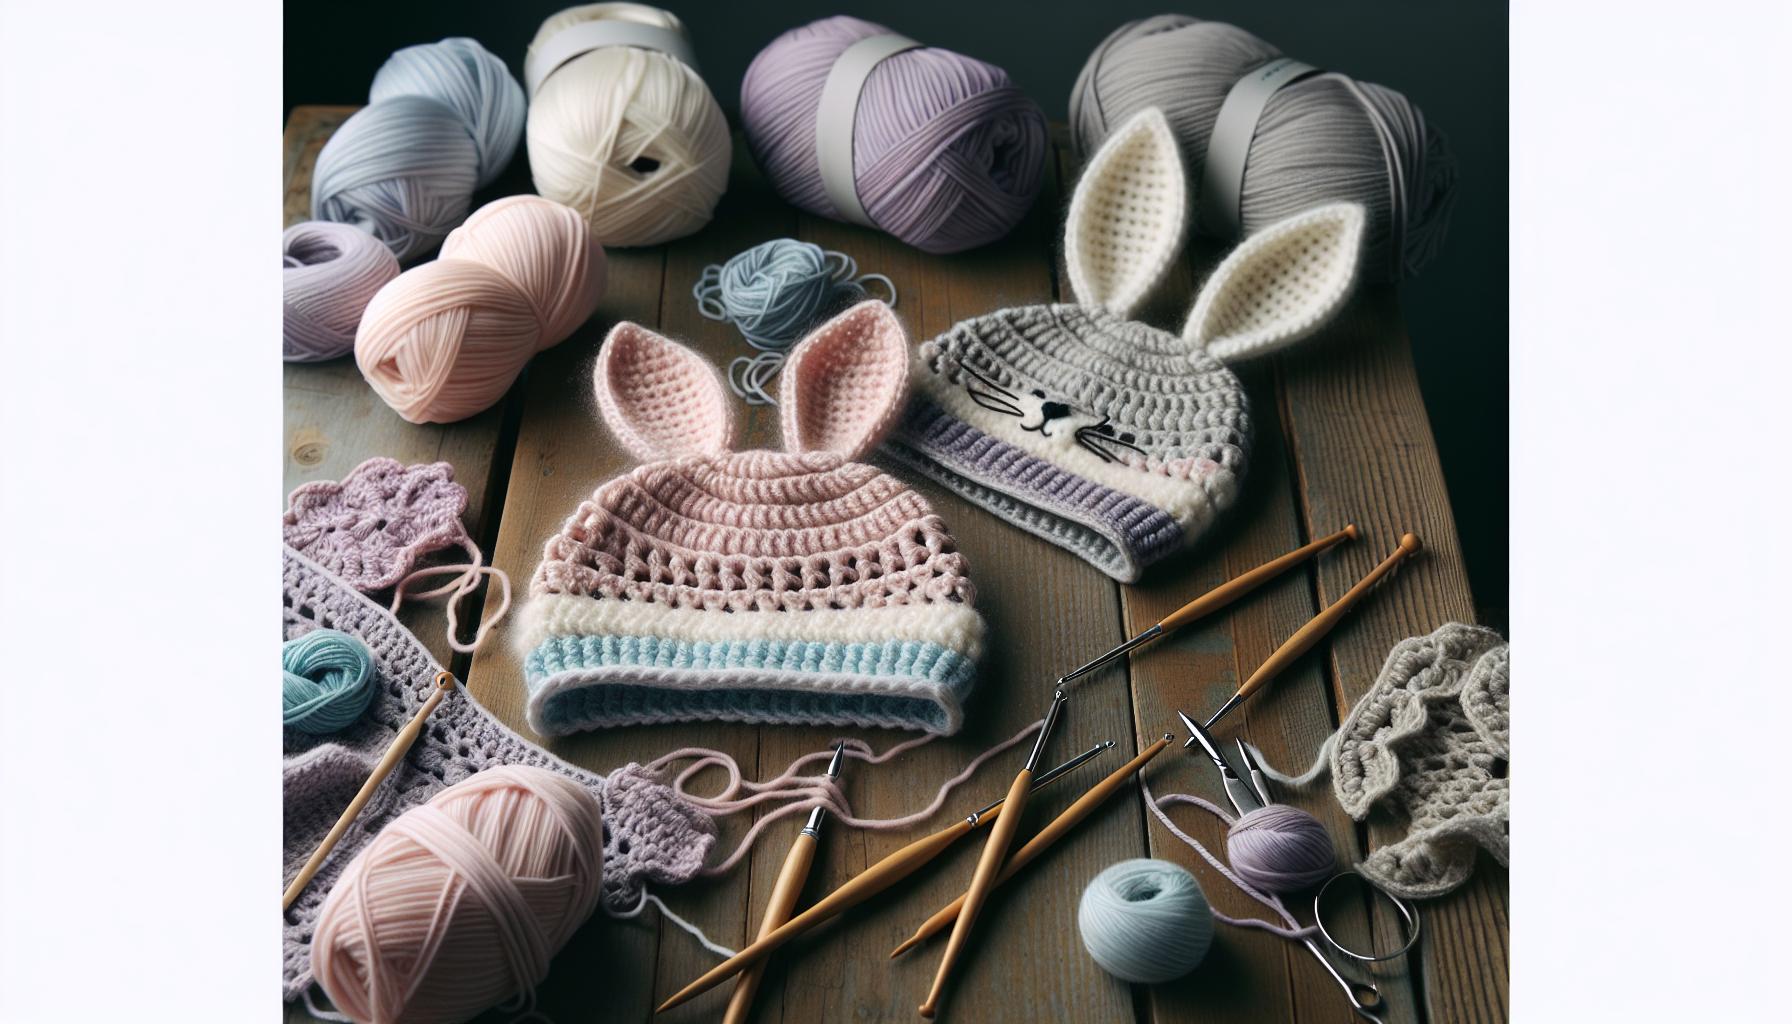
Choosing the Right Yarn and Hook for Your Bunny Ear Hat
When diving into the delightful world of crochet, choosing the right yarn and hook is essential to ensure your Bunny Ear Hat turns out just as you envision. For a soft, cuddly feel that mimics the charm of bunny fur, opt for a yarn that is both plush and easy to work with. A medium-weight (worsted) 100% acrylic yarn is a fantastic choice-it’s durable, comes in a variety of colors, and washes well after those inevitable little messes.
When it comes to hook size, you generally want to use a hook that matches your yarn. For worsted weight yarn, a size H (5.0 mm) or I (5.5 mm) hook works beautifully. These sizes allow for a balance between tight stitches that hold shape and flexible fabric that fits comfortably around the head. If you’re concerned about achieving a snug fit or adding extra floppy character to the ears, feel free to adjust your hook size slightly. Experimentation is part of the fun, and remember, you can always frog (rip it out) and start over if needed!
Here’s a quick guide to help you get started on your yarn and hook selection:
| Yarn Type | Weight Category | Suggested Hook Size |
|---|---|---|
| Acrylic | Worsted (Medium) | H (5.0 mm) or I (5.5 mm) |
| Soft Cotton Blend | Worsted (Medium) | H (5.0 mm) |
No matter your skill level, the right yarn and hook will make your crafting experience enjoyable and your Bunny Ear Hat a joy to wear. With the wide array of colors and styles available, don’t hesitate to let your creativity flow-choose yarn that not only feels good in your hands but also inspires you visually. Happy crocheting!
Essential Crochet Stitches for the Bunny Ear Hat
Getting familiar with the essential crochet stitches is the first step toward creating your delightful Bunny Ear Hat. The good news? Many of the stitches you’ll use are straightforward and perfect for both beginners and seasoned crafters! By mastering just a few key techniques, you’ll be well on your way to crafting this adorable accessory that’s perfect for Easter.
The primary stitches you’ll need for this project include the chain stitch, single crochet, and half double crochet. Each of these stitches plays a vital role in the structure and look of your hat. Here’s a quick breakdown to get you started:
- Chain Stitch (ch): This is your foundation-it sets up all your other stitches. Simply make a loop and pull the yarn through to create a series of linked stitches.
- Single Crochet (sc): A staple in any crocheter’s toolkit, this stitch gives a tight fabric perfect for the hat’s body. Insert your hook into a stitch, yarn over, pull through, yarn over again, and pull through both loops on your hook.
- Half Double Crochet (hdc): Slightly taller than a single crochet, the half double gives your hat some nice texture. Yarn over, insert your hook into the next stitch, yarn over again, and pull through. Finish by yarning over and pulling through all three loops on your hook.
Master these stitches, and you’ll find that creating the base for your Bunny Ear Hat is a breeze. Each of these stitches can be combined in various ways to create a cozy and stylish design that stands out. Remember, crochet is all about rhythm and practice. So, don’t hesitate to frog any sections that don’t meet your expectations-it’s all part of the learning journey!
As you crochet, keep in mind that the magic happens when you combine these basic stitches. For example, using a mix of single and half double crochets in the body of the hat not only enhances its texture but also ensures a snug fit. Plus, experimenting with stitch combinations can make your Bunny Ear Hat truly unique. Embrace the process, let your creativity shine, and most importantly, enjoy every loop and stitch as you bring your project to life!
Step-by-Step: Crocheting the Base of the Hat
Getting started on your Bunny Ear Hat is exciting! As you prepare to crochet the base, it’s essential to follow a clear, step-by-step approach that makes this project enjoyable and achievable. Whether you’re a beginner or have some experience, this guide will walk you through the process of creating a cozy and adorable foundation for your hat.
You’ll first want to gather your materials. You’ll need a soft yarn in your chosen color (cotton or acrylic works great), a hook that matches your yarn weight (typically size G or H), scissors, and a yarn needle for weaving in ends. This project is quite approachable and can take a couple of hours, depending on your skill level.
Start by creating a foundation chain that fits your desired head size. For a regular adult size, aim for about 60 chains. Use a slip knot to begin, then yarn over and pull through to create the chain. The foundation chain sets the width of your hat, so ensure it’s not too tight or too loose.
Once you’ve completed your foundation chain, it’s time to work your first round. Turn the chain to start crocheting into the back of the chain. You’ll typically use half double crochet stitches for the base, as they provide a nice texture and stretch. Here’s how to do it:
- Yarn over and insert your hook into the third chain from your hook (the first two chains count as a half double crochet).
- Yarn over again and pull through the chain (you’ll have three loops on your hook).
- Yarn over and pull through all three loops on the hook.
Continue this process across your foundation chain. When you reach the end of the row, make sure to join with a slip stitch into the top of the first half double crochet to form a circle. Remember, it’s important to maintain an even tension throughout to create a consistent look.
After completing the first round, keep crocheting rounds of half double crochet stitches until the base of your hat reaches the desired height. A good guideline is to crochet until you have about 5-6 inches of height, perfect for folding the brim later on. Don’t forget to check your work and keep it loose enough so that it can fit comfortably on the head!
Congratulations on completing the base of your Bunny Ear Hat! Once this part is done, you’ll be ready to dive into crafting those adorable bunny ears. Enjoy the process, and remember to be proud of each stitch; you’re creating something unique!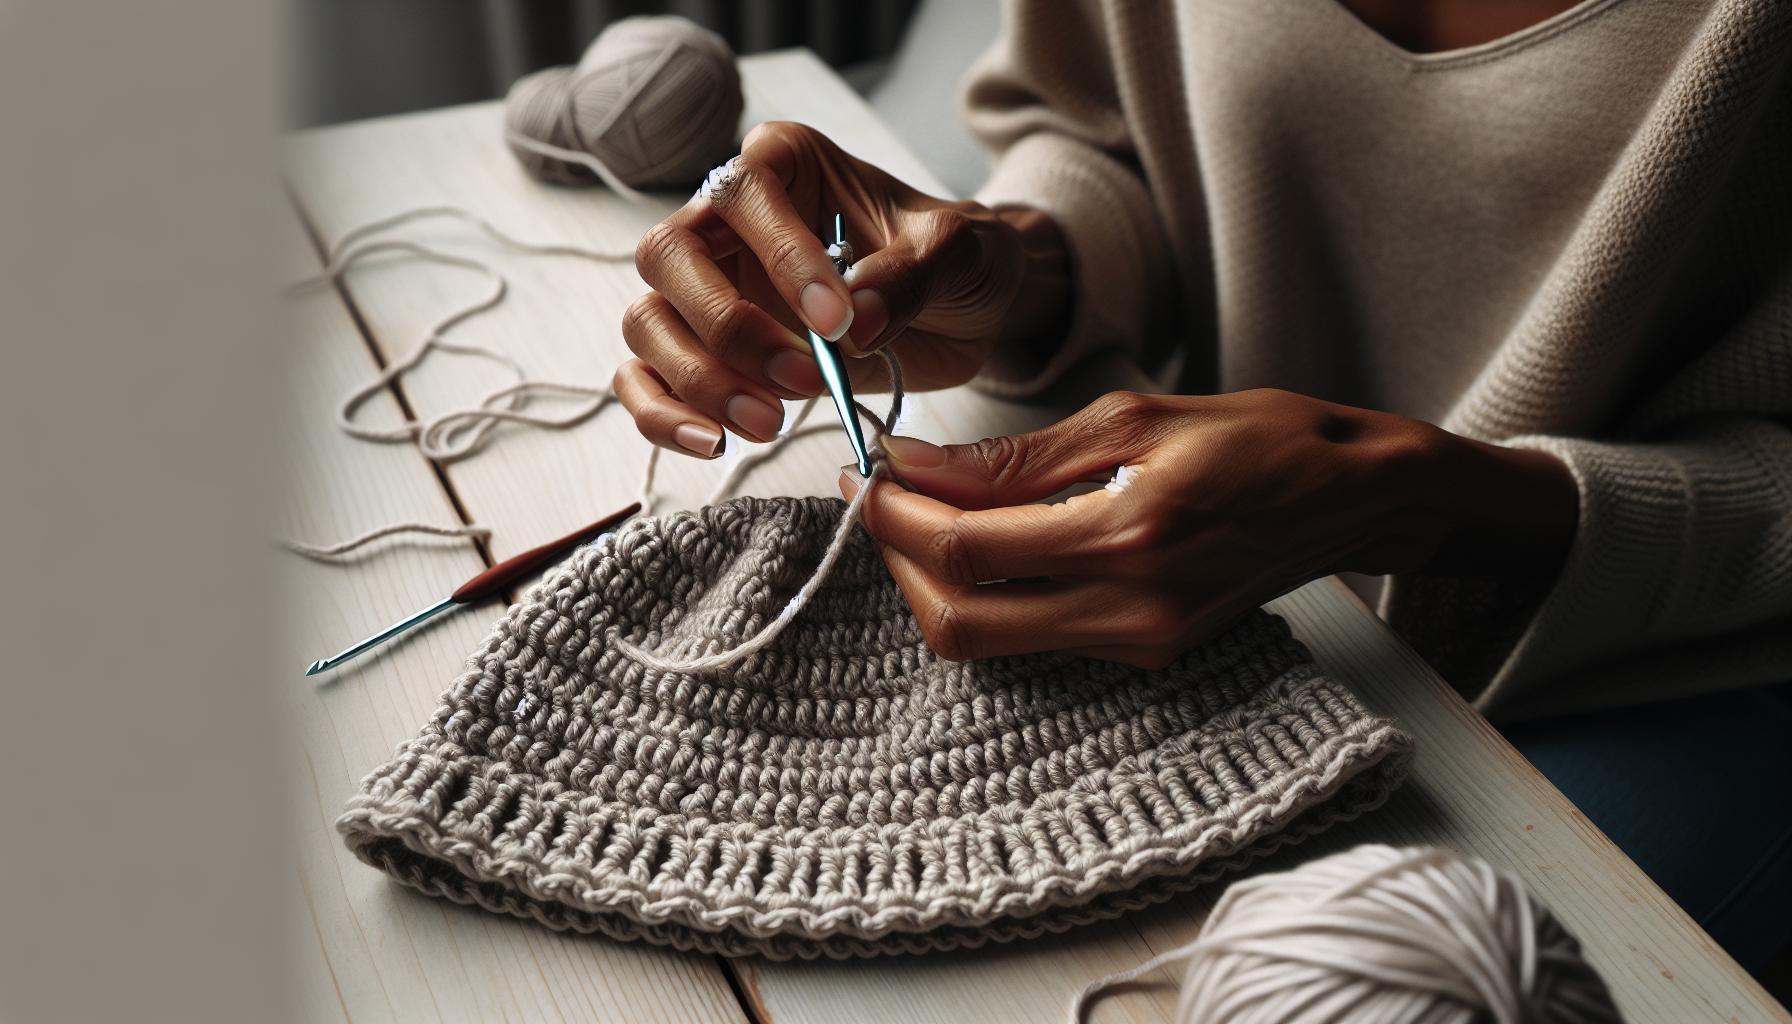
Crafting the Bunny Ears: A Complete Guide
Crafting those delightful bunny ears is where your hat truly comes to life! With just a few simple stitches, you can create floppy ears that add a playful touch to your Bunny Ear Hat. This part of the project is perfect for all skill levels, and whether you prefer vibrant colors or classic whites, the choice is yours! Get ready to unleash your creativity with this step-by-step guide.
To get started, you’ll need your yarn (the same one you used for the base of the hat), a yarn hook (generally size G or H), scissors, and a yarn needle for finishing up. For each ear, the process is relatively quick; you can expect to spend about 30-45 minutes crafting both ears.
The Ears
Here’s a simple pattern to crochet your bunny ears:
- Foundation Chain: Start with a slip knot and chain 15. This will form the base of your ear.
- Row 1: In the second chain from the hook, work 1 single crochet (sc) and continue to the end of the row, making 1 sc in each chain (14 sc total).
- Row 2: Chain 1. Turn your work and crochet 2 sc in the first stitch, then 1 sc in each of the next 12 stitches, and finish with 2 sc in the last stitch (16 sc total).
- Row 3: Chain 1. Turn, and this time, work 1 sc in the first two stitches. Then, increase by working 2 sc in the next stitch. Continue with 1 sc in each of the next 12 stitches and finish with 1 sc (18 sc total).
- Row 4-6: Repeat the pattern of increasing by one stitch until you have 24 stitches.
- Shape the Ear: To taper the ear, begin to decrease. Chain 1, turn, and crochet 1 sc in each of the first two stitches, then decrease by crocheting 2 stitches together. Repeat until you are back to 12 stitches.
- Finishing: Fold the ear in half and use whip stitch to sew the edges together. Fasten off your yarn and leave a small tail for attaching the ear to the hat.
You might want to experiment with the length of the ears; for longer floppy ears, simply add more rows before decreasing. You can also mix and match colors for the inner and outer sides of the ears for a unique look!
Lastly, don’t forget to secure the ears to the top of your hat once you’re finished. Position them slightly apart for an adorable, whimsical look. With patience and creativity, you can craft bunny ears that delight everyone. Remember, each stitch is a step toward your lovely creation-so enjoy the journey and the joy of making something special!
Adding Floppy Ears: Tips for a Relaxed Look
Creating floppy ears for your bunny hat can transform your craft into something truly special! The goal is to give your ears that relaxed, whimsical vibe that embodies the playful spirit of Easter. Here are some practical tips to help you achieve that perfectly floppy look.
To ensure your bunny ears are delightfully floppy, consider using a yarn with a bit of drape, such as a soft acrylic or cotton blend. This allows the ears to maintain their shape without becoming too stiff. If you’re using stiffer yarn, try adding a few more rows to achieve a naturally droopy effect. As you crochet, make sure to leave them a bit longer than you think necessary-this extra length will give them the beautifully lazy look that floppy ears are known for.
When it comes to shaping the ears, the process is just as essential as the yarn you choose. Allow your ears to droop slightly by incorporating soft decreases towards the end of your rows. For a more playful design, you could even alternate colors or use variegated yarns for the inner and outer parts of the ears, giving them a unique character. Once the ears are crocheted, take a moment to lightly block them. This can be done by gently spritzing them with water and shaping them to your desired flop before laying them flat to dry. The blocking will help set the floppy shape and give your ears that extra personality.
Lastly, when attaching the ears to your hat, use a loose stitch and position them slightly apart to enhance that endearing floppy appearance. Remember, crafting is all about enjoyment and expressing your creativity. Embrace the quirks of your project-every floppy ear will bring a smile and a sense of joy to your finished Bunny Ear Hat!
Customizing Your Bunny Hat: Colors and Patterns
Customizing your bunny hat can turn a simple crochet project into a personal masterpiece that reflects your unique style. Color choices and patterns are your playground, allowing you to experiment and truly make the hat your own. Whether you want a sweet, pastel look for Easter or bold, vibrant colors for everyday wear, customizing your bunny hat is not only fun but incredibly rewarding.
Start by selecting a color palette that resonates with you. Here are some ideas to consider for your design:
- Classic Bunny Look: Soft pastels like baby pink, sky blue, or mint green give a traditional Easter feel.
- Bright and Bold: Go for rich jewel tones such as royal blue or emerald green to create a striking contrast.
- Personal Touch: Use variegated yarn to add dimension, or combine solid colors for the ears and hat body for a playful effect.
- Seasonal Themes: Choose warm, earthy tones for fall or icy blues and whites for a winter-themed bunny hat.
When it comes to patterns, don’t shy away from mixing textures or using different stitch techniques. You can add stripes or polka dots to the hat or make the ears in a complementary color to create contrast. For a more advanced touch, consider incorporating simple stitches like shell or puff stitches into the body of your hat for added interest. Always remember, there are no rules in crafting! Your creativity is your best guide, and what matters most is the joy of the making process.
Finally, don’t forget to add personal embellishments like bows, flowers, or even little buttons to enhance the character of your bunny hat. Each addition can transform your project into something that reflects your personality. So gather your yarn, pick your favorite colors, and let your creativity shine through your custom bunny hat! You can do this, and everyone will admire your fantastic creation!
Finishing Touches: Weaving in Ends and Edging
After spending hours crafting your adorable bunny ear hat, the final touches can make all the difference! Weaving in those pesky ends and adding a polished edge will ensure your project looks as good as it feels. Let’s dive into how to make your hat truly shine.
Start by weaving in the ends. This step is crucial for not only aesthetics but for the longevity of your piece. Grab a yarn needle and trim any excess yarn, leaving about a 6-inch tail. Thread the tail through the needle, and gently weave it back into the stitches of the hat. Aim to go in the same direction as you crocheted to avoid unraveling. Here’s a simple approach: find a few stitches a couple of rows back, thread through them, and then work your way back towards the edge. Repeat this process for any additional ends. A good rule of thumb is to weave in the ends for at least 4-5 inches to keep them secured. This step might feel tedious, but trust me, it ensures your hat remains intact during wear!
Now, let’s talk about edging. A clean edging can elevate your hat from homemade to handcrafted. For a neat finish, consider adding a contrasting color yarn to define the brim or the base of the ears. Simply crochet a round of single crochet (SC) stitches around the edges of the hat and ears, ensuring your stitches are even and tight. If you’re feeling adventurous, try adding a scalloped or shell stitch for a charming touch! This could be done using the following steps:
- Join your contrasting yarn at the back of the hat.
- Chain 1, then SC in each stitch around.
- For a shell stitch: (SC in the next stitch, skip a stitch, and repeat) evenly around for a soft, wavy edge.
These little details will not only enhance the visual appeal but also give your hat a professional finish. Remember, it’s the finishing touches that truly make your creation uniquely yours. With a bit of patience and attention to detail, your bunny ear hat will be ready to hop into the spotlight, complete with a personal touch that reflects your creativity and craftsmanship! You can do this, and each stitch brings your masterpiece one step closer to completion. Enjoy the process, and don’t forget to celebrate your amazing work!
Creating a Matching Set: Bunny Ear Mittens
Cozy, playful, and oh-so-fun, bunny ear mittens are the perfect companion to your bunny ear hat. Not only do they complete your look, making you or your little one feel extra festive for Easter, but they also keep your hands warm during chilly spring days. The best part? Crocheting matching mittens is a simple project that builds on the skills you’ve already used for the hat!
To get started, gather your materials. You’ll need the same yarn you used for your hat; this will ensure a cohesive look. A medium weight acrylic yarn is a great choice for durability and warmth. Choose a hook size that matches your yarn (usually around 5mm or H/8 works well). Depending on the size of the mittens you want to make, you might also want to consider adding some fleece or a soft lining for extra warmth and comfort, particularly if you’re making them for little ones.
Follow these steps for creating your delightfully fluffy bunny mittens:
Step-by-Step: Crocheting Bunny Ear Mittens
- Start with a foundation chain. For children’s size mittens, chain about 20-30 stitches depending on their hand size. For adult sizes, you may need 35-45 stitches.
- Crochet the base. Work in single crochet (SC) for several rounds until the mitten reaches the desired wrist length-about 3-4 inches is typically nice.
- Form the thumb hole. After you’ve reached the wrist length, chain 5 stitches where you want the thumb hole to be, then skip 5 stitches on the next round before continuing. This creates a cozy space for the thumb.
- Continue crocheting the mitten. After the thumb hole, keep crocheting in rounds until the mitten is about 7-8 inches long for adults (5-6 inches for kids).
- Finish off. Once you reach the top, decrease a few stitches to close the mitten. Weave in any ends.
Crafting the Bunny Ears
For the fun bunny ears, crochet two separately. Start with a magic circle and crochet about 10-15 rows using a SC. Then you can side-slip stitches or use a “V-stitch” to give the ears some shape and character. Attach them securely to the top of the mittens once you’ve fastened off.
Finally, don’t forget to customize! You can mix and match colors, throw in some cute buttons, or even add a pom-pom finish to really bring your set together. This matching bunny ear set not only serves as a practical gift but also showcases the charm of handmade items. Trust me, you can do this-your creations will be the talk of the town this Easter, and best of all, your little bunnies will love sporting their cozy hats and mittens!
Troubleshooting Common Crochet Mistakes
Every crocheter encounters hiccups now and then, especially when working on a delightful project like a bunny ear hat. Don’t worry! This is all part of the process, and addressing common mistakes can make your crafting journey smoother and more enjoyable. Whether you’re a newbie or more experienced, here are some tips to help you troubleshoot effectively.
One frequent issue is how the stitches might look uneven or loose. This can happen if you’re crocheting too tightly or too loosely. A good trick is to pause and check your tension. Make sure to hold your yarn comfortably-try to maintain the same tension throughout your project. If you notice it getting tighter or looser, simply adjust as you go along. It may also help to experiment with a different hook size; sometimes, even a small change can make a significant difference in the overall look of your work.
Another common misstep is forgetting to count stitches, especially in multi-row projects like the bunny ear hat. It’s a sneaky way mistakes creep up on you! To combat this, keep a stitch marker handy or use a simple tally method to track your rows. If you find yourself with too many or too few stitches at the end of a row, don’t panic! Rip back a few stitches to the last marker, evaluate what went wrong, and try to fix it before continuing. Remember, you can do this-every great project is a journey of learning.
Lastly, if your floppy ears look a bit stiff or not as cute and floppy as you’d hoped, check the number of rows you’ve completed and consider adjusting them. Sometimes adding a few more rows can give the ears that desired relaxed look. You might also try gently steaming the finished ears to encourage them to bend nicely. Keep in mind that your unique style will shine through, and each hat you create will be a testament to your hard work and creativity, celebrating the joys of making things yourself!
So, as you encounter these hurdles, embrace them as opportunities to grow and refine your craft. After all, every stitch you take is a step closer to mastering the art of crochet, and before you know it, you’ll be crafting perfect bunny ear hats with confidence!
Inspiration: Variations of Bunny Ear Hats
Creating variations of bunny ear hats can be an exciting way to add your personal touch and creativity to this charming project. These hats are versatile; you can play with colors, textures, and embellishments to make each one unique. Whether you’re crafting for spring, Easter, or simply for fun, these variations will inspire you to explore different design possibilities.
One popular twist is to experiment with different types of yarn. For a classic look, consider using a soft acrylic yarn or even a thicker, plush yarn to give your bunny ears a more tactile, fluffy appearance. You might also try using a gradient yarn that transitions from one color to another, creating a beautiful ombré effect in your hat. If you’re feeling adventurous, why not incorporate some sparkle with metallic thread or sequins? Your bunny hat will undoubtedly stand out, perfect for special occasions or festive gatherings.
When it comes to the design itself, don’t shy away from unique ear shapes and sizes. While traditional floppy ears are adorable, you can craft perkier, more upright ears for a different look. Adding fun details, like a contrasting color for the inner ear, can also make your creation pop. Consider using fun embellishments such as crochet flowers or even fabric patches to enhance your hat further. You could even embroider small designs or initials to personalize each hat for gifting.
To make your bunny ear hat a complete ensemble, think about creating matching accessories! Mittens, headbands, or even a bunny tail for the back of the hat can all work together for a cohesive look. The sky’s the limit, and the joy of crochet lies in making these delightful pieces uniquely yours. So grab your hook, unleash your creativity, and remember-you can do this! Each stitch brings you closer to a fun and fabulous bunny ear hat that will delight anyone who sees it.
Sharing Your Creation: How to Take Great Photos
Capturing the beauty of your handmade bunny ear hat can be as rewarding as crafting it! A great photo showcases your hard work and creativity, making your piece shine online or in your portfolio. To make your bunny ear hat stand out in photographs, consider applying some simple but effective techniques that elevate your images from ordinary to extraordinary.
To start, choose a well-lit environment. Natural light works wonders, so position your creation near a window or outdoors to avoid harsh shadows. Aim for soft, diffused light, which can highlight the yarn textures beautifully. If indoor light is needed, try using soft artificial lights and avoid direct flash. Set the scene by using a simple backdrop that complements the colors of your hat-think neutral tones like white or pastel shades that won’t compete with your project.
Composition Tips
When framing your shot, think about composition. Use the rule of thirds-divide your photo into a grid and place the hat off-center for a more dynamic look. You can also experiment with different angles; sometimes a slight tilt or a close-up of the bunny ears can create a striking effect. Don’t forget to eliminate clutter from your background to keep the focus on your adorable creation.
- Close-ups: Capture details of your stitches or any embellishments.
- Full shots: Showcase the entire hat, perhaps on a model or a mannequin.
- Styled shots: Use props that match the theme, like Easter decorations or spring flowers.
Finally, editing your photos can enhance their appeal. Use simple editing tools to brighten or crop your images to make them pop. Adjust contrast or saturation slightly to make the colors more vibrant. Remember, your goal is to truly reflect how fun and whimsical your bunny ear hat is, allowing others to appreciate your creativity just as much as you do. So grab your camera and start snapping-those floppy ears are ready to steal the show! You can do this!
Where to Find More Crochet Patterns and Resources
Finding the perfect crochet pattern can elevate your crafting experience and spark joy in your projects! There are many fantastic resources available online that cater to all skill levels, from beginners to seasoned pros. Whether you’re looking to make a cute bunny ear hat, explore new techniques, or simply gather fresh ideas, you’ll discover a treasure trove of inspiration at your fingertips.
Start your journey at websites like Ribblr, where you can find free patterns along with detailed video tutorials. For instance, their free Bunny Ears for Beanie pattern offers step-by-step instructions to help you get started! You can access it easily [here](https://ribblr.com/pattern/bunny-ears-for-beanie-Crochet/) [[1]]. If you’re in the mood for a whimsical bonnet, head over to Left in Knots to explore their enchanting crochet bunny bonnet pattern, perfect for newborns and easter festivities-check it out [here](https://leftinknots.com/home/crochet-bunny-bonnet/) [[2]].
Don’t overlook the community aspect of crochet! Engaging with fellow crafters can offer invaluable support and encouragement. Websites like Lovable Loops provide beginner-friendly patterns, such as their Floppy Ear Crochet Bunny Hat, to help you create adorable hats suitable for all ages. Visit [Lovable Loops](https://lovableloops.com/floppy-ear-crochet-bunny-hat-pattern-for-beginners/) [[3]] for more inspiration.
Remember, the crafting journey is all about exploration. Try different patterns, connect with other crafters online through social media or forums, and don’t hesitate to experiment with yarn types and colors. You’ve got this, and each stitch brings you closer to your next masterpiece!
FAQ
Q: What materials do I need to crochet a bunny ear hat?
A: To crochet a bunny ear hat, you need yarn (preferably worsted weight), a crochet hook (commonly size H/8), scissors, a yarn needle, and optionally, a stitch marker. Choose soft, durable yarn for a comfy finish. Check the “Choosing the Right Yarn and Hook” section for more details.
Q: How long does it take to crochet a bunny ear hat?
A: Crocheting a bunny ear hat typically takes 2-4 hours, depending on your skill level and the complexity of your chosen pattern. Planning breaks can help ease the process. For a detailed timeline, see the “Step-by-Step” section of the article.
Q: Can I adjust the size of the bunny ear hat pattern?
A: Yes, you can adjust the size by using a different hook size or by adding or reducing rows in the hat’s body. To guide you through the sizing process, refer to the “Customizing Your Bunny Hat” section for useful tips.
Q: What are some beginner-friendly crochet stitches for a bunny ear hat?
A: Beginner-friendly stitches include the chain stitch, single crochet, and double crochet. These stitches form the base of most crochet projects, including your bunny hat. Check the “Essential Crochet Stitches” section for more guidance.
Q: How can I safely wash a crocheted bunny ear hat?
A: To wash a crocheted bunny ear hat, hand wash in cold water with mild detergent. Lay flat to dry to maintain shape. Washing insights can be found in the “Finishing Touches” section, which covers care tips for your project.
Q: Are there any crochet techniques for making floppy ears?
A: Yes, for floppy ears, use a combination of single crochets and slip stitches to create a soft look. Loosely crochet the last few rows for added flexibility. You can find specifics in the “Adding Floppy Ears” section of the article.
Q: What are some creative ways to customize my bunny ear hat?
A: You can customize your bunny ear hat by adding colors, using different yarn textures, or incorporating embellishments like buttons or flowers. Explore “Customizing Your Bunny Hat” in the article for inspiration on patterns and techniques.
Q: How do I ensure my bunny ear hat fits properly?
A: To ensure your bunny ear hat fits properly, measure the head circumference of the wearer and check pattern dimensions. Adjust the length and width of the hat according to those measurements. For fitting tips, refer to the “Troubleshooting Common Crochet Mistakes” section.
To Conclude
Congratulations on making your adorable Bunny Ear Hat! With this project, you’ve honed your crochet skills and added a delightful accessory to your collection. If you loved this pattern, don’t stop here-check out our variations on Easter-themed crochet projects or dive into beginner-friendly patterns that will continue to build your skills. Remember, each stitch you take is a step towards becoming a more confident crocheter!
Before you go, we invite you to share your creations in the comments below! We’d love to see your unique designs and hear any questions you might have. Don’t forget to subscribe to our newsletter for more fun patterns and tips, and explore our crochet resource section to find everything from yarn recommendations to advanced techniques. Let’s keep the crafting spirit alive-your next crochet adventure is just a click away! Happy crocheting!
Get our latest guides, news, and insights highlighted in your Google Search & AI Overviews.