
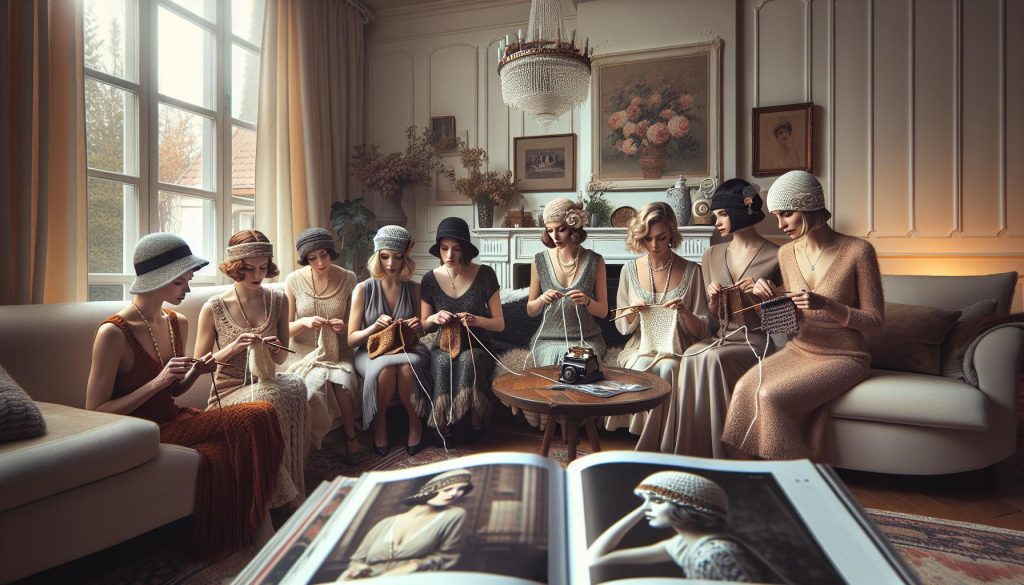
Step back in time to the Roaring ’20s, a vibrant era known for its jazz, dance, and unique fashion. Have you ever wanted to replicate the glamorous style of that age? Crocheting a flapper hat is a delightful and fulfilling project that allows you to celebrate this vintage charm. In this guide, we will walk you through creating a stylish flapper hat, perfect for both costume parties and everyday wear.
Whether you’re a seasoned crocheter or just starting out, this project is accessible and fun! With just a few materials and some basic crochet skills, you can create a stunning accessory that showcases your creativity. Imagine the satisfaction of donning a handmade piece that reflects the elegance of the 1920s, making you feel both stylish and accomplished. Ready to dive in? Let’s get started on this charming project that combines history with your crafting passion!
Choosing the Right Yarn and Hook for Your Flapper Hat
is essential to achieving that authentic 1920s vintage style while ensuring the project is enjoyable and manageable. The right yarn not only affects the hat’s appearance but also its drape, comfort, and durability. So let’s dive into the basics that will empower you to make informed choices.
First, consider the yarn weight. For a flapper hat, a medium-weight yarn-typically worsted or DK (double knit)-works beautifully. These weights provide enough structure to maintain the hat’s shape while also allowing for intricate stitches that showcase your skills. Look for soft, breathable yarns like cotton or a cotton-blend; these fibers were popular in the 1920s and will give your project a classic look. Here’s what you need to keep in mind when selecting:
- Texture: Smooth or lightly textured yarn will help showcase your stitching without overwhelming the design.
- Color: Trendy hues of the roaring ’20s included rich jewel tones, pastels, and even metallics, so feel free to experiment!
- Care: Choose yarn that’s easy to wash or maintain, especially if this hat will be a staple for daily wear.
Now, as for the hook, your choice largely depends on the yarn weight you’ve selected. For medium-weight yarn, a size I (5.5 mm) or J (6.0 mm) crochet hook is usually ideal. Using a slightly larger hook may create a looser weave, allowing for added breathability and comfort, which is perfect for a vintage hat intended for a stylish accent rather than for warmth alone. Remember, when working on a delicate design like a flapper hat, hold your yarn and hook comfortably to maintain a consistent tension, preventing any loose spots.
As you gear up to crochet your flapper hat, try to experiment with swatches to find that sweet spot of tension, yarn, and hook combo that not only feels good to work with but also looks fabulous! And remember, the most important thing is to enjoy the process-after all, you can do this!
Essential Crochet Stitches for Vintage Hat Making
Crafting a flapper hat for a dash of 1920s charm is all about selecting the right stitches that not only bring the design to life but also provide the structure and flair that made these styles iconic. Whether you’re a novice crocheter or a seasoned yarn wizard, mastering a few essential crochet stitches will elevate your vintage hat-making experience and reveal the playful artistry of the decade.
Start with the double crochet (dc), a versatile stitch that creates an airy texture perfect for light hats. To execute a double crochet, yarn over, insert your hook into the stitch, yarn over again, pull up a loop, yarn over and pull through the first two loops on your hook, then yarn over and pull through the remaining two loops. This stitch not only adds height but also maintains a lovely drape, crucial for the flapper hat’s silhouette.
Next, consider incorporating the shell stitch for a decorative flair. This stitch involves working multiple double crochets into the same stitch, resulting in a fan shape that evokes the elegant designs of the 1920s. For example, in a row, you might make a shell by working five double crochets into one stitch, skipping two stitches, and then repeating the shell in the next stitch. This creates beautiful, flowing textures that can resemble flowers or waves, enhancing the vintage feel.
Finally, don’t overlook the slip stitch for joining rounds or adding finishing touches. It’s simple and gives a neat appearance at seams. To complete a slip stitch, insert your hook into the next stitch, yarn over, and pull through both the stitch and the loop on your hook. This stitch is perfect for closing your flapper hat and can also be used to create intricate edging along the brim.
As you embark on your crochet journey, remember that practice is your best friend. Take time to create swatches with these stitches to see how they interact with your chosen yarn and hook. Embrace any trial and error as part of the learning experience, and most importantly, enjoy the creative process of making something uniquely yours. You’ve got this, and you’re sure to produce a stunning flapper hat that will turn heads at any gathering!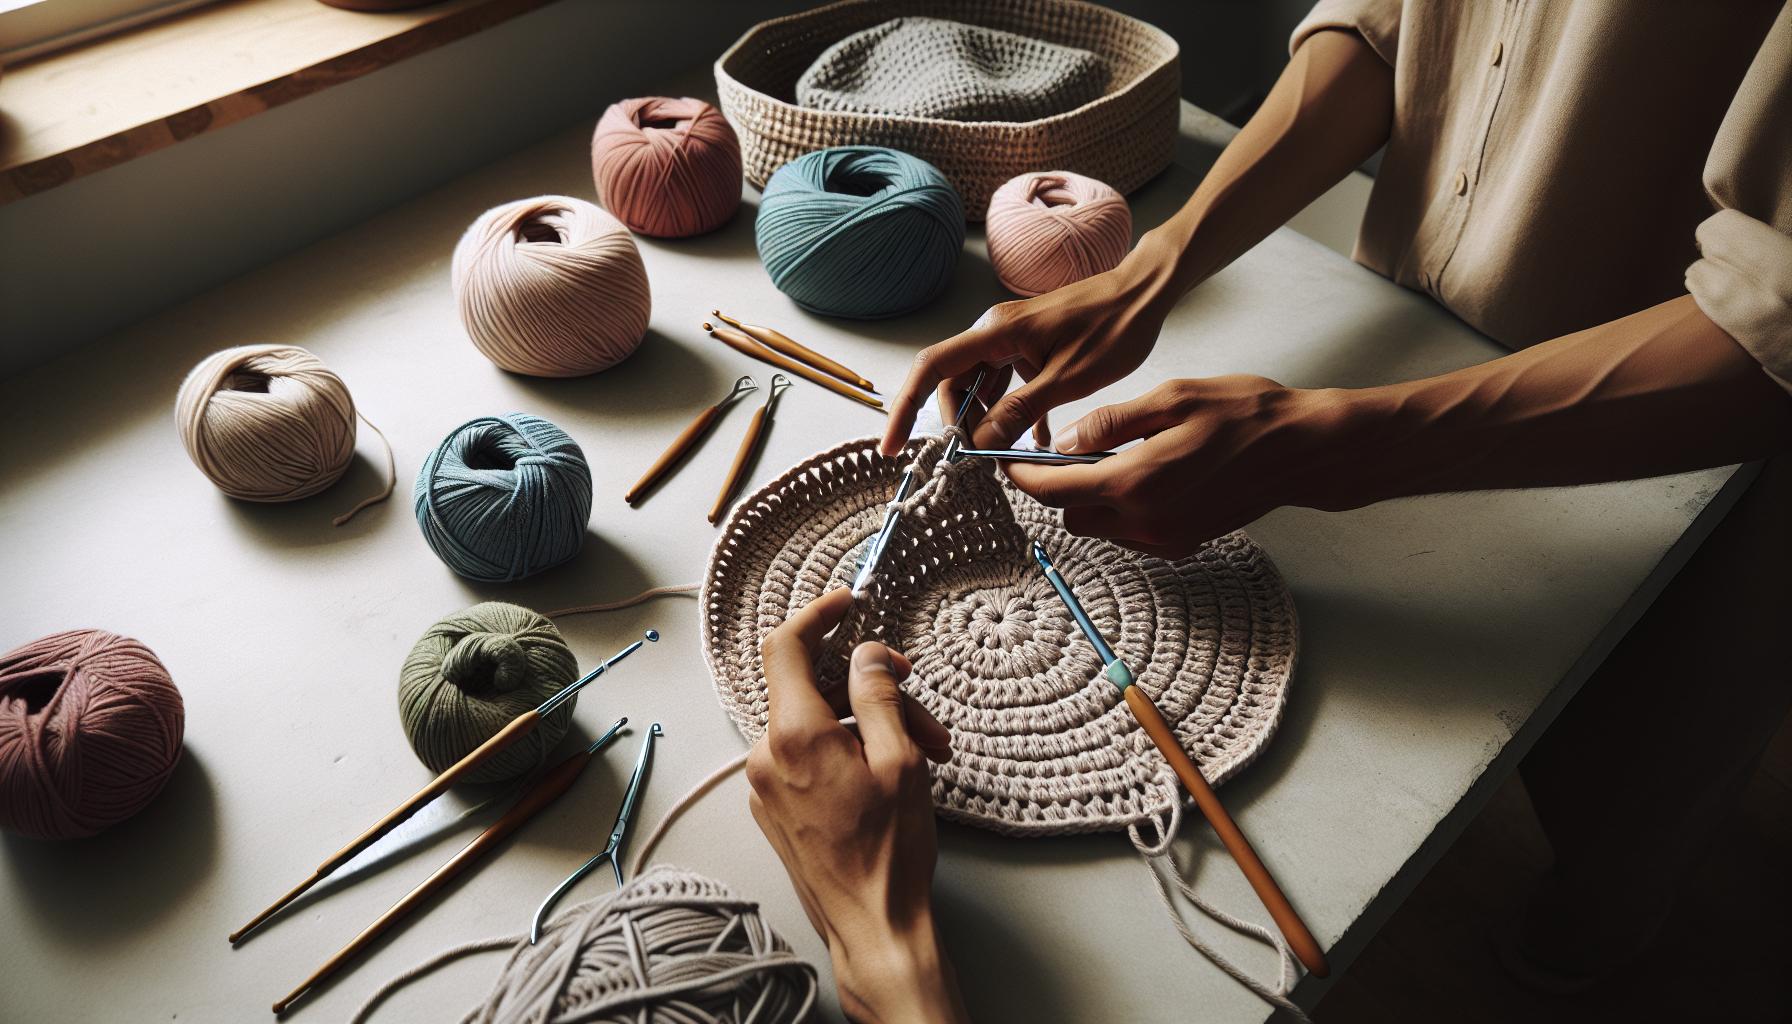
Step-by-Step Guide to Crochet a Flapper Hat
Crafting your very own flapper hat is a delightful journey into vintage creativity! With just a bit of yarn and your favorite hook, you can evoke the charm of the 1920s while showcasing your unique style. This step-by-step guide will walk you through the process, from start to finish, making it accessible and enjoyable for crocheters of all skill levels.
To begin, gather your materials. You’ll need:
- Medium-weight yarn (worsted weight is a great choice)
- A size H/8 (5 mm) crochet hook
- Scissors
- A yarn needle for weaving in ends
This project should take about 3-4 hours, depending on your crochet speed and experience. Ready? Let’s dive in!
Start with a foundation chain. Chain 5 and join to form a ring. This will be the base of your hat. From this ring, work 10 double crochets (dc) into the center, joining with a slip stitch (sl st) at the end of the round. For the next rounds, you’re going to increase your stitch count to achieve that lovely flared shape reminiscent of flapper style. In each subsequent round, double the number of stitches by working two double crochets in each stitch around. As the hat expands, keep trying it on to ensure the fit is just right for your head circumference.
Once you’ve reached your desired size (typically around 20-22 inches for adults), switch to a decorative stitch, such as the shell stitch, to add flair to the brim. After finishing your decorative rows, it’s time to close your hat. Use a slip stitch to join the last round and fasten off your yarn, leaving a long tail for the brim.
To finish your masterpiece, weave in the ends with your yarn needle, making sure everything is secure. You can leave the brim as is or add embellishments such as a ribbon or feather for that true 1920s vibe. Remember, every stitch brings you closer to creating a piece that reflects your personality and creativity. You can definitely do this, and soon enough, you’ll be flaunting a beautiful flapper hat that turns heads wherever you go!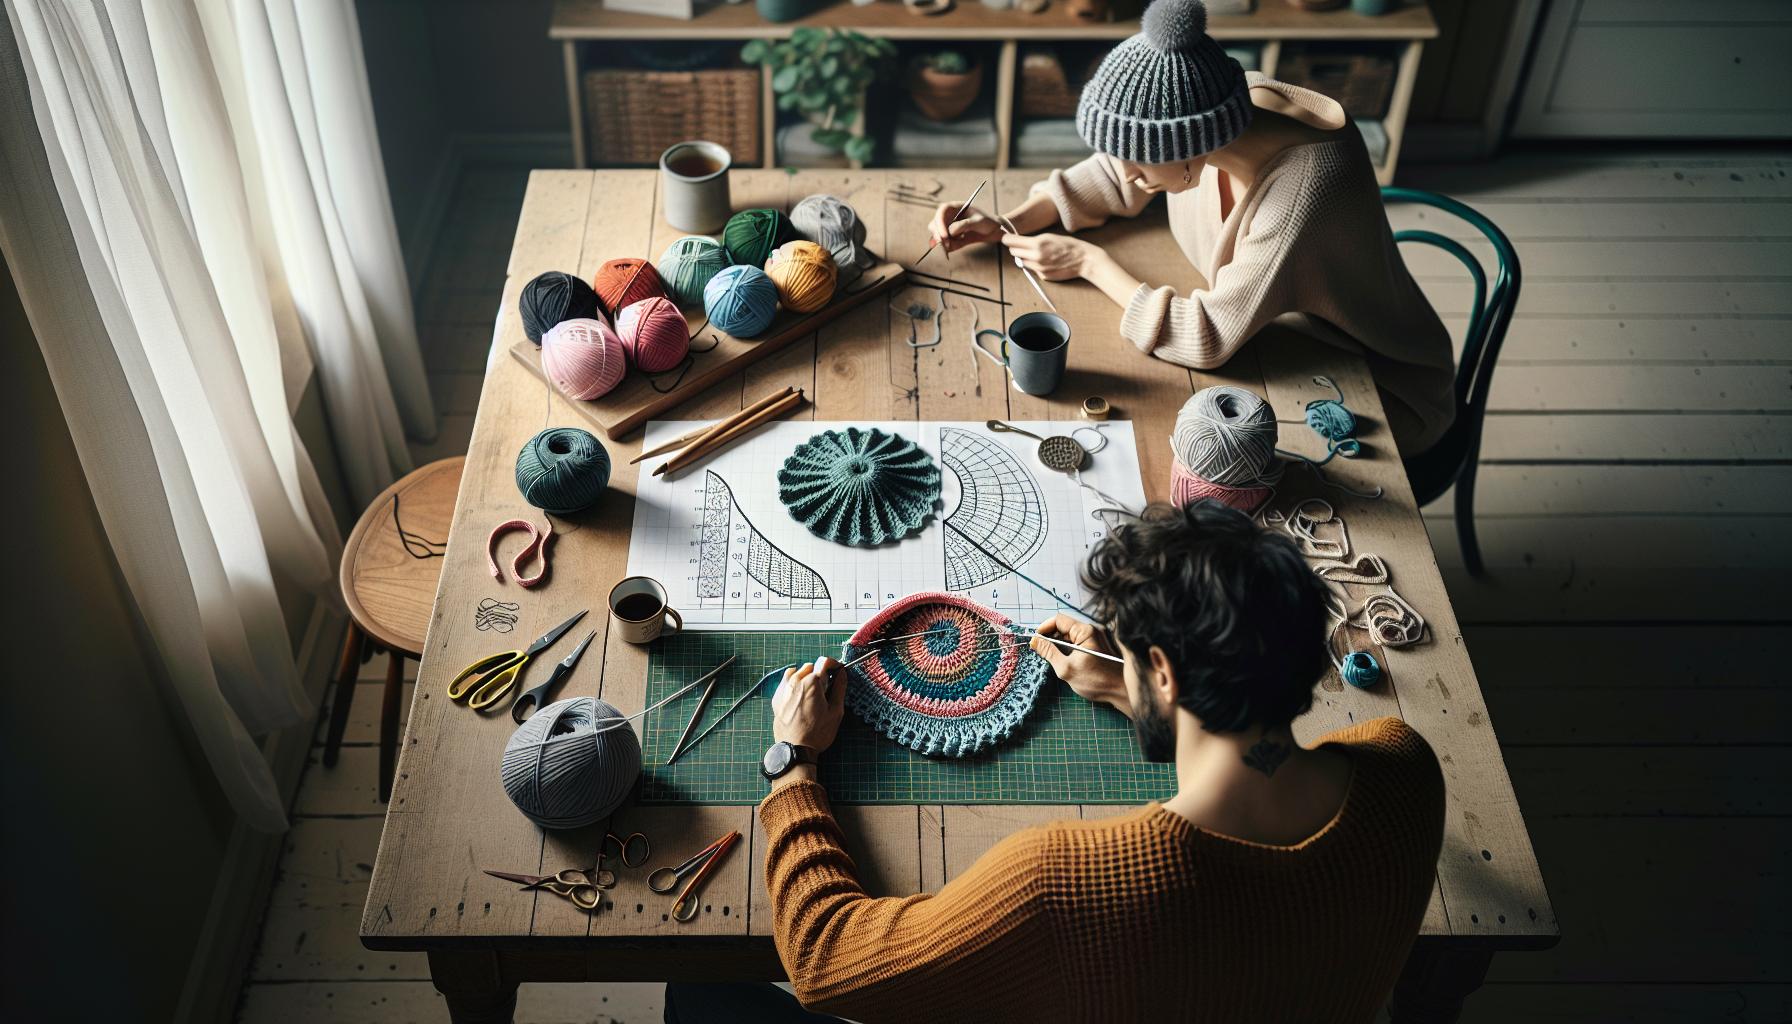
Adding Embellishments for Authentic 1920s Style
To truly capture the spirit of the 1920s with your flapper hat, adding embellishments can elevate your creation from lovely to stunningly authentic. This era was all about glamour and individuality, so the right details can make your hat a standout piece. Imagine a touch of luxurious flair-perhaps a ribbon, a feather, or even vintage brooches to give it that authentic vintage style. You can absolutely do this, and the end result will reflect your unique personality!
Start with the basics: ribbons are a fantastic choice for embellishing your brim. Choose satin or velvet in rich colors like deep burgundy or classic black. To attach, simply run a line of fabric glue along the brim’s edge and place your ribbon, allowing it to drape elegantly around. For a more traditional look, you can tie a bow at one side-this adds a charming touch that’s reminiscent of the era.
Feathers were all the rage in the Roaring ’20s, and adding a feather piece can give your hat instant vintage appeal. Opt for a long, elegant feather in classic black or white, or try something vibrant like fuchsia for a bolder statement. To secure your feather, use a small dot of hot glue at the base and press it into the side of your hat. Position it so it fans out gracefully for a show-stopping effect!
Lastly, consider the use of vintage brooches or pins for an elegant touch. Look for brooches adorned with pearls or sparkling rhinestones and pin them to the side or front of your hat to reflect the bling of the decade. Simply push the pin through the crochet fabric, ensuring it’s secure. This not only adds character but also allows you to personalize your hat even further-feel free to swap these out depending on your outfit!
Don’t forget that adding embellishments not only enhances the visual appeal of your flapper hat but also gives it a unique flavor, making it your very own masterpiece. Enjoy the process of selecting your decorations as much as crocheting the hat itself. After all, each embellishment is a step closer to crafting a stunning piece that feels truly yours. So gather your materials and let your creativity shine!
Making Adjustments for Size and Fit
To create a flapper hat that not only looks fabulous but also fits perfectly, is crucial. Understanding how to measure your head and modify your pattern can mean the difference between a hat that slips off and one that sits elegantly in place. Remember, it’s all about comfort and style!
Start with measuring your head circumference. Use a soft measuring tape and wrap it just above your ears, around the widest part of your forehead. Make a note of this measurement, as it will guide you in crafting a hat that hugs your head without being too tight. Most patterns will provide sizes based on standard measurements, but you might need to tweak them to suit your head.
Next, consider the type of yarn and the crochet stitches you’ll use, as both can affect the overall stretch and durability of the hat. If you’re using a yarn known for its elasticity, such as acrylic blends, you might stick to the original pattern size. However, for cotton or wool yarns, you may want to add an extra row or two to ensure the hat accommodates your head comfortably. Here’s a basic guideline:
- Small (20 inches): Make according to the pattern.
- Medium (22 inches): Add one extra round.
- Large (24 inches): Add two extra rounds.
If your pattern doesn’t specify how to adjust for head size, don’t fret! Simply crochet a swatch to assess the gauge and adjust your hook size accordingly. For example, if your swatch is smaller than indicated, try a larger hook to widen your stitches. Conversely, if it’s too large, switch to a smaller hook. This not only helps with fit but also enhances the overall drape of your creation.
Finally, always try the hat on as you go. If it’s close to the desired fit but feels a bit loose, consider adding a lining or an elastic band to keep it snug. You can also cinch the hat at the base where it meets the brim, allowing you to tailor its fit to your liking.
Embrace the process of fitting your hat as part of the crafting journey! Each adjustment is a chance to express your creativity and ensure your flapper hat not only turns heads but feels good too. With these tips, you can confidently crochet a vintage-inspired piece that integrates beautifully into your wardrobe. You’ve got this!
Tips for Finishing Touches and Care
Once you’ve completed your flapper hat, it’s time to focus on those important finishing touches that can elevate your handmade piece from simple to stunning. These last steps not only enhance the visual appeal of your hat but also ensure its durability, making it a cherished part of your wardrobe for years to come. Here are some key tips to guide you through this delightful stage of your project.
Start by weaving in all your ends. You’ll want to take the time to carefully tuck in any loose yarn tails using a yarn needle. For a clean finish, thread the needle and weave the ends back through the stitches in the same color direction. This not only secures the stitches but also minimizes the chance of unraveling over time. A good rule of thumb is to weave each end in for about 3-4 inches. If you’ve done color changes, make sure to secure those ends particularly well!
Next, consider giving your flapper hat a light block to shape it. Blocking helps set the stitches and achieve a professional finish. To do this, dampen your hat with a spray bottle or run it under cold water, then gently stretch it to the desired shape. You can place it on a round form or a clean towel to maintain the structure as it dries. Be careful not to pull too hard; you want to maintain the original design while simply enhancing its form.
Adding embellishments is another wonderful way to personalize your hat. Think of vintage floral appliqués, beaded trims, or period-appropriate feathers that can transport your creation right back to the Roaring ’20s. You can sew or glue these touches on securely, ensuring they won’t come off during wear. Remember to keep it classy and chic-less is often more when it comes to that vintage glamour.
After you’ve adorned your hat, give it some love with proper care. For washing, hand wash gently with a mild detergent, rinse carefully, and lay it flat to dry. Avoid wringing it out, as this can distort the shape. Storing your hat is crucial too-always keep it in a cool, dry place, preferably in a box or on a mannequin head to help maintain its form. Proper care will keep your flapper hat looking as fabulous as the day you finished it!
By following these steps, you’re not just making a wonderful accessory; you’re creating a personalized statement piece that reflects your love for the art of crochet. So embrace the joy of finishing touches, and enjoy wearing your unique flapper hat with pride! You’ve done an amazing job, and now it’s time to show it off.
Inspiration: Flapper Hat Variations to Try
There’s something truly magical about taking a traditional flapper hat and putting your own creative spin on it. The Roaring Twenties were a time of boldness and vibrancy, and your crochet projects can echo that spirit while showcasing your unique style. Whether you’re a crochet novice or a seasoned pro, there are countless variations of the flapper hat that you can try, each offering its own flair and character. Let’s dive into some exciting options that you can explore!
Variations to Explore
- Cloche Style: This classic design hugs the head, resembling the original flapper look. To make it distinct, consider adding a wide brim or contrasting color band. Using a luxurious yarn can elevate the hat’s elegance.
- Beret Variation: Embrace a looser fit with a slouchy beret-style flapper hat. You can add clusters of stitches to create a textural contrast. A pom-pom or a decorative button on top can add a fun twist.
- Fringe Detail: Incorporate fringe along the brim or sides of your hat to give it a playful, bohemian feel. You can create tassels out of the same yarn or experiment with different color fibers for a more dynamic look.
- Color Blocking: For an eye-catching design, try color blocking-combine two or three colors in bold stripes or geometric shapes. This is a great way to use leftover yarn from previous projects!
- Flower Appliqués: No flapper hat is truly complete without some floral embellishments. Crochet various sizes of flowers using contrasting colors to adorn your hat and help it pop.
Accessorizing Your Creations
Once you’ve chosen your preferred style, think about how you can accessorize your flapper hat for that authentic 1920s vibe. Simple embellishments like satin ribbons, faux pearls, or vintage brooches can infuse an extra layer of glamour. Consider these ideas:
- Feather Accents: A beautiful feather or two placed delicately on the side can evoke the elegance of the era.
- Headbands: Create a crocheted headband to wrap around the base of your hat. Embellishing it with jewels or lace can add a sophisticated touch.
- Beaded Straps: String beads along a crocheted band and sew or glue it securely for a touch of sparkle.
While exploring these variations, remember-this is your project, and there are no rules! Embrace the process of making and trust your instincts. Play with textures, colors, and shapes until you’ve created a hat that reflects your personality. With each stitch, you’re not just crafting an accessory; you’re channeling the creativity and spirit of a lively era. So, gather your yarn and hook, and dive into your next flapper hat project-you can absolutely do this! 🧶
Common Mistakes to Avoid When Crocheting Hats
When you’re engrossed in the rhythm of crocheting your vintage flapper hat, it’s easy to find yourself tangled in a few common missteps. Fortunately, each of these pitfalls can be easily sidestepped with a little awareness and preparation. For instance, gauge swatches may seem tedious, but they are invaluable. Crocheting a sample patch before diving into your flapper hat can help ensure that you’re using the right hook and yarn size for your desired fit. If you skip this crucial step, you might end up with a hat that’s either too tight or too loose, which can be quite disheartening after all your hard work!
Another mistake to be wary of is the tendency to overlook the pattern instructions. While you may feel tempted to make adjustments on the fly, this can lead to complications, especially with stitch counts and shaping. Pay close attention to any stitch markers or notes provided in your pattern, as they can guide you through tricky sections. If you’re unsure, don’t hesitate to consult online resources or community forums where fellow crocheters share tips and tricks. There’s a supportive network out there just waiting to help!
Finally, don’t ignore your tools; using the wrong hook size can really mess up your tension! If your stitches are too tight, it may cause discomfort when wearing the hat. Conversely, overly loose stitches can lead to a hat that lacks structure and support. Always use a hook that matches your yarn’s recommended size, and remember-if you’re switching yarn types, the hook size could change as well. You can absolutely do this! Embrace the process, and don’t let a few hiccups dissuade you from creating a fabulous flapper hat. With patience and practice, each project is an opportunity to strengthen your skills and express your unique style. Happy crocheting! 🧶
Showcase Your Creations: Sharing Your Flapper Hat
There’s nothing quite like the feeling of donning a handmade flapper hat, and even more thrilling is sharing that joy with others! Showcasing your creations not only allows you to celebrate your hard work but also inspires fellow crafters who are on their own crochet journeys. Whether you’re a newbie or an experienced maker, sharing your flapper hat can foster a wonderful sense of community. Let’s look at the various ways you can proudly display your crochet masterpiece and connect with others.
Social Media Sharing
One of the easiest and most popular ways to showcase your flapper hat is through social media platforms. Consider joining crochet-focused groups on Facebook or Instagram, where you can post photos, share your process, and receive encouraging feedback. Use hashtags like #FlapperHat or #CrochetCommunity to reach a broader audience. When you share, don’t forget to highlight details that make your hat unique, such as:
- The specific yarn and colors you chose
- Any embellishments you added
- Your inspiration or the story behind your design
- Challenges you faced and how you overcame them
This not only showcases your creativity but also opens the door for meaningful conversation with other enthusiasts.
Blogging or Vlogging
If you feel adventurous and want to delve deeper, consider creating a blog or vlog about your crochet adventures! You can document your step-by-step process, including tutorials for specific stitches or embellishments. This can be immensely beneficial to beginners and may establish you as a resource within the crafting community. Here’s what to include:
- A detailed overview of your flapper hat creation process
- Tips for others interested in similar projects
- Features of the finished hat-how it fits into vintage style, etc.
- Linking to patterns or resources you found helpful
This will not only help others but also encourage you to refine your own skills while enjoying the creative outlet of writing or filming.
Craft Fairs and Local Meet-ups
If you prefer a personal touch, consider showcasing your hat at a local craft fair or crochet meet-up. Many communities host stitching gatherings where you can present your creations to like-minded individuals. Here, you can:
- Discuss your techniques: Share the stitches or patterns you’ve utilized, and offer insight into your process.
- Demonstrate your skills: You could even set up a small demo table where you teach others how to make basic crochet stitches or the beginning steps of a flapper hat.
- Network: Connecting with local crafters can lead to future collaborations or friendships, enriching your crochet experience.
Remember, sharing is about fostering a sense of community and mutual support. Every piece you create has a story, and by sharing it, you contribute to a rich tapestry of creativity and inspiration. So don your flapper hat with pride, and let the world see just how fabulous your handiwork truly is! 🎉
Resources for Learning More About Crochet
Whether you’re just starting your crochet journey or looking to expand your skills, there are a wealth of resources at your disposal to help you perfect your craft. From books and online courses to YouTube channels and social media groups, the options available can guide you through every step of creating that fabulous flapper hat. Let’s dive into some of the best resources tailored just for you!
Books and Magazines
Investing in a few well-chosen crochet books or magazines can be incredibly beneficial. Look for titles that specifically focus on vintage styles or hats, as these often contain patterns with detailed instructions and illustrations. Some recommended books include:
- “The Complete Book of Crochet” by Susan C. Hayward: This book covers everything from beginner stitches to advanced techniques, perfect for crafting that vintage look.
- “Crochet: The Complete Guide” by Annie’s: Offers diverse patterns and helpful tutorials, catering to various skill levels.
- “Stitch ‘n Bitch Crochet: The Happy Hooker” by Debbie Stoller: A fun, approachable guide for all things crochet, including trendy hats and accessories.
Also, check out crochet magazines like “Crochet!” or “Interweave Crochet”, which are filled with seasonal patterns and community highlights that can spark your creativity.
Online Learning Platforms
If you prefer a more interactive experience, online learning platforms like Craftsy or Udemy offer a variety of crochet classes. These usually feature video instructions, allowing you to see techniques in action. Simply search for courses focused on hats or vintage styles to find the perfect match for your project needs.
YouTube Channels for Visual Learning
YouTube is a goldmine for visual learners! Channels such as Fiber Flux and Jessie at Home provide detailed tutorials on various stitches, techniques, and patterns. You can find specific flapper hat tutorials or general hat-making tips that are easy to follow along with. Plus, many crafters share their unique embellishment ideas, allowing you to infuse your creation with a personal touch.
Join Online Communities
Connecting with fellow crochet enthusiasts can be both inspiring and instructive. Platforms like Facebook Groups or Ravelry provide spaces for you to share your work, ask questions, and gain insights from others who love crochet just as much as you do. Look for groups focused on vintage crochet or flapper styles, and don’t hesitate to engage with the community-someone might have just the tip you need to elevate your next project!
With these resources at your fingertips, you’re well on your way to not only mastering the art of crochet but also embracing the beautiful, creative journey that comes with making something uniquely yours. Remember, every stitch is a step towards your next fabulous creation-you can absolutely do this! So grab your yarn and hook, and get ready to dive into the joy of crochet.
Frequently Asked Questions
Q: What materials do I need to crochet a flapper hat?
A: To crochet a flapper hat, you’ll need yarn (preferably a medium-weight yarn for a nice drape), a crochet hook (size 5.0 mm or 6.0 mm), scissors, and a yarn needle for weaving in ends. For embellishments, consider beads, feathers, or ribbon for that authentic ’20s vibe.
Q: How long does it take to crochet a flapper hat?
A: The time to crochet a flapper hat varies based on your experience level and the complexity of the design. Typically, expect to spend about 3 to 5 hours on completion. Starting with simpler designs can help build your confidence and speed.
Q: What crochet stitches are best for a vintage-style hat?
A: For a vintage-style flapper hat, basic stitches like single crochet, double crochet, and shell stitches work well. These create texture and a classic look. Consider experimenting with varying stitch combinations to achieve unique designs.
Q: Can I adjust the size of my crochet flapper hat?
A: Yes! To adjust the size of your crocheted flapper hat, simply change the number of starting chains or the number of stitches in each round. Refer to the section on Making Adjustments for Size and Fit in your guide for detailed techniques.
Q: How do I add embellishments to my flapper hat?
A: Adding embellishments like beads or feathers enhances your flapper hat’s vintage charm. Use a yarn needle to securely attach beads along the brim or stitch feathers onto one side for flair. Check the Adding Embellishments for Authentic 1920s Style section for creative ideas.
Q: What are common mistakes to avoid when crocheting a hat?
A: Common mistakes include not checking your tension, which leads to uneven stitches, or not following the pattern correctly. Making swatches before starting and paying attention to gauge can help avoid these issues. Refer to the section on Common Mistakes to Avoid When Crocheting Hats for tips.
Q: Where can I find inspiration for different flapper hat variations?
A: For inspiration on flapper hat variations, consider exploring fashion history books or vintage costume sites. The section on Inspiration: Flapper Hat Variations to Try in your guide also offers ideas to spark your creativity for unique designs.
Q: How do I care for my crocheted flapper hat?
A: To care for your crocheted flapper hat, hand wash it in cool water with mild detergent, then lay it flat to dry. Avoid wringing the hat to maintain its shape. Check the Tips for Finishing Touches and Care section for more maintenance advice.
In Retrospect
Congratulations on completing your fabulous Roaring ’20s flapper hat! Now that you’ve mastered this stylish project, why not dive deeper into the world of crochet? Check out our guide on Basic Crochet Techniques for essential skills that will open up new crafting possibilities. If you’re looking for more pattern inspiration, visit AllFreeCrochet for thousands of free projects ranging from beginner to expert levels.
Remember, each stitch is a step toward becoming a more confident crocheter. Don’t hesitate to share your finished hat on social media and tag us-we love seeing your creations! And if you have questions or need tips, drop a comment below. Your journey doesn’t end here; sign up for our newsletter for the latest crochet patterns and tutorials, and keep your creativity flowing! You can do this!
Get our latest guides, news, and insights highlighted in your Google Search & AI Overviews.