
Are you ready to tackle a cozy new project that will keep you warm while unleashing your creative side? In this tutorial, you’ll learn how to crochet a matching hat and scarf set-a delightful combination that not only takes your crochet skills to the next level but also gives you a stylish accessory to show off. Crocheting your own winter gear is not just rewarding; it allows you to customize colors and patterns to fit your unique style. Whether you’re looking to make the perfect gift or simply want to enjoy the soothing rhythm of crocheting, this project is both achievable and satisfying. With step-by-step guidance, even beginners can confidently create this charming set in no time. So grab your yarn and hook, and let’s start crafting something beautiful together!
Materials You’ll Need for Your Crochet Set
Gathering the right materials is crucial to your success and enjoyment as you embark on crocheting a matching hat and scarf set. The beauty of crochet lies in its accessibility-you don’t need a long list of specialized tools, but having the essentials can make your crafting experience smoother and more rewarding. Here’s what you need to get started on your cozy project.
First and foremost, you’ll need yarn. Worsted weight yarn is a fantastic choice for both the hat and scarf, as it strikes a balance between warmth and ease of handling. Look for soft, durable fibers like acrylic or wool blends that feel good against the skin. For our project, purchasing about 200-300 yards of yarn will provide enough material for both items. A simple color choice, such as a solid or subtle variegated hue, can really enhance the classic look of your set.
Next, don’t forget to grab a crochet hook! Typically, a size H (5 mm) hook works well with worsted weight yarn, but always check your yarn label for guidance, as some might recommend slightly different sizes based on their specific tension. A pair of scissors and a yarn needle for weaving in ends are also necessary to finish your pieces neatly. An optional, yet handy addition is a measuring tape to ensure your projects are the right size for wearing.
Here’s a quick summary of your basic materials:
- Worsted weight yarn: 200-300 yards
- Crochet hook: Size H (5 mm)
- Scissors
- Yarn needle: For weaving in ends
- Measuring tape: For accuracy
With these materials in hand, you’re well-equipped to dive into your crochet adventure! Remember, enjoy the process-each stitch brings you closer to a beautifully handmade hat and scarf set. Trust in your creativity; you can absolutely do this!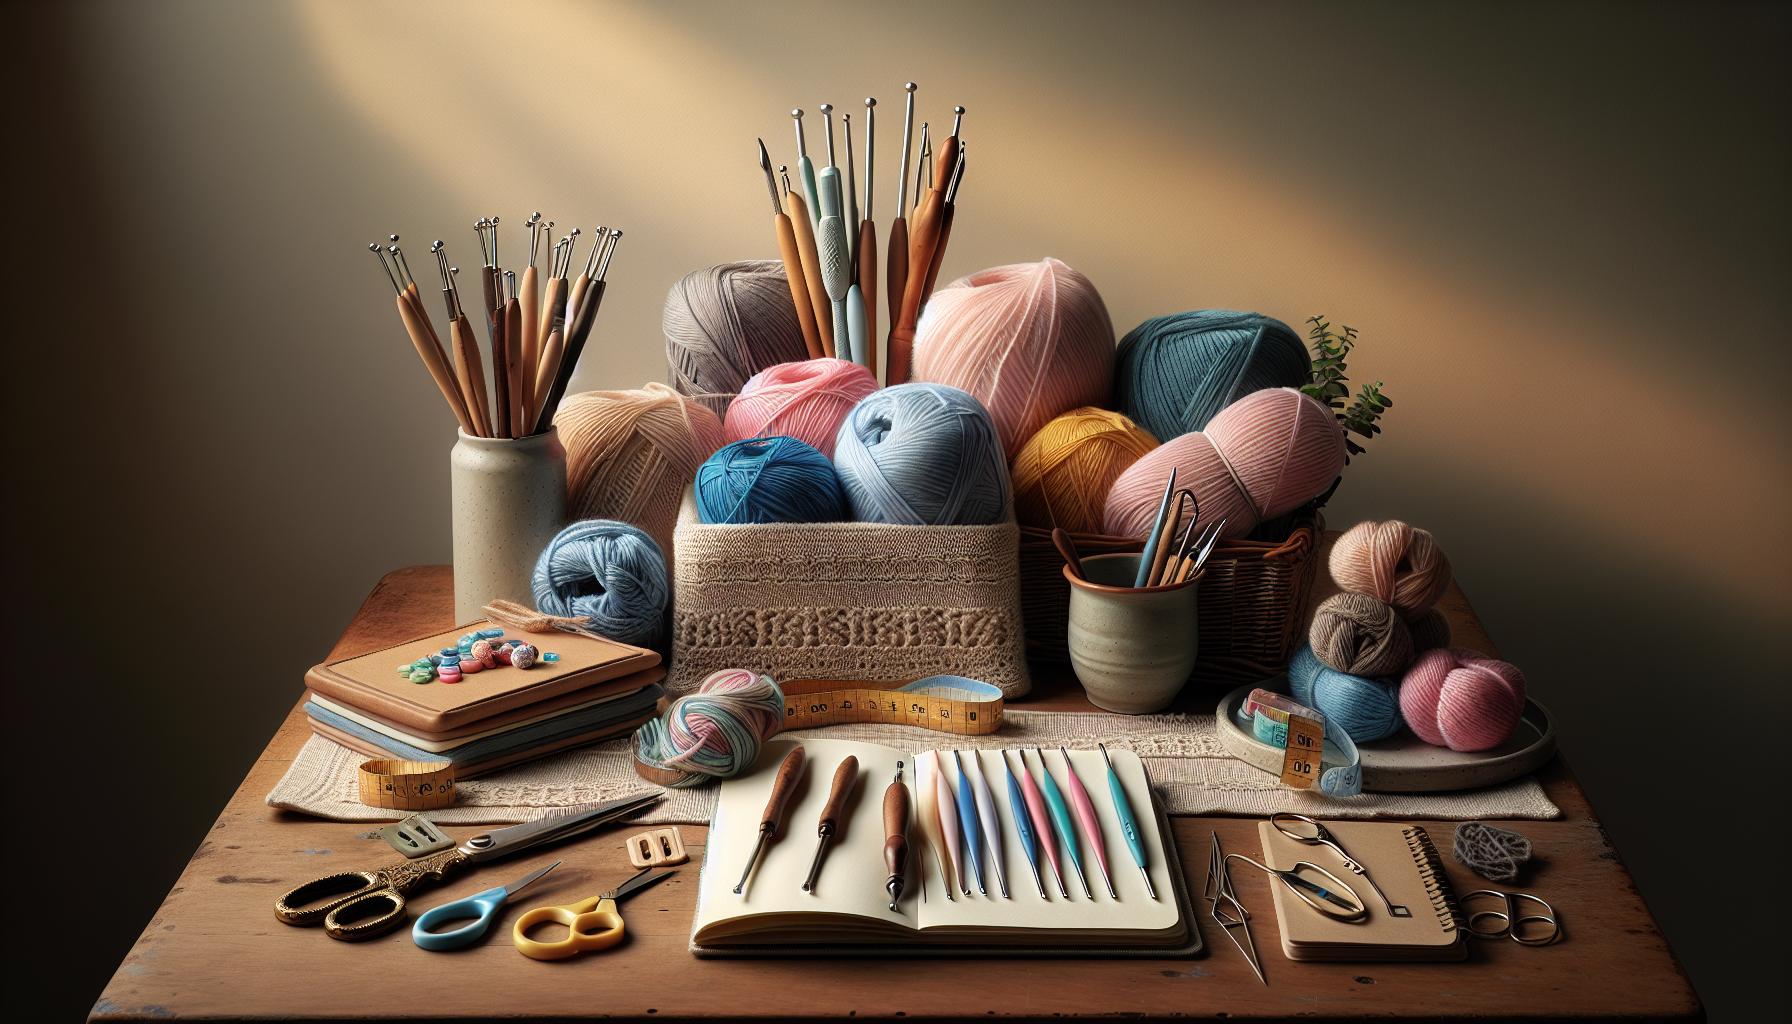
Beginner-Friendly Crochet Stitches Explained
To start your journey into crochet, it’s essential to familiarize yourself with some foundational stitches that will be the building blocks for creating your hat and scarf set. Don’t worry if you’re new to this; mastering these basic stitches will offer you the confidence to tackle your projects and unleash your creativity!
The most fundamental stitch is the chain stitch (ch). This stitch serves as your starting point for any project. To make a chain stitch, simply create a slip knot on your hook, then yarn over and pull through the loop on your hook. Repeat this process until you reach the desired length. You’ll find that most crochet patterns begin with a chain stitch to establish the foundation for your work.
Another essential stitch is the single crochet (sc). This stitch is perfect for adding density and structure to your items. To perform a single crochet, insert your hook into a stitch, yarn over, pull up a loop, yarn over again, and then pull through both loops on the hook. This stitch will be a cornerstone of your hat and scarf, providing a tight, warm fabric.
The double crochet (dc) stitch is also a favorite among crocheters, as it helps create a more open, airy fabric, which is wonderful for scarves. To execute a double crochet, yarn over, insert your hook into a stitch, yarn over again, pull up a loop (three loops now on your hook), yarn over and pull through the first two loops, and finish by yarning over and pulling through the last two loops. This stitch will offer a different texture and can help your scarf drape beautifully.
Quick Reference for Basic Stitches
| Stitch | Description | Visual Representation |
|---|---|---|
| Chain Stitch | Foundation for most projects. | ~ ~ ~ ~ ~ |
| Single Crochet | Basic dense stitch for fabric. | A A A A A |
| Double Crochet | Open, airy stitch ideal for drape. | B B B B B |
These stitches will form the core of your crafting repertoire. Each time you practice them, you’ll improve, and soon you’ll be able to experiment with more intricate patterns and techniques. Always remember, the key to becoming a better crocheter is practice-so keep at it! Embrace your mistakes as part of the learning process, and most importantly, enjoy the journey of creating beautiful handmade items that you can be proud of. You can absolutely do this!
Step-by-Step Guide to Crocheting a Hat
Creating a cozy hat is not just a practical project; it’s an opportunity to express your creativity and make something that you can wear and enjoy. Plus, once you’ve crocheted your first hat, you’ll discover that it’s easier than you might think! With just a few basic stitches, you can create a stylish accessory that perfectly complements your matching scarf. Let’s jump into the exciting journey of crocheting your very own hat!
Start by gathering your materials. For a basic hat, you’ll need:
- Worsted weight yarn (approximately 200 yards)
- A size H (5.0 mm) crochet hook
- A pair of scissors
- A yarn needle for weaving in ends
Next, you’ll want to determine the hat’s size. Most adult hats require a foundation chain of about 60-70 stitches, but this can vary depending on the desired fit and the stitch used. A good rule of thumb is to measure your head circumference and adjust accordingly. Once you’re ready, follow these steps:
- Foundation Row: Chain 70 (or your customized number), then join with a slip stitch to form a circle, making sure not to twist the chain.
- Start the Body: Work in rounds, using double crochet (dc) stitches for a comfortable, stretchy feel. You can also mix in single crochet (sc) for added texture.
- Increase for the Crown: For the first several rounds, increase stitches to start shaping the crown. A common method is to create 1 dc in the first stitch, then 2 dc in the next. Repeat this pattern for a total of 6 increases per round until you reach your desired width.
- Continue Rounds: After achieving the right circumference, simply continue with your chosen stitch without increasing for about 6-8 inches, or until the hat reaches your desired height.
- Finishing Off: When your hat is the right length, finish with a round of sc to create a clean edge. Cut the yarn, leaving a long tail for sewing, and pull it through the last loop to secure the stitches.
It’s often the little details that make a project truly special. You might consider adding a pom-pom on top, or even some crochet flowers or embellishments to personalize your hat. The beauty of crocheting is that there’s no wrong way to do it-if you love it, it’s perfect!
Remember, your first few hats may take a bit of practice, but don’t get discouraged. Each stitch is a step towards mastering your craft. Enjoy the process, embrace your unique style, and before you know it, you’ll have a beautiful crocheted hat that not only looks great but also keeps you warm throughout the chilly seasons. You can absolutely do this!
Creating the Perfect Scarf: A Simple Method
Creating a scarf is the perfect way to complement the cozy hat you’ve just made. With just a few simple stitches and your creative flair, you can craft a beautiful accessory that keeps you warm and showcases your personal style. A basic scarf also serves as an excellent opportunity for beginners to practice their skills while having fun with colors and textures.
To start, gather your materials. You will need about 300-400 yards of worsted weight yarn, depending on the desired length of your scarf, and a size H (5.0 mm) crochet hook. Scissors and a yarn needle will also be essential for finishing off your project. As for the pattern, we’ll stick to a straightforward design using basic stitches that are ideal for beginners, yet enjoyable for all skill levels.
- Foundation Chain: Begin by chaining 30-40 stitches, adjusting based on how wide you want your scarf to be. Keep in mind that a wider scarf offers more coverage but may take longer to complete.
- Choose Your Stitch: For the body of the scarf, you can use the double crochet (dc) or half double crochet (hdc) stitch. Both provide a lovely texture and are easy to work with.
- Working in Rows: Turn your work and crochet back across the foundation chain. Continue this pattern until your scarf reaches the desired length, usually around 60-70 inches. Don’t rush-enjoy each stitch as you go!
- Finishing and Weaving: Once you’ve reached your length, finish the last row with a slip stitch. Cut the yarn, leaving a tail, and pull it through the last loop to secure. Use your yarn needle to weave in any loose ends neatly.
Feel free to personalize your scarf with unique embellishments or color changes. You can create stripes by alternating yarn colors every few rows, or try adding fringes at the ends for a playful touch. The possibilities are endless! As you work on your scarf, remember that this is all about enjoying the process. Each stitch takes you closer to your goal, and you’ll soon have a matching set that not only looks great but also keeps you toasty warm. Trust in your skills-you can absolutely do this!
Color and Yarn Choices for Your Set
Choosing the right colors and yarn for your crochet hat and scarf set can transform a simple project into a stunning accessory that showcases your unique style. Color selection not only affects the visual appeal but also sets the mood of your handmade items. Do you want vibrant, cheerful hues, or perhaps soft, muted tones for a cozy feel? For beginners, it’s beneficial to start with worsted weight yarn due to its versatility and easy handling, while a size H (5.0 mm) crochet hook pairs perfectly for most beginner-friendly patterns.
When selecting yarn, consider materials that match the season and your project’s purpose. For warm, winter accessories, go for yarn blends that include acrylic, wool, or a combination, as these materials provide warmth and durability. For instance, a soft acrylic yarn in a vibrant red can add a festive touch perfect for holiday gifts. If you’re leaning towards a light and airy scarf for spring or summer, cotton or bamboo yarn can offer breathability and comfort while still looking chic.
Color Combinations and Techniques
You can create stunning visual effects with simple color techniques. Here are a few beginner-friendly ideas to inspire your choices:
- Monochromatic palette: Choose different shades of the same color-think light blue, medium blue, dark navy-to create depth and harmony.
- Contrasting combinations: Use colors opposite each other on the color wheel, like yellow and purple, for a bold statement that really pops.
- Fair Isle or Stripes: Mix and match colors in stripes or simple motifs. This offers an opportunity to practice changing colors, which can be a fun challenge!
Don’t hesitate to experiment! You might find that while working with these colors, inspiration strikes, leading you to unexpected combinations that reflect your creativity. Remember, it’s all about having fun with the process. Whether you prefer soft pastels or bright, jewel tones, trust your instincts and enjoy the journey of creating pieces you’ll love to wear and share. Embrace the chance to make something truly yours-you can absolutely do this!
Adding Personal Touches: Patterns and Customization
There’s something incredibly special about adding your own flair to a crochet project, making it truly yours. When you customize your hat and scarf set, not only do you enhance its visual appeal, but you also infuse your personality into your work. Start with patterns that speak to you; perhaps a classic chevron or a trendy shell stitch. Don’t be afraid to mix and match different techniques! For example, you might want to use a simple double crochet for the scarf to keep it easy, while trying a more intricate stitch for the hat to showcase your skills.
Think about adding unique embellishments to take your set to the next level. Simple touches like a fringe on the scarf or a decorative flower on the hat can enhance your design. You could also consider varying your stitch techniques within your project; perhaps use front post double crochet for textural contrast on the hat while keeping the scarf more straightforward. This method creates a cohesive look while still giving you room to play and experiment with your craft.
Experimenting with patterns doesn’t only stop at the stitches. Consider customizing your colors to evoke certain feelings or themes. For instance, using earth tones can create a warm, cozy vibe, while bright colors might convey a fun and lively energy. Using tonal yarns – where the colors shift gradually – can add depth and interest without overwhelming your project. And if you’re feeling adventurous, why not incorporate a gradient technique that fades from one color to another?
Lastly, don’t underestimate the power of personalization. Adding a touch that reflects your interests-like a few themed appliqués or initials embroidered on the hat-can make your piece even more special. Crochet is all about creativity and self-expression, so trust your instincts and make choices that excite you. Remember, this is your creation; you have the power to shape it in a way that resonates with you. So grab your hooks and get ready to craft a matching set that not only keeps you warm but showcases your unique style!
Troubleshooting Common Crochet Issues
When embarking on your crochet journey, it’s not uncommon to face a few hiccups along the way. Whether you’re new to the craft or looking to refine your skills, being prepared for common issues can make a world of difference. Fortunately, many problems are easily resolved with just a little know-how and a dash of patience. Let’s dive into some of the most frequently encountered challenges and how you can overcome them.
One of the most typical frustrations is uneven tension in your stitches. If you notice that some areas of your hat or scarf are tighter or looser than others, it can throw off the entire project. To fix this, take a moment to evaluate your grip on the yarn and the hook. Holding the yarn too tightly may create that snug look, while too loose can lead to gaps. Aim for a relaxed hold, and try to maintain consistent tension throughout your work. If you’re still struggling, consider switching to a larger hook size; a bigger hook can help even out your tension. Remember, practice makes perfect, and soon it will feel natural!
Another issue many crocheters encounter is running out of yarn mid-project. This can be particularly stressful, especially if you’re working on a specific color pattern. To avoid this, always check your yarn gauge and calculate how much you’ll need based on the pattern. If you do find yourself short, don’t panic! You can either purchase more of the same yarn (just be sure it’s from the same dye lot) or get creative by introducing a contrasting color. Mixing in a complementary shade can add a beautiful, unexpected twist to your overall design.
Finally, you might find your edges turning out wavy instead of straight. This often occurs when your starting chain is too tight or if you’re not adding the correct number of stitches in each row. To troubleshoot wavy edges, focus on loosening your starting chain slightly and making sure you are following the pattern accurately. If you’re still facing issues, consider adding a border around your finished piece. A simple single crochet border can often help to smooth out edges and gives a polished look, making your finished hat and scarf set even more delightful!
By keeping these common problems and their solutions in mind, you’ll not only enjoy the process of crocheting your hat and scarf set but will also build confidence in your abilities as a maker. Remember, every mistake is an opportunity to learn and grow your skills! Happy crocheting!
Finishing Touches: How to Weave in Ends
When you’ve completed your crochet hat and scarf, it’s tempting to admire your hard work and call it a day. However, one crucial step often gets overlooked: weaving in the ends. This final touch is essential not just for aesthetics, but for the longevity of your project. Properly managing yarn tails keeps your pieces looking neat and prevents unravelling, ensuring you can proudly wear your creations or gift them to others without worry.
To get started, gather your materials: a yarn needle, scissors, and any remaining yarn tails. Here’s a straightforward method to follow:
Steps to Weave in Ends
- Thread Your Yarn Needle: Cut a length of yarn tail (about 6 inches), thread it through the yarn needle, and you’re ready to go!
- Choose Your Path: Insert the needle into the stitches of your crochet project. Aim to go through several stitches along the edge, ideally working in the same direction as the fabric. This way, the yarn will naturally follow the tension of your stitches.
- Take a Spin: If your project is made in a spiral or in rounds, consider weaving the ends in a circular pattern. This method allows the yarn to blend seamlessly with the stitches around it.
- Secure the Ends: For added security, weave the tail back through the stitches in the opposite direction. This creates a locking effect and minimizes the chance of the yarn coming undone.
- Trim Excess: Once you’re satisfied that the end is secure, use your scissors to trim any excess yarn, leaving about 1/4 inch to ensure it won’t unravel.
This technique is particularly useful for pieces with multiple yarn ends, such as when changing colors or using different yarns throughout your hat or scarf. Don’t hesitate to take your time; this part of the process is just as important as the crochet itself. Ensuring that your work is finished properly not only elevates the look of your set but also boosts your confidence in your crafting skills.
Finally, always remember to regularly check your projects for any loose ends in the future. A little maintenance goes a long way in preserving the beauty of your crochet creations, allowing you to enjoy them for years to come. So grab that yarn needle and give those ends some love-you’ve earned it!
Crochet Maintenance: Keeping Your Set Beautiful
To ensure your crochet creations maintain their charm and longevity, establishing a regular maintenance routine is key. This means not just admiring your newly crafted hat and scarf but also caring for them so they can be enjoyed for seasons to come. Understanding how to properly clean, store, and fix any potential issues will save you time and stress in the future, allowing you to focus on what you love most: crocheting!
Cleaning Your Crochet Items
The cleaning method you choose depends on the yarn type you used. Many yarns can simply be rinsed in cool water with a gentle detergent. Here’s a step-by-step approach:
- Gentle Hand Wash: Fill a basin with cool water and add a mild detergent. Submerge your hat and scarf, gently agitating the water. Avoid twisting or wringing, as this can distort your stitches.
- Rinse Thoroughly: Carefully rinse in cool water until the detergent is completely washed out. Any residual soap can affect the feel and look of your finished piece.
- Air Dry: Lay your items flat on a clean towel, reshaping them to their original form. Avoid hanging them to dry, as this can stretch out the fabric over time.
Storing Your Crochet Creations
How you store your hat and scarf can make all the difference. Here’s how to keep them looking their best when not in use:
- Avoid Sunlight: Store your creations in a cool, dry place away from direct sunlight, which can cause colors to fade.
- Use Breathable Containers: Opt for fabric bags or bins that allow air circulation. Avoid plastic, as it can trap moisture and lead to mildew.
- Keep Away from Pests: Consider adding cedar blocks or lavender sachets to deter moths and other pests, especially if you’re storing wool or natural fiber items.
Troubleshooting Repairs
Even the most carefully crafted items can develop wear and tear, but don’t fret! Here are some common issues and quick fixes:
- Loose Stitches: If you notice a stitch has come undone, use a yarn needle to weave in the loose end and secure it.
- Pilling: For fuzzy yarns, use a fabric shaver to gently remove pills without damaging the fibers.
- Stretching: If your items have stretched out, a gentle wash and re-blocking might bring them back to shape.
By making a little effort to maintain your crochet set, you’re not only prolonging the life of your projects but enhancing your overall crafting experience. Remember, the joy of creating doesn’t end when you finish your piece; it continues with how you care for it. So take a moment to appreciate your handiwork, and don’t hesitate to dive into the world of maintenance-you’ve got this!
Inspiration: Unique Hat and Scarf Combinations
There’s something incredibly satisfying about creating matching hat and scarf sets that not only keep you warm but also showcase your personal style. These combinations can range from playful and vibrant to sophisticated and neutral, allowing you to express yourself through your crochet projects. Whether you’re looking to make gifts for friends or simply want to elevate your own winter wardrobe, matching sets are a versatile addition to any crochet enthusiast’s repertoire.
Think about different styles and themes that resonate with you. For a cozy winter look, consider a chunky knit hat paired with a soft, textured scarf. Using a pattern that features thick stitches creates a visually interesting combination. You might choose a rich burgundy for both pieces, but play with different stitches – perhaps a ribbed pattern for the hat and a simple garter stitch for the scarf. This contrast not only adds depth to your projects but also helps showcase your crocheting skills.
If you prefer something more whimsical, experiment with bold colors and playful designs. A slouchy beanie adorned with pom-poms and a matching infinity scarf with striped patterns could be perfect for a casual, fun outfit. Don’t shy away from mixing yarn textures either! Combining a fuzzy yarn with a smooth one can give your set a unique flair. Consider using a bright teal for the hat and a striped pattern that includes both teal and white for the scarf.
An excellent way to make your combinations even more creative is to incorporate elements like fringe, tassels, or even appliques. Adding these details can transform a simple set into a statement piece that reflects your personality. For instance, a hat with a few leather patches (which you can easily crochet) combined with a scarf featuring fringe can create a trendy boho vibe that stands out.
Inspiration is everywhere-look at fashion magazines, Instagram, or crochet groups on social media for ideas. Pick a few sets you admire, and don’t hesitate to put your personal twist on them! With a bit of creativity and a willingness to experiment, you’ll create hat and scarf combinations that not only keep you warm but also let your style shine. Remember, every crochet project you complete is a step towards honing your craft, so embrace the process and enjoy the journey!
Sharing Your Creations: Community and Support
There’s a vibrant world waiting for you in the crochet community, where enthusiasts share a passion for crafting beautiful pieces like matching hats and scarves. Engaging with others who love crocheting can inspire you, offer support, and enhance your skills. Whether you’re a beginner or an experienced crocheter, the sense of camaraderie makes the journey so much more enjoyable.
One of the best ways to engage with fellow crafters is by sharing your finished projects on social media platforms such as Instagram, Facebook, or Pinterest. Not only can you showcase your unique creations, but you can also connect with others who share your interests. Use hashtags like #CrochetCommunity or #Handmade to discover and join groups dedicated to crochet enthusiasts. Many of these communities host challenges or SALs (stitch-a-longs) that encourage you to create your matching set alongside others, fostering a sense of teamwork and collective achievement.
Don’t forget about the local crochet clubs or workshops-these can be a treasure trove of knowledge and friendship. Participating in meet-ups can provide you with hands-on advice and tips from more experienced crocheters. They’re also perfect for discussing color choices, stitch techniques, and the best ways to customize your projects. Excitingly, many local yarn shops offer classes that you can attend to refine your skills while doing what you love, surrounded by people who share your enthusiasm.
Remember, sharing your creations isn’t just about showing off or seeking validation; it’s also a way to inspire others and foster creativity within the community. Encourage feedback and invite tips from your viewers. Celebrate the unique journey every maker is on, and don’t hesitate to ask questions-no question is too small! Embrace the feedback and stories shared with you; each interaction is an opportunity to grow as a crafter. You can create beautiful things and build lasting friendships, all while doing what you love!
Next Steps: Advancing Your Crochet Skills
Embracing the world of crochet means stepping into a realm filled with endless creativity and potential. Once you’ve mastered the basics of creating your matching hat and scarf set, the thrill of advancing your skills will open up a whole new world of crochet possibilities. Don’t hesitate to explore different stitches, techniques, and projects; there’s always something new to learn or create!
Diving Deeper into Techniques
Consider experimenting with various crochet stitches beyond the basic single and double crochet. Incorporate stitches like the half-double crochet, shell stitch, or bobble stitch to add texture and complexity to your designs. Try these as you create a larger project like a blanket or a simple cowl to really see how the different stitches work together in a functional piece. For example, practice the shell stitch to create a beautifully textured scarf that serves as a gorgeous addition to your wardrobe.
Explore New Patterns
Once you’re comfortable with your foundational skills, it’s time to branch out and tackle new patterns. Websites like LoveCrafts offer thousands of free crochet patterns where you can find exciting new designs for hats, scarves, and more. Look for projects that challenge your current skill set, whether it’s learning to work in the round or incorporating color changes. Don’t forget: patterns often include helpful notes on stitch counts and modifications that can make adapting a project easier.
Join Online Classes and Workshops
Consider joining online crochet classes or local workshops. Many communities and platforms host virtual classes where you can learn from experienced crocheters and connect with fellow enthusiasts. These classes often provide you with detailed guidance on advanced techniques, plus you’ll have the chance to ask questions and receive feedback in real time. Participating in online crochet-alongs is another fabulous way to tackle a project step-by-step while engaging with a supportive community.
Track Your Progress
Finally, keep a journal of your crochet projects. Documenting your experiences – the patterns you’ve tried, the techniques you’ve mastered, and any challenges you’ve faced – can offer valuable insights into your growth as a crafter. Not only does this practice help you reflect on your journey, but it also motivates you to keep pushing your skills forward as you see how much you’ve achieved. Remember, with each stitch, you’re not just creating; you’re building a legacy of creativity that reflects your personal style.
As you step up your crochet game, always hold onto that joyful spirit of making. With every project, you gain more skills and confidence, proving to yourself that you can create beautiful, handmade treasures. Keep hooking away-you can do this!
Faq
Q: What is the easiest crochet stitch for beginners to use when making a hat and scarf set?
A: The single crochet stitch is highly recommended for beginners tackling a hat and scarf. It’s simple and creates a tight fabric, perfect for warmth. Start with a basic single crochet pattern before advancing to more complex stitches. Check our section on Beginner-Friendly Crochet Stitches Explained for a detailed guide.
Q: How much yarn do I need to crochet a matching set of hat and scarf?
A: Generally, you’ll need about 200-300 yards of yarn for both a hat and scarf set, depending on the size and pattern you choose. A bulky yarn works quickly, while medium weight offers versatility. Explore our Color and Yarn Choices for Your Set section for more specifics.
Q: Can I crochet a hat and scarf set in one day?
A: Yes, with some experience, you can complete a simple hat and scarf set in a day, especially if you choose quick patterns and chunky yarn. Set aside a few uninterrupted hours and follow our Step-by-Step Guide to Crocheting a Hat for efficient making.
Q: What are some creative ways to personalize my crochet hat and scarf set?
A: You can personalize your set with unique colors, adding appliqués, or using varied stitch patterns. Consider experimenting with different yarn textures or incorporating your initials. Refer to our segment on Adding Personal Touches: Patterns and Customization for ideas.
Q: What is the best way to troubleshoot crochet mistakes while making a hat?
A: Identifying and fixing common mistakes is crucial. If your stitches are uneven, double-check your tension. For dropped stitches, simply pull back gently and rework. Our article covers full details in the Troubleshooting Common Crochet Issues section.
Q: How can I maintain the quality of my handmade hat and scarf set?
A: To keep your crochet projects looking great, wash them gently by hand and lay them flat to dry. Avoid harsh detergents. Learn more in the Crochet Maintenance: Keeping Your Set Beautiful portion of the article for best practices.
Q: Are there different styles of hats I can crochet for my set?
A: Absolutely! You can crochet various styles such as beanies, berets, or slouchy hats. Each style has different patterns that suit various skill levels. Check our Inspiration: Unique Hat and Scarf Combinations section for ideas on styles and variations.
Q: Where can I find crochet patterns for beginners to create a matching hat and scarf set?
A: Numerous resources offer free crochet patterns, including online platforms like YouTube tutorials and crochet blogs. Websites like Joy of Motion provide a variety of patterns for beginners. For detailed tutorials, visit our Creating the Perfect Scarf: A Simple Method section.
To Conclude
Congratulations on completing your matching hat and scarf set! You’ve not only learned essential crochet techniques but also created something truly special that reflects your unique style. We hope this tutorial inspires you to explore more crochet projects. If you’re ready to tackle another exciting endeavor, check out our collection of easy crochet patterns for beginners here or discover different stitches with our beginner tutorials on YouTube here.
Join our community by signing up for our newsletter to get exclusive updates on new tutorials, tips, and free patterns straight to your inbox! Remember, whether you’re honing your skills or starting fresh, each project helps you grow as a crafter. Share your finished pieces in the comments below; we love seeing your creations! Keep crocheting, and let’s make more beautiful things together!
Get our latest guides, news, and insights highlighted in your Google Search & AI Overviews.