
Did you know that many cats enjoy the warmth and snugness of a cozy hat, especially during chilly weather? Crocheting a hat for your feline friend is not only a fun project but also a great way to keep them comfortable. In this guide, we’ll explore how to create a safe, stylish, and snug hat that your cat will love wearing. Whether you’re a seasoned crocheter or just starting out, our step-by-step instructions will make this project enjoyable and achievable. You’ll learn about the best materials, simple techniques, and tips for ensuring a perfect fit, all while celebrating the joy of making something special for your furry companion. So grab your yarn and hook-let’s create a cute hat that keeps your kitty warm and fashionable!
Choosing the Right Yarn for Your Cat Hat
can significantly impact not just the aesthetics but also the comfort and safety for your feline friend. When you set out on this playful journey, consider these key factors that will help you create a snug and stylish hat that your cat will tolerate and look fabulous in.
First and foremost, prioritize softness and comfort. Cats have sensitive skin, so you want to avoid yarns that might irritate them. Look for materials labeled as “baby,” “soft,” or “pet-friendly.” Natural fibers like cotton or bamboo are fantastic choices, as they tend to be gentle against your cat’s skin and provide good breathability. If you prefer a little stretch, consider acrylic, which is also budget-friendly and available in an array of vibrant colors. Just be mindful of any harsh textures or scratchy yarns.
Next, think about the weight of your yarn. For a cozy cat hat, a medium weight yarn (like worsted weight) is ideal. It provides the warmth and structure you want while remaining lightweight enough not to bother your cat. If you’re feeling adventurous, trying a bulky yarn can yield a chunky, cozy hat, just keep in mind that it may be heavier on your cat’s head. For those in warmer climates, a lightweight yarn will keep things cool and comfortable.
Here’s a quick reference table for choosing the right yarn:
| Yarn Type | Features | Best For |
|---|---|---|
| Cotton | Soft, breathable, hypoallergenic | Warm climates, sensitive skin |
| Acrylic | Inexpensive, variety of colors, durable | Any climate, budget-friendly projects |
| Bamboo | Luxuriously soft, eco-friendly | Sensitive skin, a lightweight option |
| Wool | Warm, elastic, good insulation | Cold weather, but check for itchiness |
Lastly, consider the color and pattern. Bright colors can be delightful and fun for photos, but ensure they are dyed with non-toxic materials. If you’re feeling creative, mix and match different textures and shades to add unique flair to your cat hat. Just remember, you want your cat to feel fabulous, not restrained by heavy or overly complicated designs. With the right yarn, you’ll craft a cat hat that’s as safe as it is stylish! Enjoy the process-you can do this!
Essential Tools and Materials for Crochet
To embark on the delightful journey of crocheting a cozy hat for your feline friend, having the right tools and materials on hand is essential. Think of this as setting up your crafting station for success! Not only will the right equipment streamline your process, but it will also enhance your enjoyment and ultimately lead to a hat your cat will love-or at least tolerate.
First, gather your basic crochet supplies. Here’s a handy checklist to start with:
- Crochet Hook: Opt for a size that matches your chosen yarn (typically a G-6 or H-8 for medium weight). If unsure, look for a set with multiple sizes-the more options, the better!
- Yarn: As discussed in the previous section, choose soft, pet-friendly yarn. You’ll need about one skein of your selected yarn type.
- Scissors: A good pair of sharp scissors will make cutting your yarn a breeze.
- Tapestry Needle: Essential for weaving in loose ends and finishing touches.
- Stitch Markers: These are a lifesaver for keeping track of your pattern, especially if you’re working in the round.
Consider including a few extras to make your crochet experience enjoyable. A comfortable chair and good lighting can vastly improve your focus, while a notebook can help record your design ideas or adjustments as you go. Remember, this is all about creating a comfortable environment where creativity can flow!
Crocheting can be a little tricky for beginners, but fear not! With patience and practice, you’ll find your rhythm. Many find it helpful to follow along with video tutorials while crocheting or to join online crochet communities for support and inspiration. You can absolutely do this! With the right tools and a little bit of practice, you’ll not only create a warm and stylish hat but also have fun doing it. Happy crocheting!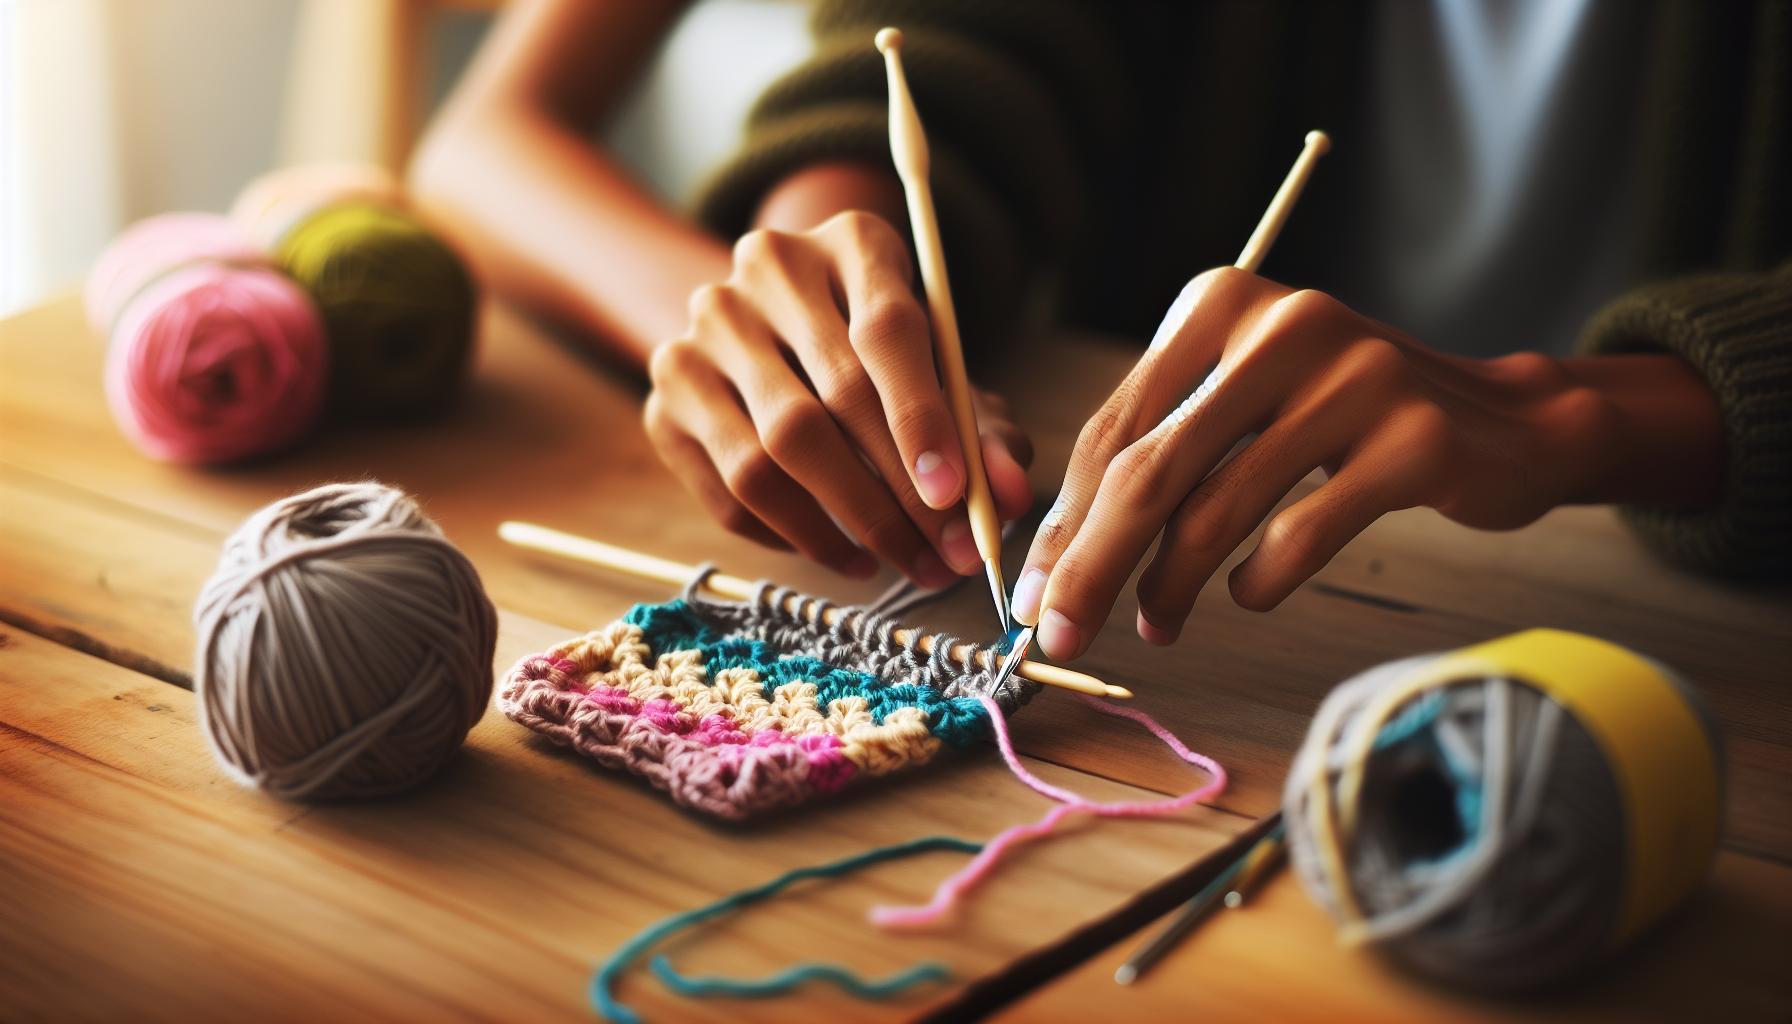
Basic Crochet Stitches Every Beginner Should Know
To create a charming hat for your feline friend, mastering a few basic crochet stitches will make all the difference. Every crocheter, whether a beginner or experienced, should be familiar with these essential techniques that make crafting enjoyable and your projects successful. Not only are these stitches easy to learn, but they also serve as the foundation for countless projects, including cozy hats!
Start with the Chain Stitch (ch), the very first stitch you’ll need to know. This stitch forms the foundation for almost every crochet project. To create your chain, simply make a slip knot on your hook, yarn over, and pull the yarn through the knot. Repeat this until you have the desired length; for a cat hat, usually about 40-50 chains will work, depending on the head size.
Next up is the Single Crochet (sc). This stitch provides a tight, firm fabric that’s perfect for a cat hat, ensuring it retains its shape and keeps your kitty warm. Insert your hook into the second chain from the hook, yarn over, pull up a loop, yarn over again, and pull through both loops on the hook. Practice this until you get a nice, even row of single crochets.
Another important stitch is the Double Crochet (dc), which adds height and a bit of texture to your creations. To begin, yarn over before inserting your hook into the intended stitch. Yarn over again, pull up a loop (three loops will now be on your hook), yarn over once more and pull through the first two loops, then yarn over again to pull through the last two loops. This stitch will help you create any ruffled edges or decorative patterns in your cat hat.
Helpful Tips for Beginners
- Practice in short bursts. Crocheting for extended periods can lead to fatigue. Take breaks to keep your creativity flowing!
- Keep your tension consistent. This ensures that your project looks neat and fits well.
- Use stitch markers. These can help you keep track of your rows and stitches, especially helpful when you start increasing for a larger hat.
By mastering these stitches, you will build a strong foundation for creating your cat’s hat. Each stitch is a step towards the cozy creation you envision, so embrace the process-you can absolutely do this! As you practice, you’ll enhance your skills and gain confidence, and soon you’ll be able to crochet a delightful and snug hat for your furry companion. Happy crocheting!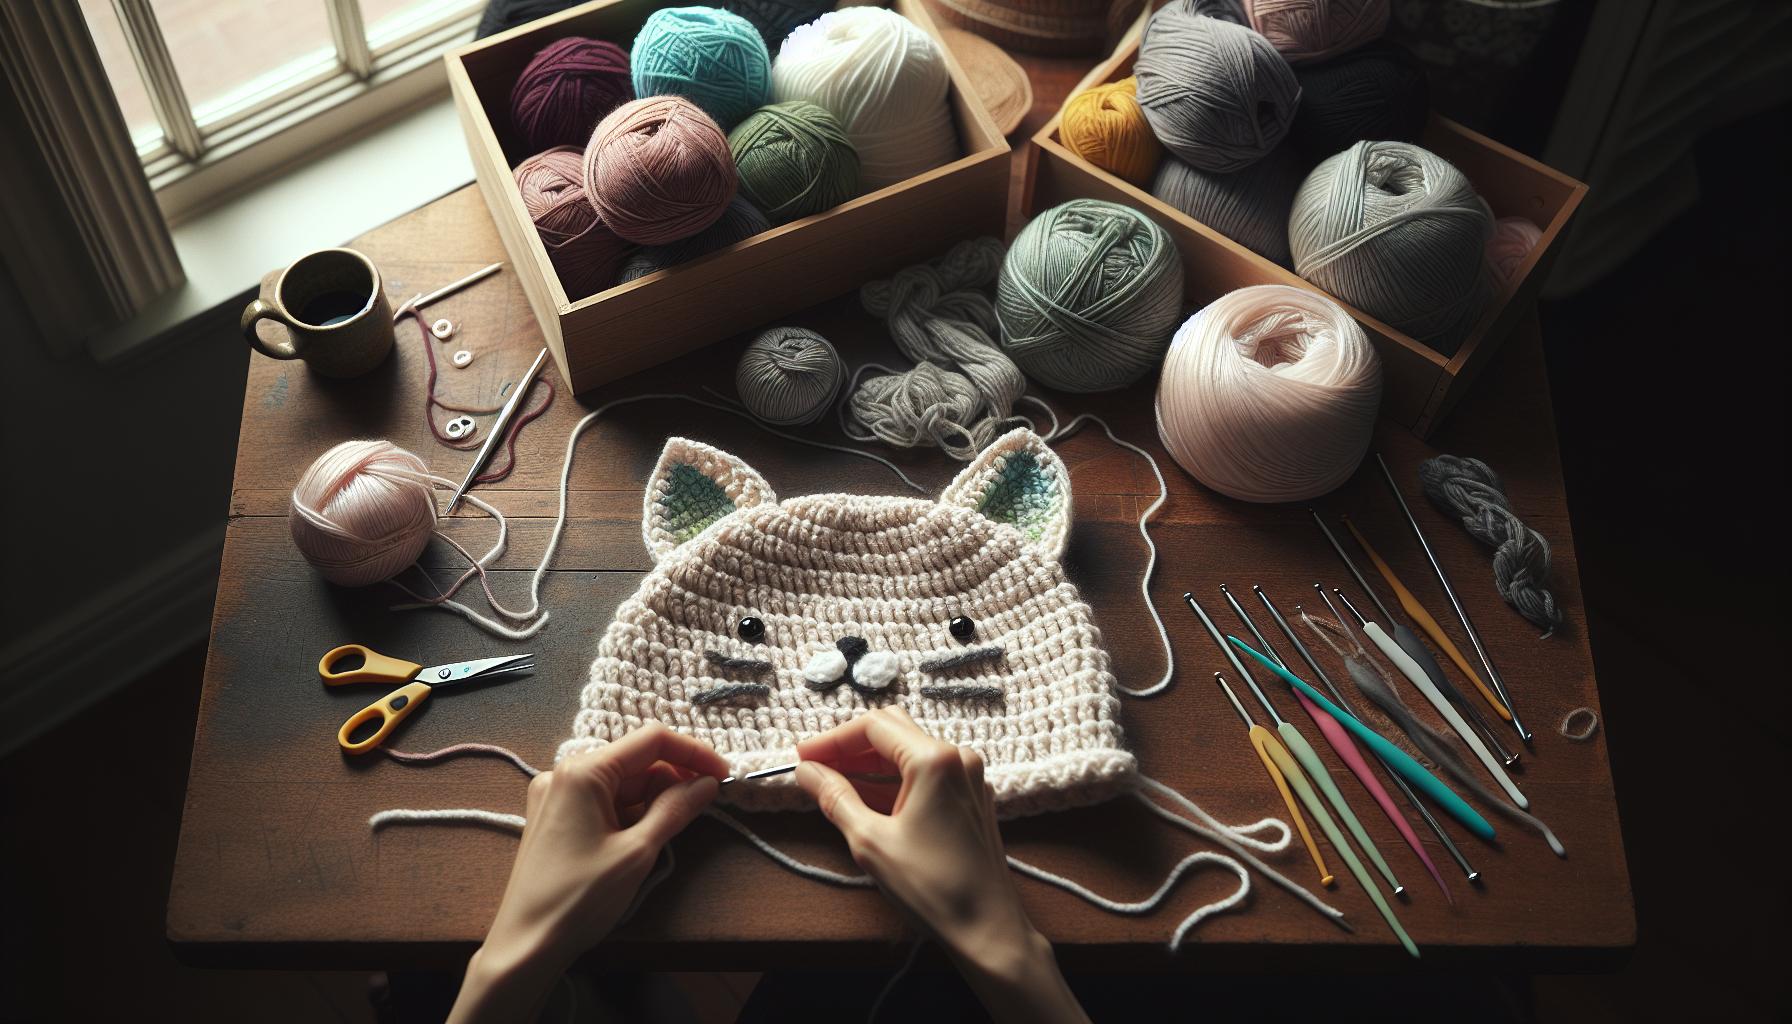
Step-by-Step Guide to Crocheting a Cat Hat
To craft a delightful cat hat that your furry friend will love (or at least tolerate), start by ensuring you have the right materials and a solid plan. Crocheting a cat hat can be an enjoyable and straightforward project-perfect for both beginners and experienced crafters looking to make something fun. Expect to spend about 2-3 hours on this project, depending on your skill level and how elaborate you wish to get!
Begin by gathering your supplies. You will need a medium-weight yarn in your chosen color (soft yarn is best for comfort), a corresponding crochet hook (usually size H or I), scissors, and a tapestry needle for weaving in ends. It’s helpful to have a measuring tape on hand to ensure the perfect fit. Now, let’s jump into the steps!
Step-by-Step Instructions
- Start with a Foundation Chain: Make a slip knot and chain 40-50 stitches, depending on your cat’s head size. This chain creates the base of the hat.
- Row 1 – Single Crochet: Turn your work and begin in the second chain from the hook. Make single crochets across the row. Remember, consistency is key!
- Continue with Rows: For the next rows, continue crocheting in single crochets until the piece measures about 6-7 inches in height. This will create a snug fit that keeps your kitty warm.
- Shaping the Hat: To give the hat a rounded shape, start decreasing. For the next row, single crochet 2 stitches together every few stitches. Repeat on the following rows until you’re down to just a few stitches. This shaping is crucial for the hat’s fit.
- Finish the Top: Once you have only a few stitches left, cut your yarn, leaving a long tail. Thread it through the remaining stitches and pull tight to close the top of the hat. Secure the end by weaving it in with your tapestry needle.
- Optional Decor: Embellish your hat with a pom-pom or cat-friendly embellishments to add flair. Just make sure nothing is choking hazard and it’s securely attached!
Once you’ve finished, try the hat on your cat (or close friends/family pets) to ensure a great fit. If it’s too snug, you can easily make adjustments by unraveling a few stitches and adding extra rows. Remember to celebrate your handiwork and, most importantly, enjoy the process; you’ve got this! With a little practice, your skill in crocheting will improve, and soon enough, you’ll be creating charming hats in no time. Happy crocheting!
Adjusting Size for a Perfect, Comfortable Fit
When crafting a cozy cat hat, ensuring it fits your feline friend comfortably is paramount. A well-fitting hat not only keeps your cat warm but also prevents any fuss or discomfort that could arise from an ill-fitting accessory. Remember, every cat is unique, and a few simple adjustments can make all the difference in achieving that perfect fit!
To begin with, always measure your cat’s head before diving into your project. Use a flexible measuring tape to find the circumference around the widest part of your cat’s head. Then, when you’re ready to start crocheting, keep this measurement handy. If your cat’s head measures, say 12 inches, aim for a hat that stretches to about that size-define the hat’s top diameter as roughly 10-11 inches. This slight allowance will give your cat a snug yet comfortable wrap. If you find the hat is too tight once completed, don’t worry! You can easily adjust the fit by unraveling a few rows and adding more stitches to increase the diameter.
Making Adjustments as You Go
As you crochet, keep trying the hat on your cat during different stages of completion. This will give you a better idea of how the yarn behaves and stretches. Don’t hesitate to modify your stitch count if necessary. For instance, if the hat feels a bit snug around the ears, you could add several more chains at the start. Remember, crochet is quite forgiving-if you spot an issue, simply pull it out and start again; you’ve got this!
After the main body of your hat is completed, focus on the crown’s closing-this is where you can really perfect the fit. Instead of fastening off immediately, make sure to leave the last few stitches open until you confirm the hat perfectly cradles your cat’s head. If you’ve done your decreasing rows evenly but find the top too flat, you can gather the hat more tightly by pulling on the yarn. Secure it once you achieve the desired shape.
By taking the time to adjust your cat hat throughout the process, not only will you ensure a comfortable fit for your furry friend, but you’ll also gain confidence in your crochet skills. Enjoy the creative journey, and remember: the purrs of approval from your cat will make it all worthwhile!
Incorporating Fun Patterns and Colors
Injecting fun patterns and vibrant colors into your cat hat can elevate your project from ordinary to extraordinary! Cats have unique personalities, and what better way to showcase that than through a creative design that reflects their flair? You can easily customize your cat’s hat with playful colors, different stitches, or even whimsical motifs. Let’s dive into how you can make your next crochet project pop.
Start by choosing a color palette that speaks to you and complements your cat’s fur. For instance, if your cat has a warm brown coat, consider using contrasting colors like turquoise or bright yellow to create an eye-catching look. You can pull from nature, favorite holidays, or even seasonal themes. For example, vibrant greens and reds for Christmas or pastel colors for spring will certainly charm everyone you meet. If you’re feeling adventurous, try using variegated yarn that blends multiple shades into each stitch for a wonderfully dynamic effect!
Once you’ve settled on colors, think about incorporating different stitch patterns to add texture and interest. For instance, you could use a simple single crochet for the body of the hat and switch to a more intricate stitch, like a shell or popcorn stitch, for the brim. This not only enhances the visual appeal but also creates a unique tactile experience. If the idea of switching stitches feels daunting, don’t worry! You can experiment on a small swatch first to see how the stitches interact with your chosen yarn and colors.
To make your cat’s hat even more personal, consider adding fun motifs or embellishments. Think about little ears, bows, or even paw prints that can be stitched directly into the design or added as appliqués. If you want to add decorative elements without too much complexity, you can use fabric paint or embroidery to create cute designs like hearts, stars, or even your cat’s name stitched into the fabric. The possibilities are endless, and these little touches can make your handmade hat truly one-of-a-kind.
Remember, crafting is all about exploring your creativity and having fun! Don’t be afraid to try new things, as crochet is very forgiving. With each stitch, you’ll develop your style and confidence. Let’s get those crochet hooks moving and create a fabulous feline accessory that will make your kitty the talk of the town!
Ensuring Your Cat’s Safety: Tips and Tricks
When crafting a hat for your feline friend, keeping their safety and comfort in mind is as essential as your creative flair. After all, our cats can be quite particular, and ensuring they feel good while looking fabulous should be a top priority! Let’s explore some practical tips to help you create a cat hat that your pet will be happy to wear.
First and foremost, choose the right materials. Opt for soft, breathable yarn like cotton or a hypoallergenic acrylic blend to prevent any irritation on your cat’s sensitive skin. Avoid any fibers that may easily snag or break, as these could pose a risk if your cat decides to chew or scratch at the hat. It’s also a good idea to steer clear of yarns that are too heavy or bulky, as they may become uncomfortable for your cat when worn for extended periods.
Another important consideration is the fit and design of the hat. Ensure that your creation isn’t too tight; it should sit comfortably without restricting your cat’s movement. Measure your cat’s head to determine the right size before starting your project. A well-fitting hat can often be achieved with some simple adjustments; for example, using a stretchy stitch or incorporating a tie or elastic band can help to ensure a snug yet gentle fit. Always keep an eye on your kitty while they’re wearing their hat; if you notice any signs of discomfort-like pawing at the hat or attempts to remove it-immediately remove it and adjust accordingly.
Finally, supervise closely during the first few wearings. This not only allows you to monitor your pet’s comfort but also gives you an opportunity to see how they react to their stylish new accessory. Gradually increase the time they wear the hat, allowing them to get used to it. Start with just a few minutes and extend the duration as they become more comfortable. By doing this, you can ensure that your crafting efforts lead to a happy and safe experience for your beloved cat.
With these tips, you can confidently create a delightful cat hat that keeps your furry friend safe while showcasing your crochet skills. Remember, you’ve got this! Enjoy the process and have fun making something special for your feline companion.
Decorative Options to Personalize Your Cat Hat
When creating a cat hat, the fun doesn’t stop at just the basic crochet; adding a personal touch can transform a simple project into a delightful masterpiece. Embellishing your cat’s hat with decorative options not only enhances its aesthetic appeal but also allows you to showcase your personality and creativity. Let’s dive into some engaging ideas!
One way to personalize your cat hat is by incorporating different colors and textures. You can experiment with yarns that have unique colorways or variegated patterns to create a visually stunning piece. Think about using a combination of softer pastel tones for a sweet look or bold, vibrant shades for a more playful vibe. Adding a contrasting trim can also elevate your design; consider a vibrant border or a fluffy pom-pom on top to add character. These small additions can make a significant impact while ensuring the hat remains comfortable and lightweight.
Another exciting avenue to explore is embellishments. Attach small felt shapes or crochet flowers to the side of the hat for an adorable touch. Not only do these add flair, but they can also be easily removed if your cat isn’t a fan of extras. If you are feeling adventurous, try adding a tiny bow or a bell! Just remember to make sure these items are securely attached and that they don’t pose any choking hazards for your kitty. Using different stitching techniques, such as surface crochet or tapestry crochet, can also create interesting patterns that stand out and keep your cat’s hat unique.
Lastly, think about how you can reflect your cat’s personality through your design choices. Is your cat quirky and playful? Go for bright colors and bold patterns. More of a calm and laid-back feline? Soft neutral colors with delicate designs may be the way to go. By aligning the hat with your cat’s character, you not only create a cozy accessory for your furry friend but also a charming keepsake that you can cherish for years to come. Embrace your creativity and remember: every stitch is a step closer to a delightful hat that your cat will love!
Troubleshooting Common Crochet Challenges
Creating a hat for your cat can be a delightful project, but it’s not without its challenges. Each stitch should bring you closer to a cozy creation, yet you might occasionally face hiccups that can feel daunting. Don’t worry; you’re not alone! Many crafters encounter similar issues, and with a little troubleshooting, you can overcome them and make a fabulous hat your feline friend will enjoy.
One common challenge is uneven stitches, which can arise from inconsistent tension in your crochet work. To address this, regularly check your grip on the yarn and the hook while crocheting. If your tension is too tight, it might help to use a larger hook for a few rows to even things out. On the flip side, if your tension is too loose, consider using a slighter smaller hook and practicing until your stitches have a more uniform look. Remember, crochet is all about practice, so keep going-you’ll see improvement!
Another typical issue is sizing. It can be tricky to gauge how the hat will fit your cat, especially if you’re working off a pattern. Measure your cat’s head carefully, and if possible, create a small swatch to test how the yarn behaves. If the hat turns out too snug, you can always add extra rows while stitching, or if it’s too loose, try adding a simple elastic band inside the band of the hat for a snugger fit. Just make sure it’s comfortable and won’t irritate your cat’s skin!
Finally, if your cat seems more interested in taking the hat off than wearing it, consider the materials and design. Opt for soft, lightweight yarns that won’t irritate their fur or skin. Choosing a pattern with ear holes or a chin strap can also help keep the hat in place. Always check in with your kitty during your crafting process-if they seem uncomfortable, take a moment to adjust the fit. Embrace the journey of making and remember: every stitch brings you one step closer to a purr-fect hat!
Tips for Creating a Cozy and Snug Fit
Creating a cozy and snug fit for your cat’s crochet hat is essential for both comfort and functionality. Every cat has a unique head shape and size, so it’s important to tailor your project to ensure your feline friend is happy wearing it. One of the most effective ways to achieve this is by taking precise measurements. Start by measuring the circumference of your cat’s head using a soft measuring tape. Make sure to note the diameter at which you want the hat to sit. This way, you can adjust your pattern accordingly to ensure a perfect fit!
When selecting yarn, opt for soft, flexible materials that provide a bit of stretch. Look for blends that include cotton or acrylic, as they are gentle on your cat’s fur and can help achieve that cozy feel. If you’re working with a classic pattern, consider adding ribbing at the base of the hat. This can be done by crocheting a few rows of single crochet in a tight stitch, which adds elasticity and helps the hat stay in place. A snug fit around the ears is particularly beneficial, as it reduces the likelihood of your cat pawing at or removing the hat.
To further personalize the fit, consider incorporating adjustable elements, such as a drawstring or a button strap that can be tightened or loosened. This is especially useful for younger kittens or those still growing, as it allows for expansions without requiring a complete redesign of the hat. You can easily create a simple channel through which a cord can be threaded, or even attach a few buttons along the brim for optional adjustment points.
Finally, test the fit on your cat frequently while you’re crocheting. Let your pet wear the hat for a few minutes during the crafting process to ensure it’s comfortable and non-restrictive. If it looks too tight or your cat seems uncomfortable, simply rip back a few rows and adjust accordingly. By taking these steps, you’ll create a beautifully snug hat that your cat will love to wear, making your crafting experience both rewarding and enjoyable!
How to Train Your Cat to Wear a Hat
Getting your feline friend accustomed to wearing a hat doesn’t need to be a battle of wills, and with a little patience, you can make them a dapper hat-wearing companion! Cats are naturally curious creatures, so introducing them to their new crochet creation as a toy or a soft accessory can set the stage for a successful hat-wearing experience. Here’s how to go about it in a fun and stress-free manner.
Start by allowing your cat to investigate the hat at their own pace. Set the hat in a comfortable spot where your cat likes to hang out and let them sniff and poke around it. Positive reinforcement is key here-use treats or their favorite toy to create a positive association with the hat. When they show interest, reward them with praise or goodies. This approach will make your cat more likely to see the hat as a fun item rather than something to be feared or avoided.
Once your cat is somewhat comfortable with the sight and scent of the hat, it’s time to introduce it gently. First, try placing the hat on their head for just a few seconds, just enough to let them experience it without causing stress. If they pull it off or seem bothered, don’t force it. Instead, you can try leaving the hat nearby during playtime, gradually building their comfort. Repeat this process several times over a few days. The goal is for your cat to grow used to the sensation of the hat without feeling overwhelmed.
After your cat is accustomed to having the hat briefly placed on their head, increase the duration little by little while continuing to reward them. If your crochet project has adjustable features, ensure these don’t restrict too much; a loose fit will help as they adjust. Be sure to monitor their behavior-if they seem agitated or try to remove the hat too much, step back and give them more time. Remember, the experience should be fun and light-hearted for both of you.
Finally, keep your training sessions short and sweet. Cats have limited attention spans, so aim for a few minutes at a time, preferably when they’re in a relaxed mood. With patience and lots of treats, your beloved pet will not only wear their hat but might even strut around like it’s the latest trend! Enjoy the smile and pride that come from both your crafting and your cat’s newfound style!
Caring for and Cleaning Your Cat’s Crochet Hat
Caring for your cat’s crochet hat is essential not only for maintaining its appearance but also for ensuring that it remains safe and comfortable for your furry friend. Regular cleaning and proper maintenance practices can keep the hat fresh and cozy for your cat’s use. Plus, a well-cared-for hat will last longer and look better, which is always a bonus!
Start by checking the yarn label to understand the cleaning instructions specific to the material you used. Most cotton or acrylic yarns are machine washable, making them easy to clean. If you used a delicate yarn, consider hand-washing to prevent damage. To clean the hat, you can follow these simple steps:
- Machine Wash: Place the hat in a mesh laundry bag to protect it. Wash on a gentle cycle with cold water and mild detergent.
- Hand Wash: Fill a basin with lukewarm water and a small amount of detergent. Submerge the hat and gently knead it. Rinse thoroughly with cool water.
- Drying: Avoid the dryer, which can cause shrinkage or distortion. Instead, reshape the hat and lay it flat on a clean towel to air dry. This helps it maintain its form.
To keep your cat’s hat looking its best, consider a quick spot clean for minor stains. Just dab a little mild detergent mixed with water on the stained area, gently scrubbing with a soft cloth. Rinse with a damp cloth to remove excess soap. Remember, if your cat’s hat gets a bit stinky after wear, it’s absolutely normal and part of their natural oils mixing with the crochet. Regular cleaning, however, will ensure it stays comfortable and cozy.
Lastly, keep an eye on the condition of the hat. Inspect for any loose threads or signs of wear that may require repairs. If you notice any frayed ends or lose stitches, a simple sewing kit can fix these minor issues quickly. By dedicating a little time to cleaning and maintaining the hat, you can ensure it remains an adorable and safe accessory for your beloved pet. Happy crocheting and caring!
Frequently Asked Questions
Q: What is the best type of yarn to use for crocheting a cat hat?
A: The best yarn for a cat hat is a soft, hypoallergenic material like acrylic or bamboo. These fibers are gentle on your cat’s skin and come in a variety of colors. Always choose medium-weight yarn to ensure a comfortable fit. For more options, check out the section on Choosing the Right Yarn for Your Cat Hat.
Q: How do I ensure my cat’s hat fits comfortably without being too tight?
A: To ensure a comfortable fit for your cat’s hat, measure their head circumference and adjust the pattern accordingly. Use elastic or stretchy yarn to create flexibility. Refer to the Adjusting Size for a Perfect, Comfortable Fit section for specific techniques.
Q: What patterns are recommended for a cat hat crochet project?
A: Simple patterns like single or double crochet stitches work best for beginners. You can also add fun elements like ear flaps or pom-poms. Explore the Incorporating Fun Patterns and Colors section for creative ideas and patterns to enhance your project.
Q: How can I keep my cat safe while wearing a crochet hat?
A: Safety is paramount when your cat is wearing a hat. Ensure it’s lightweight, with no loose parts that could become a choking hazard. Keep an eye on your cat to prevent them from trying to remove it. More tips can be found in the Ensuring Your Cat’s Safety: Tips and Tricks section.
Q: What should I do if my cat refuses to wear the hat?
A: If your cat refuses to wear the hat, acclimate them slowly. Start by letting them sniff the hat, and gradually introduce short periods of wear. Provide treats and praise. Check the How to Train Your Cat to Wear a Hat section for effective training strategies.
Q: How can I personalize my cat’s crochet hat?
A: Personalize your cat’s hat by adding embellishments like bows, flowers, or even your cat’s name stitched on. Choose decorative elements that are securely attached to prevent choking hazards. For more ideas, refer to the Decorative Options to Personalize Your Cat Hat section.
Q: What are some common mistakes when crocheting a cat hat?
A: Common mistakes include incorrect sizing, using inappropriate yarn, and not securing embellishments properly. Always check your measurements and refer to the Troubleshooting Common Crochet Challenges section for solutions to these issues.
Q: How do I clean my cat’s crochet hat after use?
A: Cleaning your cat’s crochet hat is simple. Hand wash it in cold water with mild detergent and let it air dry to maintain its shape. For detailed care instructions, consult the Caring for and Cleaning Your Cat’s Crochet Hat section.
Final Thoughts
Congratulations on creating a stylish and comfortable crochet hat for your beloved cat! Remember, a well-fitted hat not only keeps your furry friend cozy but also adds a cute touch to their look. If you’re eager to expand your crochet skills, check out our guides on basic crochet stitches or dive into free crochet patterns to spark your next project.
Don’t hesitate to experiment with different yarns and colors-your creativity is your only limit! If you have any questions or if you’d like to share your own cat hat creations, drop a comment below. And for more insightful tips and fun projects, be sure to sign up for our newsletter. Embrace the joy of crafting; you’ve got this!
Get our latest guides, news, and insights highlighted in your Google Search & AI Overviews.