
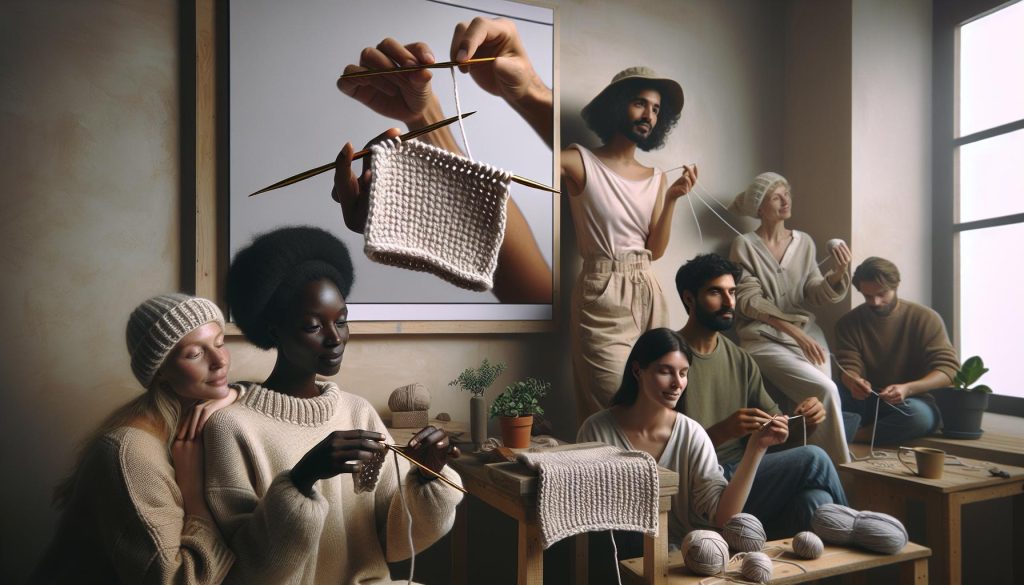
Crocheting a hat from a rectangle using the flat panel method is a fantastic and accessible way to create a cozy, customized accessory for yourself or someone special. This technique allows you to experiment with different stitches and colors, making each hat uniquely yours. Have you ever struggled with complicated patterns or decrease stitches? With this method, you can bypass those challenges and enjoy a straightforward design that even beginners can master. You’ll need minimal materials and can expect to complete your project in just a few hours. Plus, the satisfaction of wearing something handmade is unbeatable! So grab your yarn and hook-let’s dive into this gratifying journey of creativity and warmth. You can do this!
Choosing the Right Yarn and Tools for Your Hat
Choosing the right yarn and tools for your crocheted hat can make all the difference in your crafting experience. For a project like a hat made from a rectangle using the flat panel method, it’s best to start with a yarn that balances warmth, softness, and ease of working with. Wool blends or acrylic yarns are excellent choices for hats since they offer comfort and durability. Consider medium weight (worsted) yarn, which typically falls under a category 4. This weight will give you the right thickness and warmth without being too bulky.
When it comes to tools, a good crochet hook is essential. If you’re using worsted weight yarn, a hook size H (5 mm) or I (5.5 mm) is a great start. The hook size can slightly affect the final look of your hat; a larger hook will create a looser stitch pattern, while a smaller hook will yield tighter stitches. Stitch markers and tapestry needles will also be handy for working in different sections and weaving in ends later. You might also want to keep a pair of scissors nearby to snip any stray yarn.
Lastly, don’t forget to have a comfortable workspace! Good lighting and a cozy chair can keep you focused and enjoying the process. With the right materials and tools at your side, you’re well on your way to creating a beautiful hat that not only looks great but feels great to wear. Remember, each crochet project is an opportunity to express yourself, so choose colors and textures that inspire you-you can totally do this!
Understanding the Flat Panel Method for Beginners
Starting your crochet journey with the flat panel method can feel magical. It transforms a simple rectangle into a stylish hat, regardless of your skill level. This technique is perfect for beginners because it simplifies the crocheting process and allows you to focus on getting comfortable with basic stitches. Plus, it’s a fantastic way to create hats that are both functional and fashionable without requiring complex shaping.
To begin, you’ll create a long rectangle that will eventually wrap around to form the body of your hat. The flat panel method involves working rows back and forth, rather than in the round. This approach is less intimidating for new crocheters, as it allows you to see your progress clearly and correct any mistakes without the stress of unraveling an entire round. Using foundational stitches like half double crochet or double crochet adds texture and warmth, which is crucial for a cozy hat.
Once you have your rectangle completed, you simply fold it lengthwise and seam the sides together. Then, you can either add a ribbing style or leave it as is to finish off the brim. Don’t hesitate to incorporate different yarns or colors to make your project unique. Standing out is part of the joy of creating.
Remember, the beauty of the flat panel method lies not just in its ease but in the opportunities it presents. It encourages experimentation with stitch patterns and embellishments, allowing you to discover your crochet style. With each project, you’ll gain confidence and creativity, and soon you’ll be ready to tackle even more complex designs. So grab that yarn and hook-your personalized hat is waiting to come to life! You can do this!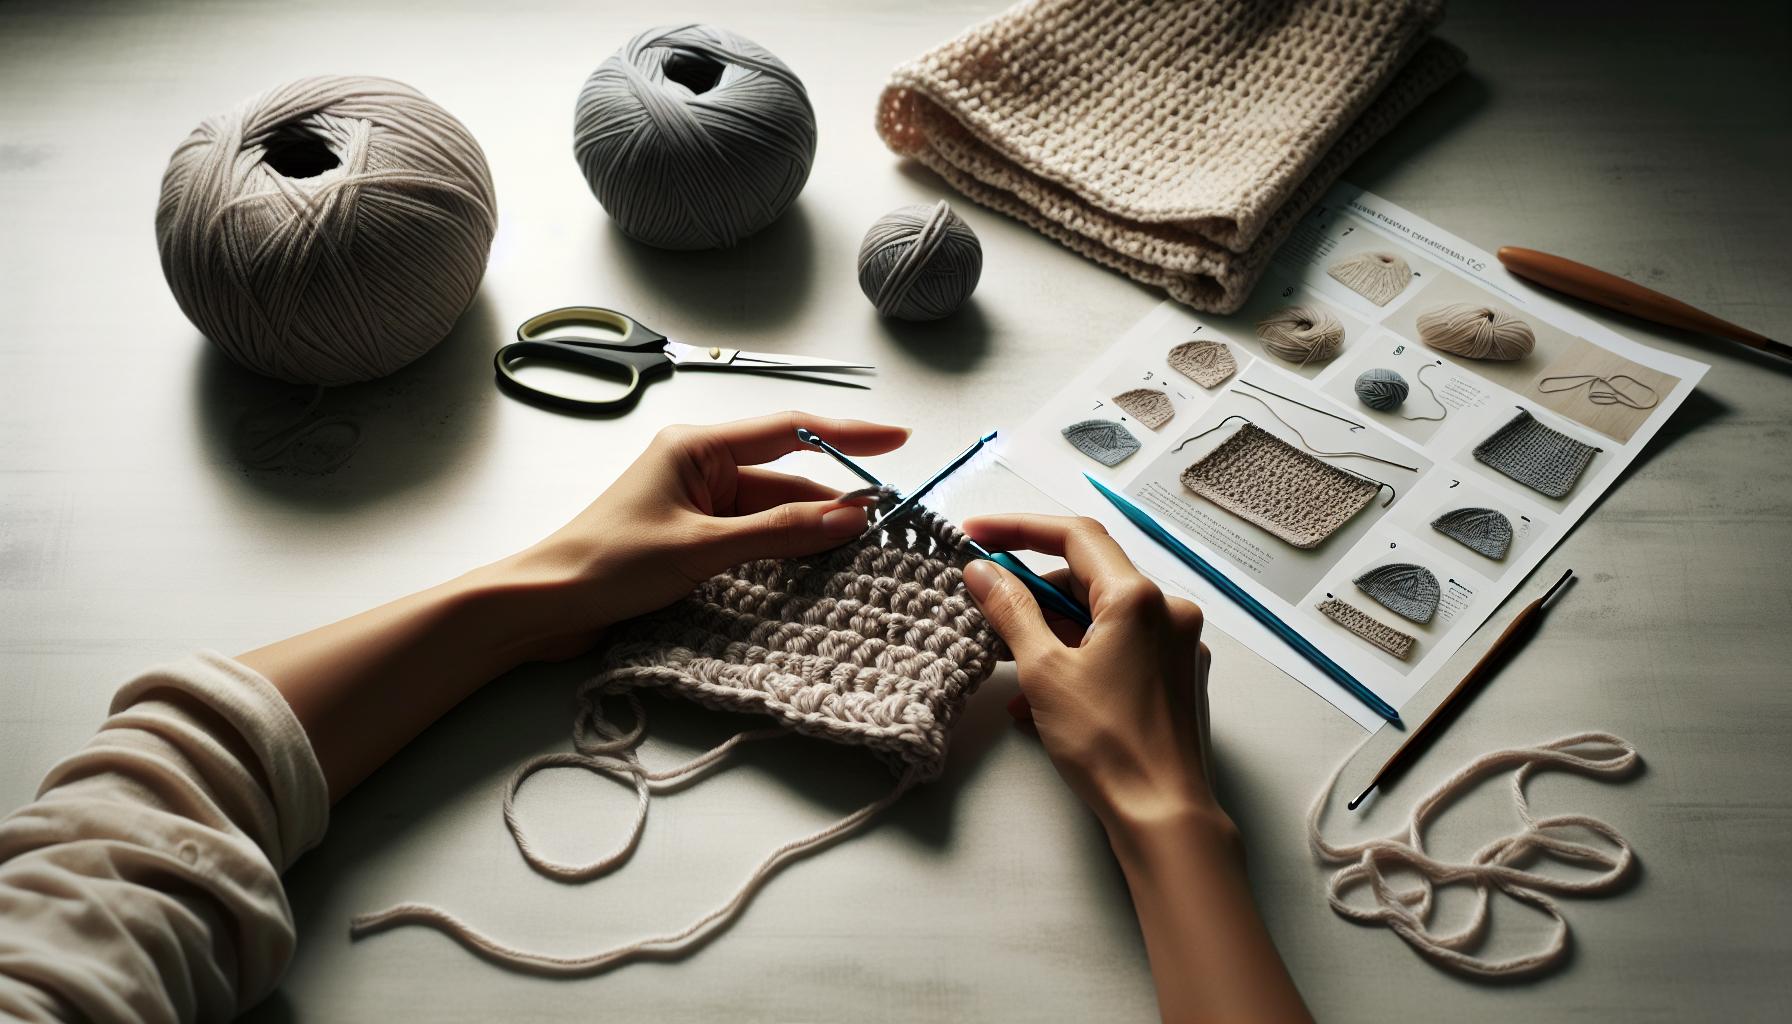
Step-by-Step Instructions for Crochet a Rectangle Hat
Creating a hat from a rectangle is not only a fun project but also a perfect way for beginners to dive into the world of crocheting. Whether it’s for a cozy winter accessory or a fashionable addition to your outfit, this method is accessible and satisfying. Let’s break down the steps to crochet your very own rectangle hat using the flat panel technique.
To start, gather your materials. You’ll need your chosen yarn and a crochet hook appropriate for that yarn (typically, a size H (5.0 mm) works well for medium-weight yarn). It’s also helpful to have scissors and a yarn needle on hand for finishing touches. Now, grab your yarn and let’s get started!
- Make Your Chain: Begin by chaining the width of your hat. For most adult sizes, aim for 60-70 chains depending on your desired fit-wider for a slouchy look, narrower for a snugger fit. Remember, you can always adjust the length later if it doesn’t feel right.
- Work Across Rows: Now you’ll crochet your rows. If you’re using half double crochet (HDC), yarn over, insert into the third chain from your hook (the first two chains count as your first HDC), yarn over again, and pull through. You should have three loops on your hook. Yarn over once more and pull through all three loops. Continue this stitch across your chain until you reach the end. Chain two and turn your work to begin the next row. Repeat until your rectangle reaches your desired length for the hat, often around 12-14 inches.
- Seam the Sides: Once your rectangle is ready, fold it in half lengthwise. Using your yarn needle, seam the short edges together. This creates the main body of your hat. You can choose to slip stitch or whip stitch the edges together, ensuring a snug finish.
- Finish the Top: To create the top of the hat, gather one end of the rectangle by using a long piece of yarn. Thread it through the stitches at the top and pull it tight to close off the hat. Tie securely and weave in the loose ends.
- Add Your Finishing Touches: Finally, you can add embellishments! Consider a ribbed edge by folding down the top or adding a pom-pom for some flair. Don’t forget to block your hat if necessary to maintain its shape.
This project is as much about the enjoyment of the process as it is about the final outcome. Feel free to play around with different yarns and patterns once you’re comfortable with the basic technique. Each hat you make will teach you something new and allow you to express your creativity. So grab your hook, believe in your abilities, and have fun crafting your unique hat! You can do this!
Essential Stitches You’ll Need for This Project
Creating a cozy crochet hat is all about mastering a handful of essential stitches. These stitches are the foundation of your hat and will empower you to explore various patterns as you gain confidence. You’ll find that with practice, even the more complex techniques will feel like second nature. Let’s dive into the stitches you’ll need for this delightful project!
One of the primary stitches you’ll use is the Half Double Crochet (HDC). This stitch forms a sturdy fabric that’s ideal for hats. To make an HDC, first, yarn over, then insert your hook into the desired stitch. Yarn over again and pull through, leaving three loops on your hook. Yarn over once more and pull through all three loops. This stitch not only contributes to the structure of your hat but also provides a lovely texture that elevates the design.
Another stitch that can add flair to your hat is the Slip Stitch (SL). This stitch is perfect for joining ends or creating a decorative edge. To do a slip stitch, simply insert your hook into the stitch, yarn over, and pull through both the stitch and the loop on your hook. It’s a quick and easy way to finish off edges or bind pieces together seamlessly.
Lastly, don’t overlook the Chain Stitch (CH), which is fundamental in shaping your starting row. This basic stitch lays the groundwork, allowing you to create your foundation chain that determines the width of your hat. For a clean look and precision, making your chain stitches consistent in tension is key.
With these stitches-HDC, SL, and CH-you’re equipped to tackle your rectangle hat with ease. As you crochet, remember that practice makes perfect. If you find yourself struggling with a stitch, take a breath, and don’t hesitate to unravel a few rows! Enjoy each moment spent crafting, and know that with each hat, you’re honing your skills and unleashing your creativity. You can do this!
How to Adjust Size for Different Head Measurements
When crocheting hats, getting the size just right makes all the difference between a comfy fit and a frustrating one. Luckily, adjusting your hat to fit different head measurements is not only achievable but also quite straightforward! Whether you’re crafting for your little one, a friend, or yourself, the flat panel method allows you to customize sizes with ease.
Start by measuring the head circumference of the person who will wear the hat. A flexible measuring tape works best for this; simply wrap it around the widest part of the head, typically just above the ears. Once you have that measurement, here’s a handy guideline to find the ideal panel width for your crocheted hat:
- Baby (0-6 months): 14-15 inches (35-38 cm)
- Toddler (1-3 years): 16-18 inches (41-46 cm)
- Child (4-10 years): 18-20 inches (46-51 cm)
- Teen/Adult: 20-23 inches (51-58 cm)
- Large Adult: 24-26 inches (61-66 cm)
To adjust the size of your flat panel, simply change the number of foundation chains. You’ll want your starting chain to be about 1-3 inches (2.5-7.5 cm) less than the head circumference for a snug fit, as the yarn and stitches will have some stretch. For example, if you’re making a hat for a child with a head circumference of 20 inches, aim for a starting chain of around 17-19 inches.
When working on your panel, keep in mind that the height of the finished hat should also match your preference. For a beanie-style hat, generally, a height of about 8-10 inches works well, but adjusting this (to make it longer for a slouchy style or shorter for a fitted look) is also simple. Just remember that if you’re extending the height, you’ll want to maintain the same width throughout to ensure an even finish.
With these adjustments, creating the perfect hat is well within your reach. Embrace the process and know that you can always tweak measurements as you go. Every crochet project is a chance to learn and refine your skills, so enjoy the journey! You can absolutely do this, one stitch at a time!
Creative Variations: Customizing Your Hat Design
There’s something truly special about putting your own twist on a crocheted hat, especially when using the flat panel method. This technique offers a fantastic canvas for your creativity, allowing you to personalize every detail-from color choices to stitch patterns. Whether you’re looking to add a pop of color or a unique texture, the possibilities are endless, and the best part? You can totally do this!
One of the easiest ways to customize your hat is through color combinations. Think about using a spectrum of shades within a single hue, or opting for a bold contrast between two complementary colors. For example, you could start with a deep burgundy for the main panel and finish with a strip of soft pink for a playful edge. You can easily incorporate stripes by alternating yarn colors every few rows or adding blocks of color for a more graphic look. Don’t be afraid to experiment with variegated yarns too, which change colors randomly, lending an organic feel to your piece.
Textures are another exciting element to explore. Introducing different stitches can drastically change the look and feel of your hat. For a cozy, ribbed effect, consider using the front post double crochet stitch. If you’re after something more intricate, a shell stitch or popcorn stitch can add dimension and interest. You can even mix and match stitches! Just remember that each new stitch might affect the overall size of your hat, so it’s worth doing a quick test swatch.
Lastly, think about embellishments that can add those finishing touches to your design. From adding a simple pom-pom on top to sewing on decorative buttons or appliqués, the extras can elevate your hat from ordinary to extraordinary. You might also consider incorporating a special lining inside, especially for chillier days. Not only will it add warmth, but it can also introduce an unexpected pop of color.
By embracing these creative variations in your hat making, you’re not just crafting a garment, but telling a story with each stitch. Remember, every project is an opportunity to learn and grow, so dive in and let your imagination run wild-you’ve got this!
Troubleshooting Common Crochet Issues
Crocheting your own hat using the flat panel method can be an exciting, creative process, but it’s also common to encounter a few hiccups along the way. Don’t worry-these challenges are part of your crafting journey, and with the right tips, you can troubleshoot effectively. Whether you’re facing sizing issues, uneven tension, or color changes that don’t quite match your vision, addressing these concerns can help you achieve the hat you’ve been dreaming of.
One frequent issue is size discrepancies. If your hat ends up too tight or too loose, it could be due to your choice of yarn or hook size. Before starting your project, always check your gauge. Create a small swatch using the stitches you’ll be employing, and compare the size to the pattern’s guidelines. If the swatch is smaller than expected, try using a larger hook. Conversely, if it’s larger, switch to a smaller hook. Keeping a consistent tension is key, so ensure you’re holding the yarn comfortably and not pulling it too tightly.
Another common problem is uneven tension, which can result in a wavy or lumping appearance. This often happens when alternating between different stitches or if you’re new to crocheting. To combat this, focus on practicing your stitches consistently. If you notice a tension issue as you crochet, reassess how you’re holding your yarn and the placement of your hook. Sometimes, simply slowing down can help create more even stitches. If you find discrepancies in row height, try to pay extra attention to how you complete your stitches; the height of half double crochet or double crochet should be intentional while counting your rows regularly.
Additionally, transitioning between colors can be tricky. If you decide to add stripes or change colors and notice a line of tension or a gap, it’s important to ensure you’re changing colors correctly. When you switch, do it in the last yarn over of the old color. This technique will grant you a smoother transition. For a fun twist, remember to save scrap yarn from color changes; you can use these for future projects or as stuffing for small amigurumi creations.
Embrace these common challenges as opportunities to grow your skills. Every mistake you make is a stepping stone toward becoming a more confident crocheter. You can do this! Keep experimenting and don’t hesitate to reach out to the crochet community for support. There’s a whole world of makers out there ready to share their insights!
Tips for Finishing and Securing Your Hat
When you’ve crocheted your rectangular hat and are ready to finish it up, it’s time to focus on those final details that will truly bring your project together. Securing your work not only gives your hat a polished look but also ensures it will last through wear and washing. Here are some handy tips to guide you through this final phase of your crochet adventure.
One of the first steps in finishing your hat is to weave in the loose ends. As you change skeins of yarn or finish off rounds, little bits of yarn might be left hanging out. To tidy these up, take a tapestry needle and thread the loose ends through the stitches of your project, hiding them within the fabric of the hat. Aim to weave them in for at least an inch to make sure they stay put. If you’re using a smooth yarn, consider opting for a slightly textured needle to help grip the fibers better while you weave.
Next, you’ll want to secure the bottom edge of your hat. This is especially important for hats made from a rectangular panel, as the edges may curl or lose shape. A simple slip stitch can do wonders here. Turn your hat inside out and, starting at one seam, work a slip stitch along the bottom edge. This not only helps flatten the edge but also adds a neat finish. If you’d like to add a cuff or a simple ribbed look, you can switch to a different stitch for the final round, such as double crochet or half double crochet, which can create a nice visual interest.
To keep your hat snug and well-fitting, consider adding an extra tight stitch or two around the brim. This tightener effect can be particularly helpful if your yarn tends to stretch or if you want to ensure a snugger fit around the forehead. In addition, making a simple chain of about 15-20 stitches and then slip stitching back into the brim can create a decorative tie that not only looks cute but also helps secure the fit.
Finally, don’t forget about embellishments! Once your hat is secured, it’s the perfect time to add a pom-pom, a flower, or even some rustic buttons for that personal touch. These little additions can transform your hat from basic to bespoke in minutes. Have fun experimenting with colors and textures to truly make each hat your own. With these finishing touches, your crocheted hat will be ready to wear or gift, bursting with your creative spirit! You can do this!
How to Add Embellishments for Personal Touches
Adding embellishments to your crocheted hat is like adding a signature touch to a masterpiece. These small details can transform a simple hat into a personal expression of style and creativity. Whether you’re aiming for playful, sophisticated, or rustic vibes, embellishments not only enhance the visual appeal but also make each hat truly unique to its maker. With just a few simple techniques, you can elevate your finished project and impress everyone who sees it.
To start, think about the types of embellishments you want to incorporate. Pom-poms, flowers, and buttons are some delightful choices that can create fun focal points. For instance, consider making a playful pom-pom from the same yarn as your hat for a cohesive look. To create one, wrap yarn around your fingers or a pom-pom maker, tie it securely in the center, and snip the loops to create fluffy ends. Attach it to the top of your hat with a strong yarn needle, and voilà-you’ve added a whimsical touch!
Flowers are another lovely addition. Crocheted flowers can be as simple or intricate as you’d like. You can find free patterns online, or try a classic three-layer flower technique where each layer is a different color. This creates a beautiful dimension and depth for your hat. Simply sew the flower onto the side or front of the hat with a tapestry needle. It’s an easy way to add a splash of color and personality to your design.
Lastly, don’t forget about buttons and other miscellaneous embellishments. Vintage buttons or fabric patches can infuse a touch of charm. For a more rustic feel, sew on a couple of wooden buttons or a leather patch to give your hat character. To secure these, stitch through the center with a sturdy thread, ensuring they won’t come off with wear.
Remember, the goal is to let your creativity shine! You can experiment with different combinations and placements until you find what feels right for you. The joy of crafting comes from making something with your own hands, and every embellishment adds a piece of your personality-so have fun, and trust your instincts. You’ve got this!
Care Instructions for Your Crocheted Hat
When you pour your heart into crocheting a hat, you want it to last, don’t you? Proper care is key to maintaining the beauty and durability of your handmade creation. Not only does regular maintenance keep your hat looking fresh, but it also ensures the fibers remain intact and ready for future wear. The great news is that caring for your crocheted hat is straightforward and achievable for makers of all skill levels-think of it as an extension of your crafting journey!
Washing Your Hat
Start by checking the yarn label, as it often provides essential washing instructions. Most hats crafted from acrylic or cotton yarns can be machine washed, but when in doubt, handwashing is always a safer bet. Here’s a simple process you can follow:
- Fill a basin with lukewarm water and add a small amount of gentle liquid detergent.
- Submerge your hat fully. Gently swirl it in the soapy water, allowing the fibers to soak up the solution. Avoid aggressive scrubbing to prevent distortion of your stitches.
- Let it soak for about 10-15 minutes, but don’t leave it too long, as prolonged exposure to soap can weaken some fibers.
- Rinse thoroughly with cool, clean water until all soap is gone. This step is crucial, as leftover detergent can irritate your skin when wearing the hat.
After rinsing, gently press out excess water-do not wring it out, as this could stretch your hard work! Lay the hat flat on a clean towel, roll it up to absorb more moisture, and then reshape your hat while it dries.
Storage and Maintenance
Proper storage can make a world of difference. Keep your hat in a cool, dry location away from direct sunlight to prevent fading. If you have multiple hats, consider stacking them flat or using hat boxes to maintain their shape. Avoid hanging them, as this can cause stretching over time.
Lastly, give your hat the occasional refresh. If it becomes dusty or loses its shape, lightly steam it or use a fabric shaver to remove any pilling. You’ve put in the effort to crochet a beautiful hat, so treating it with care ensures it brings joy for seasons to come. Embrace these simple care instructions, and enjoy watching your creations thrive, just as you do!
Inspiring Project Ideas: Beyond the Basic Hat
When you’ve mastered the flat panel method for crochet hats, the possibilities extend far beyond a simple beanie. This technique serves as a fantastic foundation for a variety of creative projects that showcase your personal flair and crocheting skills. Let your imagination run wild and explore all the unique items you can create using this versatile approach!
One popular idea is transforming your rectangular hats into stylish ear warmers or headbands. By adjusting the width and length of your rectangle, you can customize the headband to fit snugly and securely. To amp up the style, consider adding textured stitches or combining different yarn colors. For a fun twist, create coordinating sets with matching hats! Using worsted weight yarn, these headbands can be finished in under an hour, making them perfect last-minute gifts or accessories for chilly days.
Don’t stop there! The flat panel method also lends itself beautifully to slouchy hats. To achieve this relaxed fit, simply crochet a longer rectangle and adjust the gather at the top when you sew it together. You can add ruffles or a trendy pom-pom to showcase your personality and give your hat character. Experimenting with various yarns, like fluffy chenille or sparkly acrylic, can also give your slouchy hats a whimsical touch.
Another exciting project idea is to make a matching scarf to elevate your accessory game. Use the same flat panel method to create a long rectangle for the scarf, allowing for the same stitch patterns or color combinations as your hat. This cohesive look can turn casual outfits into stylish ensembles. Plus, consider adding fringes or tassels at the ends for a playful finish.
In your crocheting journey, remember that blending simple techniques with your creativity is the secret sauce to crafting one-of-a-kind handmade treasures. Dive into these inspiring project ideas and enjoy the process of making something uniquely yours! You can absolutely do this-each stitch is a step closer to your beautiful new accessories!
Sharing Your Creations: Join the Crochet Community
Connecting with fellow crochet enthusiasts can turn your hat-making journey into a vibrant and supportive experience. The crochet community is filled with makers from all skill levels, ready to share their knowledge, tips, and creativity. Whether you’re a total beginner or an experienced crocheter, there are countless platforms and social media groups dedicated to the craft. Joining these communities not only provides inspiration but also helps you celebrate your progress and troubleshoot challenges you might encounter.
Consider sharing your creations on platforms such as Instagram, Facebook, or dedicated crafting forums. Use hashtags like #CrochetHat or #FlatPanelCrochet to showcase your unique designs and connect with others who share your passion. You’ll be amazed at how supportive and encouraging these communities can be! Plus, seeing other crocheters’ work might spark ideas for your next project. Don’t hesitate to post questions; members are often eager to lend advice based on their own experiences.
Participating in crochet-alongs is another fantastic way to engage with the community. Many groups host events that focus on specific patterns or techniques, where you can work alongside others, share progress updates, and celebrate each other’s successes. These collaborative efforts not only enhance your skills but also create a sense of camaraderie. Remember, sharing your journey, including your mistakes and triumphs, fosters connections and shows others that they’re not alone in the learning process.
Finally, be sure to join local crochet clubs or workshops if possible. These gatherings allow you to meet fellow crafters in person, share tips and techniques, and perhaps even swap yarns and patterns. Sharing your creations is just the beginning; the connections you make can lead to lasting friendships and a wealth of new experiences on your crocheting path. Embrace the joy of crafting together, and never forget-your passion for making hats from rectangles can inspire others just as they inspire you!
Frequently Asked Questions
Q: What is the easiest way to crochet a hat from a rectangle?
A: The easiest way to crochet a hat from a rectangle is to use the flat panel method. Start by crocheting a rectangular piece that measures the desired width and length of the hat. Once completed, fold the rectangle in half and sew the sides together to create a tube, then gather the top to close your hat.
Q: How do I determine the size of the rectangular piece for my hat?
A: To determine the size of your rectangle, measure the head circumference of the person who will wear the hat and add extra inches for stretch and seam allowances. For most adult sizes, a rectangular piece around 20-24 inches wide and 8-12 inches long works well.
Q: Can I crochet a hat from a rectangle without a pattern?
A: Yes, you can crochet a hat from a rectangle without a specific pattern by following the flat panel method. Use your measurements for width and length, then experiment with stitches and colors to create a unique design. Feel free to add embellishments later for personalization.
Q: What stitch is best for a soft hat using the flat panel method?
A: For a soft and stretchy hat, consider using the half double crochet (HDC) stitch or the double crochet (DC) stitch. These stitches create a comfortable fabric while allowing flexibility, which is essential for a well-fitting hat.
Q: How can I customize my rectangular hat design?
A: You can customize your hat by experimenting with different yarn colors, stitches, and adding elements like pompoms or flowers. Consider incorporating stripes or variegated yarn for a unique look, or try using textured stitches for added interest.
Q: What are common mistakes to avoid when crocheting a rectangular hat?
A: Common mistakes include using incorrect yarn weight and not measuring the piece accurately. Ensure your rectangle’s length is sufficient to cover the entire head, and check for any gauge issues before final assembly. Always keep your tension consistent.
Q: How do I secure the top of the hat after assembling?
A: To secure the top of the hat, use a tapestry needle to thread yarn through the stitches at the hat’s top edge. Pull tight to gather the fabric and tie a secure knot. You can also sew a few stitches to reinforce the closure and prevent it from unraveling.
Q: What type of yarn is best for crocheting a hat?
A: The best yarn for crocheting a hat is acrylic or wool blend yarn, as it provides warmth and is easy to wash. Consider using a medium-weight yarn for a cozy feel, while also ensuring it has some stretch for comfort and fit.
The Way Forward
Congratulations on completing your crochet hat using the flat panel method! You’ve not only learned a valuable skill but also created something unique and beautiful. As you explore new patterns and techniques, consider checking out more advanced methods like our “Cinch a Bottom-Up Crochet Hat Closed” guide to perfect your finishing skills and elevate your projects. Remember, whether you’re a beginner or an experienced crafter, every stitch is a step towards mastering your craft!
Don’t forget to subscribe to our newsletter for exclusive tips and upcoming tutorials that will keep your creativity flowing. If you loved this project, share your hat photos in the comments below! We’d love to see your creations and hear about your crochet journey. Keep diving into the world of crochet; there’s so much more to create together!
Get our latest guides, news, and insights highlighted in your Google Search & AI Overviews.