

Are you ready to elevate your crochet skills while creating something stylish? The bucket hat is not only a trendy accessory but also a fun and rewarding project for beginners! This easy guide will walk you through simple patterns and techniques, making it a perfect choice if you’re looking to dip your toes into the world of crochet. Whether you’re preparing for sunny days or simply want to gift a handmade item, this bucket hat can be customized to your liking, and you’ll be amazed at how quickly it comes together. With just a few materials and some basic stitches, you’ll be turning heads in your very own creation. So grab your yarn and hooks, and let’s embark on this creative journey together-you can absolutely do this!
Choosing the Right Materials for Your Bucket Hat
Choosing the right materials for your crochet bucket hat is key to ensuring your finished product is comfortable, stylish, and has the right structure. Yarn selection plays a crucial role in how your hat turns out. For an ideal bucket hat, it’s best to opt for lightweight, breathable yarns. Natural fibers like cotton are excellent choices. They are breathable, perfect for those sunny days, and can handle a bit of moisture, which is particularly important if you plan to wear your hat outdoors.
When it comes to yarn weight, a medium weight (such as worsted weight) is commonly recommended. This thickness provides enough structure for the hat while still being pliable. If you’re just starting out and looking for an easy pattern, you’ll find many beginners’ designs using these lightweight materials. In terms of color, selection can be as creative as you feel! Whether you want a bold statement piece or a subtle accessory, there’s a myriad of color options available.
In addition to yarn, you’ll also need the right crochet hook. Typically, a hook size of 4.0 mm (G hook) or 5.0 mm (H hook) is suitable for worsted weight cotton yarn. These sizes provide a good balance for easy stitch formation while ensuring your work isn’t too tight or too loose. It’s also essential to have a pair of scissors for trimming yarn and a yarn needle for weaving in ends, making your project look polished and professional.
Finally, consider adding some extras to enhance your hat! Options like a ribbon, decorative buttons, or even a floral embellishment can take your crochet bucket hat to the next level. Remember, creating your own hat should be fun and a reflection of your personal style, so let your creativity shine through! You can do this-grab your materials and start crocheting your unique bucket hat today!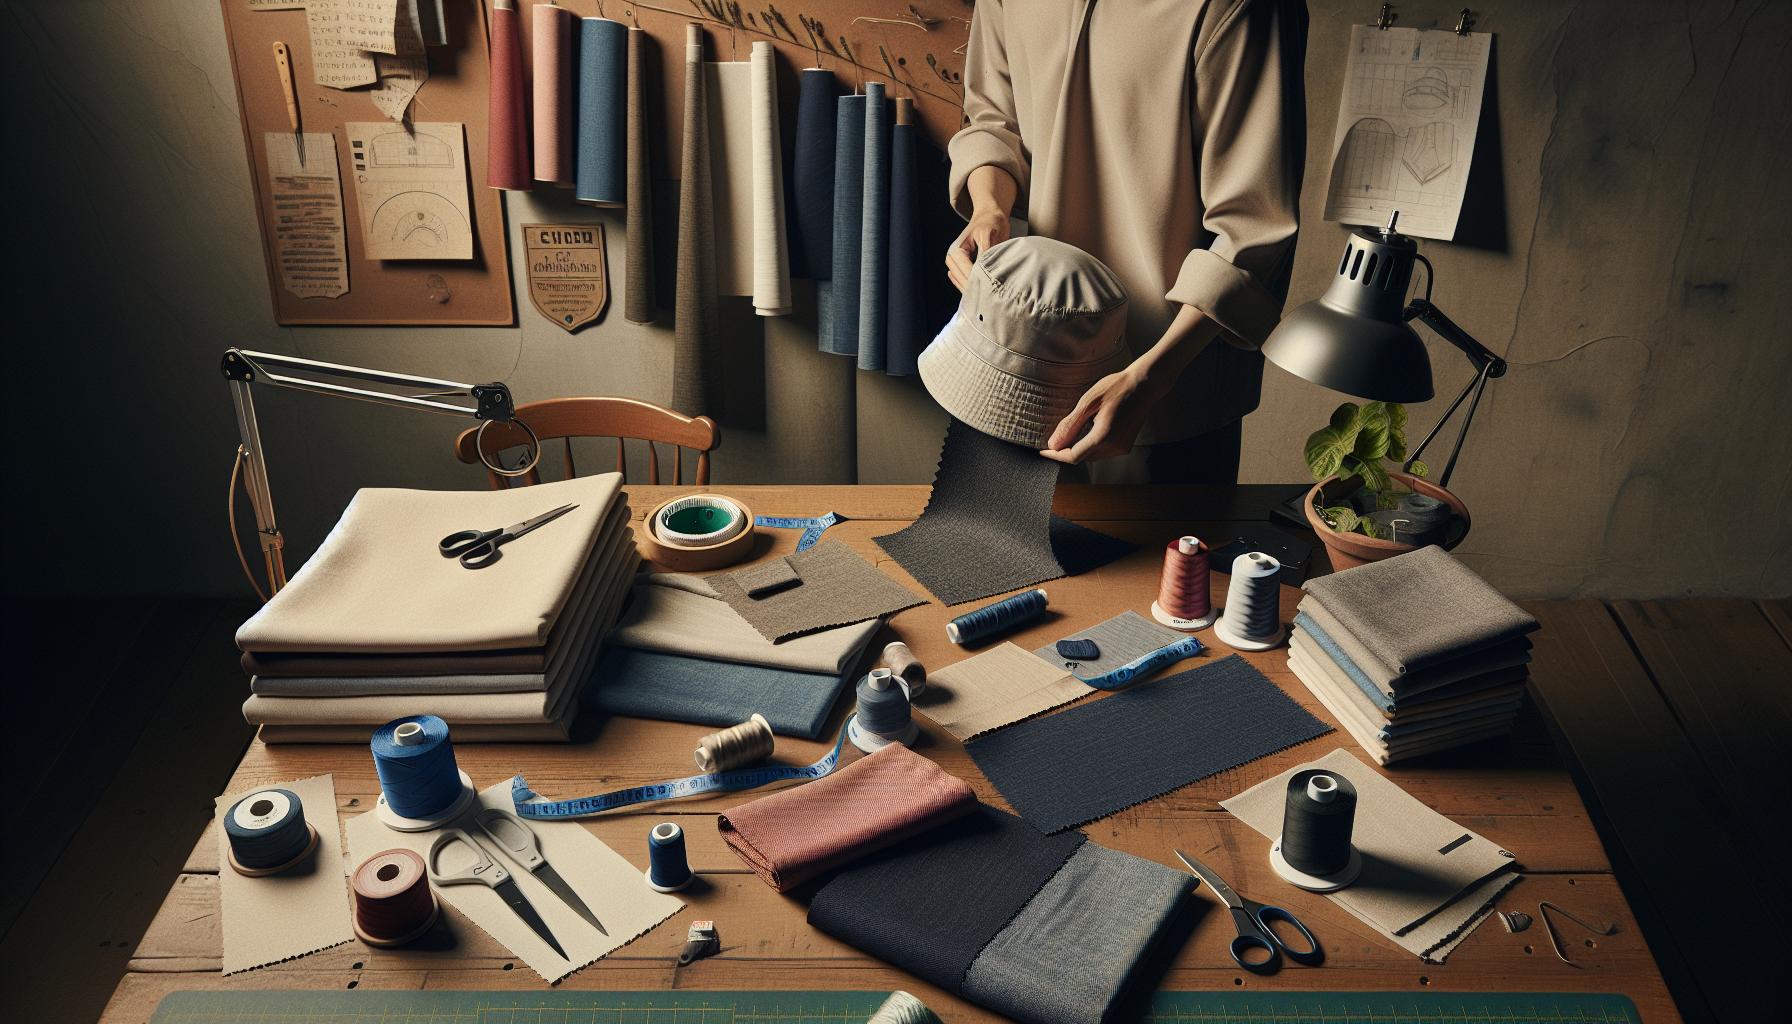
Essential Crochet Stitches for Beginners
Creating a crochet bucket hat is a fantastic way to dive into the world of crochet, especially if you’re a beginner! Mastering a few essential stitches can empower you to create beautiful and functional pieces without feeling overwhelmed. Understanding these stitches will build your confidence and help you tackle the rest of your crochet journey with a smile.
The foundation stitch for your bucket hat will be the chain stitch (ch)-the starting point of almost every crochet project. To begin, make a slipknot and create a chain of the desired length, which serves as the base for your hat’s top. Once you’ve got that down, you’ll pivot to the single crochet (sc). This stitch is friendly for beginners as it’s simple yet sturdy, perfect for the snug areas of your hat to keep it in shape. You’ll find that alternating rows of single crochet will not only give your hat a lovely texture but also keep your work nice and tight.
Next up is the double crochet (dc). This stitch adds height and openness to your design, creating a more relaxed look for the middle section of the hat. It involves yarn overs and can take a bit of practice, but you can do it! As you get the hang of it, you’ll appreciate the versatility it brings to your crochet arsenal. In some patterns, you may also encounter stitches like half double crochet (hdc), which sits comfortably between the single and double crochet in height and density, offering yet another option for your hat’s design.
As you’re crocheting, keep an eye on your tension and practice counting your stitches, as it will help you maintain an even shape. Remember to celebrate each little victory along the way! Mistakes are part of the process, and they often lead to delightful surprises in your creations. With these stitches under your belt, you’ll be well on your way to crafting your first crochet bucket hat. So grab your hook and yarn, and let’s make something beautiful together!
Step-by-Step Instructions for Basic Bucket Hat
Creating your own crochet bucket hat can be a joyful experience as you bring your vision to life with each stitch. This simple project is not only practical but also allows for creativity and personalization, making it perfect for beginners eager to learn. Let’s dive into the step-by-step process to craft a basic bucket hat that you can wear with confidence knowing you made it yourself!
Start by gathering your materials. You’ll need medium-weight yarn (cotton is a great choice for summer), a suitable crochet hook (typically a size G or H, but check your yarn label), and scissors. A stitch marker is handy for keeping track of where your rounds begin, especially if you’re working in the round. Now that you have everything, follow these steps:
Step 1: Creating the Hat Top
Begin with a magic ring, which forms the center of your hat. This keeps the start snug with no hole. Start with a chain stitch and then crochet several single crochet stitches (about 6 or 8) into the ring. Pull the yarn tail to close the circle. Join with a slip stitch to the first single crochet.
In the following rounds, you’ll progressively increase your stitches. For example:
- Round 2: Work 2 single crochet stitches in each stitch (12 total).
- Round 3: *(1 single crochet, 1 increase)* repeat around (18 total).
- Continue this pattern, adding one extra single crochet stitch between increases each round until you reach your desired diameter.
Step 2: Building the Body of the Hat
Once you’ve formed the top, switch to regular single crochet without increasing. Crochet in each stitch around for several rounds until the hat reaches your desired height-usually between 4 to 6 inches. This will give you the main body of the bucket hat.
Step 3: Adding the Brim
To create the brim, which adds that classic bucket hat look, you’ll begin increasing again. Start with a round where you crochet in each stitch and then add extra stitches spaced out evenly, so the brim will flare out nicely. For example:
- Round 1: 1 single crochet in each stitch.
- Round 2: *(1 single crochet, 1 increase)* repeat around.
Continue in this manner until the brim achieves the width you prefer, typically around 2-4 inches.
Step 4: Finishing Touches
Once you’re happy with the size, it’s time to finish. Cut your yarn, leaving a long enough tail to weave in. Weave the tail through the last round of stitches to secure and pull tight. Finally, don’t forget to weave in any loose ends with a yarn needle for a polished look.
It’s incredibly satisfying to shape something so fun and functional using just your hands and yarn. Remember, you can absolutely do this! With each hat you make, you’ll refine your technique and perhaps even inspire others with your creations. So, gather your materials, find a comfy spot, and let your creativity flow as you craft your first crochet bucket hat!
Tips for Customizing Your Bucket Hat Design
Choosing to personalize your crochet bucket hat is where the true fun begins! The beauty of crafting is that you can make something entirely your own that reflects your style and creativity. Whether you’re a crocheter with a flair for color or someone who loves experimenting with different textures, there are plenty of ways to customize your design.
Consider experimenting with yarn colors and patterns first. You can create a vibrant, multicolored hat by using a variegated yarn that shifts colors as you work, or you might prefer a more subtle, classic look with a single-color yarn. Why not try adding stripes or blocking colors for a distinctive, visually appealing effect? Mixing and matching yarns can elevate your project while still being beginner-friendly.
Another fun way to add your flair is through embellishments. Think beyond just the stitches – you can attach cute patches, crochet flowers, or even buttons to personalize your hat further. These details can take a basic pattern and turn it into a one-of-a-kind statement piece. You might also consider adding a textured stitch, like the popcorn or shell stitch, to some rounds to create interest and depth. Changing your stitch patterns as you work into the brim or body can add a lovely dimension to your hat.
Lastly, don’t shy away from size and shape adjustments! If you enjoy the process, play around with different widths for the brim or the crown height. Making your hat reversible, with different designs or colors on each side, is another creative option. You can adapt the pattern to create a wide-brimmed sun hat or a snug fit, depending on your style preference. Remember, the best part about crocheting your own bucket hat is that you’re in control – and each tweak is an expression of your creativity. So grab your hook and get ready to make a hat that’s uniquely you!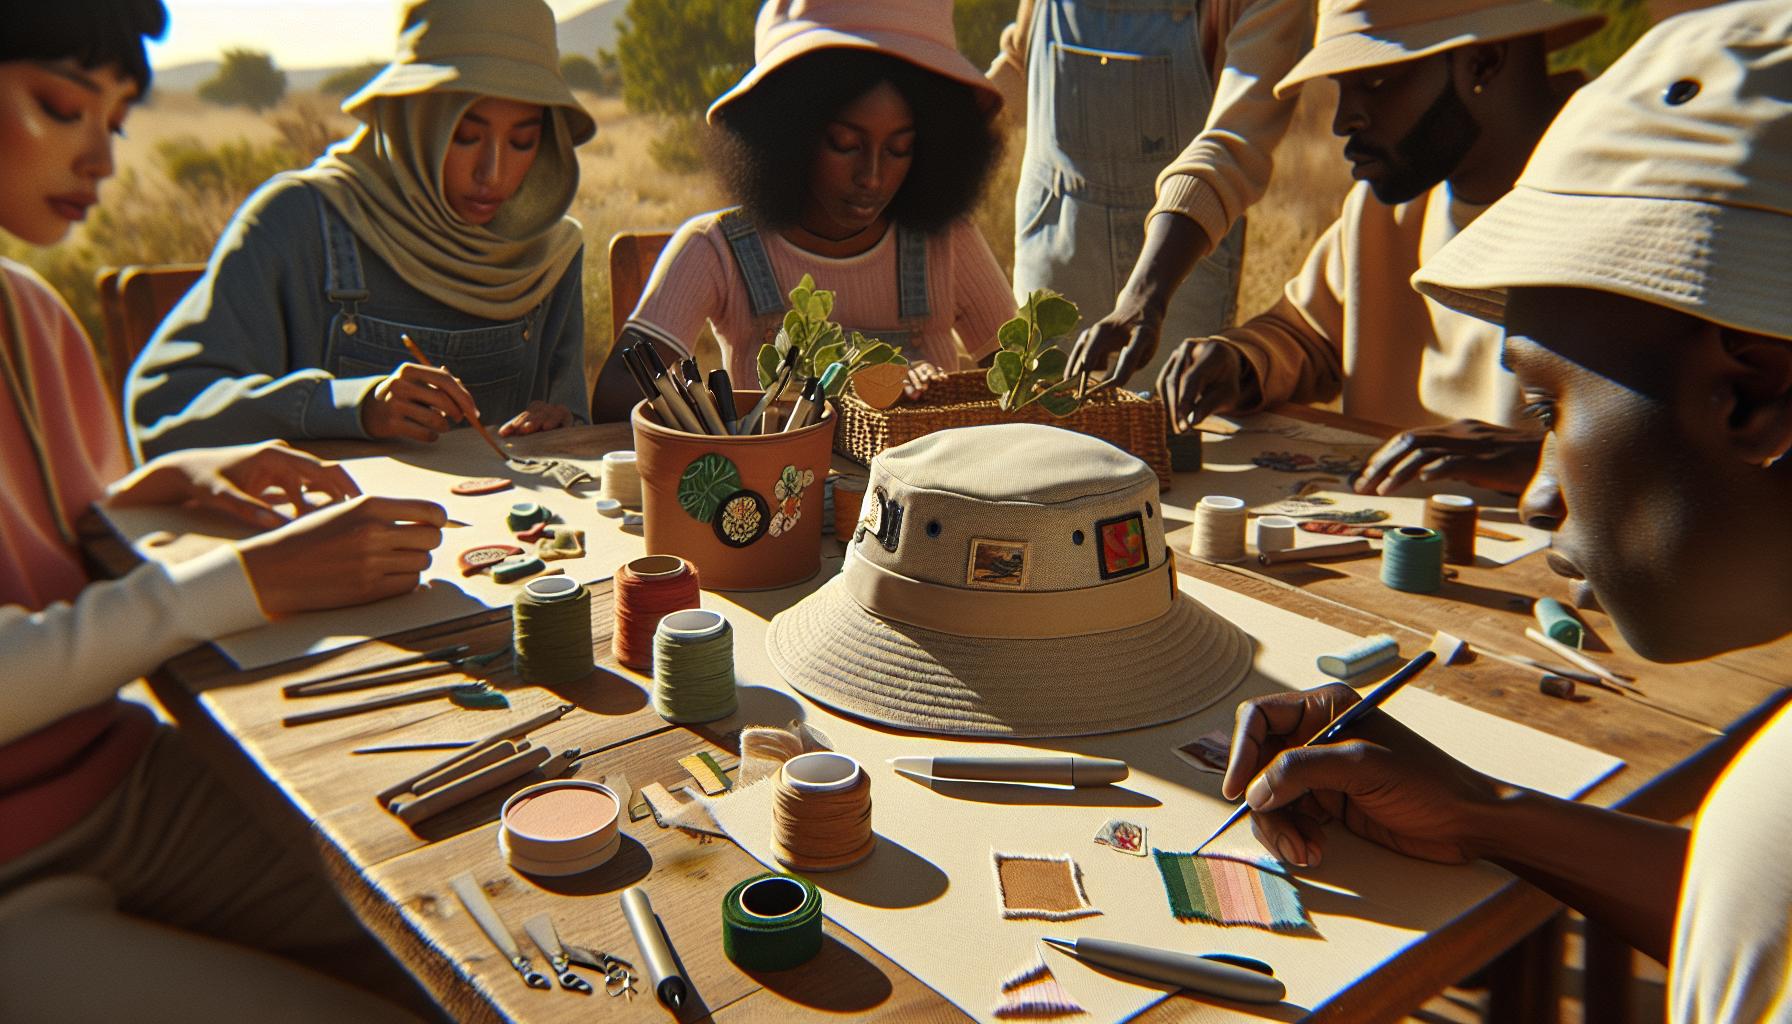
Common Mistakes to Avoid When Crocheting
When crocheting a bucket hat, especially for beginners, it’s all too easy to make mistakes that could derail your entire project. But don’t worry; every crocheter has been there, and learning from these common pitfalls can not only save you frustration but also prepare you for a smoother crafting experience in the future! Here are some key missteps to watch out for, along with tips to overcome them.
One of the most frequent errors is miscounting stitches. It’s easy to lose track, especially during repetitive rounds. If your stitch count is off, it can lead to a hat that’s too tight or too loose. To avoid this, always use stitch markers to keep track of your rounds. Place a marker at the beginning of each round; this way, you can easily see where each new round starts. This small cue can make a big difference!
Another mistake is not following the gauge. Gauge is crucial in crochet; it determines the size of your finished item. If your gauge is off, you might end up with a hat that doesn’t fit. Before starting your project, take the time to crochet a gauge swatch. This will help you ensure that your stitches match the pattern’s intended size. If your swatch is too small, try using a larger hook; if it’s too big, switch to a smaller one. Simply adjusting your hook size can keep you from having to start over later!
Also, be wary of the yarn you choose. Beginners often pick yarn that looks great but may not be suitable for a bucket hat. Opt for a cotton or a cotton-blend yarn; they’re breathable and hold shape well for hat projects. In addition to material, consider the weight of the yarn required by your pattern. Using a different weight can lead to sizing problems, so stick to what’s specified.
Lastly, remember that finishing techniques matter! A sloppy finish can ruin the look of your beautifully crocheted hat. Take the time to learn how to weave in ends properly. Use a yarn needle to tuck away any loose ends into the stitches. This not only secures your work but also gives your finished product a polished appearance.
By keeping these common mistakes in mind and implementing the provided solutions, you’ll be well on your way to creating an eye-catching bucket hat that showcases your unique style. Happy crocheting!
Finishing Techniques for a Professional Look
To elevate your crochet bucket hat from a simple project to a professional-looking accessory, mastering a few finishing techniques is essential. The finishing touches not only enhance the aesthetics but also secure your hard work, making your hat durable and polished. Let’s dive into some straightforward yet impactful methods that will ensure you create a finished product you’ll be proud to wear.
First and foremost, focus on weaving in those pesky ends. No one wants loose strands peeking out from their beautifully crafted hat! Grab a yarn needle and gently weave the tails into the seams of your stitches. Aim to hide the ends within the fabric for a seamless look. As a rule of thumb, weave each tail a minimum of three to four inches. This technique ensures that your ends won’t unravel over time. For added security, consider using a bit of fabric glue on the ends or around a few stitches where they meet to lock everything in place.
Another key technique involves blocking your hat. Blocking is a process that allows you to shape your finished item and set the stitches. For a bucket hat, lay it flat on a towel and lightly steam it with an iron (taking care not to directly touch the yarn). Alternatively, you can pin it into the desired shape on a foam board or a clean, flat surface and let it dry. This step helps your bucket hat maintain its structure, giving it a crisp look and making the final product worthy of compliments.
Lastly, adding a decorative touch can significantly enhance your bucket hat’s appeal. Think about embellishments like crochet flowers, buttons, or even small patches that express your personality. These little details can transform a simple design into something uniquely yours. You can sew them on securely once your hat is finished or crochet them separately and attach them for a fun pop.
By implementing these finishing techniques, you’ll not only secure your crochet project but also give it a professional finish that showcases your crafting skills. Remember, the joy of creating comes not just from the project itself, but from the pride you feel when you wear your handmade hat knowing you put in the effort to finish it beautifully. Happy crocheting!
Styling Your Crochet Bucket Hat: Fashion Tips
There’s something uniquely stylish about a crochet bucket hat that instantly elevates any outfit. Whether you’re looking to add a playful touch to your summer wardrobe or a cozy vibe to your winter ensemble, this versatile accessory can adapt to every season. Let’s explore some creative and practical tips on how to effortlessly style your handmade creation.
Mix and Match with Outfits
The beauty of a crochet bucket hat lies in its ability to complement various styles. Here are a few outfit combinations to consider:
- Casual Chic: Pair your bucket hat with a simple t-shirt and high-waisted jeans. This look is perfect for a day out or a casual brunch with friends.
- Beach Vibes: Select a bright, colorful yarn for a statement piece. Team it with a flowy sundress or shorts and a lightweight cover-up, and you’re ready for a fun day at the beach.
- Layered Styles: In cooler weather, wear your hat with a chunky knit sweater and a denim jacket. This layered look adds dimension and keeps you cozy.
Accessorize Wisely
Enhance the overall look of your bucket hat with thoughtful accessories. Adding a simple band or embellishment can personalize your design:
- Satin Ribbon: Tie a matching or contrasting satin ribbon around the base of the hat for an elegant touch. This works beautifully for a more refined look.
- Brooches and Pins: Attaching a cute brooch or pin to your hat can express your personality. Choose designs that reflect your interests or seasonal themes.
- Earrings: Consider wearing statement earrings when rocking your bucket hat. This combination draws attention and balances the visual interest of your outfit.
Embrace the creativity that comes with crochet! Your bucket hat isn’t just a functional accessory; it’s a canvas for your style. With these tips in hand, feel confident to step out looking chic and effortless in your handmade creation. Each time you wear it, it’s a reminder of your skills and the joy of crafting something uniquely yours!
Caring and Maintaining Your Crochet Creations
Crochet bucket hats are not just fun to make; they can be treasured pieces in your wardrobe for years to come, as long as you take good care of them. Whether you’ve crafted your hat from cotton for summer wear or cozy wool for the cooler months, proper maintenance ensures your work of art stays as vibrant and stylish as the day you completed it. With a few simple practices, you can keep your crochet creations looking fresh and fabulous.
The first step in caring for your crochet hat is to know the best way to wash it. Always check the yarn label for specific washing instructions, as this will guide you on whether it can be machine washed or if it needs hand washing. For most cotton and acrylic yarns, you can use cold water and a mild detergent. If you choose to machine wash, place your hat inside a mesh laundry bag to protect its shape. For a gentle hand wash, fill a basin with cold water, add a small amount of soap, and gently agitate. Rinse thoroughly but avoid wringing the fabric, which can distort its form.
Once clean, it’s essential to dry your hat properly. Lay it flat on a clean towel and reshape it to its original form. Avoid hanging it up since this can lead to stretching. Instead, let it dry in a well-ventilated area away from direct sunlight, as UV rays can fade colors. If your hat has lost its shape over time, a light steam from an iron held at a distance can help restore its structure without damaging the stitches.
Finally, store your crochet hat thoughtfully to prevent wear and tear. Avoid stuffing it in cramped spaces; instead, consider using a hat box or a shelf where it can hold its shape. For longer-lasting beauty, keep it out of direct sunlight to maintain its color vibrancy. With these mindful practices, not only will your crochet bucket hat remain a stunning addition to your outfits, but it will also remind you of the joy and creativity woven into every stitch. Happy crafting!
Exploring Advanced Bucket Hat Patterns
can open up a world of creativity and personalization for your crochet projects. These patterns not only challenge your skills but also allow you to experiment with various techniques and designs, making each finished hat a unique expression of your style. Whether you’re interested in color work, intricate stitch patterns, or unique shapes, there’s an advanced bucket hat pattern out there that can excite and inspire you.
One popular technique is the use of colorwork, such as tapestry crochet or intarsia. This allows you to create visually stunning designs by combining multiple yarn colors in a single project. For instance, you could create a vibrant striped bucket hat or even a whimsical design featuring your favorite motifs-like fruit, flowers, or geometric shapes. With projects like the cute strawberry bucket hat from The Loopy Lamb, you can learn how to incorporate fun elements and colors into your designs, making them stand out even more.
Another exciting avenue is incorporating texture into your hats. Techniques like puff stitches, bobbles, or even shells can add depth and character to your work. Mixing different stitch patterns can also create interesting visual effects. A basic bucket hat can become a stylish accessory by simply modifying the brim or crown with various textures. You’ll find that even subtle changes in your crochet stitches can dramatically transform the final look of your hat.
When it comes to materials, don’t be afraid to experiment. Using different yarn weights or fibers can profoundly impact the drape and feel of your hat. For instance, a bulky yarn can result in a cozy winter hat, whereas cotton yarn might lend itself better to a light and breathable summer design. Advanced patterns sometimes also incorporate elements like lining or embellishments-think fabric lining for additional structure or embellishing with flowers or embroidery to add a personal touch.
Remember, the goal is to enjoy the process of creating! So embrace the learning curve and allow your bucket hat designs to evolve. Each project you complete builds your confidence and skill, paving the way for even more complex and creative endeavors in the future. Don’t hesitate to share your creations and inspirations online; the crochet community is welcoming and eager to celebrate your progress. Happy crafting!
Inspiration: Trending Bucket Hat Styles
Bucket hats have made a vibrant comeback, transforming from a ’90s staple to a trendy accessory embraced by fashion enthusiasts everywhere. What makes them so appealing? It’s their versatility! Whether worn casually at the beach or styled with a chic outfit, crochet bucket hats offer a canvas for creativity and self-expression. If you’re looking to channel your inner crocheter, there are plenty of styles to inspire your next project.
For those wanting to embrace the classic vibe, striped crochet bucket hats are all the rage. Using bright, contrasting colors can add boldness to your look. To create this style, try alternating rows of different colors or even using a gradient effect to make your hat pop. Don’t forget to experiment with different stitch techniques, like half double crochet, to give your stripes unique textures and visual interest.
Another popular trend is the floral bucket hat. This design isn’t just for spring; it can bring a fresh touch to any outfit year-round. Consider crocheting flowers as embellishments to sew onto your hat for a delightful, three-dimensional effect. These can be made using simple motifs or advanced techniques like puff stitches, which add depth and charm to your creation.
Lastly, why not explore fun themes? Think outside the box with hats inspired by seasonal motifs, like snowflakes for winter or bright sun motifs for summer. You can also look into incorporating mixed media into your designs, like adding buttons, beads, or even fabric scraps to make your hat truly one-of-a-kind. As you crochet, always keep in mind that the journey is just as rewarding as the finish. So get inspired, and let your crochet bucket hats reflect your unique style!
Resources for Further Learning and Patterns
Finding the right resources can truly transform your crocheting experience, especially when you’re diving into the world of bucket hats. There are countless patterns, tutorials, and communities out there to support you on your journey. Whether you’re just starting or looking to refine your skills, you’ll discover an array of tools that make the crochet process not only accessible but also fun.
To kick off, check out accessible online patterns that cater to all skill levels. Websites like The Loopy Lamb offer free patterns, like the adorable Strawberry Bucket Hat that is perfect for summertime fun. This specific pattern is user-friendly and comes in six sizes, making it a hit for beginners and seasoned crocheters alike. Another fantastic resource is Viv Crochets, which provides a quick and easy bucket hat pattern that emphasizes a speedy crafting experience, ideal for those who want instant gratification.
Exploring video tutorials is also a great way to learn visually. For instance, a YouTube tutorial titled “How to crochet a bucket hat” gives detailed, step-by-step instructions perfect for beginners. This engaging format allows you to pause and replay sections, making it easier to grasp tricky techniques.
Additionally, consider joining online crochet communities or social media groups where you can find support, inspiration, and tips from fellow crafters. Platforms like Instagram and Pinterest are fantastic for discovering trendy styles and customizing your designs. Remember, sharing your work and connecting with others can ignite your passion for crocheting even further. You’ve got this-each stitch is a step towards your masterpiece!
Sharing Your Crochet Journey Online
is not just about showing off your finished projects; it’s an incredible way to connect with fellow crafters and inspire others. When you share your work, you contribute to a global community of makers who find joy and motivation in each other’s creations. Whether it’s showcasing your latest bucket hat or documenting your progress, every post can uplift and encourage others on their crafting path.
To start sharing, consider using platforms that resonate with your style. Instagram is a visual feast perfect for sharing photos and short videos of your work. Use popular hashtags like #crochetbuckethat or #crochetaddict to join conversations and connect with other crocheters. Pinterest can serve as a gallery for your favorite patterns and inspirations while allowing you to curate boards filled with ideas. If you’re more into writing, a blog can be a great outlet to detail your projects, share tips, and recount your experiences, like the best yarns for your bucket hat or how you overcame a challenging stitch.
Don’t underestimate the power of community engagement! Joining online crochet groups on platforms like Facebook or Ravelry can provide encouragement and feedback from a diverse group of makers. Ask for advice, share your struggles, or seek out recommendations for materials. Often, you’ll find others eager to share their experiences, and you’ll also have the opportunity to help someone else who’s just starting out. Remember, every crochet project tells a story, and sharing your journey adds another layer of connection to that narrative!
Finally, be sure to celebrate your accomplishments, no matter how small. Finished a bucket hat for the first time? Snap a picture and share it! Encouraging each other is the heartbeat of the crochet community-you never know whose creativity you’ll ignite by sharing your own journey. So grab your phone, start documenting, and show the world the beautiful creations you make!
FAQ
Q: What type of yarn is best for a crochet bucket hat?
A: Cotton yarn is often recommended for a crochet bucket hat because it is breathable, lightweight, and comfortable to wear. It can also withstand washing and drying, making it practical for summer use. Check the section on materials in your article for more details.
Q: How long does it take to crochet a bucket hat?
A: The time to crochet a bucket hat varies by skill level and pattern complexity but typically takes 2 to 5 hours. For beginners, following a simple pattern can speed up the process. Refer to the step-by-step instructions for efficient crafting in your article.
Q: Can I customize the size of my crochet bucket hat?
A: Yes, you can easily customize the size of your crochet bucket hat by adjusting the number of stitches or rounds in the base of the hat. This flexibility is crucial for a comfortable fit. For tips on customization, see the relevant section in your article.
Q: What basic stitches do I need to know to crochet a bucket hat?
A: For a basic bucket hat, you should be familiar with single crochet, double crochet, and slip stitch. These stitches form the foundation for most patterns. Refer to the essential stitches section in your article for a more detailed explanation.
Q: How do I make my crochet bucket hat waterproof?
A: To make your crochet bucket hat water-resistant, consider using a mixture of waterproof yarn or treating it with a waterproofing spray once completed. Look up care and maintenance tips in your article for comprehensive guidelines.
Q: What tools do I need to crochet a bucket hat?
A: To crochet a bucket hat, you’ll need a crochet hook, measuring tape, yarn, and scissors. You might also want stitch markers to keep track of your progress. Check the introductory section of your article for a complete list of materials and tools.
Q: Can I use patterns from other projects for my bucket hat?
A: Yes, you can adapt patterns from other projects! Just ensure that the stitches and yarn weight match your desired bucket hat style. Refer to the section on exploring advanced patterns in your article for ways to modify existing designs.
Q: What common mistakes should I avoid when crocheting a bucket hat?
A: To avoid pitfalls, make sure to count your stitches, keep your tension consistent, and double-check your pattern. Recognizing these mistakes early can save time and effort. Consult the common mistakes section of your article for further advice.
The Way Forward
Congratulations on completing your first Bucket Hat crochet project! Remember, the journey of crafting doesn’t stop here. You’ve learned valuable skills that you can apply to countless other projects. If you’re eager to elevate your crochet game, be sure to check out our guides on easy crochet patterns for beginners and essential crochet techniques.
Feeling inspired? Don’t hesitate-pick out your favorite yarn and start experimenting today! We’d love to see your creations, so share your photos and thoughts in the comments below. If you found this guide helpful, subscribe to our newsletter for more tips and creative ideas straight to your inbox. Remember, the world of crochet is vast, and you’re just getting started-so keep exploring, creating, and most importantly, having fun!
Get our latest guides, news, and insights highlighted in your Google Search & AI Overviews.